3- ENG D24152
IMPROPER OPERATION OR MAINTENANCE OF THIS PRODUCT COULD RESULT IN SERIOUS
INJURY AND PROPERTY DAMAGE. READ AND UNDERSTAND ALL WARNINGS AND OPERAT-
ING INSTRUCTIONS BEFORE USING THIS EQUIPMENT.WHEN USING AIR TOOLS, BASIC
SAFETY PRECAUTIONS SHOULD ALWAYS BE FOLLOWED TO REDUCE THE RISK OF
PERSONAL INJURY.
SAVE! IMPORTANT SAFETY INSTRUCTIONS SAVE!
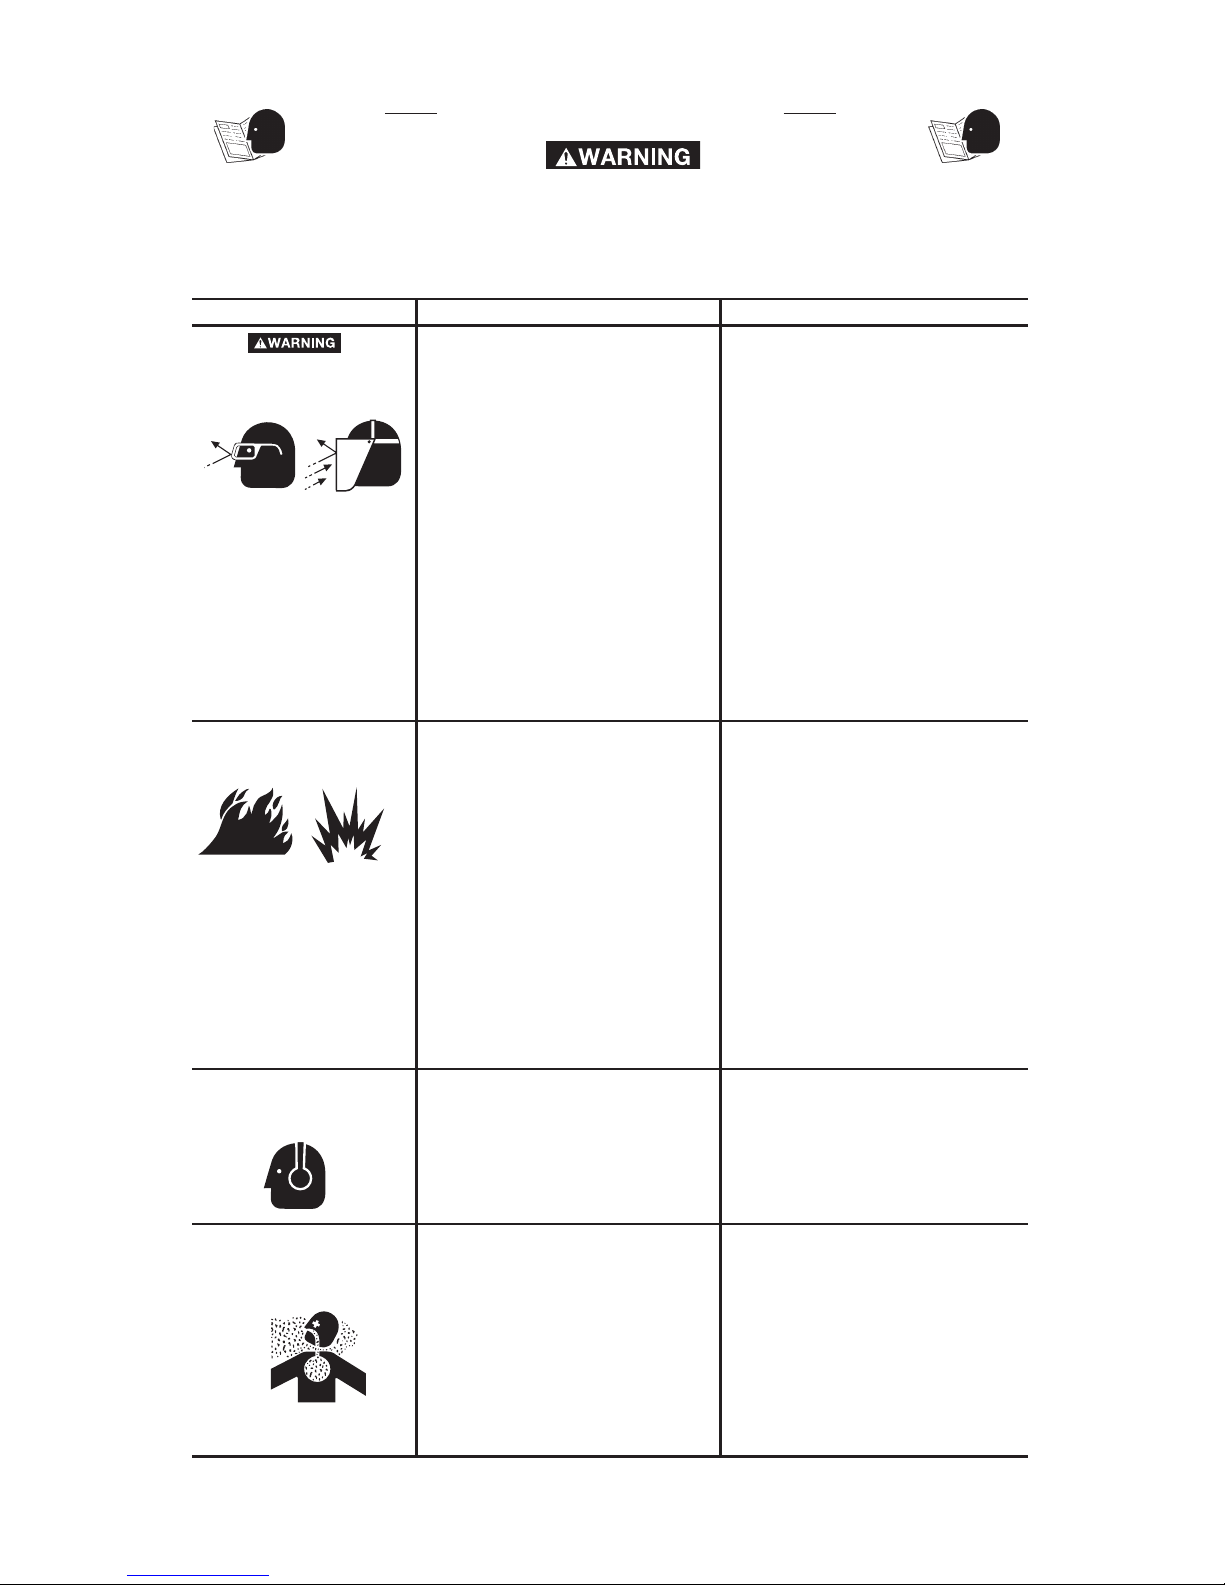
HAZARD WHAT COULD HAPPEN HOW TO PREVENT IT
RISK OF EYE OR HEAD
INJURY
• Air powered equipment and
power tools are capable of
propelling materials such as
metal chips, saw dust, and
other debris at high speed,
which could result in serious
eye injury.
• Compressed air can be haz-
ardous. The air stream can
cause injury to soft tissue areas
such as eyes, ears, etc.
Particles or objects propelled
by the stream can cause injury.
• Tool attachments can be come
loose or break and fly apart
propelling particles at the
operator and others in the work
area.
• Always wear ANSI approved
Z87.1 safety glasses with side
shields.
• Never leave operating tool
unattended. Disconnect air
hose when tool is not in use.
• For additional protection use
an approved face shield in
addition to safety glasses.
RISK OF FIRE OR
EXPLOSION • Abrasive tools such as sanders
and grinders, rotating tools
such as drills, and impact tools
such as wrenches, hammers,
and reciprocating saws are
capable of generating sparks
which could result in ignition of
flammable materials.
• Exceeding the maximum pres-
sure rating of tools or
accessories could cause an
explosion resulting in serious
injury.
• Make sure that any attach-
ments are securely assembled.
• Never operate tools near
flammable substances such
as gasoline, naptha, cleaning
solvents, etc.
• Work in a clean, well ventilated
area free of combustible
materials.
• Never use oxygen, carbon
dioxide or other bottled gases
as a power source for air tools.
• Use compressed air regulated
to a maximum pressure at or
below the rated pressure of
any attachments.
RISK OF LOSS OF
HEARING • Long term exposure to noise
produced from the operation
of air tools can lead to
permanent hearing loss.
• Always wear ANSI S3.19
hearing protection.
RISK TO BREATHING
INHALATION HAZARD
• Abrasive tools, such as
grinders, sanders, and cut-off
tools generate dust and
abrasive materials which can
be harmful to human lungs and
respiratory system.
• Some materials such as
adhesives and tar, contain
chemicals whose vapors
could cause serious injury with
prolonged exposure.
• Always wear MSHA/NIOSH
approved, properly fitting face
mask or respirator when using
such tools.
• Always work in a clean, dry,
well ventilated area.