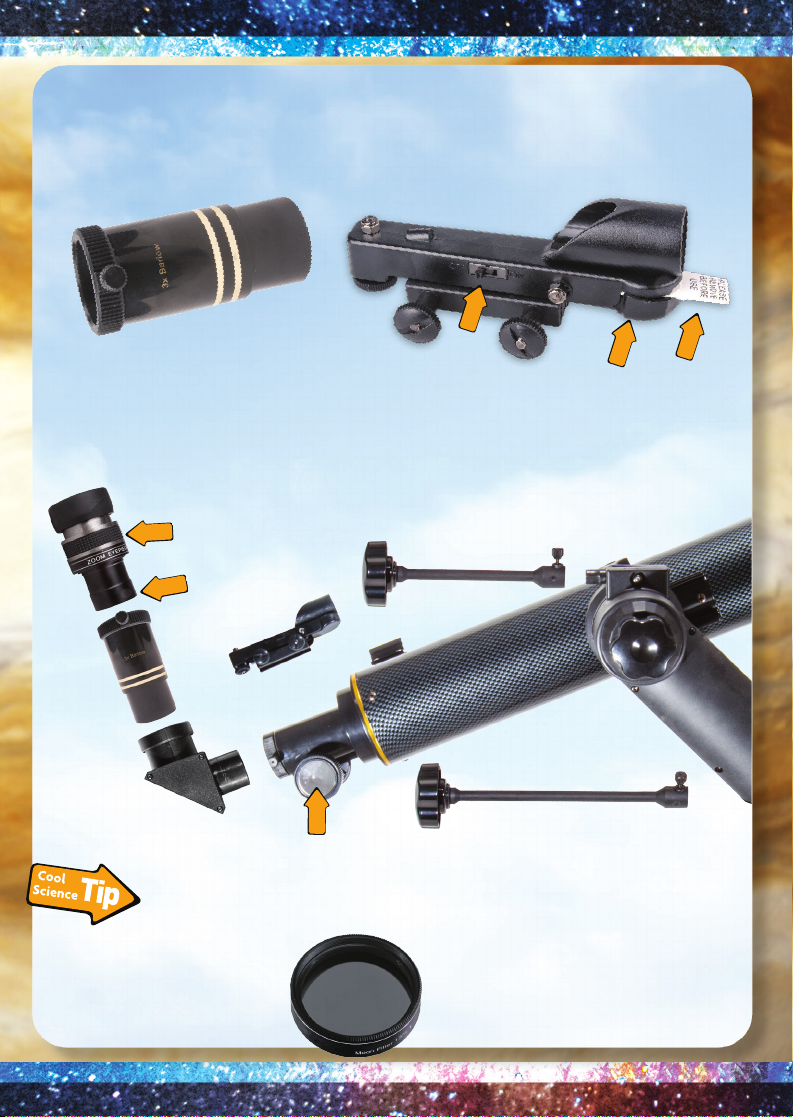
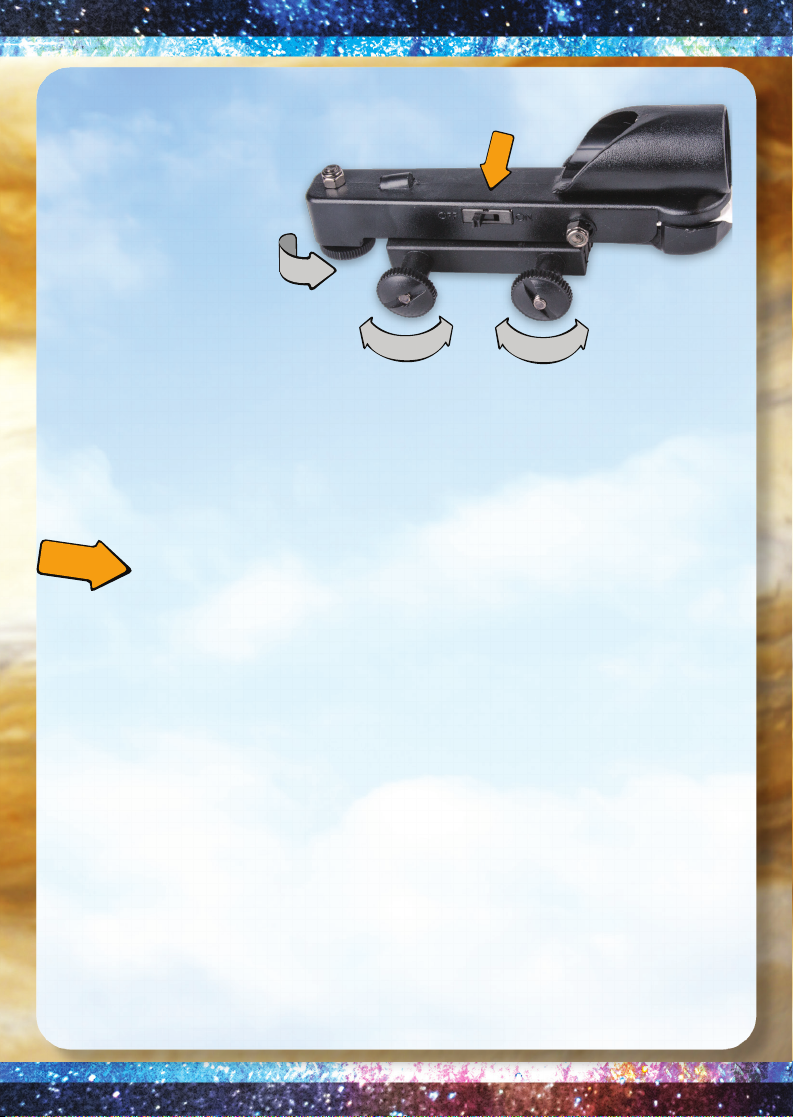
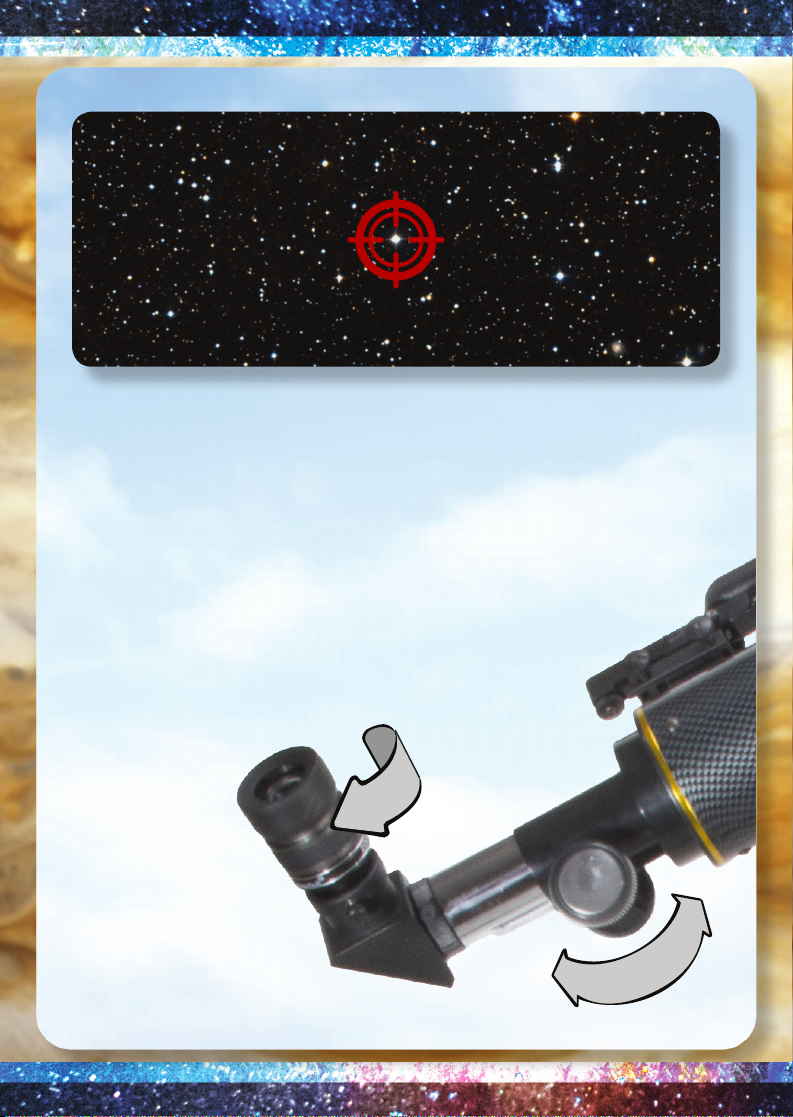
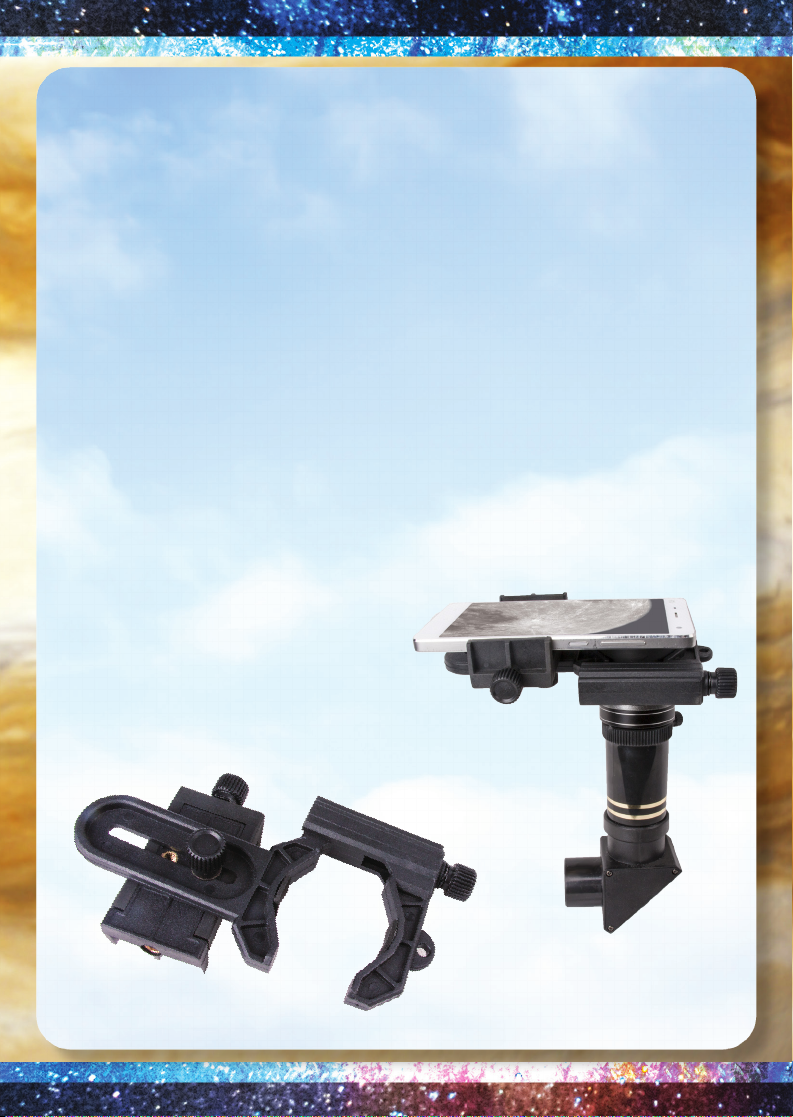
Discover with Dr. Cool PRO Series User manual

PRO SERIES TELESCOPE
Get ready for hours of discovery and fun
with your new Dr. Cool Telescope!
Parts List
Your Dr. Cool Telescope should include
all of the pieces shown below. See the
other side of this sheet for assembly
instructions!
If anything is missing or damaged contact
us at: custserv@discoverwithdrcool.com.
1. Zoom eyepiece
2. 3x Barlow lens
3. Red dot finder
4. Moon Filter
5. Refractor
6. Telescope barrel
7. Lens Cap
8. Barrel mount
9. Tripod legs (3X)
10. Tripod head
11. Barrel mount disc
12. Tripod stabilizer
13. Barrel mount lock
14. Vertical micro adj.
15. Horizontal micro adj.
16. Hex nuts (6X)
17. Threaded bolts (3X)
18. Washers (6X)
123
5
6 7
4
8
9
10 11 12 13
14
15
16 17 18

Note: Be sure to tighten the small locking
knob located on the top of the barrel mount.
Note:
Micro adjustor
mechanism and
barrel eyepiece
both point in the
same direction.
PRO SERIES TELESCOPE ASSEMBLY INSTRUCTIONS:
Set your telescope components on a clean surface and make sure you have all of
the pieces listed on the other side of this sheet.
Step 3: Place
the barrel mount
disc on top of the
tripod base and
position the barrel
mount on top of
the disc. Secure
the barrel-mount/
tripod assembly
with the barrel
mount lock.
Note:
Be sure the
horizontal
and
vertical
micro-adjustment
mechanisms are
both facing in the
same direction.
Step 2: Snap-fit the tripod stabilizer into
place and lightly tighten its three locking
knobs just enough to hold it in place.
Step 4: Fit the
barrel rails into
the groove on
the barrel mount.
Attach telescope
barrel with the
eye-piece-end
pointing in the
same direction as
the micro adjuster
mechanism.
Tighten locking
knob.
Step 1: Using the
hex nuts, washers,
and bolts, attach
the 3 tripod legs
to the tripod base.
Make sure tripod
leg tightening
knobs are facing
inward as shown.

Step 5: Attach Zoom eyepiece, 3X Barlow lens, Refractor, Red Dot finder (note
small on-off switch on side), vertical micro adjustor (shorter) and horizontal micro
adjuster (longer) arms. Remove the lens cap and your telescope is ready to use!
Micro Adjusters:
These make very fine
adjustments. Position the
telescope manually then, once
your object is in view, use the
micro adjusters to track it as it
moves across the sky.
Moon Filter: Use this special
filter when looking
at the Moon. It
screws right on to the
bottom of the eyepiece
(see photo above.)
3x Barlow Lens: This powerful lens
will triple your magnification. Use it when
viewing deep space objects. Astronomy
Tip: More magnification doesn’t always
mean a clearer image. Some objects may
look clearer without this lens.
Red Dot Laser Finder: Be sure to
remove the battery safety pull tab and
turn the finder on. If the finder stops
working, replace the battery.
On/Off
Battery
Compartment
3X Barlow lens
inserts between
zoom eyepiece
and refractor.
Optional
Moon Filter
screws on here.
Twist this ring for
ZOOM
Turn this knob for
FOCUS
Battery
Safety
Pull Tab

HOW TO USE YOUR PRO SERIES TELESCOPE
One key to successful star-gazing is to remember that the
greater the magnification you use, the smaller the area of
the sky you will see. That’s why you don’t use a telescope to
scan the skies. Instead, you point your telescope at an object
by using a spotting scope (the red dot finder) that has no
magnification but a big field of view. Here’s how to do it.
1. Once you have assembled your telescope, you must align
the image you see through the telescope with the image you
see through the red dot finder. Focus your telescope on an
identifiable spot several hundred feet away from you (e.g. a
knothole on a tree, a chimney on a building).

On/Off
Turn on the red
dot finder and
look through tube
to find the red
dot. Turn the
knobs on the left
and the bottom of
the finder until the red dot
shines on the same spot that is in the center of the field of view
when you look through the telescope. Tighten the knobs on the
right of the finder to secure it in place.
Note: The alignment process is best done at dusk.
2. Select a viewing site that is away from light pollution (city
light). Let your eyes adjust to the dark for at least 10 minutes
before viewing the stars so that your pupils can fully dilate.
3. Scan the sky until you find an object that you wish to observe.
Looking through the red dot finder, manually move the
telescope until the dot is over your chosen object. If you have
aligned the red dot finder and the telescope correctly, the
object will appear in the center of the telescope’s field of view.
TURN

FOCUS
ZOOM
4. Focus on the object by turning the silver knobs on the side
of the telescope. Turn the ring on the zoom lens to increase
magnification.
5. Use the micro adjusters to follow your object as it
slowly moves across the sky, always keeping it in
the center of the field of view.
Make sure the object you choose appears in the center of the view!

6. To increase magnification, use the Barlow lens. Being careful
not to bump the telescope, remove the zoom eyepiece from the
refractor. Put the Barlow lens into the refractor and the zoom
eyepiece into the Barlow lens; then secure both by tightening
the knobs on the sides of the lenses. REMEMBER: As the Barlow
lens increases magnification, it also narrows the field of view,
so be sure the object you are viewing is in the very center of
the field of view before changing lenses. Use the focus knobs to
bring the object into clearer focus.
7. Photograph your discoveries and share them with friends by
using the smart-phone attachment.
Smart-phone Bracket
Adjusts to a wide variety of smart-phones
(shown bottom-up.)
Fastens around
eyepiece.

© 2016 Discover with Dr. Cool • www.discoverwithdrcool.com
Now that you’ve put together your PRO SERIES TELESCOPE,
the whole universe will open up to you. Keep learning, keep
looking, and most importantly, have fun!
Sky Maps of the Northern and Southern Hemespheres
®