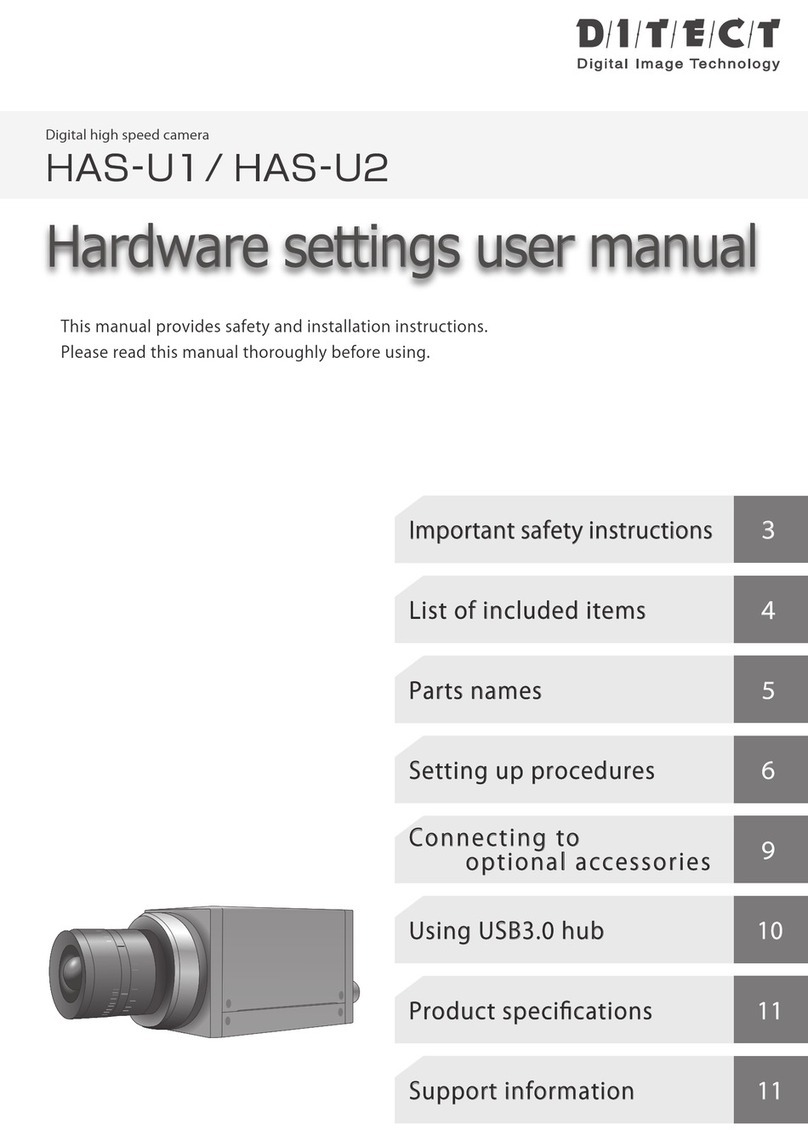
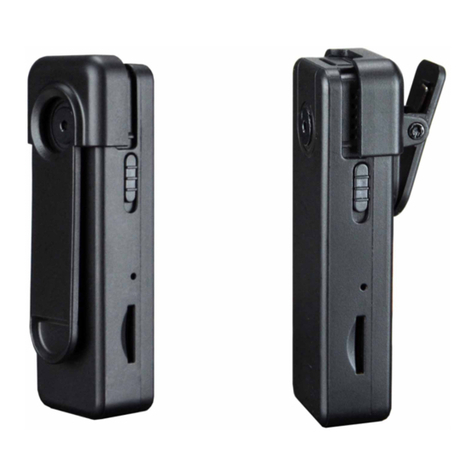
Ditect HAS-U1 User manual

HAS-U1/ HAS-U2
Digitalhighspeedcamera
Thismanualprovidessafetyandinstallationinstructions.
Pleasereadthismanualthoroughlybeforeusing.
Importantsafetyinstructions
Listofincludeditems
Partsname
Settingupprocedures
UsingUSB3.0hub
Productspecifications
Supportinformation
3
4
5
6
9
10
11
11
Connectingto
optionalaccessories
Hardware settings user manual


Tableofcontents
Introduction
Thankyouverymuchforyourpurchase.
Pleasereadthismanualthroughlybeforeinstallationandoperation,andkeepthismanual
forfuturereference.
Importantsafetyinstructions
Listofincludeditems
Partsname
Settingupprocedures
Connectingtooptionalaccessories
UsingUSB3.0hub
Productspecifications
Supportinformation
3
4
5
6
9
10
11
11
Importantsafetyinstructions
Donothandleplugorappliancewithwethands.
Whenpluggingorunpluggingthecable,ensurethatACpoweristurnedoff.
Ifyourdeviceneedsrepair,pleasecontactourtechnicalsupportcenter.
DonotdisassembleormodifyHAS-U1・HAS-U2.
3
Thisdevicecomplieswithpart15oftheFCCRules.Operationissubjecttothefollowing
twoconditions:(1)Thisdevicemaynotcauseharmfulinterference,and(2)thisdevice
mustacceptanyinterferencereceived,includinginterferencethatmaycauseundesired
operation.
Importantsafetyinstructions

Listofincludeditems
Listofincludeditems
1 Camerabody
2 USB3.0cable
3 Syncmastercable
4 Triggerbutton
5 USB3.0hub
6 SoftwareCD
7 Branchconnector
8 BNCcable
9 Externalsynccable
10 HightbrightnessLEDstrobe
11 SynctriggercableforU1andU2
4
※
※
※
※
※
※
※
※
※
=optionalaccessory
1Camerabody 2USB3.0cable
6SoftwareCD 7Branchconnector
9Externalsynccable
(MD8S-BNCx2)
8BNCcable
3Syncmastercable
(FST-SYNC-MST-1)
11TriggercableforU1andU2
4Triggerbutton
5USB3.0hub
10Hightbrightness
LEDstrobe
※
※
※※
※
※※

Partsname
2Bottom
3Rear
C-mount
1TopandFront
lockscrew
Tripodmount
STATUSLED
USB3.0port
AUXport
EXTI /Oport
POWERLED
5
Partsname

Settingupprocedures
SyncmastercableU1andU2
Settingupprocedures
6
1WhenconnectingthecameratoaPCdirectly,
pleaseattachC-mountlensandremovethe
lenscover.
2 Makesurethatthacameraisfirmlyattached
toatripod.
4 ConnectUSB3.0cable(Standard-A)toyourPC. 5ConnectUSB3.0cable(microB)tothecamera.
3 Whenitisnecessarytouseanexternaltriggerand/ortosynchronizewithLEDlights,
pleaseuseasynctriggercableforU1andU2.
HowtoconnectcameradirectlyyourPC.

Settingupprocedures
7
※Forfurtherassistance,pleasereadthesoftwaremanual.
6 Runtheinstalled,application.
USB3.0hubUSB3.0hub
Slavecamera
BNCcable
Triggerbutton
PC
PC USBcable
ACadapter
Synctriggercablefor
U1andU2(optional)
Mastercamera
ConnectingwithUSB3.0cablesConnectingwithUSB3.0cables
Connectingwithmultiplecameras.
※Exampleoftwocamerasetup.
ACadapter

Settingupprocedures
8
①
①
②③
②③
Connectingswithmultiplecameras.
※Exampleoffourcamerassetup.
①①②③
②③
Branchconnector
BNCcableBNCcable
U1,U2 用同期
Synctriggercablefor
U1andU2(optional)
U1,U2 用同期
Triggerbutton
(optional)
ConnectingsacameratoaPC×2pairs.
PCPC
PC
PC
USBcable
PC
PC
USBcable
Slavecamera
Slavecamera Slavecamera
Slavecamera
Slavecamera
Slavecamera
Mastercamera
BNCcable
Synctriggercablefor
U1andU2(optional)
Mastercamera
Slavecamera
Slavecamera
Triggerbutton
(optional)
BNCcable(optional)
USB3.0cable
ConnectingwithUSB3.0cablesConnectingwithUSB3.0cables
USB3.0hubUSB3.0hub
ACadapter
ACadapter

Connectingto
optionalaccessories
9
同期()
Externalsynccable
(optional)
HighbrightnessLEDstrobo
(optional)
Connectionwithexternaldevice
SYNC
TRIG
Connectingwithoptionalaccessories.
Usingexternaldeviceasthemaster.
Example:Howtorecordatthefrequencyofapulsegenerator.
Pulsegenerator(Master)
U1,U2 用同期
Basicvoltagesettingshouldbe3.3V.
※Warning
LEDexposuredialswitch
Inputlogicalsettingswitch
F
Slide
down
PCPC USBcable
Slavecamera
Triggerbutton
(optional)
BNCcable
Synctriggercablefor
U1andU2(optional)
MakesuretoconnectBNCcable
afterthecommandsettings.
Triggerbutton
(optional)
Syncmastercable(optional)

UsingUSB3.0hub
WhenusingUSB 3.0hub,besuretofollowtheinstructionsbelow.
Otherwise,itmayleadtoproblemswiththecameraorUSB 3.0hub.
①RemoveallthecamerasconnectedtoUSB 3.0hub.
②RemoveUSB 3.0hubfromyourPC.
RemovetheUSB cable
fromyourPC.
RemovetheUSB cableor
turntheswitchoff.
10
UsingUSB3.0hub

Productspecifications/Supportinformation
HAS-U1
Cameratype
Sensor
A/D
Effectiveresolution
Sensorformat
Lensmount
Recordingmode
Memorysize
Dataoutput
interface
Shutter(exposure)
Sensitivity
Powersupply
Electricrequirement
Weight
Size
Mono(HAS-U1M)
Color(HAS-U1C)
CMOS
10bit
1280 x 1024 (1.3Mpixel)
1 / 2inch
C
Embeddedmemorytransfer
2GB
USB3.0
Micro-B
Minimum1/100,000sec(10μS)
7.7V / lux.s
Buspower
12pin
Under4.5W
Approx.210g
44mm×44mm×81.5mm
HAS-U2
Cameratype
Sensor
A/D
Effectiveresolution
Sensorformat
Lensmount
Recordingmode
Memorysize
Dataoutput
interface
Shutter(exposure)
Sensitivity
Powersupply
Electricrequirement
Weight
Size
Mono(HAS-U2M)
Color(HAS-U2C)
CMOS
10bit
2592x 2048(5.3Mpixel)
1inch
C
Embeddedmemorytransfer
2GB
USB3.0
Micro-B
Minimum1/100,000sec(10μS)
7.5V/ lux.s
Buspower
12pin
Under4.5W
Approx.210g
44mm×44mm×81.5mm
Camera Camera
Productspecifications
Supportinformation
11
Pleasecontactourlocalofficeforsoftwareupdatesand
customizedoptionsaswellasotherinquires.

Hardwaresettingsusermanual
HAS-U1/ HAS-U2
Digitalhighspeedcamera
Rev1.0.2
Other manuals for HAS-U1
1
This manual suits for next models
1
Table of contents
Other Ditect Digital Camera manuals
