Dvorak ILD02 SG User manual

SM-SG-2 Ev3/25062014
SERVICE MANUAL
SPIDER ILD02 SG

2/ 84 SM-SG-2 Ev3/25062014
SPIDER ILD02 SG
TECHNICAL DESCRIPTION ............................................................................... 4
TECHNICAL SPECIFICATIONS ......................................................................... 4
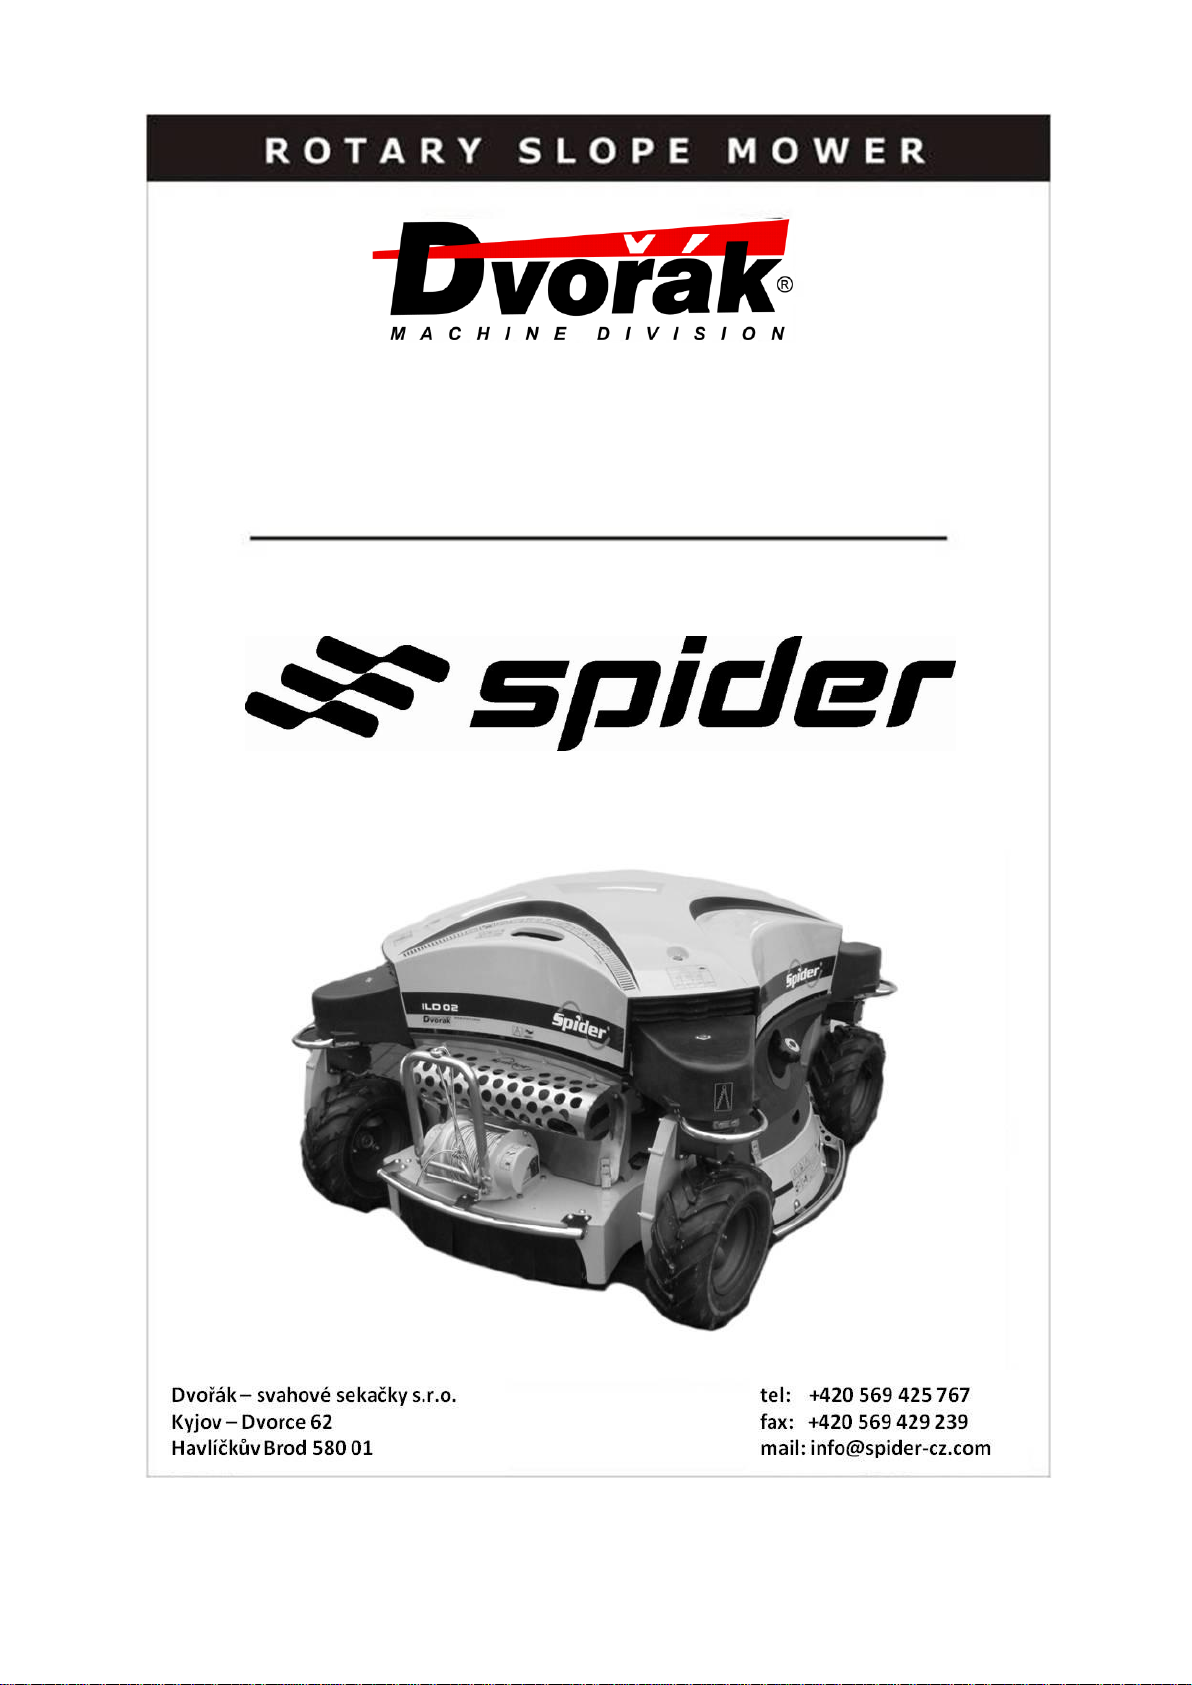
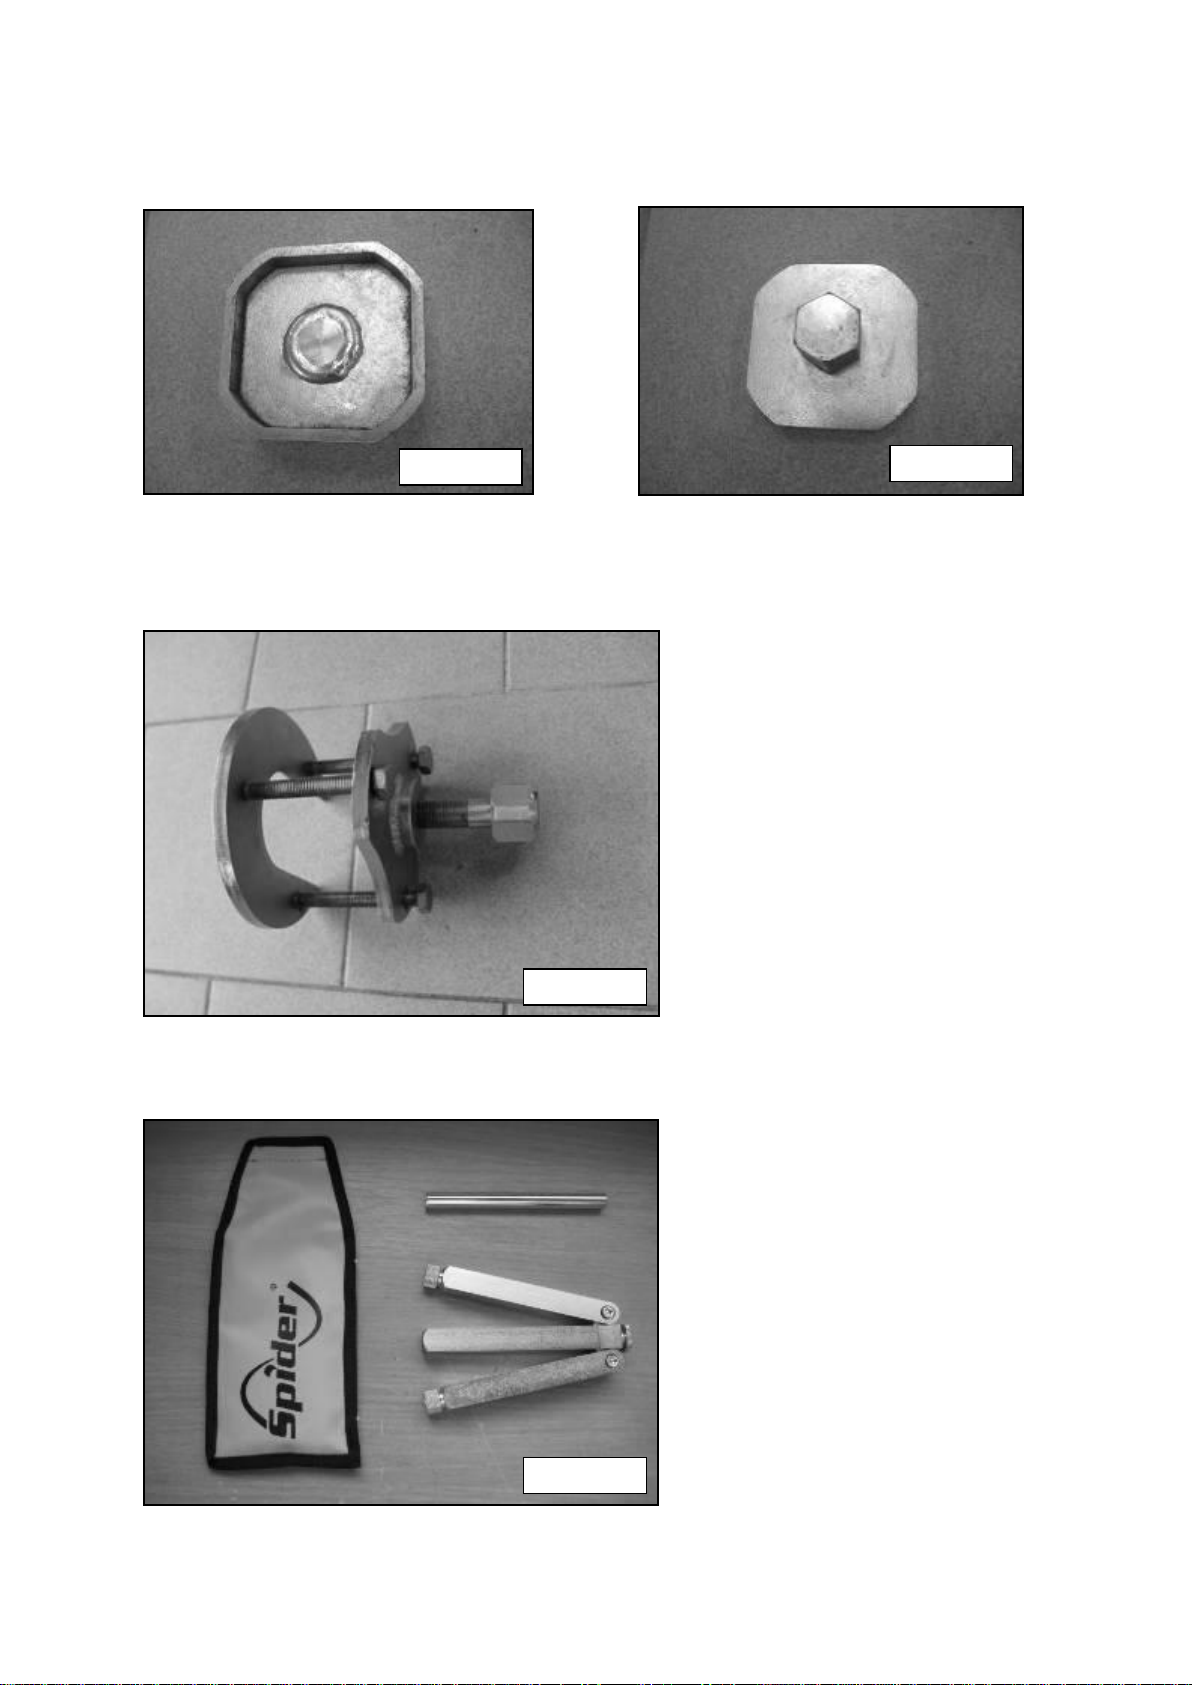
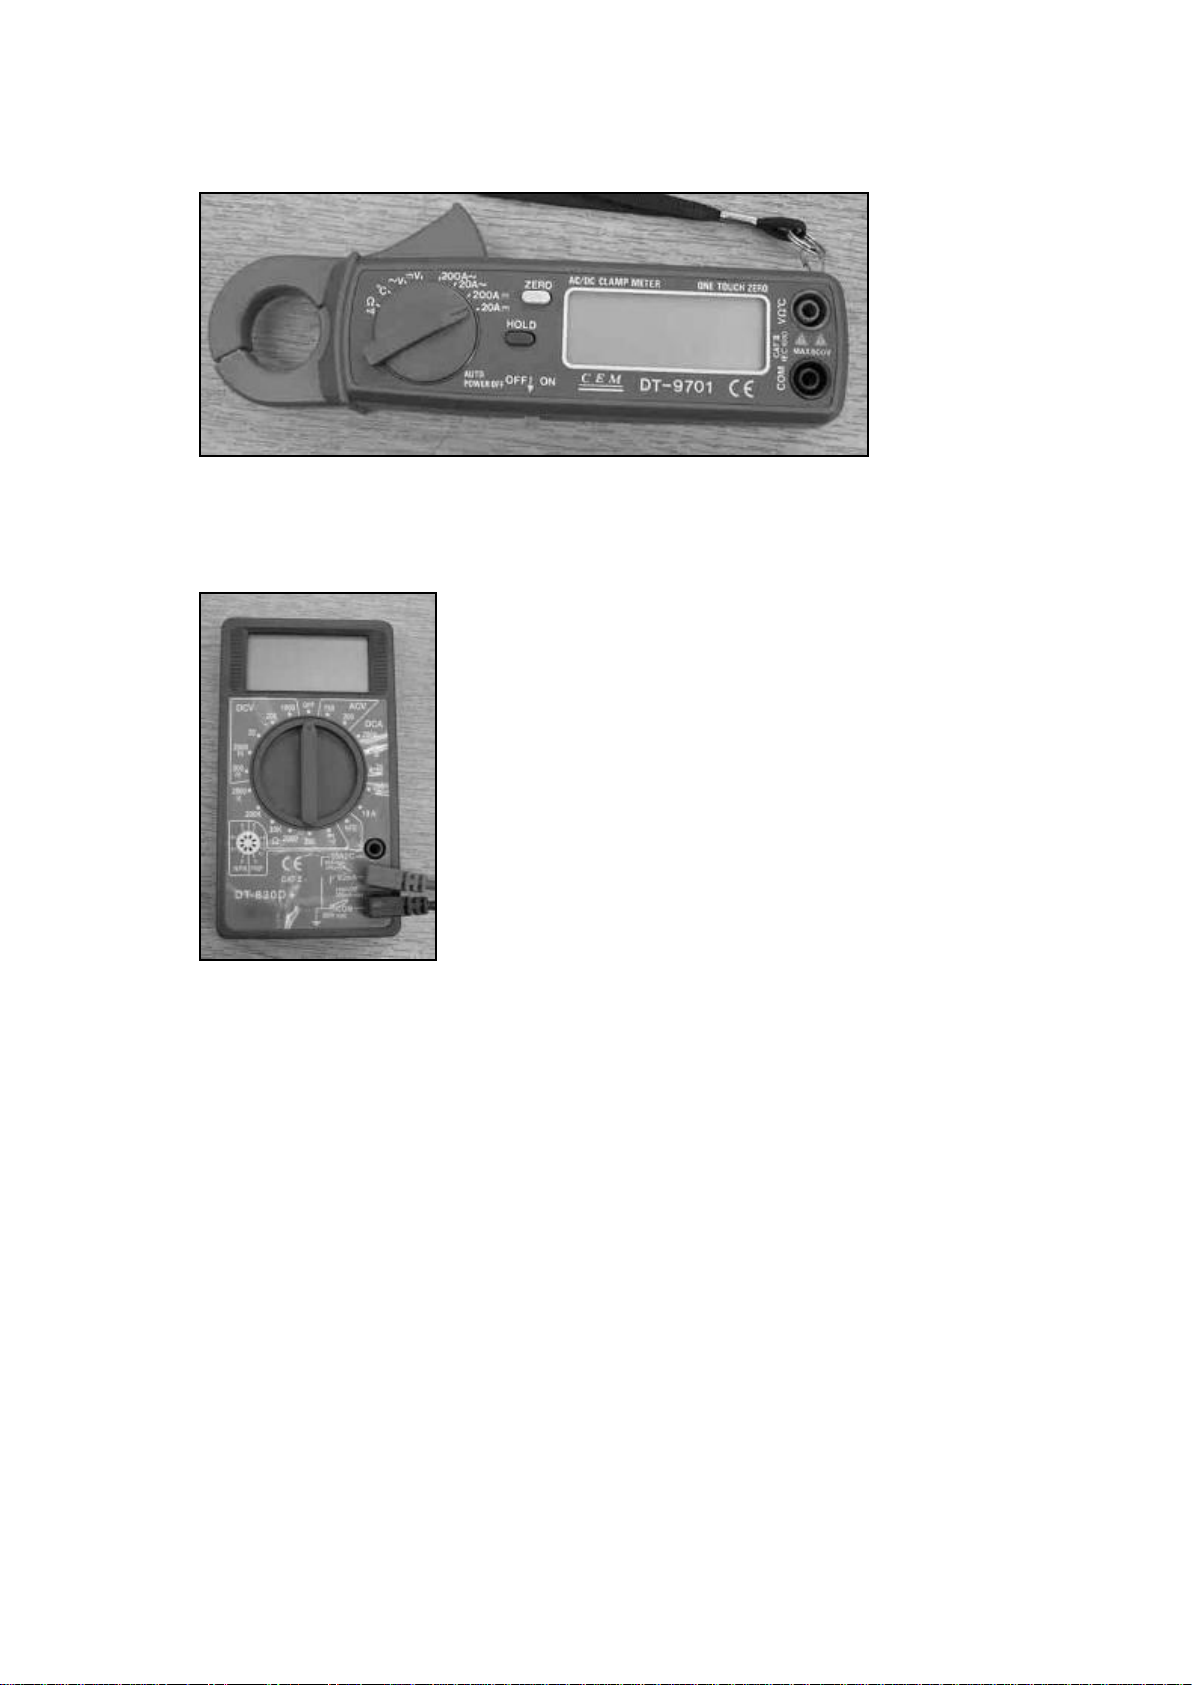
1 Special service tools............................................................................................ 5
2Troubleshooting................................................................................................... 8
2Basic technical specifications........................................................................... 10
4 Regular maintenance SPIDER .......................................................................... 11
4.1 Daily......................................................................................................................................11
4.2 After first 8 hours..................................................................................................................12
4.3 After 25 hours .......................................................................................................................12
4.4 After 50 hours .......................................................................................................................13
4.5 After 100 hours .....................................................................................................................14
4.6 After 200 hours .....................................................................................................................14
4.7 Seasonal period .....................................................................................................................16
4.8 After 800 hours .....................................................................................................................16
5 Engine maintenance chart ................................................................................. 17
6 Instruction Manual SPIDER.............................................................................. 18
6.1 Tilting of the mower for maintenance...................................................................................18
6.2 Replacement of the engine oil filter ......................................................................................19
6.3 Replacement of the hydraulic oil filter..................................................................................20
6.4 Replacement of the hydraulic pump.....................................................................................21
6.5 Replacement of the auxiliary drive brake from S/N151........................................................24
6.6 Replacement of the hydraulic motor .....................................................................................32
6.7 Replacement of the clutch driving belt B 1160.....................................................................34
6.8 Replacement of the blade driving belt SPB 2410..................................................................36
6.9 Replacement of the pump driving belt Good Year BX 17x960 ............................................37
6.10 Replacement of the bearing boxes-driven, driving, tightening............................................40
6.11 Replacement of the clutch...................................................................................................41
6.12 Sharpening and replacement of the blade............................................................................42
6.13 Replacement of the steering chain.......................................................................................43
6.14 Replacement of the steering motor......................................................................................44
6.15 Replacement of the driving belts.........................................................................................45
6.16 Replacement of the angle gear UNI M8..............................................................................46
6.17 Replacement of the wheel suspension arm..........................................................................47
6.18 Adjustment and replacement of the wheel driving chain ....................................................48
6.19 Replacement of the wheel shaft...........................................................................................49
6.20 Replacement of the wheel housing......................................................................................50
6.21 Adjustment of the stabilizer length .....................................................................................51
6.22 Replacement of the stabilizer - pressed in...........................................................................52
6.23 Adjustment of the wheel geometry .....................................................................................53
6.24 Replacement of the elevation servomotor ...........................................................................54
6.25 Adjustment of the lift pull rods ...........................................................................................55
6.26 Replacement of the girder and cross ...................................................................................55
6.27 Replacement of the drive control servomotor NBB ............................................................57
6.28 Replacement of the starter switch relay .............................................................................58
6.29 Replacement of the main harness.......................................................................................59
6.30 Carburettor maintenance .....................................................................................................60
6.31 Fuel system .........................................................................................................................62
6.32 Hydraulic diagram...............................................................................................................63
6.33 Torque.................................................................................................................................65
6.34 Lubricators ..........................................................................................................................65
7 Electrical system ............................................................................................... 66
7.1 Electrical component location...............................................................................................66
7.2 Main switch –Emergency STOP..........................................................................................67
7.3 Horn ......................................................................................................................................67
7.4 Skid steering system..............................................................................................................68
7.5 Elevation servomotor connector...........................................................................................69
7.6 Elevation system ...................................................................................................................69
7.7 Engine rpm servomotor.........................................................................................................70

3/ 84 SM-SG-2 Ev3/25062014
7.8 Carburetor solenoid...............................................................................................................70
7.9 Fuses .....................................................................................................................................71
7.10 Control panel.......................................................................................................................72
7.11 Battery.................................................................................................................................72
7.12 Steering servomotor PAL827..............................................................................................73
7.13 Servomotor of the drive control ..........................................................................................73
7.14 Control unit NBB................................................................................................................74
7.15 Starter –starter relay...........................................................................................................79
7.16 Clutch..................................................................................................................................79
7.17 Charging and ignition cables...............................................................................................80
7.18 Current measurement table ILD02......................................................................................80
7.19 NBB electric diagram ILD02.............................................................................................81
7.20 Elevation and skid steering module NBB ILD02................................................................82
8 Enclosures –Service Bulletins........................................................................... 83
8.1 Ecological hydraulic oil ........................................................................................................83

4/ 84 SM-SG-2 Ev3/25062014
TECHNICAL DESCRIPTION
The mower is a self-propelled machine with four-wheel drive, controlled by the transmitter (remote radio
controller) signal. Its unique wheel-steering technology ensures a high manoeuvrability both on level ground and
on slopes.
The basic part of the machine is formed by a square solid frame, which is connected with a sliding frame.
The middle part of the sliding frame carries all transmission parts such as the engine, the hydraulic pump, the
hydraulic motor and the control unit.
4 mowing blades are attached to the bottom part of the frame. An electromagnetic clutch is placed between the
main belt pulley and the engine. Circles formed by the rotation of blades do not overlap. The blades are fixed
and attached to the flanges by bolt. The cutting deck is open on two sides in order to facilitate the intake and
discharge of grass. These openings are covered by a chain curtain and by a rubber cover, which prevent the
throwing of undesirable objects. A steel bumper above the rubber cover on the outside of the mower marks the
safe distance from the blades.
Transmission is by chains and gears on all four wheels. The wheels are driven by two hydraulic motors through
V-belts. Wheels are steered by an electric motor.
The gel battery and the control unit are situated in the front part of the mower. The mower is controlled by a
multi-channel transmitter.
TECHNICAL SPECIFICATIONS
Parametr
Unit
Value
Length/Width
mm (inch)
1640 x 1430 (65 x 56)
Height
mm (inch)
920 (36)
Mowing width
mm (inch)
1230 (49)
Mowing blade height
mm (inch)
50–100(2-4), 90–140(3,5-5,5)
continuous regulation
Weight
kg (pound)
325 (716)
Driving speed
km/h (mph)
0 –8 (0 - 5)
Mowing mechanism
-
Four-blade, fixed blades
Blade length
mm (inch)
505 (20)
Mowing clutch
-
Electromagnetic with a friction brake
Hydraulic pump
-
Hydro Gear BDP 21L
Hydraulic motor
-
Sauer Danfoss OMP 40
Propelled wheels
-
4 x 4
Travel wheel
inch
16 x 6,5-8 with an arrow (V) tread pattern
Battery
12 V, 18 Ah, gel
Fuel
-
Unleaded gasoline
Fuel tank capacity
litr (galon)
16 (4)
Engine
-
Air-cooled four-stroke two cylinder
Kawasaki FS 691V 24 HP
Cylinder volume
cm3
726
Performance
kW
17,90/3600rpm
Engine speed
1/min (RPM)
2900
Ignition
-
Electronic
Starter
-
Electric
Frequency range of the Remote
controller NBB for EU and
USA
MHz
433.100 - 434.750

5/ 84 SM-SG-2 Ev3/25062014
1 SPECIAL SERVICE TOOLS
Wooden block for lifted mower (400 x 200 x 200) –2 pieces
Straight lath for adjustment of wheel geometry (length 1300 mm)
Engine oil filter release jig

6/ 84 SM-SG-2 Ev3/25062014
Hydraulic oil filter release spanner
Wheel hub puller
Laser geometry adjustment tool
P/N PR006
P/N PR002
P/N PR001
P/N PR001

7/ 84 SM-SG-2 Ev3/25062014
Ampere meter: CEM DT - 9701
Voltmeter: Ben electronic DT - 830 D+

8/ 84 SM-SG-2 Ev3/25062014
2 TROUBLESHOOTING
Problem
Possible cause
Correction
Nothing appears on
the display when the
RC is turned on
RC battery is flat
Replace the battery with a charged one
Charge the battery
Insufficiently connected switch
Switch on RC properly
Engine does not start
Accumulator is discharged
Charge the battery Check the
fuse
Accumulator is disconnected
Attach terminal connectors to the battery
Cable lines are broken
Check/replace the cables lines
Check the fuse
Spark plug does not spark
Clean the spark plug and contacts
Fuel filter is clogged
Replace filter
Not enough fuel
Refuel
Not enough oil in engine
Refill oil up to the required level
No signal or the mower is out of the
signal range
Check the aerial attachment/ move closer to
the mower
Emergency button on the mower is
pressed
Unlock the button
Damaged hydraulic pump servomotor-
neutral position
Replace servomotor
Blade on the RC is switched on
Switch it off
Broken driving belts are wrapped on the
mowing device
Release/replace belts
Burned fuses
Check fuses
Faulty starter relay
Replace relay
Wrong fuel
Use BA 95 only
Erratic engine running
Worn out spark plugs
Replace spark plugs
Fuel line is clogged
Check all line to carb inlet
Poor carb solenoid connector contact
Check pins of the connector
Worn out needle of the carb float
chamber - visible when the direction is
changed forward backward-black smoke
Replace needle of the float chamber
The mower does not
travel properly/at all
Not enough oil in the hydraulic circuit
Refill oil and de-aerate properly
Driving belts are broken
Replace belts
Oil is overheated
Clean the fan area, wait till oil cools down
Mechanic elements of the hydraulic drive
are worn out
Replace them
Hydraulic pump filter is clogged
Replace filter
By-pass is released
Tighten by-pass bolt
The mower can´t climb
slopes
V-belts are worn
Replace belts
V-belts are not tensioned enough
Tension them
Damaged hydraulic pump servomotor
Replace servomotor
By-pass is released
Tighten by-pass bolt
The mower vibrates
when started
Blade carrier shaft is bent
Replace shaft
Blade is damaged
Replace blade
Unevenly worn out or damaged blade
Replace blade
Damaged blade hub bearings
Change them

9/ 84 SM-SG-2 Ev3/25062014
Mower does not drive
straight
Ensure all tires are inflated to the same
rate
Check tyre pressure
Geometry of the mower is out
Adjust stabilizer length and wheel geometry
One of the hydraulic motor is worn out
Check or replace hydraulic motor
Bad mowing quality
Grass is overgrown, too high
Mow only grass which is maximum 3x taller
that the pre-set stubble height. We recommend
to mow the grass, let it dry and mow it again
Worn/blunt cutting edge of the blade
Sharpen or replace the blade
Grass is too wet
Wait till the grass dries
Low engine speed
Set the engine to maximum
Too high driving speed
Lower the driving speed
Mowed grass get stuck
in the mowing
mechanism
Grass is too wet
Wait till the grass dries
Low engine speed
Set the engine to maximum
The mower goes but
does not mow
Clutch belt is broken
Replace clutch
The mower does not
turn
Damaged steering servomotor
Replace servomotor
Disconnected connector of the servomotor
Main battery is flat
Charge or replace battery
Weak connection on servomotor carbons
contacts
Check/clean them
Faulty control unit
Measure voltage output on the servomotor
connector
Bad command reaction
from the RC (ILD02)
Interruption of a signal by the leading of
+12V close to antenna, weak earthing of
the main harness
Change the leading out of the antenna,
Faulty spark coil
Replace coil
Worn out spark plugs -
signal interference
Replace spark plugs

10 / 84 SM-SG-2 Ev3/25062014
2 BASIC TECHNICAL SPECIFICATIONS
Wheel RPM/min
Wheel RPM/min - wheels off the ground, blades off
SPIDER
turtle
rabbit
engine RPM
hydr.oil temperature
ILD02
56/min
110/min
3000 /min
70°C/158°F

11 / 84 SM-SG-2 Ev3/25062014
4 REGULAR MAINTENANCE SPIDER
4.1 DAILY
a) Check and add engine oil level
Fig. 1
b) Check and clear engine and pump air intake screen
Fig. 2
Fig. 3
c) Check blades mounting, sharpening and balancing
Fig. 4
Test of screw retightening
Test of blade cutting edge
dipstick
max
min

13 / 84 SM-SG-2 Ev3/25062014
4.4 AFTER 50 HOURS
a) Clean paper air filter
Fig. 8
b) Lubricate steering chain - spray Interflon FIN LUBE TF
Fig. 9
c) Tighten steering chain
Fig. 10
Fig. 11
Slackness ± 20 mm
paper air filter
CHAIN SPRAY Interflon FIN LUBE TF
Chain slackness
adjuster screws

14 / 84 SM-SG-2 Ev3/25062014
d) Check hydraulic oil level
Fig. 12
Fig. 13
4.5 AFTER 100 HOURS
a) Change engine oil
b) Clean spark plugs
c) Clean dust and dirt from cylinder and cylinder head fins
d) Check tension of wheel driving chain
- see 6.18 Adjustment and replacement of the wheel driving chain
4.6 AFTER 200 HOURS
a) Change engine oil and filter
Fig. 14
Engine oil filter
Oil dipstick
min
max

15 / 84 SM-SG-2 Ev3/25062014
b) Change paper air filter
Fig. 15
c) Lubricate wheel arms and wheel bearings MOBILGREASE XHP 222
Fig. 16
d) Check and adjust valve clearance
Fig. 17
e) Check and adjust auxiliary drive brake
see 6.5 Replacement of the auxiliary drive brake
f) Change ecological hydraulic oil if applied
see 6.3 Replacement of the hydraulic oil filter
Paper air filter
Valve Clearance (when cold)
Inlet, Exhaust 0.10 - 0.15 mm (0.004 - 0.006 in.)
Adjustment:
- Loosen the locknut [A] and adjusting bolt [B].
- Insert a 0.05 mm (0.0020 in.) thickness gauge [C]
between
the rocker arm and valve stem end, and turn the
adjusting bolt until the thickness gauge begins to bind
between
the rocker arm and valve stem end. Sweep the thickness
gauge during this adjustment. (when the piston is in
T.D.C)
Greasers

16 / 84 SM-SG-2 Ev3/25062014
g) Check or refill oil of angular gears –MOBILUX EP004
see 6.16 Replacement of the angle gear UNI M8
h) Lubricate wheel housing and steering chains –Interflon FIN LUBE TF
see 6.18 Adjustment and replacement of the wheel driving chain
4.7 SEASONAL PERIOD
a) Change spark plugs NGK BPR4ES
Spark plugs should be serviced every 100 hours or at least once per season. Worn out spark plugs can caused
signal interupts. Tighten a new spark plugs 20-30 Nm
b) Change hydraulic oil and filter
see 6.3 Replacement of the hydraulic oil filter
c) Change engine oil
see 6.2 Replacement of the engine oil filter
d) Change fuel filter
- Release the clamp bands on both sides of the in-line filter and remove the fuel pipes
- Fit a new in-line filter to the fuel pipes, noting the direction of flow and replace the clamp bands
Fig. 18
4.8 AFTER 800 HOURS
a) Change hydraulic oil HV68 and filter
see 6.3 Replacement of the hydraulic oil filter

17 / 84 SM-SG-2 Ev3/25062014
5 ENGINE MAINTENANCE CHART
ENGINE MAINTENANCE CHART: KAWASAKI FS691V 24 HP
: Service more frequently under dusty conditions.

18 / 84 SM-SG-2 Ev3/25062014
6INSTRUCTION MANUAL SPIDER
6.1 TILTING OF THE MOWER FOR MAINTENANCE
- Always disconnect battery and remove spark plug caps to prevent any injury
-Turn the wheel transmission housing in the direction which you will be tilting the mower to.
-Always tilt the mower control unit up in order to prevent the oil from leaking to the air filter and carburettor.
-Only tilt the mower for the time necessary for maintenance.
Fig. 19
-Safest method is to use a service stand for SPIDER ILD02
Fig. 20
Fuel tank
Control unit
Transmission housing lid up

19 / 84 SM-SG-2 Ev3/25062014
6.2 REPLACEMENT OF THE ENGINE OIL FILTER
-Clean thoroughly the area around oil filter and filling neck
-Suck out the oil from the crankcase through the filling neck (or discharge the oil with a discharge screw
when the mower is tilted) ATTENTION! The oil must not get under the engine in the clutch space –the
belts might slip.
Fig. 21 Fig. 22
-Remove and replace oil filter (put some oil on the filter sealing during assembly)
-Fill up engine oil, approximately 1,8 l (2,1 l –when exchanging oil filter)
Fig. 23
Fig. 24
-Check the oil level with the dipstick (up to the upper dipstick line to increase slope accessibility)
-Recommended engine oil: SAE 10W-40
The manufacturer recommends the following oil brands:
-Per API classification: SF, SG, SH, SJ
-Per viscosity, see table above
-Oil consumption increases in case of multistage kind of oil (5W-20, 10W-30, 10W-40). In such a case,
check the oil level more frequently.
Oil filter release jig
Oil filter
max
min
Filler neck
Suction pump

20 / 84 SM-SG-2 Ev3/25062014
6.3 REPLACEMENT OF THE HYDRAULIC OIL FILTER
-Suck out the oil through the filling neck from the hydraulic tank
-Tilt the mower on side of the fuel tank
-Clean thoroughly lower part of the mower. (ATTENTION, dirt must not get in the hydraulic tank!)
-Undo the hydraulic filter lid (Spanner 63mm)
Fig. 25
Fig. 26
-Remove and exchange the filter - MANN FILTER H 601/4 (MIND correct position of the sealing rings!)
-Lubricate the rings slightly with some oil, so that they can seal properly.
Fig. 27
Fig. 28
-Fill up the hydraulic oil HV68 (approximately 8,5 l )
-Start the engine and move forward and backward to get rid of air in the hydraulic system (the wheels must
move smoothly)
-Fill up the oil so that the level falls between the dipstick lines.
-Drive to warm up the oil to operating temperature and check tightness of the oil filter lid and tank cap
-If oil gets in to the expansion tank, suck it out
ATTENTION! When the hydraulic oil is warm, its level gets up to the hydraulic tank filling neck!
Fill the oil up the dipstick line only when it is cold!
Fig. 29 Fig. 30
Oil filter lid
Sealing ring
Sealing rings
Expansion tank
Oil dipstick
min
max
Table of contents
Other Dvorak Lawn Mower manuals
Popular Lawn Mower manuals by other brands

Exmark
Exmark Metro MG16KA362 parts manual

Craftsman
Craftsman 247.388240 owner's manual

Exmark
Exmark TURF TRACER X-SERIES LP Operators Setup instructions

Ryobi
Ryobi RLM46160S Original instructions

Toro
Toro Recycler 20370 Operator's manual

Scag Power Equipment
Scag Power Equipment SWZT36-14FS Operator's manual

Scheppach
Scheppach 5911218903 Translation from the original instruction manual

Montgomery Ward
Montgomery Ward ZYJ-120A Owner's guide and parts list

Poulan Pro
Poulan Pro 178219 owner's manual

Husqvarna
Husqvarna R 120S Operator's manual

Yard force
Yard force Easymow 260 Original Installation Guide

Columbia
Columbia Series A4 Operator's manual