manuals.online logo
Brands
  1. Home
  2. •
  3. Brands
  4. •
  5. Electro-Harmonix
  6. •
  7. Amplifier
  8. •
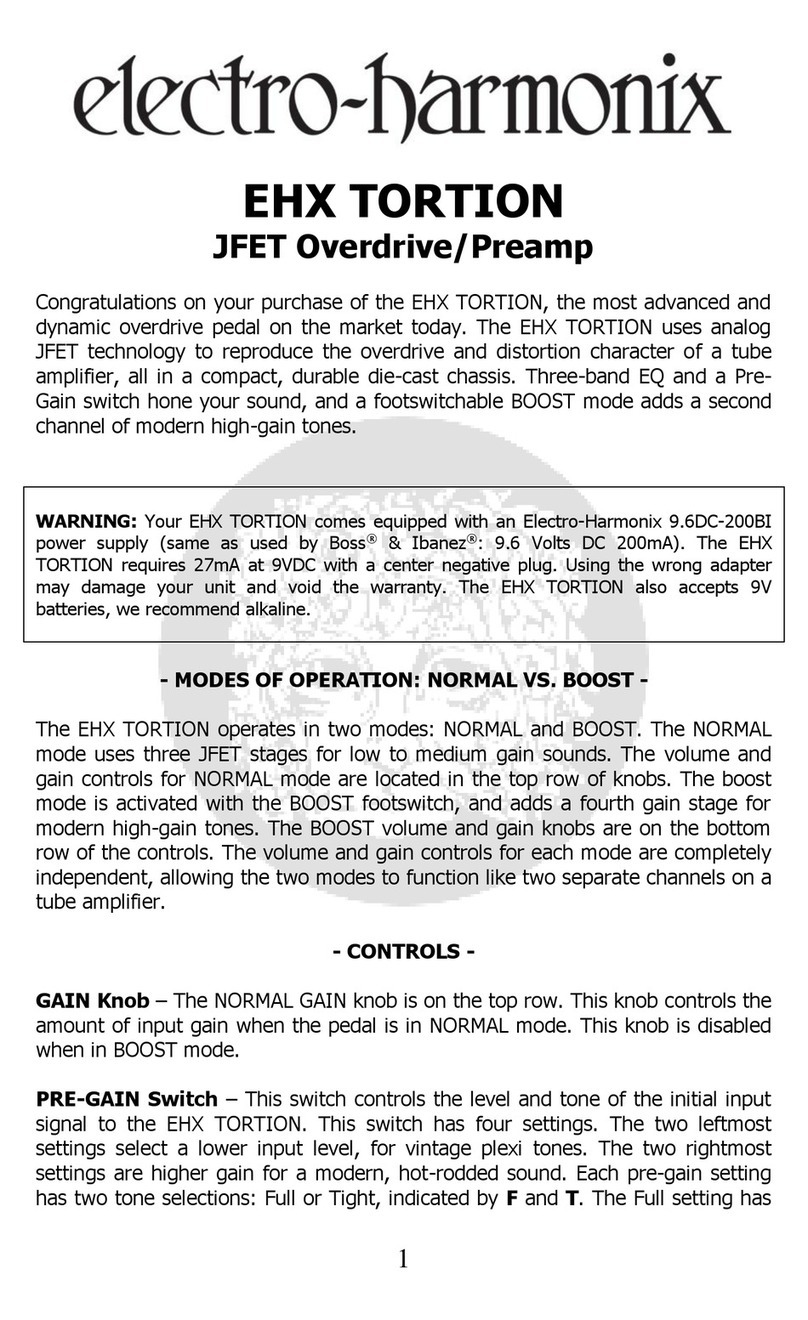
  9. Electro-Harmonix EHX TORTION User manual

Electro-Harmonix EHX TORTION User manual

1
EHX TORTION
JFET Overdrive/Preamp
Congratulations on your purchase of the EHX TORTION, the most advanced and
dynamic overdrive pedal on the market today The EHX TORTION uses analog
JFET technology to reproduce the overdrive and distortion character of a tube
amplifier, all in a compact, durable die-cast chassis Three-band EQ and a Pre-
Gain switch hone your sound, and a footswitchable BOOST mode adds a second
channel of modern high-gain tones
WARNING: Your EHX TORTION comes equipped with an Electro-Harmonix 9 6DC-200BI
power supply (same as used by Boss
®
& Ibanez
®
: 9 6 Volts DC 200mA) The EHX
TORTION requires 27mA at 9VDC with a center negative plug Using the wrong adapter
may damage your unit and void the warranty The EHX TORTION also accepts 9V
batteries, we recommend alkaline
- MODES OF OPERATION: NORMAL VS BOOST -
The EHX TORTION operates in two modes: NORMAL and BOOST The NORMAL
mode uses three JFET stages for low to medium gain sounds The volume and
gain controls for NORMAL mode are located in the top row of knobs The boost
mode is activated with the BOOST footswitch, and adds a fourth gain stage for
modern high-gain tones The BOOST volume and gain knobs are on the bottom
row of the controls The volume and gain controls for each mode are completely
independent, allowing the two modes to function like two separate channels on a
tube amplifier
- CONTROLS -
GAIN Knob – The NORMAL GAIN knob is on the top row This knob controls the
amount of input gain when the pedal is in NORMAL mode This knob is disabled
when in BOOST mode
PRE-GAIN Switch – This switch controls the level and tone of the initial input
signal to the EHX TORTION This switch has four settings The two leftmost
settings select a lower input level, for vintage plexi tones The two rightmost
settings are higher gain for a modern, hot-rodded sound Each pre-gain setting
has two tone selections: Full or Tight, indicated by F and T The Full setting has
2
more bass for a bigger sound The Tight setting focuses the bass frequencies for
a more modern tone
BASS Knob – Controls the level of the bass frequency range
MID Knob – Controls the level of the middle frequency range
TREBLE Knob – Controls the level of the treble frequency range
VOL Knob – The NORMAL VOL knob is on the top row This knob controls the
output level of the EHX TORTION when in NORMAL mode This knob is disabled
when in BOOST mode
BOOST GAIN Knob – The BOOST GAIN knob is on the bottom row This knob
controls the amount of input gain when the pedal is in BOOST mode This knob
is completely independent from the NORMAL GAIN knob, and is disabled when in
Normal mode
BOOST VOL Knob – The BOOST VOL knob is on the bottom row This knob
controls the output level of the EHX TORTION when in BOOST mode This knob
is completely independent from the NORMAL VOL knob, and is disabled when in
Normal mode
BYPASS Footswitch and red LED – This footswitch selects whether the EHX
TORTION is engaged or in buffered bypass mode When the effect is engaged,
the red LED will be lit
BOOST Footswitch and blue LED – This footswitch toggles Boost mode on
and off When in Boost mode, the blue LED will be lit
INPUT Jack – This ¼” jack is the audio input for the EHX TORTION The input
impedance is 1MΩ
OUTPUT Jack – This ¼” jack is the audio output from the EHX TORTION The
output impedance depends on the VOLUME setting, ranging from 250Ω to 25kΩ
BOOST SW Jack – Allows an external momentary footswitch to control toggling
Boost mode on and off The external switch should be normally open Upon
engaging the switch, it should create a short circuit between the Tip and Sleeve
of the plug inserted into the BOOST SW jack on the EHX TORTION Releasing
the switch should open the circuit between the Tip and Sleeve The BOOST SW
jack is connected in parallel with the BOOST Footswitch so they can both work at
the same time A suggested momentary footswitch that has been tested with the
EHX TORTION is the Boss FS-5U Momentary Foot Switch
DI OUTPUT Jack – This is a low impedance output capable of driving 600Ω to
plug directly into a mixing console or recording equipment The DI output uses
an all-analog amp/cabinet simulator to create the sound of a real 4x12 cabinet
3
This output’s signal is line-level, and is controlled by the active Volume knob
When the EHX TORTION is in bypass mode, the DI output and cabinet simulator
are still active, and send your bypass signal through the simulator This can be
used to warm up the sound of other pedals or processors for recording
9V Power Jack – Although the EHX TORTION accepts 9V Batteries, it is
supplied from the factory with an Electro-Harmonix 9 6DC-200BI power supply
Plug the output of the supplied AC Adapter into the 9V power jack located at the
top of the EHX TORTION The EHX TORTION draws 27mA at 9VDC with a center
negative plug The EHX TORTION accepts Boss® and Ibanez® style AC Adapters
- CHANGING THE BATTERY -
To change the 9-volt battery, you must remove the 4 screws on the bottom of
the EHX TORTION Once the screws are removed, you can take off the bottom
plate and change the battery Please do not touch the circuit board while the
bottom plate is off or you risk damaging a component Avoid touching the
trimmers on the circuit board These have been set at the factory for proper
operation Changing these trimmers can result in a non-functional unit
- WARRANTY INFORMATION -
Please register online at http://www ehx com/product-registration or complete
and return the enclosed warranty card within 10 days of purchase Electro-
Harmonix will repair or replace, at its discretion, a product that fails to operate
due to defects in materials or workmanship for a period of one year from date of
purchase This applies only to original purchasers who have bought their product
from an authorized Electro-Harmonix retailer Repaired or replaced units will then
be warranted for the unexpired portion of the original warranty term
If you should need to return your unit for service within the warranty period,
please contact the appropriate office listed below Customers outside the regions
listed below, please contact EHX Customer Service for information on warranty
repairs at info@ehx com or +1-718-937-8300 USA and Canadian customers:
please obtain a Return Authorization Number (RA#) from EHX Customer
Service before returning your product Include with your returned unit: a written
description of the problem as well as your name, address, telephone number, e-
mail address, and RA#; and a copy of your receipt clearly showing the purchase
date
United States & Canada
EHX CUSTOMER SERVICE
ELECTRO-HARMONIX
c/o NEW SENSOR CORP
55-01 2ND STREET
LONG ISLAND CITY, NY 11101
Tel: 718-937-8300
4
Email: info@ehx com
Europe
JOHN WILLIAMS
ELECTRO-HARMONIX UK
13 CWMDONKIN TERRACE
SWANSEA SA2 0RQ
UNITED KINGDOM
Tel: +44 179 247 3258
Email: electroharmonixuk@virginmedia com
This warranty gives a purchaser specific legal rights A purchaser may have even
greater rights depending upon the laws of the jurisdiction within which the
product was purchased
To hear demos on all EHX pedals visit us on the web at www ehx com
Email us at info@ehx com
- FCC COMPLIANCE -
This device complies with part 15 of the FCC Rules Operation is subject to the following
two conditions: (1) This device may not cause harmful interference, and (2) this device
must accept any interference received, including interference that may cause undesired
operation If the device is not installed and used in accordance with the instructions, it
may cause harmful interference to radio communications and void the user's authority to
guarantee the equipment
Note:
This equipment has been tested and found to comply with the limits for a Class B
digital device, pursuant to part 15 of the FCC Rules These limits are designed to provide
reasonable protection against harmful interference in a residential installation This
equipment generates, uses and can radiate radio frequency energy and, if not installed and
used in accordance with the instructions, may cause harmful interference to radio
communications However, there is no guarantee that interference will not occur in a
particular installation If this equipment does cause harmful interference to radio or
television reception, which can be determined by turning the equipment off and on, the
user is encouraged to try to correct the interference by one or more of the following
measures:
•
Reorient or relocate the receiving antenna
•
Increase the separation between the equipment and receiver
•
Connect the equipment into an outlet on a circuit different from that to which the
receiver is connected
•
Consult the dealer or an experienced radio/TV technician for help
Modifications not expressly approved by the manufacturer could void the user's authority to
operate the equipment under FCC rules

Other Electro-Harmonix Amplifier manuals

Electro-Harmonix NANO BATTALION User manual

Electro-Harmonix

Electro-Harmonix NANO BATTALION User manual

Electro-Harmonix ENGLISH MUFF’N User manual

Electro-Harmonix

Electro-Harmonix ENGLISH MUFF’N User manual

Electro-Harmonix Q-TRON PLUS User manual

Electro-Harmonix

Electro-Harmonix Q-TRON PLUS User manual

Electro-Harmonix EHX TORTION User manual

Electro-Harmonix

Electro-Harmonix EHX TORTION User manual

Electro-Harmonix MIG-50 MKII User manual

Electro-Harmonix

Electro-Harmonix MIG-50 MKII User manual

Electro-Harmonix 15Watt Howitzer User manual

Electro-Harmonix

Electro-Harmonix 15Watt Howitzer User manual

Electro-Harmonix LPB-2UBE User manual

Electro-Harmonix

Electro-Harmonix LPB-2UBE User manual

Popular Amplifier manuals by other brands

Onkyo Grand Integra A-G10 instruction manual

Onkyo

Onkyo Grand Integra A-G10 instruction manual

Vanguard Dynamics EDW-601 quick start guide

Vanguard Dynamics

Vanguard Dynamics EDW-601 quick start guide

Marantz MM8077 Manual Del Usuario

Marantz

Marantz MM8077 Manual Del Usuario

Jadis JP2OOMC owner's manual

Jadis

Jadis JP2OOMC owner's manual

zapco ST-X DSP owner's manual

zapco

zapco ST-X DSP owner's manual

NAD C356BEE owner's manual

NAD

NAD C356BEE owner's manual

Friedman JEL-20 instruction manual

Friedman

Friedman JEL-20 instruction manual

Williams Sound Pocketalker Ultra PKT D1 Getting started

Williams Sound

Williams Sound Pocketalker Ultra PKT D1 Getting started

Solid State Logic 82S6XL020E owner's manual

Solid State Logic

Solid State Logic 82S6XL020E owner's manual

Grace GDI-PA40TI supplementary guide

Grace

Grace GDI-PA40TI supplementary guide

NuWaves NUPOWER XTENDER 12B04A-D30 user manual

NuWaves

NuWaves NUPOWER XTENDER 12B04A-D30 user manual

Sure Electronics IRS2092 user guide

Sure Electronics

Sure Electronics IRS2092 user guide

Audio enhancement CA-30A Qucik Start Guide

Audio enhancement

Audio enhancement CA-30A Qucik Start Guide

BC Audio JTX45 owner's manual

BC Audio

BC Audio JTX45 owner's manual

Trident 80B Series owner's manual

Trident

Trident 80B Series owner's manual

Rawling 95158 instruction manual

Rawling

Rawling 95158 instruction manual

Furman SP-20AB owner's manual

Furman

Furman SP-20AB owner's manual

Linear Tube Audio Z10e user guide

Linear Tube Audio

Linear Tube Audio Z10e user guide

manuals.online logo
manuals.online logoBrands
  • About & Mission
  • Contact us
  • Privacy Policy
  • Terms and Conditions

Copyright 2025 Manuals.Online. All Rights Reserved.