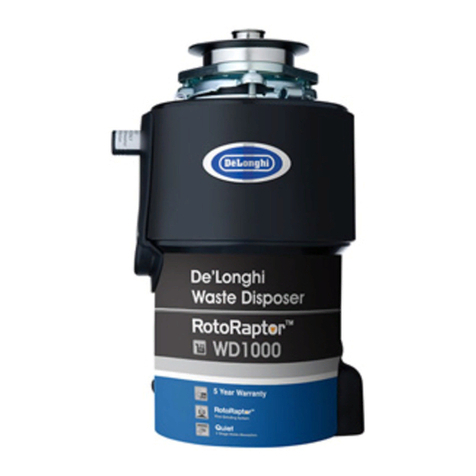
EVE FWD560+ Manual

Food Waste Disposer
FWD560+
Instruction Manual

•
•
•
•
•
•
•
o
o
o
o
o
o
o
o
•
•
•reset
•
•
•

air switch
•!
•
•
220240 Volt, 5060 Hz/AC
Air Switch
/ON/OFF Control) 2
1. double switch
20 amp
2. Air Switch: air switch
air switch
1. 33.
air switch
2. air switch air switch
3.
: air switchair switch
:
•!
•
•

:
A.
B.
C.
D. sink
E.
:
•
•

F.
G.
H.

90
1.
2.
ADAPTER
adapter
3. 90
90
90
:

1.
/HOPPER PROJECTION
1/4
2.
3.
HOPPER
PROJECTION
Hopper Projection
Hopper Projection
support
24 .
:
/ HOPPER
PROJECTION
90

SINGLE BOWL
DOUBLE BOWL
:
1. 230-300 .
2.

1.
2.
3.
4. 15
•
•
•
•
•
•15
•
•!
•
•
•
•
•

❖
❖
❖
!
reset
reset
reset 90
:
overload control
reset

1.
2.
3.
O-ring)
!

Read these instructions carefully before using this product and keep it for future use.
SAVE THESE INSTRUCTIONS CAREFULLY
WARNING
When using electrical appliances, basic safety precautions should be followed, including the following
•this appliance only for its intended purpose as described in the owner's manual
•Read all the instructions before using the appliance
•To reduce the risk of injury, close supervision is required when an appliance is used near children
•Do not put fingers or hands into a waste disposer
•Turn the electrical switch connected to the disposer to the OFF position before attempting to clear a jam or remove an
object from the disposerThen attempting to loosen a jam in a waste disposer, use long wooden object such as a wooden
spoon or the handle of a broom or mop
•When attempting to remove objects from a waste disposer, use longhandled tongs or pliersIf the disposer is
magnetically actuated, use only nonmagnetic tools
To reduce the risk of injury by materials that may be expelled by a waste disposer, DO NOT put the following into a
disposer
•Clam or oyster shells
•Caustic drain cleaners or similar products
•Glass, china or plastic
•Large whole bones
•Metal, such as bottle caps, tin cans, utensils
•or aluminum foil
•Hot grease or other hot liquids
•Whole corn husks
This appliance must be installed by the local authority or the national authorityDo not disassemble for any reason when the
appliance is installedThere are no serviceable parts
•When not operating a disposer, leave the drain stopper in place to reduce the risk of objects falling into the disposer
•The appliance must be installed so that reset button is readily accessible
•This appliance is not intended for use by personsincluding childrenwith reduced physical, sensory or mental
capabilities, or lack of experience and knowledge, unless they have been given supervision or instruction concerning the
use of the appliance by a person responsible for their safetyChildren should be supervised to ensure they do not play
with the appliance
MANUAL INSTRUCTION AND INSTALLATION
SAFETY INSTRUCTION

•If the supply cord is damaged, it must be replaced by the manufacturer, its service agent or similarly qualified persons in
order to avoid a hazard
•Make sure that the installation of this appliance is allowed by the authorities
•To return your used device, please use the return and collection systems or contact the retailer where the product was
purchasedThey can take this product for environmental safe recyclingever use this appliance in damp location eg
bathroom or laundry room
•Do not use this appliance to dispose of hard materials such as glass and metal
•Switch off or unplug the appliance before attempting to free a jammed rotor with an implement
•For proper grounding instructions see the
GROUNDING INSTRUCTIONS!This appliance must be groundedIn the event of malfunction or breakdown, grounding provides a
path of least resistance for electric current to reduce the risk of electric shockThe power cord
to be installedmust have an equipment grounding conductor and a grounding plugThe plug must be plugged into an appropriate
outlet that is properly installed and grounded in accordance with all local codes and ordinances
DANGER:Improper connection of the equipment-grounding conductor can result in a risk of electric shock.
Check with a qualified electrician or serviceman if you are in doubt as to whether the appliance is properly grounded.
Connect the disposer to 220240 Volt, 5060 Hz AC current only
SOME TYPICAL ELECTRICITY CONNECTION
This appliance has two kinds of control modedouble switch and air switch
◎Double switch
WARNING: HOW TO CONNECT ELECTRICITY
If you are not familiar with electrical power and procedures, call a qualified electrician
DANGER!Improper connection of the equipmentgrounding conductor can result in a risk of electric shockCheck with a
qualified electrician or serviceman if you are in doubt as to whether the appliance is properly groundedDo not modify the
plug provided with the appliance if it will not fi t the outlet; have a proper outlet installed by a qualified electrician
These appliances are meant for household use onlyDo not use for commercial application
For Models Equipped with a Grounded Cord
GROUNDING INSTRUCTIONSThis appliance must be grounded
In the event of a malfunction or breakdown, grounding provides a path of least resistance for electric current to reduce the risk
of electric shockThis appliance is equipped with a cord having an equipmentgrounding conductor and a
grounding plugThe plug must be plugged into an appropriate outlet that is properly installed and
grounded in accordance with all local codes and ordinances
Our company reserves the right not to be responsible for any loss, damage or any types of injury as a result of
improper installation, mis-use of the product or the owner’s inability to maintain the product in good/functioning condition
WARNINGHOWTO CONNECT ELECTRICITY cont

air switch connection point
If you need install wall switch not included, you must do logo for onoff, and shall be installed by qualified professionalsWall switch
should be located convenient location on the work surface, separation of contact between the two blades at least 3 mmUsing a 20
amp grounded wall socket
◎Air switch
Processor includes builtin air switch, air switch by sending a general to control box to activatedeactivate the device
◎Air switch installation
1Find the most convenient place on the kitchen table or the sink corners to drill a 33 mm holeSome water tank may be appropriate
with a hole, take off the lid to reveal
2Remove the nut on the air switch, let the rubber gasket to stay in place, connect one end of the air tube inserted into the nozzle at
an air switch thread, the other end through the hole of the operating table
3To remove the nut back on the air switch, and then screw down the nut below the work station
4Picked up the other end of the air duct, insert it tightly into the nozzle of the air switch, the nozzle is located in the
bottom of the processor
Read all operating and safety instructions in instructions
Finally, plug the plug tightly in the sink, filled with water in the sink, remove the plug and check whether there is any
leakage on the connection
INSTALLATION
DANGER:
•This appliance must be installed by a qualified electrician
•Improper connection of the equipment-grounding conductor can result in a risk of electric shock. Check with a
qualified electrician or serviceman if you are in doubt as to whether the appliance is properly grounded.
•DO NOT DISASSEMBLE THIS PRODUCT
•Our company reserves the right not to be responsible for any loss, damage or any types of injury as a result of
improper installation, misuse of the product or the owner’s inability to maintain the productin a good / functioning
condition

IMPORTANT: Pay close attention to the order of the sink flange parts, as they have been correctly assembled by the
factory
ADisassemble the sink flange assembly from the disposer by turning the mount ring to the left clockwise
and removing it
BRaise the mount ring toward the top of the sink flangeRemove the cushion mount and the mount ringYou may
want to practice installing the cushion mount at this point before you are under the sink
C Unscrew the support ring from the sink flange and remove the fiber gasketYou are now left with the sink
flange and the rubber gasket
DThe rubber gasket is used instead of plumbers putty with stainless steel sinksSome cast sinks will
require putty
E. If no putty is used, insert the sink flange through the rubber gasket into the sink openingDo not turn the
flange once it is seated
FIf you use putty instead of the gasket, forma ring around the underside of the sink flangeInsert the flange
into the sink opening, press down hard to squeeze out excess puttyFrom under the sink, trim off excess putty
flush with the bottom edge of the sink opening
GFrom underneath the sink, slip the fiber gasket onto the exposed sink flangeWith arrows pointing up, screw
the support ring onto the sink flange and hand tighten until the sink flange will not move
COMPONENT

At this point you may want to insert the stopper in the sink and fill with water to check the sink flange seal and insure there are no
leaks
Hand-tighten sink flange
H . Place the mount ring over the sink flange and hold in place while installing the cushion mount (large side
down). Make sure the groove on the inside of the cushion mount fits over the lip on the sink flange, similar to putting
the on a plastic container Run your fingers around the entire cushion mount with slight pressure. Do not press too
hard. When the cushion mount is properly seated, the mount ring can be pulled downward over the cushion mount
and will be free to turn.
Cushion Mount Detail
Bottom Bead
Groove
Top

If you are connecting to a dishwasher, complete the following stepIf a dishwasher is not to be connected go on to
Attaching the Discharge Elbowsection
DISHWASHER CONNECTION (IF REQUIRED)
1. KNOCK OUT PLUG
Using a blunt instrument steel punch or wooden
dowel knock out entire plug Do not use a screwdriver or sharp
instrument When knockout plug falls into disposer you may
remove it or simply grind it up when the disposer is used This will
not damage the disposer in any way but may take some time to
grind over the course of several uses
Knock out the
plug
2. CONNECT HOSE
Connect the dishwasher hose using a hose clamp If the hose
size is different, you will need a stepped
rubber adapter
Hose Clamp
Stepped Rubber Adapter
3. ATTACHING THE DISCHARGE ELBOW
CONNECT DISCHARGE ELBOW
Connect the discharge elbow to the disposer
Make sure all plumbing connections are tight
Discharge Elbow
Discharge elbow must be installed by a
professional
Some installations see page 8 for examples
may require the use of a flexible drain pipe
NOTE: If the dishwasher connection is made
without removing the plug, the dishwasher may
overflow
Rubber Gasket

IMPORTANTDon’t put your head or body under
DISPOSER UNIT COULD FALL DURING INSTALLATION
INSTALLATION INSTRUCTIONS (with the sink flange)
1. ATTACH TO SINK FLANGE
Line up the disposer under the sink flange
Guide the hopper projections into the
mount ring slots Turn the mount ring about
1 4 to the right so that the disposer is temporarily supported
2. LINE UP WITH OUTLET PIPE
Turn the mount ring and the disposer until the disposer
discharge elbow lines up with the outlet pipe
3. LOCK MOUNT RING
Turn the mount ring to the right until it locks up tight. Hopper
projections must be to the extreme left of the mounting slots If
the mount ring is hard to turn you may add a small amount of
petroleum jelly or liquid soap to the hopper projection Run water
and check for leaks
Hopper Projection in
“Locked”Position
Mounting Ring
Mount Ring Slot
HOPPER
PROJECTION
How to
lock the
mount
ring
Hopper Projection
“Supported”
Position
4. CHECK FOR LEAKS
Check the unit for leaks 24 hours after installation and first
operation

DIFFERENT TYPES OF INSTALLATIONS
INSTALLATION WITH SINGLE BOWL SINK
INSTALLATION WITH DOUBLE BOWL
INSTALLATION DIAGRAM
IMPORTANT:
- It is essential for the proper operation of the disposer that this dimension be 230 300mm depending upon the models
listed above to avoid standing water in disposer motor housing.
- Flexible drainpipe may be necessary for this application

This disposer uses antijam swivel impellers that make a clicking sound as they swing into placeThis
indicates normal operation
Operating Instructions
1. Remove the sink stopper and turn on a medium flow of cold water
2. Turn on the wall switch
3. Slowly insert food waste into disposer and position stopper to minimize possible ejection of material while grinding
4. After grinding is complete turn disposer off and run water for at least 15 seconds to flush drain line
HELPFUL HINTS
OPERATING INSTRUCTIONS
DO….
ABe sure the disposer is empty before using the
dishwasher so it can drain properly
BYou may want to leave the stopper in the drain
when not in use to prevent utensils and foreign
objects from falling into the disposer
CTO SPEED UP FOOD WASTE DISPOSERCut
or break up large bones, melon rinds, grapefruit
skins and corn cobsItems such as large bones,
fibrous husks like lima bean pods and corn husks
require considerable cutting timeFor this reason,
you may prefer to place them in the trash can
D. Grind peelings from citrus fruits to freshen up
drain smells
E. Use a disposer cleaner or deodorizer as
necessary to relieve objectionable odors caused
by grease build up
F. Before turning the disposer off let the water and
the disposer run for at least 15 seconds after
shredding stops This assures that all waste is
thoroughly flushed through the trap and drain.
DON’T….
A. Don t be alarmed that the disposer slows down while
grindingThe disposer is increasing torquegrinding
powerand is operating under normal conditions
B. Dont pour grease or fat down your disposer or any
drain It can build up in pipes and cause drain blockages
Put grease in a jar or can and dispose in the trash
C. Don t use hot water when grinding food waste. It is OK
to drain hot water into the disposer between grinding
periods
D. Don t put tin cans, bottles and bottle caps, glass, china,
leather, cloth, crockery, rubber,
string, feathers, or clam or oyster shells into your disposer
These are waste materials and belong in the trash can
E. Don t fill disposer with a lot of vegetable peels all at
once Instead turn the water and disposer on first and then
feed the peels in gradually
F. Don t grind extremely fibrous materials like corn husks
artichokes etc. To avoid possible drain blockage
G. Don t turn off disposer until grinding is completed and
only sound of motor and water is heard
Table of contents
Languages:
Other EVE Garbage Disposal manuals
Popular Garbage Disposal manuals by other brands

Fisher & Paykel
Fisher & Paykel GD75IA1 Troubleshooting
Linear
Linear GDBPF-370A3 Installation & user manual

MULTIQUIP
MULTIQUIP Mikasa Series MVH306GH Operation and parts manual
Maxmatic
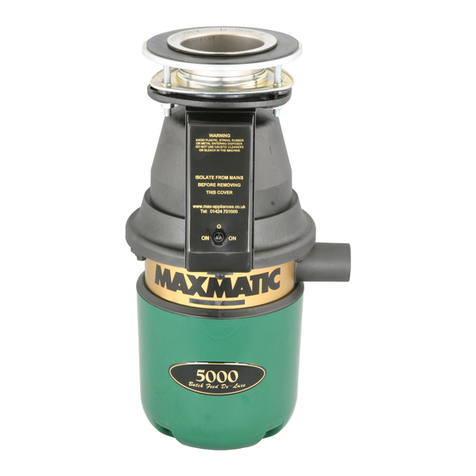
Maxmatic 5000 OPERATING AND INSTALLATION Manual

GE
GE Disposall GFC530T Dimensional information
InSinkErator
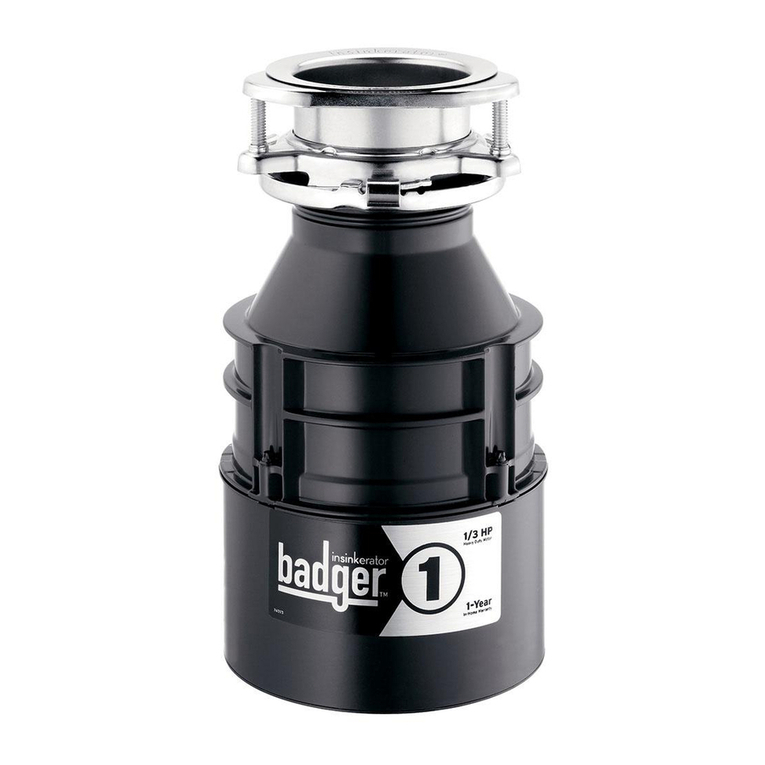
InSinkErator Badger 100 installation instructions

Teral
Teral DSP-125H-AWS manual
KitchenAid
KitchenAid KBDS100T - NA Batch Feed 1 HP MultiGrind Installation instructions manual
Max
Max Maxmatic 4000 operating instructions
Green Power
Green Power TDM 00500 instruction manual
Power Fist
Power Fist 9033598 user manual

Fromm&Starck
Fromm&Starck STAR BIN 44 user manual


