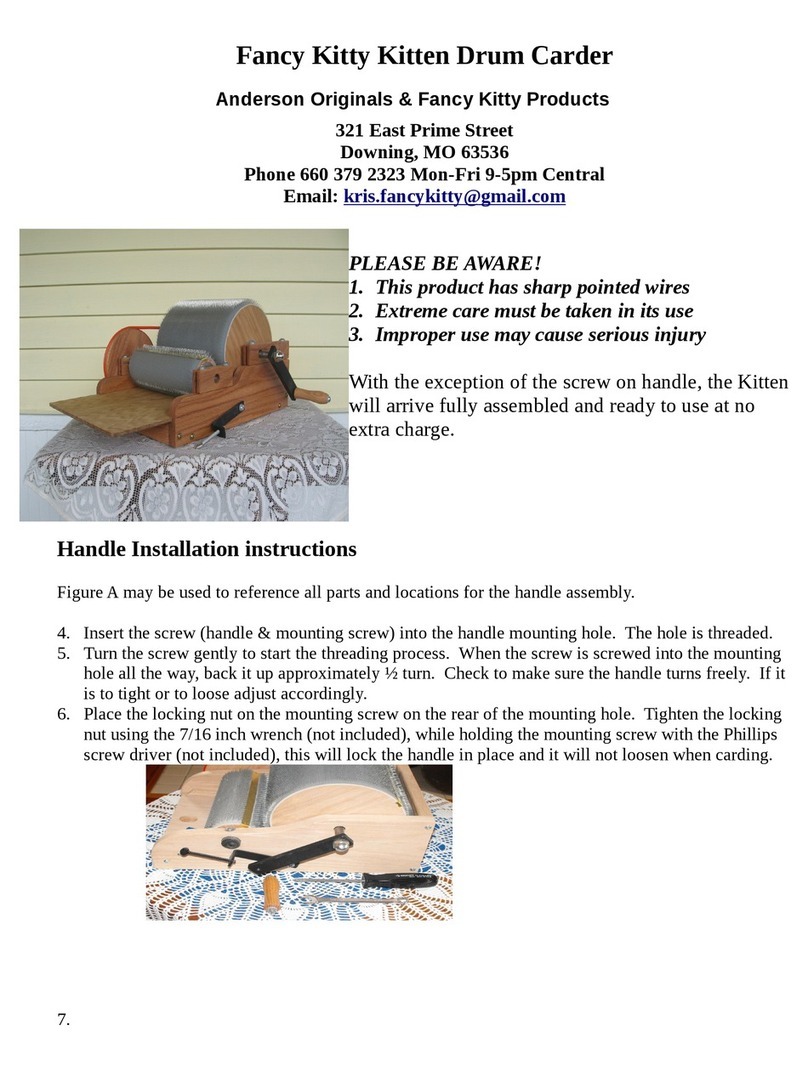
Fancy Kitty DRUM CARDER User manual

KITTEN MANUAL
DRUM CARDER
We at She & I Designs are happy to know that you have chosen to purchase our FANCY KITTY
KITTEN MANUAL DRUM CARDER.
The Kien drum carder features fully adjustable drums mounted on steel axles with sealed
ball bearings. It is built using modern methods and hand craed care. The drums come pre
adjusted for opmum performance. We space them a credit card thickness apart before
shipping. They can be easily readjusted though for your varying requirements.
The drive rao is 4 to 1.
It features a poly belt, that does not slip, for smooth operaon.
The carding cloth has ½ inch hardened tempered steel wire teeth that allow you to produce
thick bas.
The carder base is approximately 15 inches in length, and 10 ¾ inches wide. With the pulleys
and handle it will be closer to 18 inches wide. The carder weighs approximately 14 pounds.
The carder is made from sold hardwoods with the excepon of the feed tray that is made
from hardwood plywood.
It is dressed with a at brass divider bar.
The drum is 8 ½ inches wide and will produce a ba that is 22 inches long.
Rubber nonskid feet are mounted on the boom of the frame.
With the excepon of the screw on handle it will have arrived fully assembled.
We oer a lifeme warranty on all hard parts and workmanship to the original buyer, and a
one year limited warranty on all parts and labor. We do have parts and repair available to
anyone who owns our machine.
We hope you enjoy using this carder and get decades of use from it.

She & I Designs / FANCY KITTY PRODUCTS
321 E Prime St Downing, MO 63536
660-379-2323
sheandidesign@gmail.com
SATISFACTION GUARANTEE
If for any reason you are not sased with your purchase, you may
request a return authorizaon to return the product to our locaon
within 14 days of receipt of this product.
The product should be returned postage paid in new condion, in the
original shipping boxes, packed in original packing, including all instruc-
ons and accessories.
Upon receipt of a product returned in new condion with a proper return
authorizaon, you will be refunded the full purchase price LESS THE SHIP-
PING.
a return authorizaon number prior to making a return shipment.

PRODUCT WARRANTY
Your new product is warranted for one year for all parts and labor. This
warranty covers normal wear and tear including belts and carding cloth.
All hard parts including frame, pulleys, drums, and screws have a limited
lifeme warranty. They are warranted for all defects in parts and work-
manship to the original purchaser for normal wear and tear.
The manufacturer will have the nal decision on normal wear and tear.
Damages caused by abusive use of the product will not be covered under
this warranty.
It will be the opon of the manufacturer to repair or replace the defecve
part(s)
She & I Designs / FANCY KITTY PRODUCTS
321 E Prime St Downing, MO 63536
660-379-2323
sheandidesign@gmail.com

WARNING - SAFETY ALERT
• This product has sharp pointed wires
• Extreme Care must be taken in its use
• Improper use may cause serious injury
READ BEFORE USING
CAUTION...CAUTION...CAUTION
• There is a break in period on all carding cloth, during which a small amount of
metallic dust may be deposited on your ber.
• We would like to suggest that the rst couple of bas you card should be of a
dark or gray color ber, and not a bright white.
• Aer the rst couple of bas, any metallic residue should be removed and you
can connue with all colors without a problem.
She & I Designs / FANCY KITTY PRODUCTS
321 E Prime St Downing, MO 63536
660-379-2323
sheandidesign@gmail.com

ADJUSTING YOUR CARDER
If you wish to adjust your carder, please follow the procedure below. We do sug-
gest that they work best a credit card thickness apart. We do set them that way
in the shop however, occasionally they do shi during the shipping process.
We would say that a credit card inserted between the two drums should have the
teeth just so touching on each side.
1. Remove the Orange belt. (Fred normally takes it o of the front big pulley rst.
2. Use a Phillips head screwdriver and loosen the four slider hold down screws as
shown in gure A.
FIGURE A
Aer you have loosened the screws, move the licker in closer or farther way from
the swi drum as you wish. It is easier to remove one side at a me and then
snug one screw on that side unl you get the required results.
When you are sased with the adjustment, reghten all four adjustment screws.
Please note that adjustment closer than the opmum will result in premature wear of the
carding cloth, on both the licker-in drum and swi drum.

CARE & MAINTENANCE
Your new Fancy Kiy drum carder requires very lile maintenance. The exterior is
nished using a product called Half n Half, a perfect blend of pure Tung Oil and
natural, food-grade thinner Citrus Solvent. It will require no more maintenance
than you would give any ne piece of furniture. Use a carnuba based furniture
wax or bees wax to keep the feed tray polished to a slick nish.
The licker-in drum requires no maintenance other than cleaning aer use. It is
mounted in sealed bearings for long life and no maintenance. However the drum
is adjustable and may be re-adjusted for your personal preferences. See the page
tled Adjusng your carder
The swi drum is also mounted in sealed bearings and is pre-adjusted during
assembly for opmum performance. It should require no further adjustment.
There is a pdf available on www.fancy-kiy.com on deep cleaning your carder.

Using a Drum Carder
Spinners have always been impaent with carding and ber preparaon. In days past, chil-
dren were oen given this job or. if a spinner lived near a mill and could aord its services,
she would have the carding done there. Likewise, many of today's spinners bypass carding
almost enrely, by spinning mostly roving or sliver -two mill preparaons, originally devised
for mechanical spinning. When spinners rely on drum carders in an aempt to streamline
ber preparaon, it is important that they learn how to use these tools well. Certain basic
methods and techniques can greatly increase the eciency and eecveness of a drum
carder - while others waste me and increase the amount of work.
Geng Ready to Card
A drum carder works best if you feed it a small amount of ber at a me - or beer yet, thin
layers of ber. If you aempt to feed a carder too much ber at once, you may jam the ma-
chine, bend its teeth and/or tear the bers. With wool and other fairly long bers, this
means that it's usually a good idea to start by ung up the bers to eliminate thick clus-
ters. Many spinners use a picker in this me-consuming but important process, while others
open the clusters of ber by hand.
The First Round
For best results, we suggest rst teasing the bers with a wool picker or hand cards prior to
carding with the drum carder. Because the main object of teasing is to prevent damage to
the ber and the card clothing, to promote a smoother end product, and to make carding
easier.
Another method if you would rather let the drum carder do the teasing. Instead of feeding
unteased bers through the feeding chute - where jams oen occur - lay them directly onto
the main drum from the top, where you can see what is happening at every moment. Grasp
a small handful of ber or a couple of good-sized locks. Hold them rmly, and allow a few
bers to begin catching in the teeth as you turn the drum. Let the bers be pulled gradually
from your hand, being careful to keep your knuckles away from the teeth. (The bers will
not feed in gradually if the wool has been abused in washing, and has become tangled or
felted so that it is hard to pull apart.) It's all right if a small cluster escapes your hand, but if a
large one gets away, stop the machine, back it up (if necessary), and redistribute the bers.
Aer a few of these episodes, you will learn how large a ber cluster your carder can handle.
When the drum is full, it is unable to process addional ber. How much is too much? Each
type of carder can eciently handle a dierent amount of ber. The capacity depends on

the drum size and the length of the teeth. However, you can see when loaded carding cloth is
reaching its capacity. You need enough tooth exposure to pick and comb incoming bers. You
can also feel and hear when the cloth becomes too full: the handle will turn with diculty,
even though no new ber is being added, and you'll hear a mued, rubbing sound.
Dong
Taking the ber o the carding cloth is called dong. Oen a dong rod, or similar device, is
used to li the ber away from the drum. Most carder manufacturers provide a doer, but an
old, long, steel kning needle, an old ice pick, or a painted steel rod will do nicely. (Aluminum
kning needles are not strong enough.) Be sure that your doer is not so sharp that it damag-
es the backing of the carding cloth.
First, turn the loaded drum so that the brass strip is exposed. You might think that you can
slide the doer under the ba and li up one end. If this is coon or short wool, you can - but
any long ber will present a dense mat which will not come apart without a struggle. Start at
the far edge and slide the doer under an inch or two (2.5 - 5cm) of the ba. Li this, allowing
the bers to slide apart. Although you may need to pull very hard, don't tear the bers. If you
think damage is imminent, try a smaller amount. Then work your way across the drum unl
you have opened the enre ba. Now one end of the ba is free, but the rest is sll caught in
the teeth. If you pull up gently on the loose end while turning the drum backward, most of the
ber will li away - but not all of it will. The closer you get to the end of the ba, the more -
ber will remain in the teeth - oen as much as half the thickness at the end. Use the rod to li
the ba away from the drum as you pull the free end of the ba up and back. Li with the
rod, then pull on the loose end. Back up the drum and repeat. In a few moments the ba will
li enrely free of the teeth. A word on dong mesh. Some people like this way of handling
the task. The mesh is an open net that ts the carding cloth - you can buy or make one. It is
laid into the teeth and pushed all the way down before carding begins. At unloading me, the
bers are loosened at the tail end of the mesh and the mesh is pulled up out of the teeth,
bringing the ber with it. When both sides are rmly held, pull apart. The two halves will re-
tain the original at conguraon. The idea is to separate each ba into thin sheets of ber
which you'll feed back through the carder.

Between Rounds
You are now ready to re-card, but don't try to feed the enre ba into the carder at once. If
you do, your carder will become overloaded, the carding will be incomplete, and the machine
will jam. Finally, the poorly carded ber will be dicult to spin smoothly. Aer the rst card-
ing, the texture of the ba will be uneven, but it will have two characteriscs of completely
carded bas: the layered arrangement and the lengthwise grain of overlapping bers. You can
use these characteriscs to quickly prepare the ber for the next step. At this point, some
people pull a strip from the side of the ba and u it into a thin layer. Again, I don't like to
spend this much me on the task. In the amount of me it takes to pull o and spread out
one strip, you can probably prepare a whole ba with my method. Place your hands on the
front and back sides of a ba, and pull it into two halves. Gently pull. Repeat this with each
half a couple more mes, unl you have thin sheets. Now divide each layer in half lengthwise
and you are ready to send the ber back through the carder.
Second Round
You will now be feeding the ber through the feeding chute, in the "normal" way. But don't
completely rule out the possibility of feeding from the top again - some bers card beer
from the top, while some do beer from the boom (the chute). Try both techniques and see
what you think. Remember to keep the layers thin, and take the me to pull apart any sec-
ons of the divided ba that seem to be too thick. A second invested here can make a big
dierence in how thoroughly your machine cards. Slide a narrow edge of the ber layer under
the licker-in unl you feel the machine begin to draw it in. Now you need to retard the ber's
progress slightly, to keep it from being drawn in too rapidly. But don't hold it back too rmly,
or the ber will wrap around the licker-in (the lile, feeding drum) instead of being trans-
ferred to the swi (the big, carding drum). To get an idea of how much to hold the ber back,
just do it wrong a couple of mes. Then you'll know exactly what is required. Some people lay
a hand lightly on top of the ber layer in the chute, but I like to give each layer a series of
quick, light tugs, which both slow the progress and thin out the layer being drawn in. Both
methods work.
Fiber on the licker-in
Even when you are feeding the ber correctly, some will stay on the licker-in. Curiously, it will
probably load to a certain level and then stay there for a long me. If you conscienously
clean it out, it will quickly reload again to that point. So don't spend more me than is really

necessary keeping it free from ber. In any case, unless you have already carded the ber sev-
eral mes, the stu on the licker-in will be real junk, dirt, second cuts, and other uglies. Don't
be frugal. Pitch it.
Cleaning a drum carder
This job is even more bothersome than cleaning hand carders, because it takes longer and is
more frustrang. Of course, you can leave bits of u embedded in the teeth, especially if you
always process bers of similar color and texture. But I advise against this, especially if you
have been working on protein bers-which aract wool moth larvae and carpet beetles.
These pests can be transferred in turn to everything you run through the machine. You might
as well clean your carder, starng with the licker-in, because it's hard to clean that part with-
out transferring a bunch of stu onto the swi. Remove the junk ba from the licker- in as
you would a regular ba, while doing your best to keep the swi from taking it. Get most of
the trash o, but don't bother to get it all - you will have to clean this part again at least once.
Now clear the swi of clumps or wisps of ber by liing them o with the doer. There prob-
ably will not be enough residue to form a complete layer. Keep pulling the bers out of the
teeth with your free hand , which is not turning the handle. Or you could use the blending
brush, supplied with the carder or available for separate purchase. Now look at the licker-in.
What did I tell you? Ignore it for now, unl the swi is cleaner. The brush works well at this
point for combing through the teeth and liing out stray bits of ber. Always comb with the
grain of the teeth. Go as deeply into them as you can. Pull the bits of ber out of the brush as
you retrieve them, so they don't get redeposited. When the swi is fairly clean, go back to the
licker-in; then repeat your eorts on the swi, and so forth. A drum carder is a bed that never
stays made, but eventually it will be quite clean. If you want the card clothing really clean - for
example, if you are changing colors - there is one more thing to do. Nothing is more frus-
trang than to go from black wool to white and then discover that the rst bas have dark -
bers mixed in. To prevent this, I use my secret weapon. As a standard accessory for your drum
carder, get a strong, s, long-bristled hairbrush. It will pick up the last bers that have resist-
ed your previous eorts: keep brushing up and liing out, working with the grain, and watch
more ber come away from the drum. That should do it. But if you are, indeed, switching col-
ors, check again in good light - it pays to be paranoid.
Table of contents
Other Fancy Kitty Carder manuals


