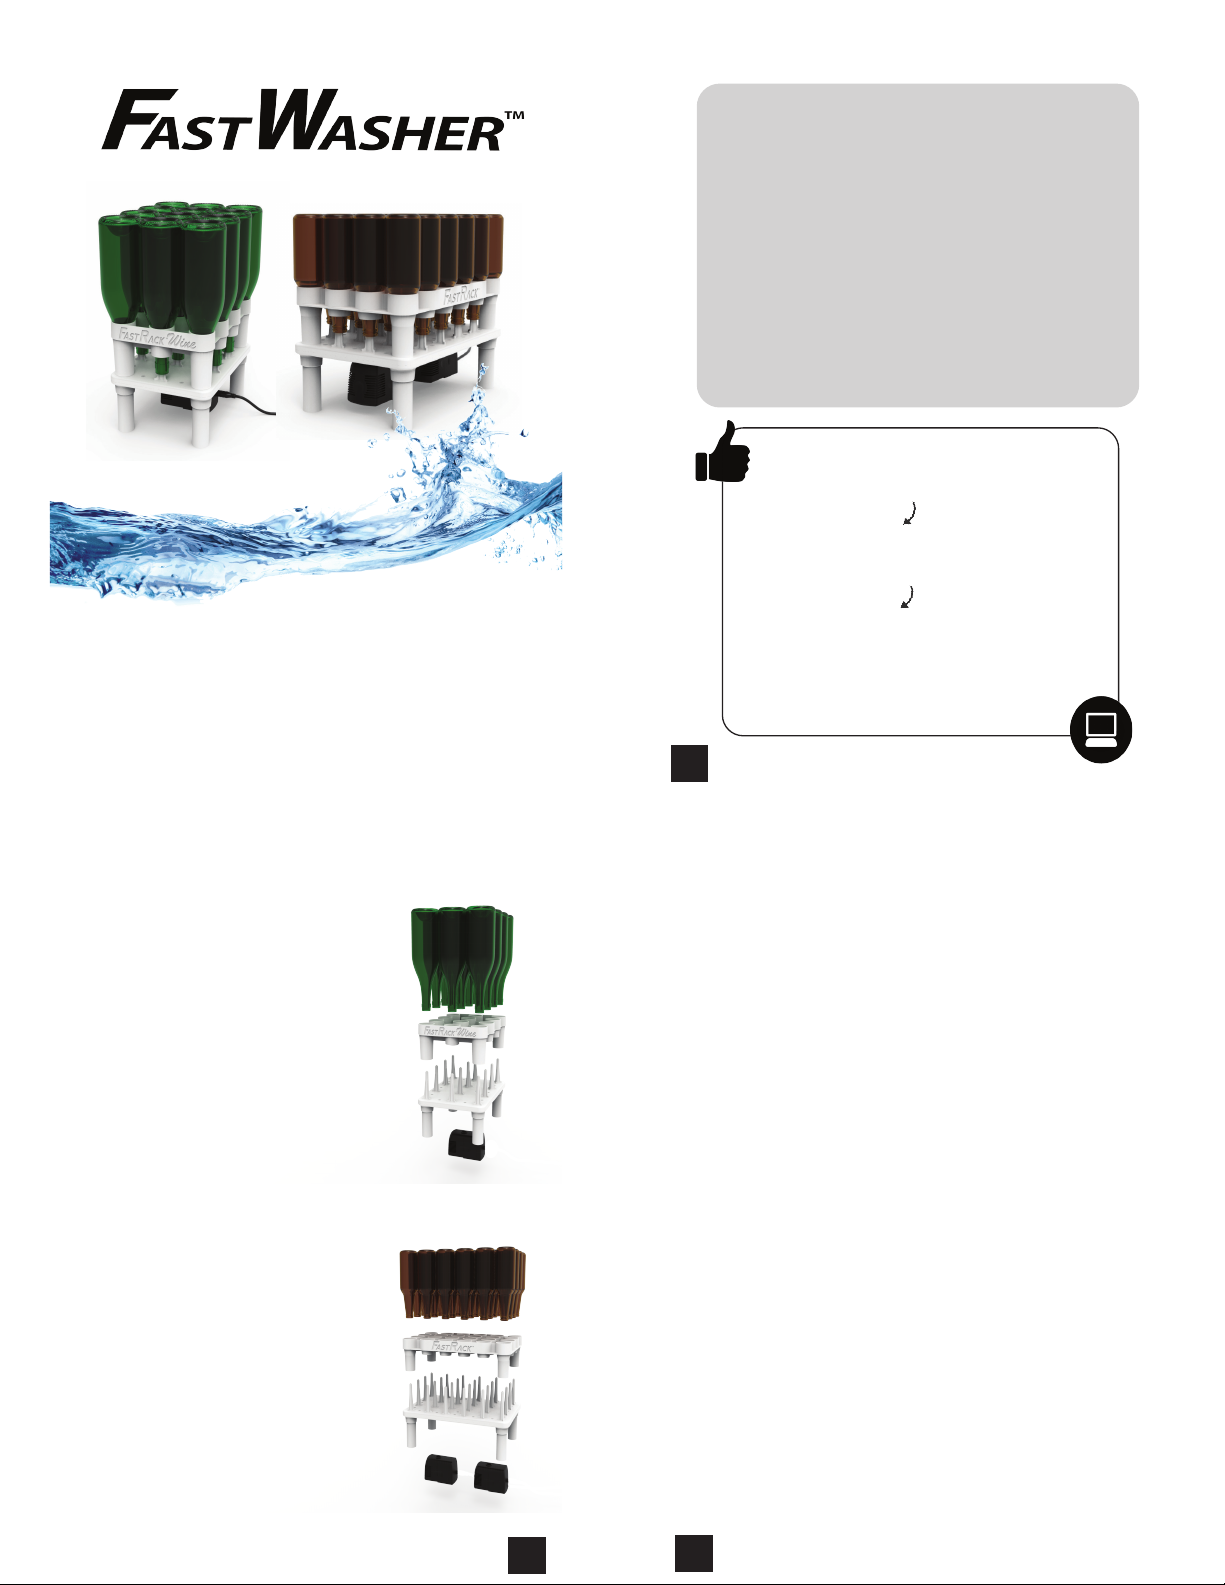
FastBrewing & WineMaking FastWasher12 User manual
User Manual
(Rack Sold Separately)
Table of Contents
Need Help? ....................................................................................Page 1
Parts List ........................................................................................Page 2
Precautions ...................................................................................Page 3
Pump Orientation .........................................................................Page 4
Assembly Instructions
..................................................................Page 5
Screw Diagram for FastWasher12
...............................................Page 6
Screw Diagram for FastWasher24
...............................................Page 7
FastWasher Tips ............................................................................Page 8
Top Frequently Asked Questions (FAQs).....................................Page 9 - 10
Limitation of Liability ..................................................................Page 10
Contact Information ....................................................................Page 11
NEED HELP?
Step 1: Check out our website - Go to www.FastBrewing.com
Step 2: Read FastWasher FAQ - Click on “FAQs” ->“FastWasher FAQs”
( http://www.fastbrewing.com/content/fastwasher-faqs)
Step 3: If you can’t nd what you’re looking for,
send an email to Info@FastBrewing.com or
call us at 1 800 549 5763. Email is best as we require
a paper trail for replacement parts and inquires.
1
*No gasket is needed for the FastWasher24.
We improved the design and no longer require a gasket.
FastWasher12
1 - 530 Gallon Per Hour UL 3-Prong Grounded Pump
1 - Top HDPE Plastic Manifold
1 - Bottom HDPE Plastic Manifold
25 - Screws
25 - Nuts
1 - CO2 Cap Cover
4 - HDPE Plastic Legs
1 - Set of Instructions
FastWasher24
2 - 530 Gallon Per Hour UL 3-Prong Grounded Pumps
1 - Top HDPE Plastic Manifold
1 - Bottom HDPE Plastic Manifold
37 - Screws
37 - Nuts
2 - CO2 Cap Covers
4 - HDPE Plastic Legs
1 - Set of Instructions
Parts List
2
*No gasket is needed for the FastWasher12.
We improved the design and no longer require a gasket.
Electric Shock - FastWashers must always be used in a GFCI (Ground-fault circuit interrupter) plug.
They can NEVER be used in a regular household plug. If you don’t know if you are using a GFCI outlet
consult with a licensed electrician.
Dry Running Pump - The pump CANNOT ever be run without being fully submerged in water.
The pump is not self-priming so the sink or tub you are using must always be full of water so that
the water is level with the main body of the FastWasher. If the pump is ever run without
water it voids the warranty.
FastRack with Bottles - Always make sure you have a FastRack that is full of bottles on the
FastWasher before plugging it in. There is NO On/O switch so water will immediately starting
owing out of the nozzles once the pump is plugged in.
Do Not Overtighten the Pump(s) - The pumps are only meant to screw on until you feel them
snug against the FastWasher. Do not screw them on any further. This is all that is needed to
create a seal. Never leave the FastWasher unattended while it is running. See page 4 for where cords
should be placed (Pump Orientation).
Water Temperature - Never use water warmer than 106 Fahrenheit or 41 Celsius. The pump is
cooled by the water so water any hotter than above will cause the pump to burn out. Using water
above 106 Fahrenheit or 41 Celsius voids the warranty.
Electric Drills - DO NOT USE an electric drill on the screws.This will void the warranty as
electric drills can easily overtighten the stainless steel screws and damage the plastic body
of the FastWashers.
Always use a FastRack - The warranty is void if a FastRack is NOT used when rinsing, cleaning or
sanitizing bottles.The FastWasher nozzles are not meant to support bottles and can break o
when bottles are placed over them.
Pump Rinsing - Always fully rinse the pump in clean water after use to ush out any debris and
chemicals. Pull o the front casing that has the lter in it and run water through the top threaded
inlet to ush the pump out.
Precautions - Read Before Use
3

Pump Orientation
FastWasher24
FastWasher12
4
Assembly Instructions
1. Read the list of PRECAUTIONS (page 3)
2. Lay out all the parts to ensure you are not missing anything
3. Get a Phillips screwdriver as that will be needed for the screws
** SEE page 5 & 6 for the Screw Diagrams **
4. Place the bottom body on a solid at even surface such as a table.
5. Place the top body on top of the bottom body so the screw holes match up
6. Put in the rst screw in one of the corners and use your nger to hold the nut in place in the
counter sinked hole. The hole will hold the nut from spinning. Screw the screw in loosely.
DO NOT FULLY TIGHTEN IT.
7. Put in the 2nd screw on the opposite side and opposite corner using the same method as #7.
8. Put in the 3rd screw on the opposite side as the 1st screw using the same method as #7.
9. Put in the 4th screw on the opposite side as the 3rd screw. Doing it in this fashion allows for
even pressure to allow for a good seal. Continue to put in screws on opposite side until the unit
is fully assembled
10. Put small black CO2 cover(s) over the CO2 inlet (s) on the bottom of the FastWasher
11. Now gently screw the pump onto the bottom water inlet (s) until it is snug. Once the pumps are
snug that is all that is needed DO NOT OVERTIGHTEN THE PUMP IT WILL BREAK THE WATER
INLET AND NOT IMPROVE PERFORMANCE.
12. Press the four legs into the sockets
13. Fill the basin with water and cleaner or sanitizer until the water is touching the main body of
the FastWasher.
The pump must be 100% fully submerged or it will dry run and break. Do a visual inspection to
ensure the entire pump is submerged.
14. Place a FastRack with bottles on the FastWasher
15. Plug in the pump(s) into a GFCI unit and watch your bottles get a hands free cleaning
or sanitizing!
5
1st
7th 9th
6th 5th
4th
10th 8th
2nd
After you have followed the diagram above you can begin adding in the rest of the screws and nuts.
DO NOT fully tighten any of them until they are all installed. Once this is done you can begin to tighten
them in the same order as the diagram above. DO NOT OVERTIGHTEN THE SCREWS.They should only
be snug to the body. OVERTIGHTENING VOIDS THE WARRANTY.
Screw Diagram for the FastWasher12
Screw in the numbered order above to avoid warping the washer.
3rd
Nozzle Screw Hole
6
After you have followed the diagram above you can begin adding in the rest of the screws and nuts.
DO NOT fully tighten any of them until they are all installed. Once this is done you can begin to tighten
them in the same order as the diagram above. DO NOT OVERTIGHTEN THE SCREWS.They should only
be snug to the body. OVERTIGHTENING VOIDS THE WARRANTY.
Screw Diagram for the FastWasher24
Screw in the numbered order above to avoid warping the washer.
1st 13th 4th
10th
6th5th
7th
3rd
11th
14th
12th
2nd
8th
9th
Nozzle Screw Hole
7

FastWasher Tips
Usage Tips
1. Do not overtighten the screws or you will damage the FastWasher.
2. Note that the screws may need to be adjusted after the rst run.
3. Make sure to clean your pump (s) before rst use to remove any contaminants picked up during
manufacturing, testing, shipping and storage.
4. If the pump/FastWasher does not seem to be working very well you can remove the front casing
that has the lter in it, do a quarter counter clockwise turn on the front inlet and remove the
magnet and impeller. Inspect them for any debris, rinse and reinstall them.
Sanitize/Cleaning Tips
1. Always mix the cleaner or sanitizer in the recommended amounts from the manufacturer.
2. Always measure and add the necessary amount water added before mixing in the proper
amount of sanitizer or cleaner.
3. Bottles do not take very long to sanitize on the FastWasher. Do a visual inspection on the bottle
to ensure the inside is fully coated with sanitizer. Gently spinning the bottles in the FastRack helps
with this.
8
1. Where is the FastWasher made?
It is made and assembled in Michigan with some parts coming from China.
2. When will this be available in my country?
Please send the link below to your local retailer requesting them to carry the item and
carbon copy (cc) info@fastbrewing.com on the email.
http://www.fastbrewing.com/fastwasher
3. Is the pump (s) included?
Yes
4. Can I plug the FastWasher into a regular wall outlet?
No it must be plugged into a GFCI (Ground-fault circuit interrupter) outlet or plugged
into an extension cord with a GFCI built into it.
5. What voltage pump is supplied with the FastWasher?
In North America the FastWasher system contains 110V pumps that are 60
Hz. These are 3-prong grounded CE/UL approved pumps.
For European bought FastWashers they contain the standard 2-prong
electric European plug that is CE certied (CEE 7/7) which is 220V
and 50 Hz. For users in the UK and Italy you will need an adapter to
use the FastWasher.
6. Can I run boiling or very hot water through my FastWasher?
No the maximum temperature it can handle is 106 F or 41 C.
7. What are the FastWasher dims?
FW24 - 14.8" by 9.7" by 4.9"
FW12 - 11.6" by 8.5" by 4.9"
Top Frequently Asked Questions
9
Axle Plastic Inc. shall not be liable for any liabilities, damages,
costs, claims, suits or actions resulting from any breach, violation,
or non-performance of any covenant, condition or agreement,
whether in contract, tort, or any other action, resulting from any
damages of any nature, including, but not limited to, damages
for any loss of use, time, prots, savings, investment, or revenues
to the extent that the same may be claimed at law for the use
and enjoyment of FastRack, FastWasher or any accessories, parts
or any other material aspects associated with Axle Plastic Inc.
Limitation of Liability
10
8. Can the FastWasher12 and FastWasher24 hold 12oz bottles safely?
Yes.
9. What size rubber tub do I need?
Tub should be - 20" x 16" x 8" or larger.
10. Can the FastRack12 hold bottles with swing tops safely?
Yes, the swing tops must be removed from bottles prior to loading them
into the FastRacks.
Top Frequently Asked Questions Cont’d
Contact Information
FastBrewing & WineMaking
Unit 105, 264 Queens Quay West
Toronto, Ontario, Canada
M5J 1B5
1 800 549 5763
Info@FastBrewing.com
www.FastBrewing.com
NEED HELP?
Step 1: Check out our website - Go to www.FastBrewing.com
Step 2: Read FastWasher FAQ - Click on “FAQs” ->“FastWasher FAQs”
( http://www.fastbrewing.com/content/fastwasher-faqs)
Step 3: If you can’t nd what you’re looking for,
send an email to Info@FastBrewing.com or
call us at 1 800 549 5763. Email is best as we require
a paper trail for replacement parts and inquires.
Patent Pending
11
This manual suits for next models
1


