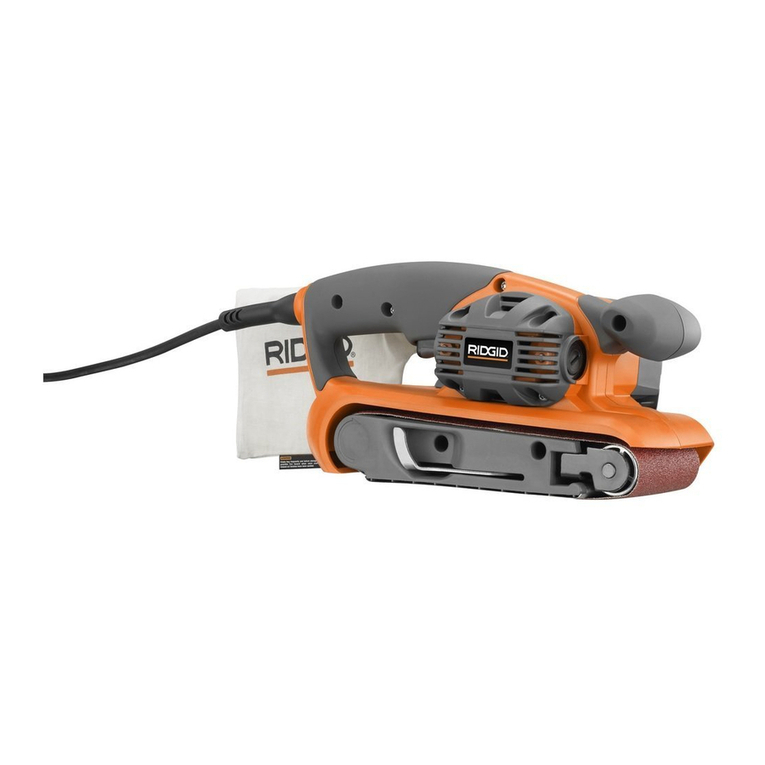
FHC DS118 User manual

IMPORTANT TO READ ALL
SAFETY INSTRUCTIONS
WARNING:
WHEN USING ELECTRIC TOOLS,
BASIC SAFETY PRECAUTIONS SHOULD
ALWAYS BE FOLLOWED TO REDUCE
THE RISK OF FIRE, ELECTRIC SHOCK,
AND PERSONAL INJURY.
INSTRUCTION MANUAL
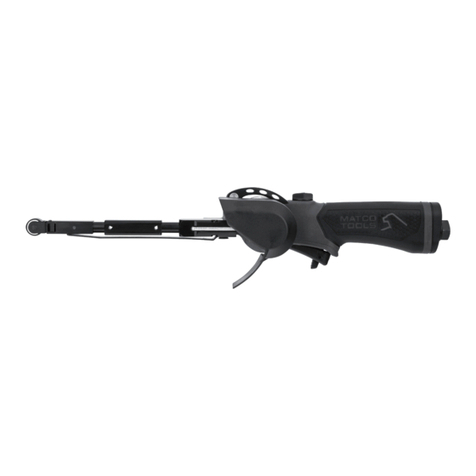
FHC GLASS DETAIL BELT SANDER
SPECIFICATIONS
Abrasive Belt Dimension 1-1/8" x 21"
Abrasive Belt Speed (min) 656 - 3280 ft per min
Sander Length 15"
Sander Net Weight 4.6 lbs
Voltage 110V
STANDARD ACCESSORIES
1 Side Handle
ITEM NO. DS118
PAGE 1 OF 4 LIT0025 12.20.19
4361 Firestone Blvd. South Gate, CA 90208 | Toll Free: (888) 295-4531 | Fax: (323) 336-8307 | fhc-usa.com
GLAZING SUPPLIES
SHOWER DOOR HARDWARE
ARCHITECTURAL HARDWARE
RAILING HARDWARE
TRANSACTION HARDWARE
METAL EXTRUSIONS

FHC GLASS DETAIL BELT SANDER - 1-1/18" X 21" INSTRUCTION MANUAL FRAMELESS HARDWARE COMPANY
PAGE 2 OF 4 LIT0025 12.20.19
SAFETY RULES
1. KEEP WORK AREA CLEAN. Cluttered areas and benches
cause injuries.
2. CONSIDER WORK AREA ENVIRONMENT. Do not use power
tools in damp or wet environments. Keep work area well lit. Do
not expose power tools to rain. Do not use power tools in the
presence of ammable liquids or gases.
3. KEEP CHILDREN AWAY. All visitors should be kept away from
the work area. Do not let visitors come into contact with the tool
or extension cord. Power tool should only be operated by Trained
Personnel.
4. STORAGE OF POWER TOOLS. When not in use tools should be
stored in a dry and locked up area - out of reach of children.
5. DO NOT FORCE THE TOOL. The tool will do the job better and
safer at the rate for which it was intended.
6. USE THE RIGHT TOOL. Do not force a small tool or attachment
to do the job of a heavy-duty tool. Do not use the tool for purposes
not intended; for example, do not use a circular saw for cutting
tree limbs or logs.
7. DRESS PROPERLY. Do not wear loose clothing or jewelery.
They can be caught in moving parts. Rubber gloves and non
skid footwear are recommended when working outdoors.
Wear protective hair covering to contain long hair.
8. WEAR PERSONAL PROTECTIVE EQUIPMENT. Always wear
Protective Eyewear when operating any tool. Full face shield and
dust mask show be worn when cutting or sanding.
9. DO NOT ABUSE CORD. Never carry a power tool by its cord or
pull it to disconnect it from receptacle. Keep cord from heat, oil
and sharp edges.
10. SECURE WORK. Use clamps or a vice to hold work. It is safer
than using your hand and it frees both hands to operate tool.
11. DO NOT OVER REACH. Keep proper footing and balance
at all times.
12. MAINTAIN TOOLS WITH CARE. Keep tools sharp and clean for
better and safer performance. Follow instructions for lubricating
and changing accessories. Inspect tool cords periodically and if
damaged have them repaired by an authorized service facility.
Inspect extension cords periodically and replace if damaged.
Keep handles dry, clean, and free from oil and grease. Always
disconnect the tool from its power source before performing
any maintenance or service.
13. DISCONNECT TOOLS. When not in use, before servicing, and
when changing accessories, such as blades, bits, cutters, ensure
that the plug of the tool is disconnected from the power source.
14. REMOVE ADJUSTING KEYS AND WRENCHES. Check to see
that keys and adjusting wrenches are removed from the tool
before turning it on.
15. AVOID UNINTENTIONAL STARTING. Do not carry the tool with
a nger on the switch. Check to see that the tool switch is o
position before connecting the tool to it’s power source.
16. EXTENSION CORDS. Make sure your extension cord is in
good condition. When using an extension cord, be sure to
use one certied to carry the current your product will draw.
An undersized cord will cause a drop in line voltage resulting
in loss of power and overheating.
17. OUTDOOR USE OF EXTENSION CORDS. When the tool is used
outdoors, use only an extension cord intended for use outdoors
and so marked.
18. STAY ALERT. Watch what you are doing -- use common sense.
Do not operate the tool when you are tired or impaired.
19. CHECK FOR DAMAGED PARTS. Before further use of the
tool, ensure that the damaged part is repaired / replaced before
continuing work with the tool. Check for alignment of moving
parts, binding of moving parts, breakage of parts, loose
mountings and any other conditions that may aect its operation.
Have defective switches replaced by an authorized service
center. Do not use the tool if the switch does not turn the
machine on and o.
20. GUARD AGAINST ELECTRIC SHOCK. Prevent body contact
with grounded (earthed) surfaces. For example; pipes, radiators,
refrigerator enclosures.
21. REPLACEMENT PARTS. When servicing the tool, use only
identical replacement parts obtainable from an authorized repair
agent. Always disconnect power source before performing any
maintenance or service.
22. POLARIZED PLUGS. To reduce the risk of electric shock this
tool has a polarized plug (one plug point is wider than the other
two). This plug will t in a polarized outlet only one way. If the
plug does not t fully in the outlet, rotate the plug. If the plug still
does not t correctly, contact a qualied electrician to install the
proper outlet. Do not change or alter the plug in any way.
VOLTAGE WARNING. Before connecting to a power source
(receptacle,outlet, etc) be sure the voltage supplied is the same
as that specied on the nameplate of the tool. A power source
with voltage greater than that specied for the tool can result in
SERIOUS INJURY to the user - as well as damage to the tool.
IF IN DOUBT, DO NOT PLUG THE TOOL INTO AN ELECTRICAL
SOCKET. Using a power source with voltage less than the
nameplate rating is harmful to the motor.
ADDITIONAL SAFETY RULES
1. Hold the tool rmly with both hands.
2. Make sure the belt is not in contact with the work piece before the
switch is turned on.
3. Keep hands away from rotating parts.
4. Do not leave the tool running unnecessarily. Operate the tool only
when handheld.
5. This tool is not water proofed, so do not use water on the work
piece surfaces.
SAVE THESE
INSTRUCTIONS

INSTALLING THE SIDE GRIP/HANDLE.
For your own safety, always use the side grip/control handle.
Install it by screwing it rmly on the end of the sander. The
side grip/control handle can be pivoted for easy operation.
See image on the left.
INSTALLING OR REMOVING
THE ABRASIVE BELT
CAUTION:
Always make sure that the tool is switched o and
unplugged before installing or removing the belt.
Loop the belt over the front pulley. Hold the tool as shown below
and press down to retract the front pulley so that you can slip the
other end of the belt over the rear pulley. When pressing down the
tool be careful not to allow the front pulley to turn unexpectedly
causing you to lose control of the tool.
NOTE: The arrow on the inside of the belt and that marked on the
rear pulley, must point in the same direction. See diagram below.
SWITCH ACTION
CAUTION: Before plugging the tool into an electrical socket, always
check to see that the trigger switch operates correctly and returns
to the “OFF” position when released. If it does not operate properly,
do not use the tool. Have it repaired immediately. To start the tool,
simply push the trigger switch. Release the trigger switch to stop.
For continuous operation, push the trigger switch and then push i
the lock button. To stop the tool from the locked position, push the
trigger switch fully, then release it.
SPEED ADJUSTING DIAL
The belt running speed can be adjusted and maintained
between 656 ft and 3280 ft per minute by turning the adjusting
dial. The dial is marked 1 (lowest speed) to 6 (full speed)
CAUTION:
Adjust the speed adjusting dial only within the range
of numbers 1 through 6. Do not force the dial beyond
this range or damage to the tool may result.
PAGE 3 OF 4 LIT0025 12.20.19
Side Grip
Grip Holder
Side Grip
Holder
Can Pivot
Speed Adjusting Dial
Lock Button
Switch
Trigger
Arrow
Rear Pulley
Front Pulley
Press Down to
Retract Front Pulley
FHC GLASS DETAIL BELT SANDER - 1-1/18" X 21" INSTRUCTION MANUAL FRAMELESS HARDWARE COMPANY

PAGE 4 OF 4 LIT0025 12.20.19
FHC GLASS DETAIL BELT SANDER - 1-1/18" X 21" INSTRUCTION MANUAL FRAMELESS HARDWARE COMPANY
OPERATION
Hold the tool rmly with both hands. Turn the tool on and wait until it attains your desired speed. Gently apply the tool to the work
piece surface and move the tool forward and back. Press the belt only lightly on the work piece. Excessive pressure may damage
the belt and shorten the tool life.
CAUTION:
• Secure the work piece with clamps or holding devices to prevent the possibility of the work piece moving during the work
operation.
• The tool should not be in contact with the work piece surface when you turn the tool on or o. This will result in a poor
sanding nish with possible damage to the belt or possible loss of control of the tool.
• When working with the tool, be careful to avoid any contact with any part of your body or anyone or anything near you.
DUST EXTRACTION
Open the dust extraction/nozzle cap. Connect the hose
of a vacuum cleaner/dust collector to the outlet.
CAUTION:
Always close the dust extraction/nozzle cap
when the hose of a vacuum cleaner/dust
collector is not connected to the tool. NEVER
INSERT YOUR FINGER INTO THE DUST
EXTRACTION/NOZZLE OPENING.
Replacing Carbon Brushes
Remove and check the carbon brushes regularly. Replace them
when they wear down to the limit mark. Keep the carbon brushes
clean and free of dust to allow then to slip in the brush holders.
Both carbon brushes should be replaced at the same time. Use
only identical carbon brushes.
Use a screwdriver to remove the brush holder caps. Take out the
worn carbon brushes, insert the new ones and secure the brush
holder caps. To maintain product SAFETY and RELIABILITY,
repairs and any form of maintenance or adjustment should be
performed by an authorized repair technician.
MAINTENANCE
CAUTION:
Always make sure that the tool is switched o and unplugged before attempting to perform an inspection or
maintenance procedure.
4361 Firestone Blvd. South Gate, CA 90208 | Toll Free: (888) 295-4531 | Fax: (323) 336-8307 | fhc-usa.com
GLAZING SUPPLIES
SHOWER DOOR HARDWARE
ARCHITECTURAL HARDWARE
RAILING HARDWARE
TRANSACTION HARDWARE
METAL EXTRUSIONS
Limit Mark
Brush Holder Cap
Screwdriver
Nozzle Cap
Nozzle
