FLI FU10 Parts list manual

UNDERGROUND
INSTRUCTION &
INSTALLATION MANUAL
MODEL: FU10, FU12, FU15
subwoofer

INTRODUCTION
This instruction manual is for your safety and must be adhered to at all times. Please read
and ensure that you fully understand the installation and set up procedures as explained. If
you are unclear on the installation or set up of your FLI UNDERGROUND subwoofer please
contact your nearest authorised FLI UNDERGROUND dealer.
Thank you for purchasing this FLI UNDERGROUND subwoofer. It will provide you
with years of trouble free usage providing you follow a few simple guidelines.
2
WARNING
DO NOT EXPOSE THIS PRODUCT TO DAMP OR MOISTURE - doing so may result in fire,
shock or damage to the product.
BEFORE WIRING DISCONNECT THE CABLE FROM THE POSITIVE BATTERY TERMINAL
- failure to do so may result in electric shock or injury.
ENSURE GOOD AND CORRECT CONNECTIONS - failure to make the correct connections
may result in fire or damage to the product.
KEEP THE VOLUME AT A LEVEL SO YOU CAN STILL HEAR OUTSIDE NOISE - failure to do
this may result in an accident. FLI UNDERGROUND equipment is capable of producing sound
levels that can permanently damage your hearing. FLI UNDERGROUND recommends caution
when listening at high volume. For safe and enjoyable listening the sound should be comfortable
and clear without distortion.
CAUTION
• Never connect any speaker lead to the car chassis. This can cause severe damage to your
speaker / car radio / amplifier.
• Before drilling or cutting any holes, investigate the layout of your vehicle thoroughly.
• Use caution when working near the fuel / hydraulic lines and electrical wiring.
• Observe the correct polarity when wiring, improper phasing may cause a loss of bass
response.
• Ensure that no moving parts catch on the speaker or grill (e.g. window or door handles, or
window glass inside the door)
INSTALLATION
• The quality of the installation will affect the system performance and reliability.
• Contact your nearest authorised FLI dealer if you are unsure about the installation of this
product.
• Please mount this unit away from any potential hazards.
• Minimising the length of wires will provide higher audio output from the system.
• The speaker should be securely fastened to the mounting position using the screws
provided.
• Pre drill your mounting holes using a drill and position with the template provided.
• Be sure to investigate your mounting area thoroughly for electrical wires, brake or fuel lines or
fuel tank to prevent causing any damage.
BLE F
ock or injur
ONNECTIONS
-
roduct.
L SO YOU CAN STILL HE
LI UNDERGROUND equipme
amage your hearing. FLI UNDER
e. For safe and enjoyable listening th
speaker lead to the car chassis. This can cause
o / amplifi
cutting any holes, investigate the layout of your vehicle
hen working near the fuel / hydraulic lines and electrical wirin
correct polarity when wiring, improper phasing may cause
at no moving parts catch on the speaker or grill (e.g. window or do
glass ins
TALLA
e quality
ontact your nearest authorised FLI dealer if you are unsure about the installation o
product.
Please mount this unit away from any potential hazards.
the system
aler if
RGROUND
r hearing.
d enjoyabl
car chas
tigate th
/ hydrau
ing, im

3
Run in procedure
FLI UNDERGROUND recommends that you follow the run in procedure for the
subwoofer detailed below.
When your subwoofer is used for the first time naturally like most brand new items it is very
stiff and rigid, it will take time for the moving parts of this subwoofer to loosen up before it
will be ready to deliver its full potential.
For the first 30 hours it is recommended that you play the subwoofer initially at low to medium
volumes, gradually increasing the volume level as time progresses. As a guide, if you listen to it for
1 hour every day it will take a month for the speaker to run in properly. You will notice a big change
in the sound of the subwoofer over this period, as the spider and surround begin to run in the sound
will get deeper and punchier, also the output of it will increase as the suspension loosens up.
A new subwoofer is like a new car engine, it needs a few thousand miles before you can drive it to its full
potential, driving it into the ‘red line’ from the first day will mean engine damage is certain and will not be
covered by warranty and the same applies to the subwoofer. Failure to follow this simple procedure is the
most common reason for a subwoofer to fail after a very short period of time.
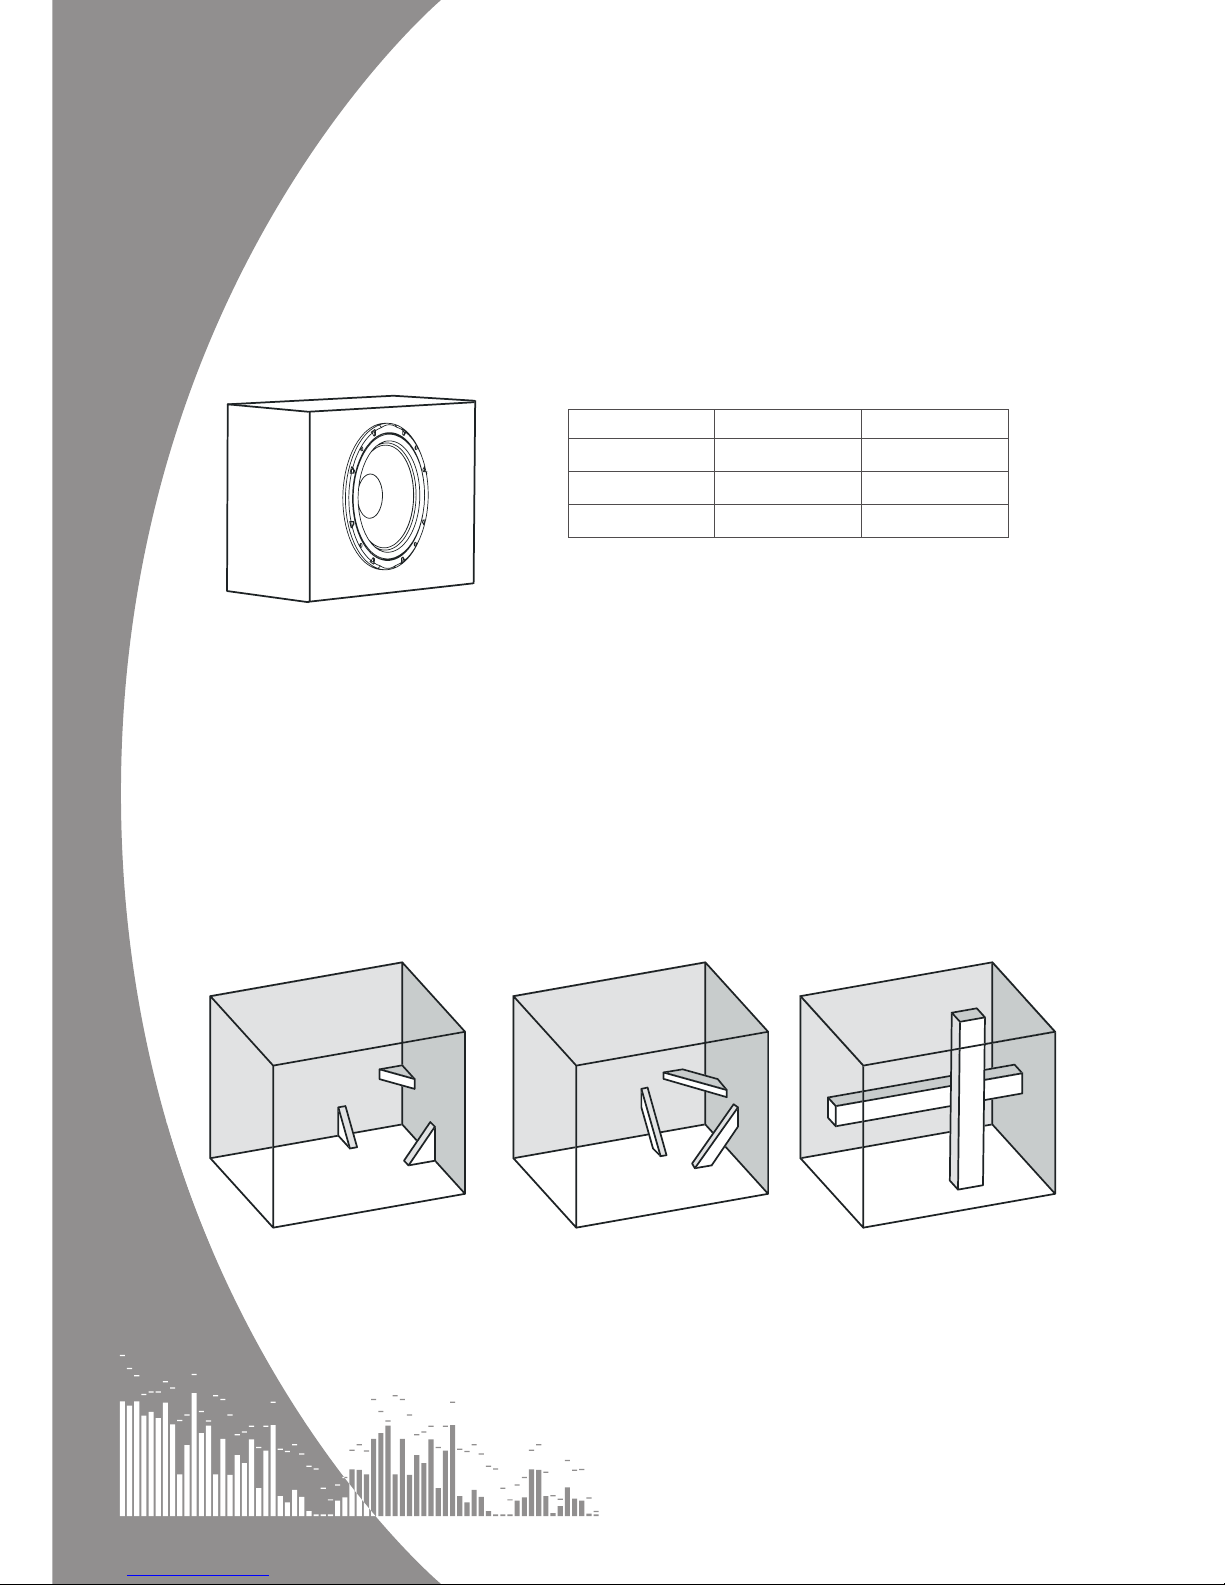
Installation
The FLI UNDERGROUND subwoofer can be installed in a variety of different ways, the most suitable will
depend upon your application.
Free-air installation
The FLI UNDERGROUND subwoofer can be mounted free-air, but this does not mean that the woofer can
work without any form of enclosure. What it does mean is that the enclosure can be very large and therefore
the subwoofer can utilise the vehicle boot as an enclosure.
The subwoofer needs to be mounted to a rigid panel as excess vibration will result in poor sound quality.
The panel or baffle, should also seal the output from the front of the subwoofer from the output from the rear
otherwise poor sound quality, known as phase error, will occur. This simply means that the output from the rear
of the woofer will cancel out the output from the front resulting in a loss of bass.
As the enclosure in free-air applications is so large it is worth noting that the power handling of the subwoofer is
reduced to half that of the same woofer in a measured enclosure. Please take this into account when choosing
your amplifier. The sound quality of a free-air mounted subwoofer will not match that of the same subwoofer
mounted in a measured enclosure. However in applications where building a traditional enclosure is impossible,
free-air mounting will add increased bass response to your system.
4
Sealed enclosure installation
The most basic and simple of all speaker enclosures is the sealed enclosure otherwise
referred to as an acoustic suspension design. They are called acoustic suspension
enclosures because the air inside the box acts like a brake to control the woofer. The
sealed enclosure is the easiest design to build and tune, as long as you work within the
minimum and maximum recommended volumes you cannot get it wrong. The smaller
enclosures produce a tighter punchy bass, the larger enclosures produce a deeper bass.
Sealed enclosures offer high power handling, tight response and smooth low end roll off and
cone motion is better controlled at all frequencies because of the constant pressure on the back
of the woofer.
Sealed enclosures are ideally suited to rock, jazz and live music.
ENCLOSURE CONSTRUCTION
Use at least 3/4 inch MDF (medium density fibreboard) or Birch ply to construct your enclosure. It is recommend
that the panels are glued, screwed and braced with sections of the same material you have used to build the
enclosure from.
The FLI UNDERGROUND woofer is capable of producing internal pressures that can literally blow apart badly
made enclosures, so great care needs to be taken with the construction and bracing of your enclosure. It is also
worth sealing the joints with a silicone sealer once the glue has dried to make a perfect airtight seal.
NOTE- DO NOT SCREW THE SUBWOOFER INTO THE ENCLOSURE WITHIN 24 HOURS OF APPLYING
SILICONE SEALER TO THE JOINTS. THE GASES GIVEN OFF AS THE SILICONE CURES CAN PERISH
THE SURROUND OF THE SUBWOOFER CAUSING A NON WARRANTY FAILURE.
PRODUCT TIGHT BASS DEEP BASS
FU 10 1.0 cu. ft. 1.5 cu. ft.
FU 12 1.5 cu. ft. 2.0 cu. ft.
FU 15 2.0 cu. ft. 2.5 cu. ft.
For twin enclosures simply double the volume. E.G. 2 x FLI 10 in deep bass enclosure
will be 3.00cuft
5
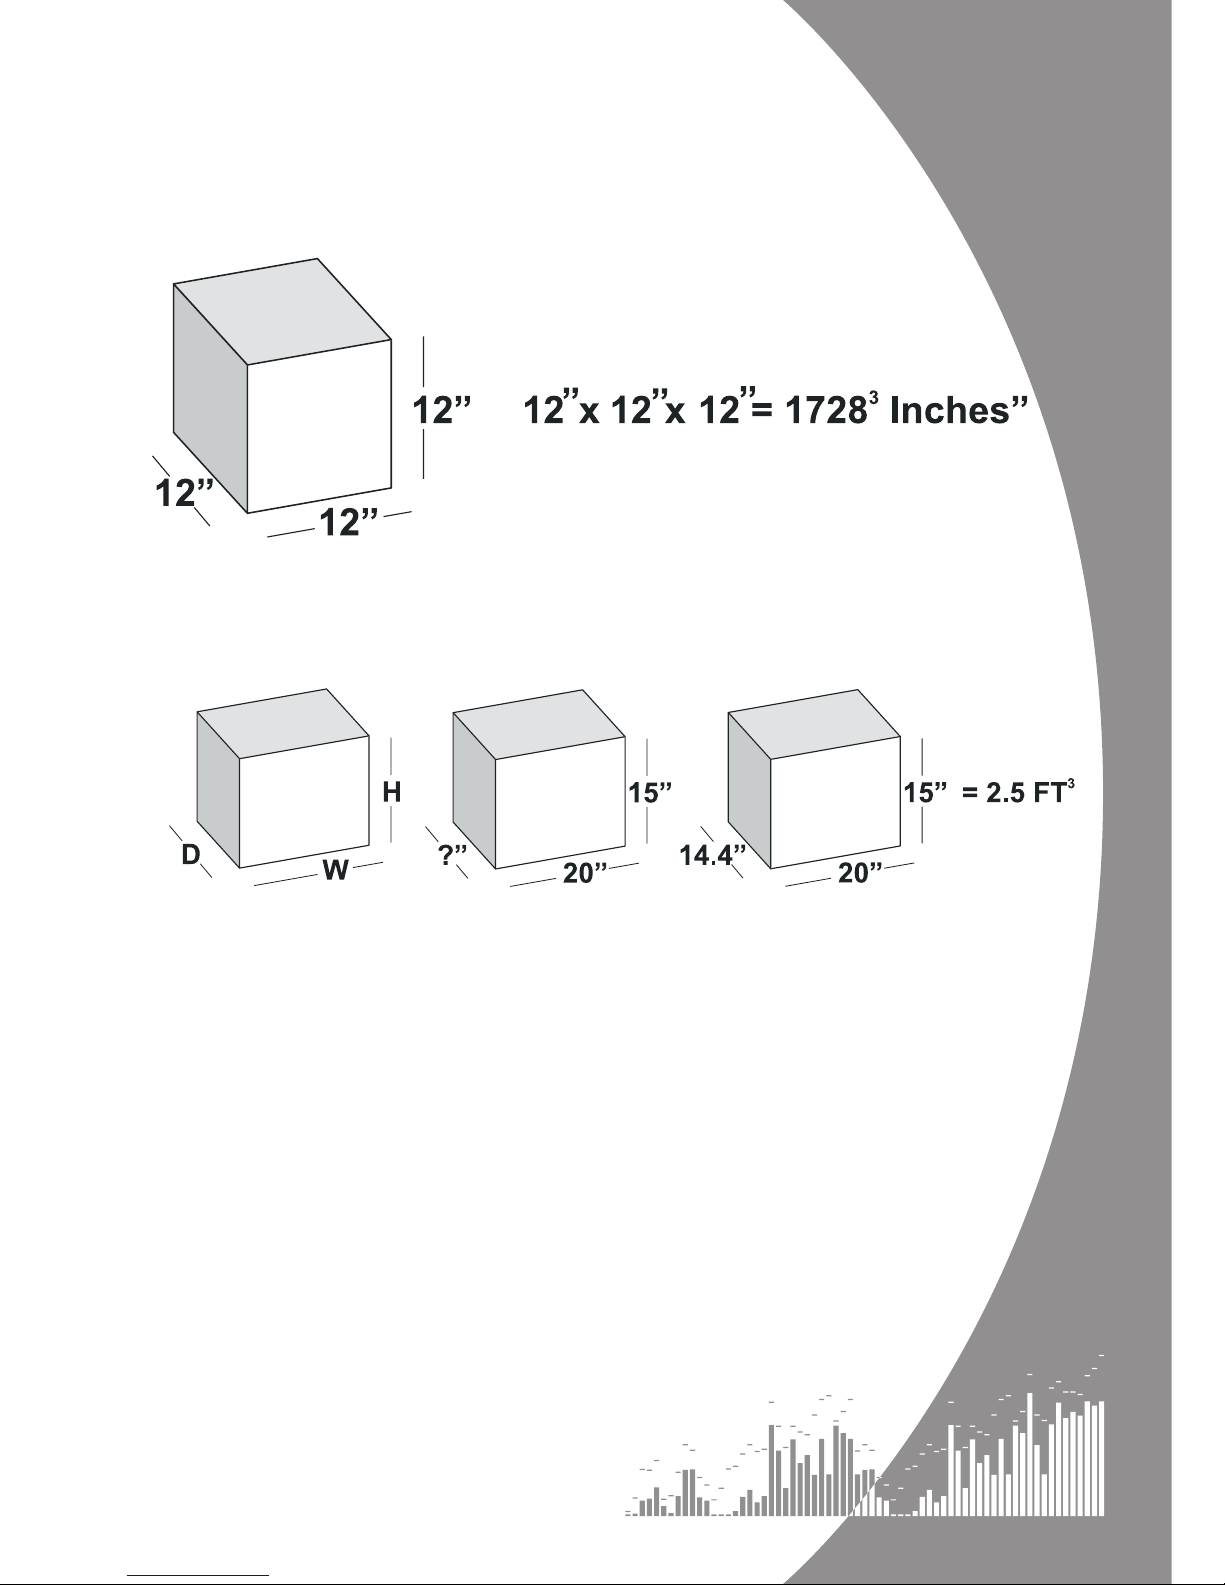
Enclosure Volume
To work out the volume required for your enclosure please refer to recommended
enclosure volumes specified for your Subwoofer. These are listed in cubic feet. To
convert cubic feet to litres multiply the cubic feet by 28.3. If you use this formula calculating
your enclosure size will be easy .1 cubic foot is expressed as 12” x 12” x 12” = 1728 cubic
inches
If we require a volume of 2.5cuft then we multiply this by 1728 2.5 x 1728= 4320 cubic inches. We now take
2 known enclosure dimensions that we will use, e.g height and width and divide this figure by them which will
give us the depth, for example our height is 15”, our width is 20”. So our depth is 14.4” for this enclosure.
NOTE: THIS FORMULA IS FOR THE INTERNAL DIMENSIONS, PLEASE ADD THE THICKNESS OF
THE MATERIAL USED TO CONSTRUCT THE ENCLOSURE TO THE FORMULA TO GIVE YOU THE
OUTSIDE DIMENSIONS.
So assuming we are using 1 inch material we need to add 2 thicknesses to each internal dimension to allow
for material top and bottom, so the external dimensions for this enclosure would be 17 x 22 x 16.4 inches.
The displacement of the woofer must also be added to the required volume before you calculate the
required sizes needed to build your enclosure.
6
specifications
KEEP IT SAFE
Staple your receipt here:
MODEL NUMBER:
SERIAL NUMBER:
PURCHASED FROM:
DATE OF PURCHASE:
In order to protect your purchase and aid your warranty please fill
in the following form and keep it safe for your future reference.
For more information and to register your warranty online, visit:
www.fliaudio.com/warranty
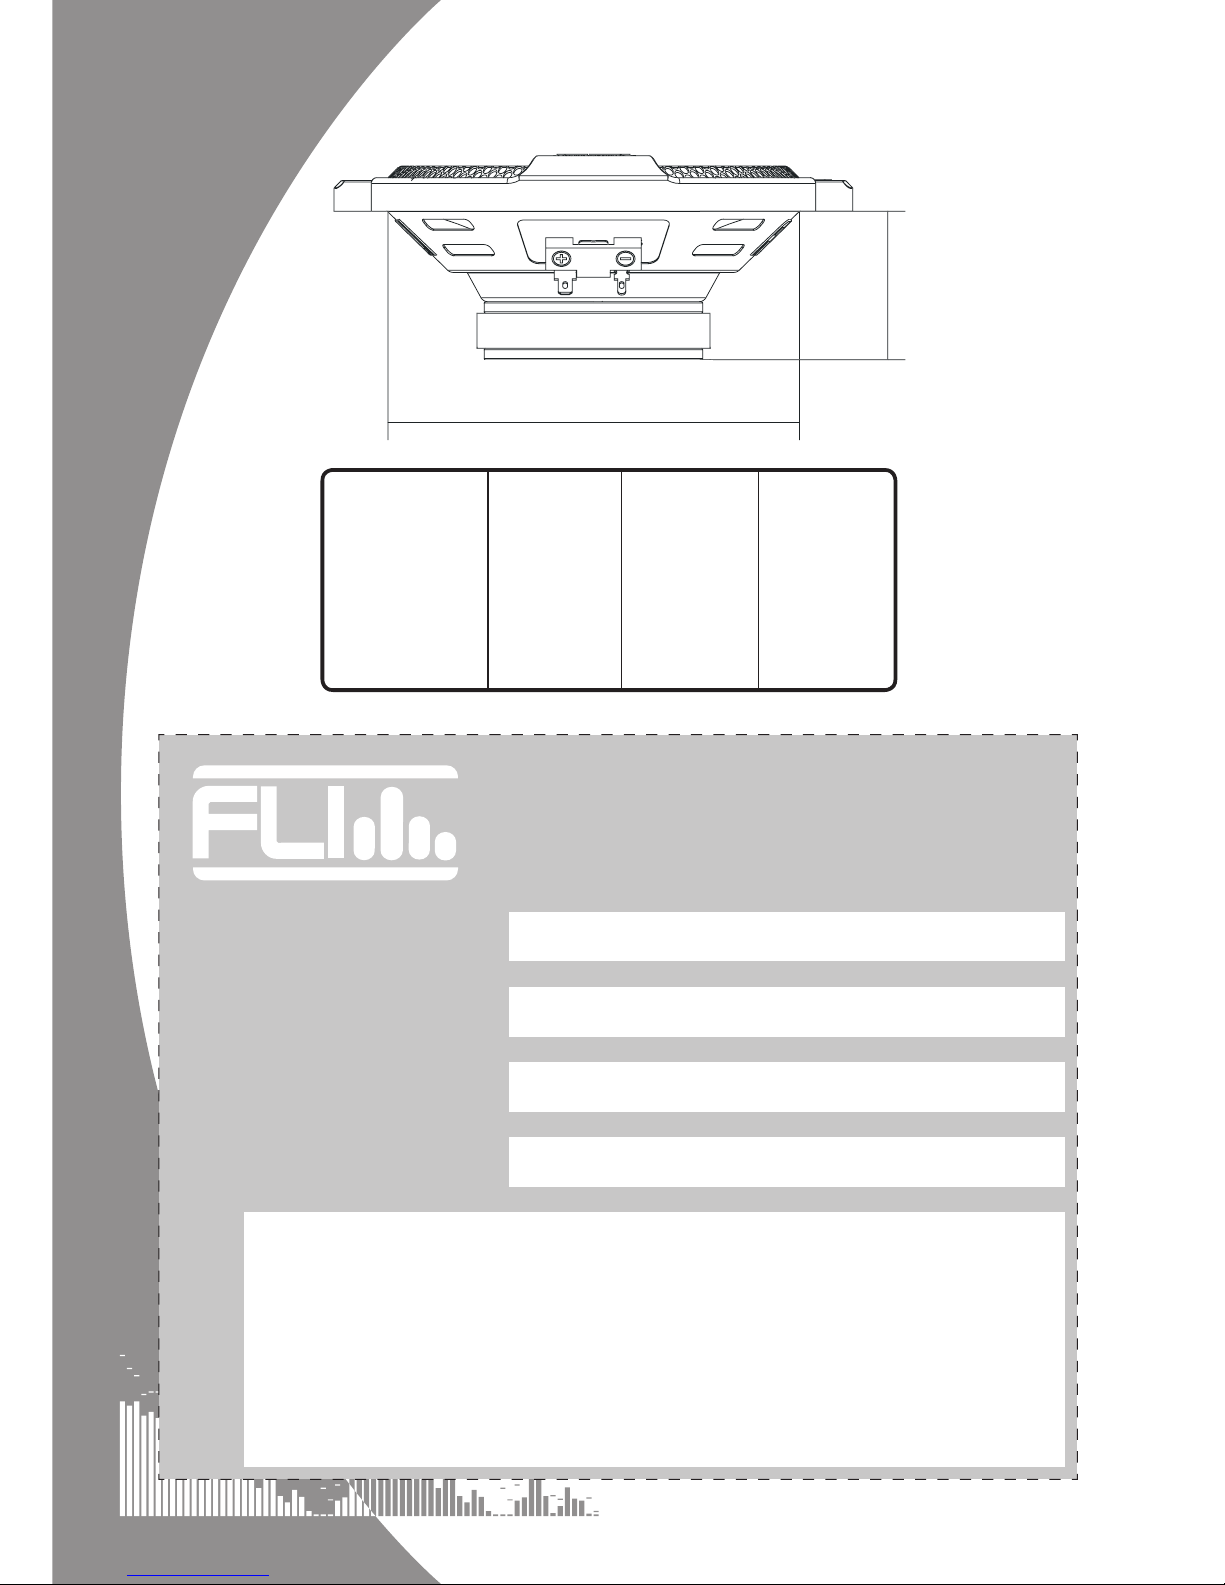
Model FU10 FU12
Type subwoofer subwoofer
Speaker size 10” (272mm) 12” (324mm)
RMS power 250 watts 300 watts
Peak power 800 watts 1000 watts
Minimum input 125 watts RMS 150 watts RMS
Sensitivity
Frequency response 30Hz - 1700Hz 25Hz – 1500kHz
Mounting diameter
Mounting depth
Recommended amplifier
FU360.2/FU720.4
FU1000.1/FU1000.5
FU360.2/FU720.4
FU1000.1/FU1000.5
85dB 86dB
9.7” (247mm)
4.2” (106mm)
11.7” (297mm)
4.8” (122mm)
FU1
subwoofer
25Hz – 1500kHz
FU360.2/FU720.4
FU1000.1/FU1000.5
87dB
15” (381mm)
400 watts
1200 watts
200 watts RMS
14.6” (370mm)
5.9” (150mm)
5
-OUNTING$IAMETER
-A
G
NET$
I
AMETE
R
-
OUNTIN
G
$EPTH

LIMITED WARRANTY
All FLI goods are covered by a full 12 months manufacturers warranty. Valid
from the date of the original receipt and proof of purchase. In order to validate
this warranty, the warranty card should be returned to FLI within seven days
of the original purchase date. The original receipt and packaging should also
be kept for this 12 month period.
If at any stage during the warranty period you have a problem with the product
then it should be returned to the point of purchase in its original packaging,
complete and with no items missing. If the store is unable to fix the product it
may have to be returned to FLI this process takes around 7 working days.
A full description of FLI’s warranty information can be found on our website:
www.fliaudio.co.uk/warranty
A written version can also be obtained from:
FLI warranty department
PO Box 11000
B75 7WG
UK
COPYRIGHT
All content included in this manual such as text, graphics, logos, icons, images data, the selection
and arrangement thereof, are the property of FLI Audio (herein referred to as “FLI”, “us” or “we”)
and its affiliate or their content and technology providers, and are protected by United Kingdom
and International copyright laws. All rights reserved.
TRADEMARKS
FLI UNDERGROUND™, FU™, UNDERGROUND™ and all stylised representations of product
names, or the abbreviations of product names, as logos are all trademarks of FLI. Graphics and
logos are trademarks or trade dress of FLI Audio or its subsidiaries. FLI’s trademarks and trade
dress may not be used in connection with any product or service that is not FLI’s, in any manner
that is likely to cause confusion among customers or in any manner that disparages or discredits
FLI. All other trademarks not owned by FLI or its subsidiaries that appear in this manual are the
property of their respective owners, who may or may not be affiliated with, connected to, or
sponsored by FLI or its subsidiaries.
We reserve the right to make needed changes or improvements to the product
and this manual, without informing the customer about this in advance.
7
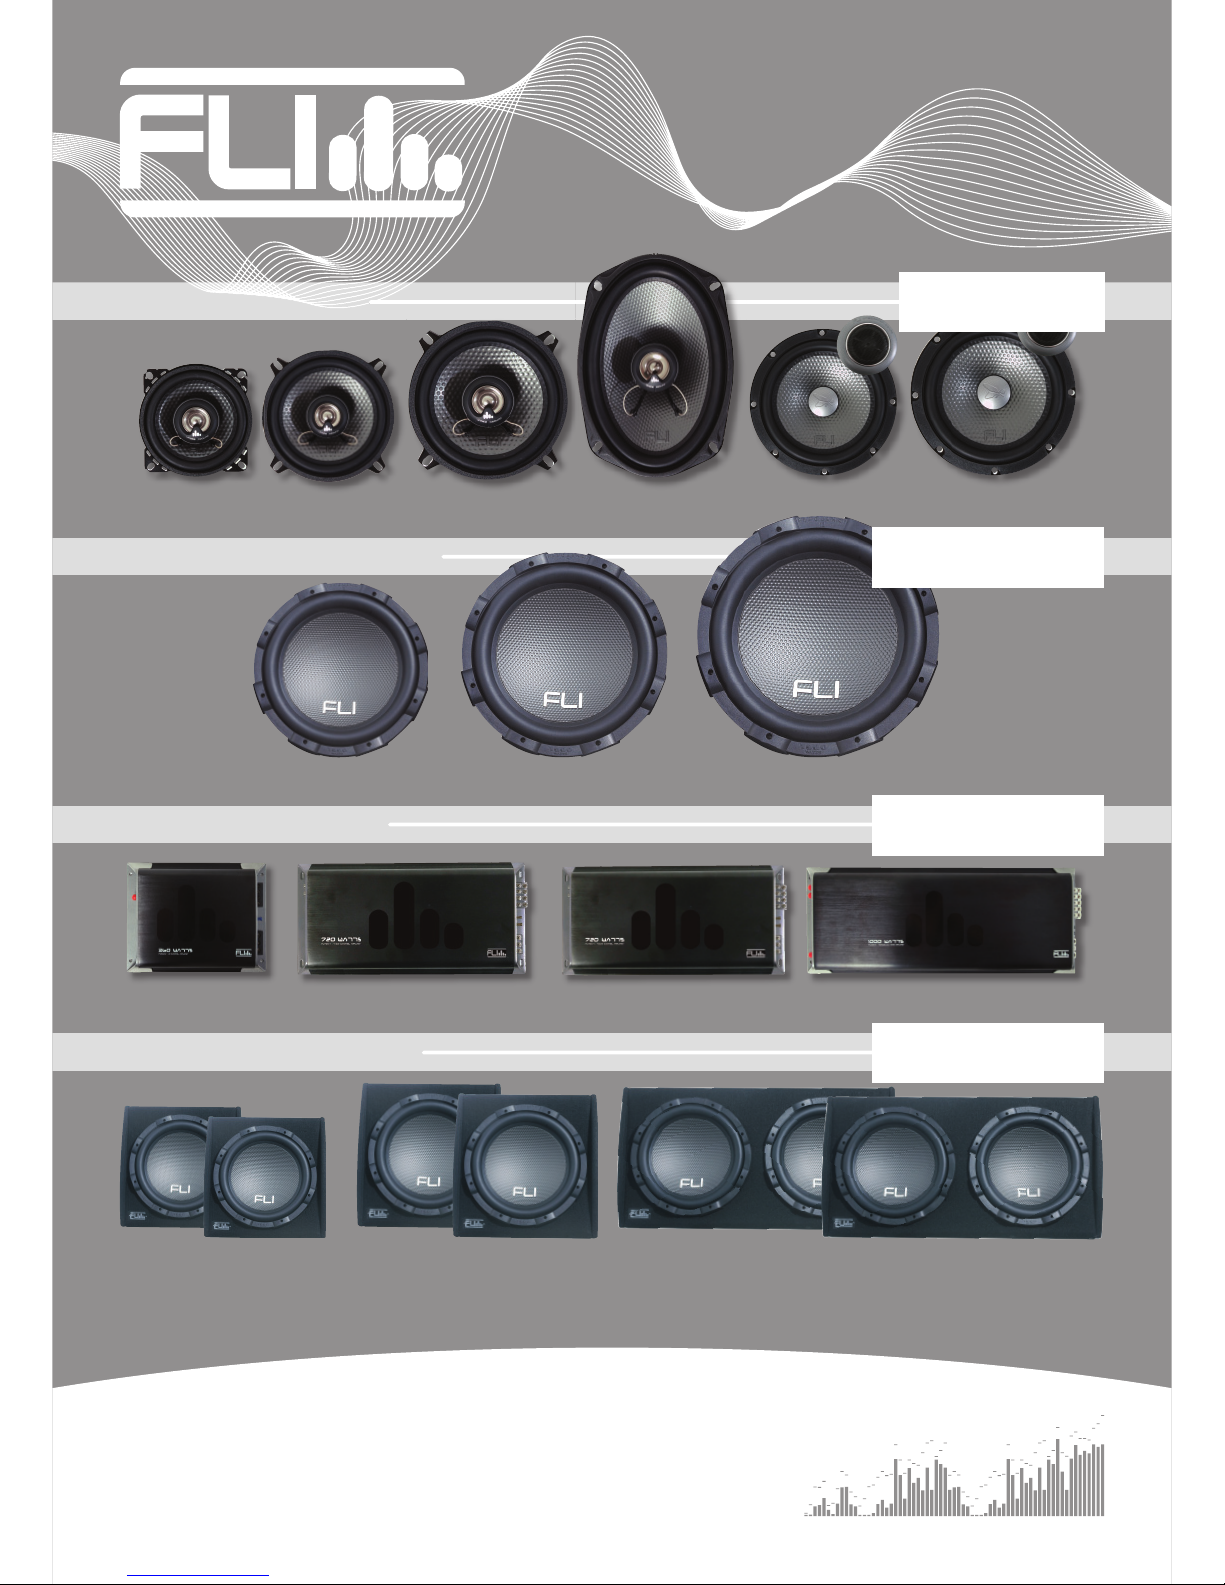
AVAILABLE NOW IN THE
FLI UNDERGROUND RANGE:
UNDERGROUND
www.fliaudio.com
up to
up to
270 watts
270 watts
speakers
FU 4 FU 5 FU 6 FU 69 FU 5c FU 6c
FU 10 FU 12 FU 15
FU 360 FU 720 FU 1000.1 FU 1000.5
FU 10P
FU 10A
FU 12P
FU 12A
FU 12TP
FU 12TA
up to
up to
1200 watts
1200 watts
up to
up to
1000 watts
1000 watts
up to
up to
1200 watts
1200 watts
subwoofers
AMPLIFIERS
ENCLOSURES
This manual suits for next models
5
Table of contents
Other FLI Subwoofer manuals

Popular Subwoofer manuals by other brands


Atlantic Technology
Atlantic Technology 642 SB instruction manual

Boss Audio Systems
Boss Audio Systems Chaos EXXTREME CX15 user manual

Focal
Focal 4017668 user manual

Magnat Audio
Magnat Audio OMEGA CS 12 Owner's manual/warranty document

MartinLogan
MartinLogan Dynamo user manual

ADS
ADS RS12 Information manual


