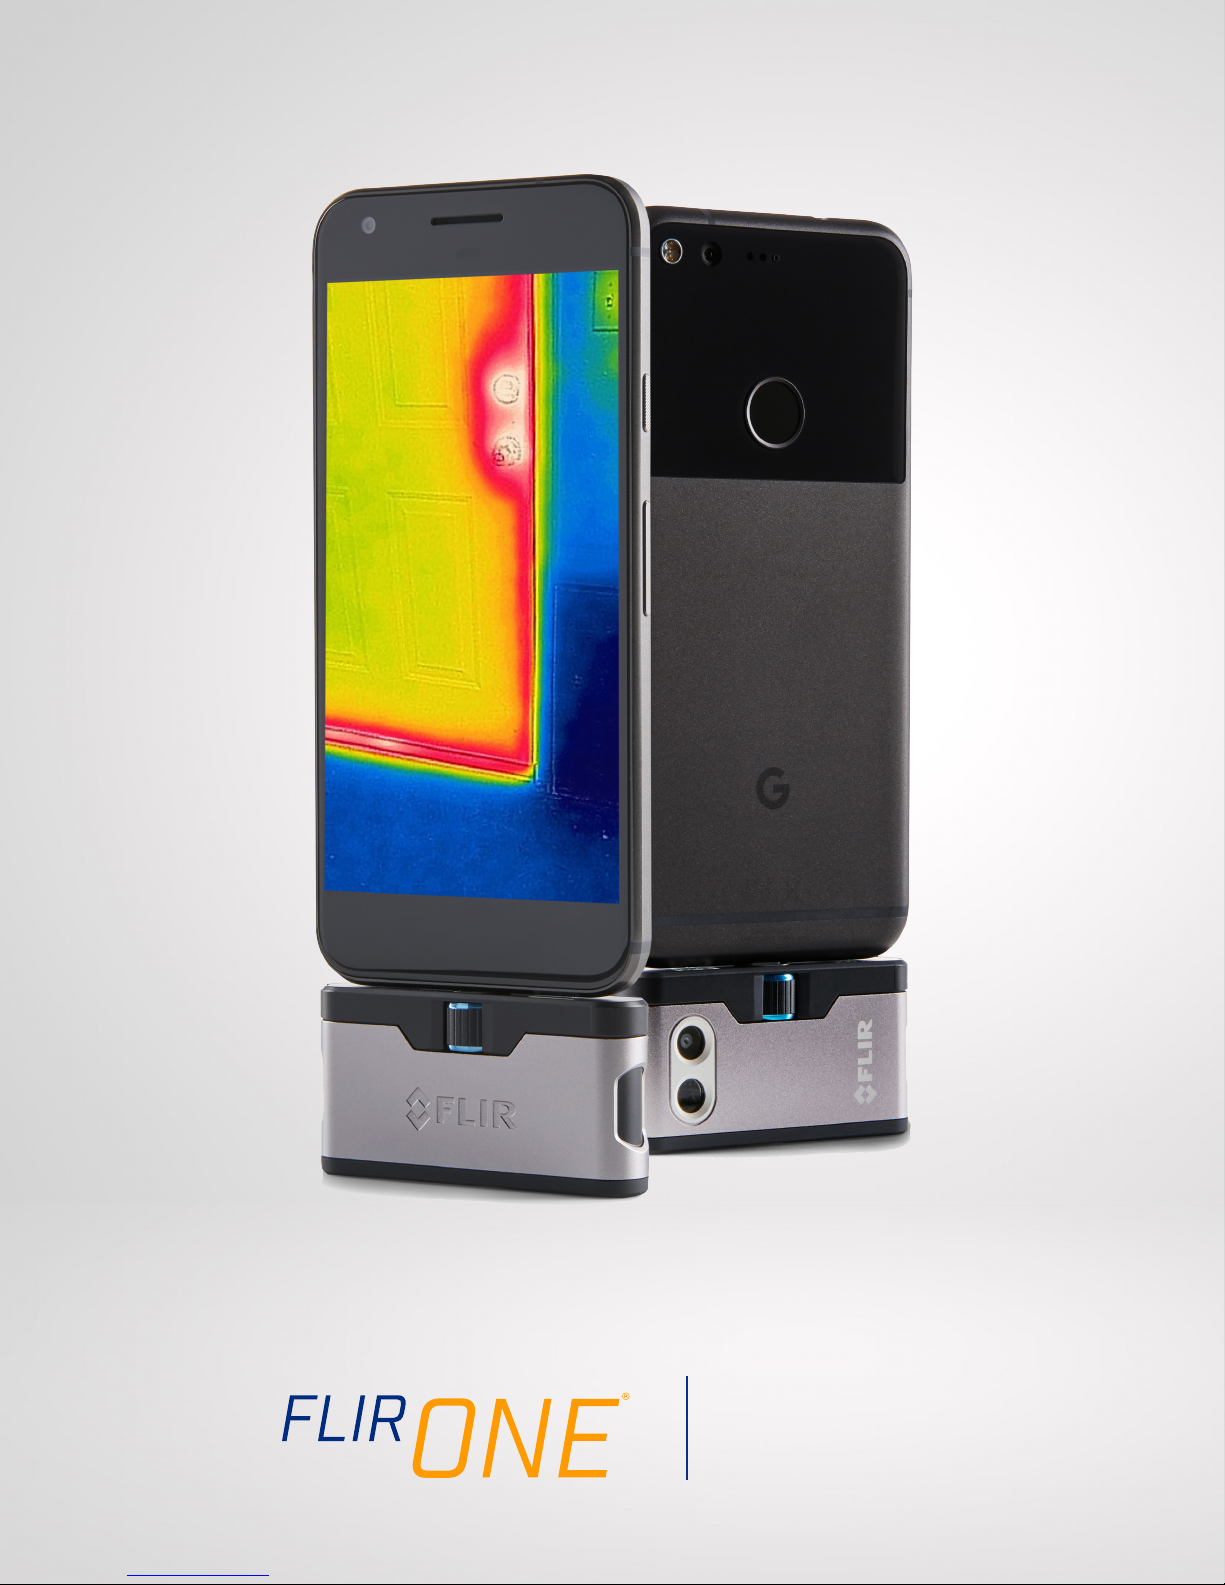
FLIR ONE User manual

USER GUIDE
Third Generation
For Android

USER GUIDE 2
FLIR ONE USER GUIDE
The FLIR ONE allows you to see the world in a whole new way, with a
unique blend of thermal and visible imaging. This User Guide provides
the information you will need to use the FLIR ONE.
CHARGING THE FLIR ONE
Plug the USB-C end of the power cable into the FLIR ONE and plug the
other end into a 1A power source. The Charge Indicator LED will blink
while the device is charging. The FLIR ONE will charge to full capacity
in about 1 hour. When the device is fully charged, the Charge Indicator
LED will be on continuously. The FLIR ONE is not intended to be charged
while in use.

USER GUIDE 3
FLIR ONE APP
The latest version of the FLIR ONE app is available on the Apple App
Store for iOS or Android. Download and install the app, then start
it. Turn on the FLIR ONE and connect it to your phone. If the FLIR
ONE is turned o, the app will prompt you to attach your FLIR ONE
camera before you can view the camera feature.
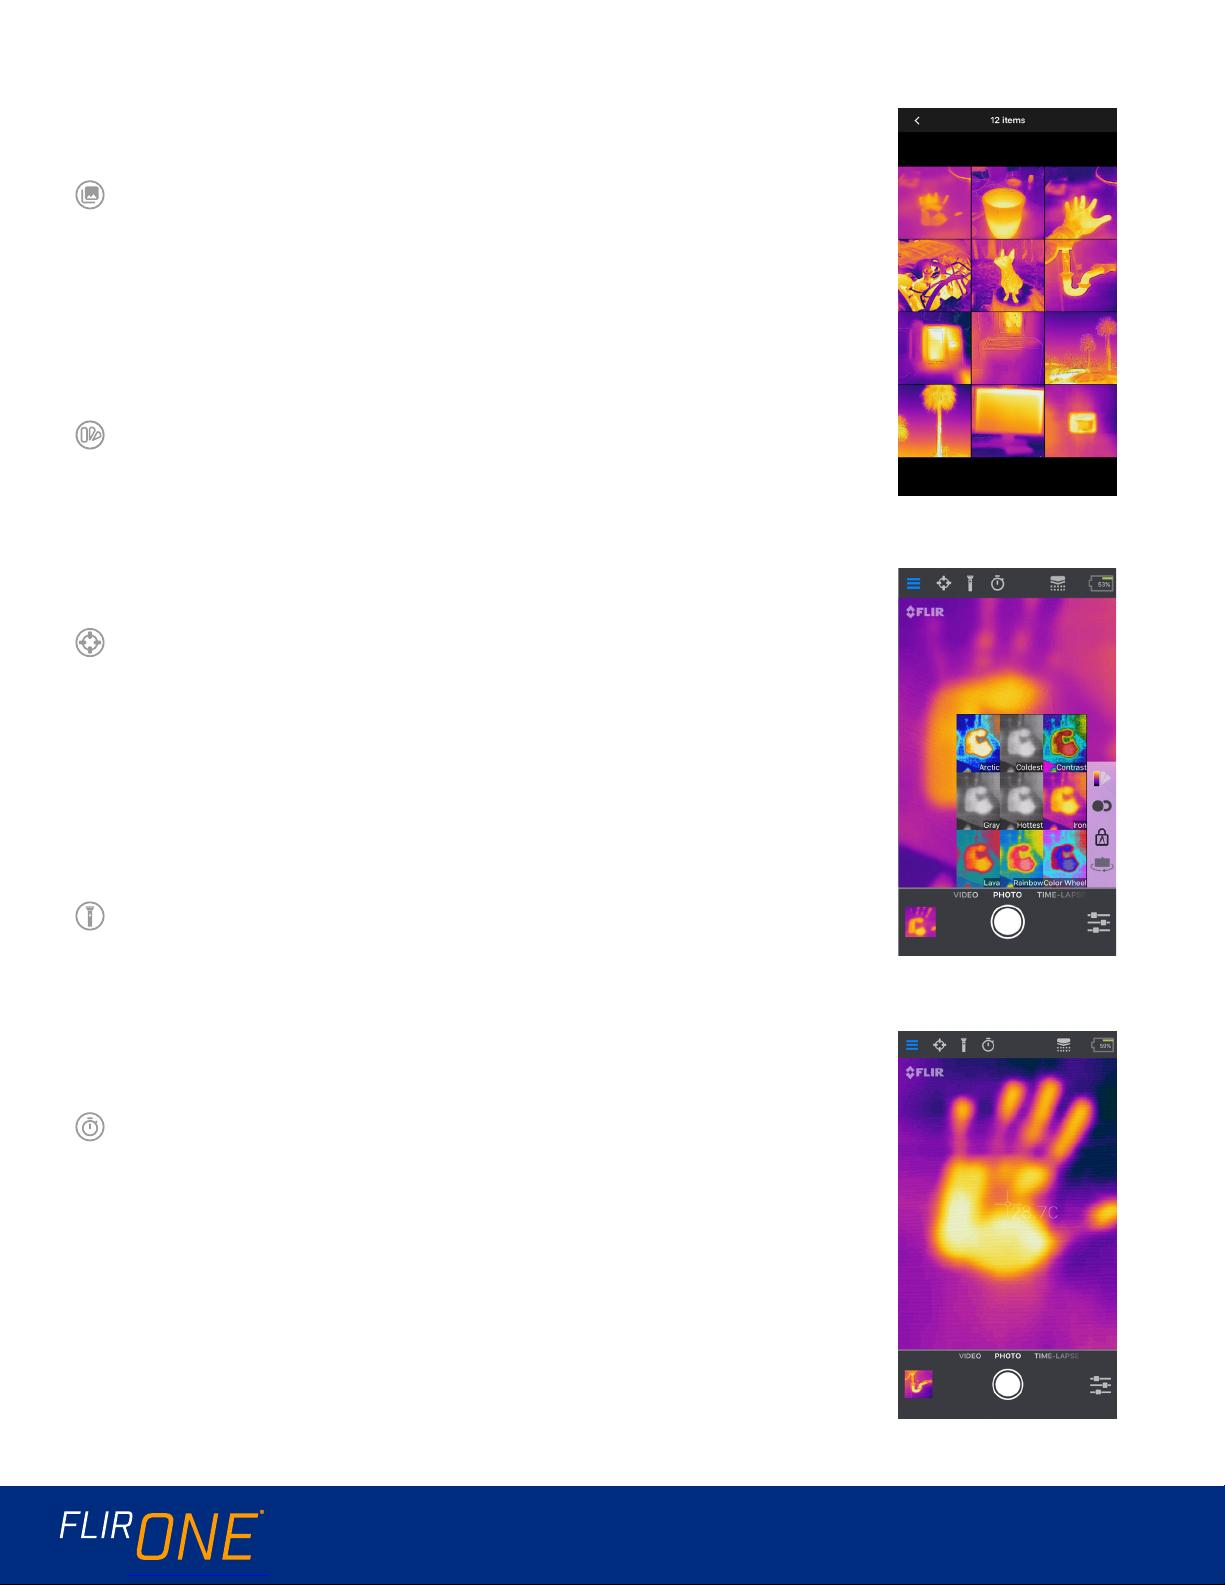
APP OVERVIEW
At the top of the screen there is a black bar with icons for the
slide-out menu, Spot Meter, Torch, Timer, and Calibration. Below
that is the live image, and at the bottom of the screen is another
black bar with icons for the Gallery, Camera, Image Controls, and
Mode (Photo, Video, or Time Lapse).
TAKING PICTURES
At the top of the bottom bar, swipe right or left to select Photo
mode. Tap the round white button at the bottom of the screen to
save a snapshot. The images are saved to the Gallery. In the App
Settings, it is also possible to have the images saved to the phone’s
image library. To view the most recent saved image, tap on the
thumbnail in the lower left. When viewing an image, swipe up or
down on the image to reveal the underlying image from the visible
camera. It is not necessary to have the FLIR ONE camera attached
to the phone to view saved images.
TAKING VIDEO
At the top of the bottom bar, swipe right or left to select Video
mode. Then tap on the red button to begin video capture. Tap on
the red button again to stop the video capture and save the video
in the FLIR Library. To view the captured video, tap the thumbnail
image in the lower left of the screen to access the Gallery.
TIME-LAPSE VIDEO
At the top of the bottom bar, swipe right to select Time-Lapse mode.
Then tap on the red button to display the Time-Lapse options. Adjust
the options as needed, and then tap the red button to begin video
capture. Tap on the red button again to stop the video capture.
TIME-LAPSE VIDEO
MODE SCREEN
FLIR ONE APP

USER GUIDE 4
MY GALLERY
Captured images and video may be viewed and edited by selecting
the thumbnail image in the lower left corner of the screen. Images
and videos may be shared through text messaging or email and
may be edited by changing the color palette or the temperature
scale. While an image is being viewed, it is possible to swipe up or
down to reveal the visible image that is used for MSX®blending.
CHANGING COLOR PALETTES
On the display (the live image), tap the Imaging Options menu in
the bottom right corner of the screen. Tap the Color Palette icon
to change how the image is displayed. Select one of the displayed
color palettes. The app allows a choice from nine dierent palettes
that include color, grayscale, or a combination of both.
SPOT METER
When the Spot Meter is enabled, the FLIR ONE will display a temperature
average (in degrees C or F) on the image. The accuracy of the Spot Meter
depends on many factors, including the distance from the object, the
ambient temperature, and the emissivity of the material being observed.
Users are encouraged to learn more about the science of Thermography
from www.infraredtraining.com. To switch between Fahrenheit to
Celsius, use the Settings option in the Control Panel.
TORCH
FLIR MSX is a patented technology which makes use of the visible
camera in the FLIR ONE to maximize detail and image sharpness. This
feature requires some amount of visible light, so in dark environments
turn on the mobile device’s ashlight to enhance the image detail. This
feature makes use of the light that is built into the phone.
TIMER
The Timer option allows the user to set a time delay before an image
is saved. When the Timer icon is selected, the Timer control panel is
displayed. The user can set the time delay to 3 or 10 seconds or turn
o the time delay option. When the Timer delay is enabled, the user
saves an image by tapping the round white button at the bottom of the
screen, and then a timer displays the countdown.
MY GALLERY
COLOR PALETTES
SPOT METER

USER GUIDE 5
AUTOMATIC CALIBRATION
The camera has a mechanical shutter inside that periodically activates
and allows the thermal camera to do a calibration or image refresh.
When the shutter activates, the image will freeze for a brief period.
When the camera rst turns on, and periodically thereafter, the app
will perform an automatic calibration to provide an optimal image.
It is also possible to manually activate the shutter by tapping the
Calibration icon in the upper right on the main screen. Calibration
can be switched to manual by turning o Automatic Calibration in the
Settings Menu.
MSX ALIGNMENT CONTROL
The FLIR ONE is tuned to align thermal and visual images at a distance
of 3 meters. To view scenes close-up, use the MSX Distance slider
control. Tap MSX Distance control to activate the slider control, then
adjust the alignment by sliding the control. To exit the slider control,
simply tap the icon again.
LOCK SPAN
The Lock Span function locks the temperature range of colors in the
display to the scene you are looking at. Simply tap the Lock Span icon
to hold the range, and tap it again to return to auto-scaling of the
scene.
SETTINGS MENU
The Settings Menu allows the user to congure additional features on
the FLIR ONE, as described below.
SAVE LOCATION
If a mobile phone signal is available, the location will be added to
captured images. This makes it possible to see images on a map.
SAVE TO PHOTOS
Turn this on to save a copy of your images and videos in the phone’s
photo gallery. Images will always be stored in the FLIR ONE camera
regardless of this setting. Items already captured will not be copied.
TEMPERATURE UNIT
Use this setting to change the temperature unit of measure between
the Fahrenheit and Celsius scale.
MSX DISTANCE SLIDER
OFFSET
ALIGNED

USER GUIDE 6
EMISSIVITY
When the Spot Meter is enabled, the temperature displayed is aected
by many factors, including a property of the target material known as
Emissivity. This property is a relative rating of how well a material emits or
radiates thermal energy. Some materials are more emissive than others;
glossy or reective materials like metals tend to be poor emitters. For most
materials, the default “matte” setting is a fair approximation.
HELP
More information about the FLIR ONE is available through the Help
section and the Tips and Tricks content in the app.
ABOUT FLIR ONE
The About FLIR ONE menu option provides information about the FLIR
ONE camera, the FLIR ONE app, our company FLIR Systems, Inc., and
additional legal, licensing, and regulatory information.
WARNING
The FLIR ONE and FLIR ONE Pro
are not waterproof. Use caution
if the FLIR ONE or FLIR ONE
Pro are used to observe very hot
objects like fire or molten metal.
Other manuals for ONE
3
This manual suits for next models
2
Table of contents