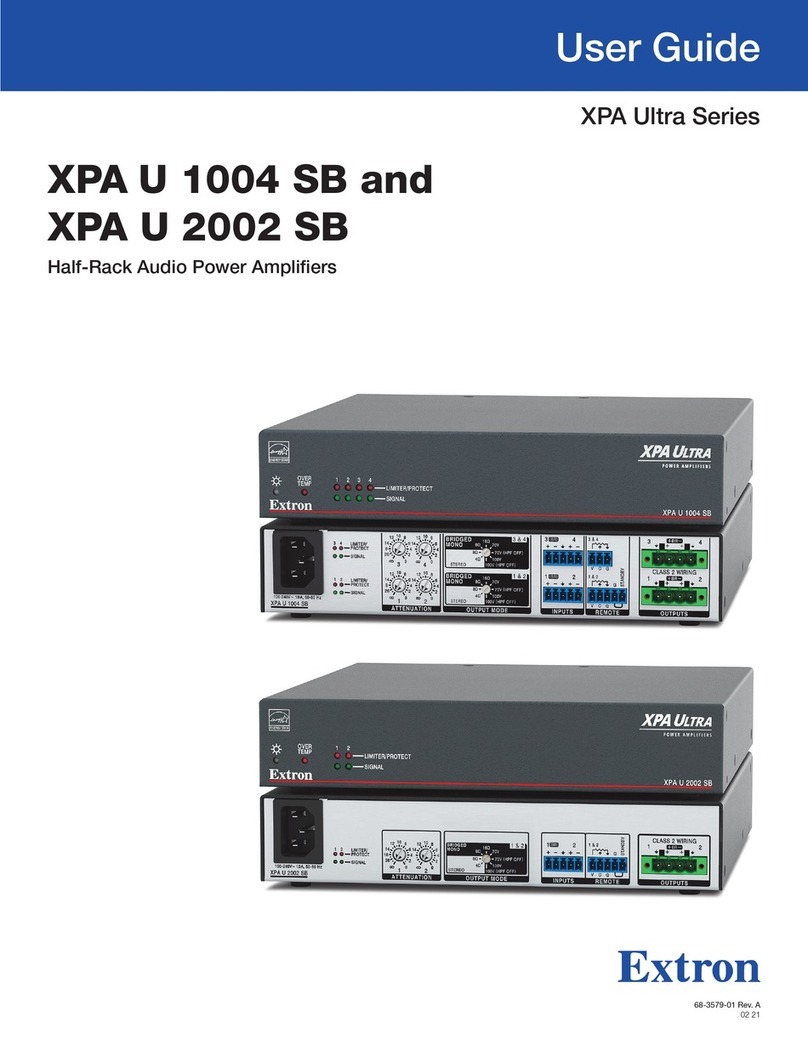
Form Factor Audio Bi 1000 Di User manual

Form Factor Audio.
User Manual:
Bi 1000 Di Bass Amplifier
Bi 500 Di Bass Amplifier
Made in USA

1
Table of Content
1.Safety Instruction Page 2
2.Specifications Page 3
3.Front Panel Page 4
4.Rear Panel Page 5
5.Operating Instructions Page 6
6.Warranty Page 6
8.Registration Page 6

2
Safety Instruction:
WARNING: To reduce the risk of fire or electric shock, do not expose the equipment to rain or
moisture. Form Factor Audio assumes no
responsibility for any damage or injury that results from improper use or
service.
CAUTION: RISK OF ELECTRICAL SHOCK! This is a high voltage device, and internal voltages
can be lethal. Any work should be performed by qualified personnel only.
Instructions for safe use:
1. Read all instructions provided by factory.
2. Follow all instructions provided by factory.
3. Do not use this unit near water.
4. This unit may cause permanent hearing loss. Do not operate for long periods of time at any
level that is uncomfortable.
5. Clean the unit only with a dry cloth.
6. Do not block any ventilation openings. Make sure nothing interferes with the ventilation of the
unit when in use.
7. The unit should be located away from heat sources such as radiators, heat registers, or other
units that produce heat.
8. Attention! Liquids must not enter into the enclosure through ventilation openings.
9. Use the Power Cord provided by the factory with a grounding type plug with two blades and a
third grounding prong. If the provided plug does not fit into your outlet, consult an electrician
for replacement of the obsolete outlet. Protect the power cord from being stepped on or pinched
particularly at plugs. Only use attachments/accessories specified by the manufacturer.
10. Unplug the unit during lightning storms or when unused for long periods of time.
11. The unit should be serviced by qualified personnel when the power supply cord or the plug has
been damaged, or devise have fallen, or liquid has been spilled into the unit or unit has been
exposed to rain or moisture, or the unit does not appear to operate normally or exhibits a
marked change in performance.
12. Always insure the amplifier is properly grounded. Always unplug the AC power cord before
performing ANY service, and use only the same type and rating when replacing fuse.
13. To avoid damaging your speakers turn off the amplifier power before connecting instrument.
14. Do not use excessive force when handling buttons, switches and controls.
15. Always connect to an AC power supply that meets the power supply specifications listed on the
rear of the unit. Export units: always insure unit is wired for proper voltage. Make certain
grounding conforms with local standards.

3
Specifications:
●Model: Bi 1000 Di
●Configuration: Class D Amplifier
●Power Rating:
Power 1000 Watts RMS @ 4Ω / 750Watts RMS@6Ω/ 600 Watts RMS @ 8Ω< 1%THD
●Mains input voltage and current:
Nominal rating: 115 / 230 VAC, 12.5/10.0 A
Absolute min/max: 90-132 / 180-264 VAC
Switching from 115VAC to 230VAC and back by factory or authorized service only!
●Weight: 10Lb / 4.5 Kg
●Physical dimensions: H 2.9” (73mm) W 11.6” (295mm) D 11.5” (294mm)
●Model: Bi 500 Di
●Configuration: Class D Amplifier
●Power Rating:
Power 500 Watts RMS @ 4Ω / 270Watts RMS@8Ω< 1%THD
●Mains input voltage and current:
Nominal rating: 115 / 230 VAC, 3.5/1.6 A
Absolute min/max: 90-132 / 180-264 VAC
Switching from 115VAC to 230VAC and back by factory or authorized service only!
●Weight: 6Lb / 2.7 Kg
●Physical dimensions: H 2.9” (73mm) W 11.6” (295mm) D 9” (228mm)

4
Front Panel:
Inputs/Outputs.
Bass Guitar Inputs: There are two instrument inputs on the unit, one for Active and one for Passive basses. The
Active input is low sensitivity and lower impedance to suit the output from Active basses (Basses with powered
preamps). The Passive input is high sensitivity and high impedance to suit the output from Passive basses
(Basses with passive preamps).
Tuner Out: This output socket provides a line level signal that can be used for a permanent connection to a
tuner.
Send/Return: A serial effects loop is provided at a level of 0dB. An effects loop is an input/output that enables a
user to insert effects between the preamp/eq section and the power section of an amplifier.
Headphone Out: This output allows you to rehearse with headphones. The sound level in the headphones is
adjustable by the Gain pot.
Controls.
Gain - The input control sets the signal level through the preamp.
Equalization - This consists of Bass, Middle, Middle Selector and Treble controls.
Limiter - A limiter is a processing operation that reduces the volume of peaks to avoid clipping of amplifier.
Master - The Output control adjusts the overall level of the amplifier. Adjust this for your preferred overall stage
playing volume.
Mute -The Sound of the amplifier is switched off (Muted) when the green button is on. *Direct out is
Muted when the green button is on. And only the output from the Tuner sends a signal.
LED:
Power - Green light indicates that power is turned on
Signal - Yellow light indicates that the signal passes (Blinks)
Clip - Red light indicates that the amplifier is overloaded
Power On/Off: Red light indicates that power is on.

5
Rear Panel:
Power In-Power in connector / Use cable with lockable (Power Con) connector supplied by factory.
Speaker Output- Speakons. Standard chassis connectors for loudspeakers.
Direct Output Post-EQ-XLR. Balanced Direct Out.
The signal goes after the preamplifier with all the corrections. In this case, Gain influences the level of the output
signal. On the other hand, the Master does not affect the output signal. This allows you to adjust the sound in the
concert hall (FOH), and then use the Master level for comfortable sound on stage. If the Mute Button is pressed
the signal still passes to the Direct Output-Post-EQ output. This allows you to adjust the sound in the hall with
no sound on the stage (like during sound check)
Direct Output Pre-EQ XLR. Balanced Direct Out.
The signal goes straight from the bass guitar to the Direct Output-Pre-EQ. In this configuration, Gain control,
Master control, EQ section, do not affect the signal level or coloration of the sound. The sound engineer selects
the signal level and all corrections in the PA system. If the Mute Button is pressed the signal still passes to the
Direct output #1-Pre-EQ output. This allows you to adjust the sound in the concert hall (FOH) with no sound on
the stage (like during sound check).
Optional for touring and international Market :
Voltage Selector Switch 110V/220.
Fuse Holders for 115V and 220V

6
Operating Instructions:
Connecting:
• Connect the speaker to the amplifier.
• Connect the Power cord to the amplifier and the Power outlet.
• Plug in your guitar into a passive or active input
• Press the Mute
• Turn the Power ON
• Turn off the Mute button
• The amplifier is ready to work
Disconnecting:
• Press the Mute
• Turn the Power OFF
• Disconnect all wires
1 YEAR WARRANTY
Form Factor amplifier has been manufactured to the highest standards, using the best- selected
materials. To ensure its optimum performance, please ensure your amplifier is regularly serviced. This
unit carries a one year warranty, against defects in materials and workmanship, for the original
purchaser. Form Factor Audio will, at their discretion, replace or repair any unit or part thereof, which
is found by Form Factor to be defective. This warranty will not apply to the damage of covering,
fittings or finishes when affected by carelessness, accident or extreme climate changes. Nor does it
apply to normal wear and tear of parts such as valves, fuses, light bulbs, speakers, controls etc.
Please complete the lower section of this warranty and return it within 10 days of purchase to Form
Factor Audio, Inc at the above address. In the unlikely event of any defect, please contact an authorized
Form Factor dealer. All transport charges are to be pre-paid by the Owner.
WARRANTY REGISTRATION:
PLEASE GO HERE TO FILL OUT WARRANTY FORM:
This manual suits for next models
1
Table of contents
