FOS Technologies AirLink Pro User manual

FOS Technologies Ltd. User’s Manual
WireLess DMX Transceiver
AirLink Pro
2.4GHz
USER’S MANUAL
FOS Technologies Ltd.
--------------------------------------------------------------------------------------------------------
Before you operate this fixture read the manual carefully. Always make sure to include the manual
if you pass/rent/sell the fixture to another user.

FOS Technologies Ltd. User’s Manual
1
1. WARNING
1.1 Safety Instructions
This product guide contains important information about the safe installation and use of this product. Please
read and follow these instructions carefully and keep this manual in a safe place for future reference.
When unpacking and before disposing of the carton, check there is no transportation damage before using
the product. Should there be any damage caused by transportation, consult your dealer and do not use the
product.
The product is for indoor use only. Use only in dry locations. Keep this device away from rain and moisture,
excessive heat, humidity and dust. Do not allow contact with water or any other liquids.
The product is only intended for installation, operation and maintenance by qualified personnel.
Do not attempt to dismantle and/or modify the product in any way.
If this fixture is operated in any other way other than the one said in this manual, this device may suffer
damages and thus the warranty becomes void.
This product has an M12 nut, and can be installed to truss and crossbar. Concerning rigging, trussing for this
product, please follow the European and national guidelines.
Only the qualified technicians are allowed for the device installation,
The fixture must never be mounted for a possible swinging position, and a safety cord attached must always
be used.
IMPORTANT:
The manufacturer will not accept liability for any resulting damages caused by the
non-observance of this manual or any unauthorized modification to the fixture.
2. PRODUCT INTRODUCTION
2.1 Items in the Package
After receiving this product, please carefully unpack the product and make sure the following parts are all
included inside the package and are all in good condition.
- AirLink Pro – 1 pcs
- Power cable - 1 pcs
- This manual
In case the package is damaged from shipping, inform the carrier right away while keeping the damaged box
for inspection. Failure to report damage to the carrier immediately may cause invalidity to your claim. The
dealer or manufacture will not take any responsibilities for the damage.

FOS Technologies Ltd. User’s Manual
2
In case there are parts missing from the box with a good condition, please contact your dealer or the
manufacturer immediately by email or in other written form.
2.2 About the Product
AirLink Pro can work as transmitter and receiver as well. AirLink Pro can work to control any lighting fixtures
controllable with standard DMX 512 protocol. Just press the GREEN button to switch between transmitter
and receiver.
2.2.1 Main Features
- Switching between transmitter and receiver;
- Wireless DMX eliminates extensive cabling between DMX controller and the DMX-controlled
units in lighting installations;
- Operating range up to 400m (with line-of-sight);
- 1 to 512 receivers can be controlled by each transmitter;
- Plug & Play: quick and easy setup with one operating button • LED indication for operation and
functions;
- DMX input and output, 3-pin XLR;
- Truss attachment option;
- 2.4 GHz - license-free worldwide;
- Battery powered for up to 15 hours working life.
2.2.2 AirLink Pro Overview

FOS Technologies Ltd. User’s Manual
3
2.2.3 Battery Charge
AirLink Pro has a rechargeable lithium battery and auto-ranging charger. Users can charge AirLink
Pro with AC power 100-240V. Connect the box power input to the mains with the enclosed power
cable, it will start charging automatically.
Always store it with full battery. Depleted batteries must be recharged immediately; otherwise its
performance will suffer.
Battery runtime will decrease time by time. Battery runtime may be slightly shorter than predicted
due to different working environments.
Battery capacity can be easily seen on the LED display.
There is a charge indicator. When battery capacity is less than 30%, yellow light will start flashing.
When this happens, charge the battery immediately till it is 100% fully charged. Red light will turn on
during the whole charging time. Once the battery is fully charged, the indicator will turn on green.
Yellow flashing – power less than 30%, need to charge battery;
Red – battery being charged;
Green – battery fully charged.
It is recommended to charge AirLink Pro at an ambient temperature between 0°C and 35°C.
Note: The battery must be replaced with an original one from the manufacturer only.

FOS Technologies Ltd. User’s Manual
4
2.2.4 Product Dimensions (mm)
2.3 Specifications
Power input
100~240V AC 50/60Hz
Power consumption
5W max.
Frequency
2.4 GHz ISM band, 58 channels
Working coverage
About 400m (line-of-sign)
Antenna
2dBi
Latency
<5 msec
DMX channel
512 channels
DMX connector
3-pin XLR in/out
Dimensions
171 x 135 x 48.5mm
Net weight
1.0kg

FOS Technologies Ltd. User’s Manual
5
3. OPERATION
3.1 Pairing
If#your#fixture#can#be#controlled#via#wireless#DMX#system,#you#need#first#to#pair#your#fixtures#to#
wireless#DMX#transmitter#-#AirLink#Pro.#
If your fixtures have no function of wireless DMX, you need to use another AirLink Pro. Connect this AirLink
Pro to your fixture with XLR cable, set up this AirLink Pro as receiver (RX).
3.1.1 Use AirLink Pro as Transmitter
Switch on the AirLink Pro, set it up as transmitter (TX) by pressing down the green button. Connect AirLink
Pro to your lighting desk with XLR cable.
If you are going to control fixtures with wireless DMX receiver, make sure your fixtures are ready to receive
wireless DMX signal by either clearing their old wireless DMX memory.
Now press the “Pairing” button on the AirLink Pro. The yellow indicator on the transmitter and your fixtures
will start to flash at the same time. After a few seconds the wireless DMX indicators will stay On, this means
pairing succeeds. Now you can control your fixtures with your lighting desk.
3.1.2 Use AirLink Pro as Transmitter & Receiver
If you are going to control fixtures that have no wireless DMX receiver, you need to use another AirLink Pro,
and connect it to the first fixture. Set up this AirLink Pro as receiver by keeping the GREEN button RX. This
AirLink Pro can receive wireless DMX from transmitter.
AirLink Pro allows to create piont-to-point and point-to-points connection as below:

FOS Technologies Ltd. User’s Manual
6
Point-to-Point:
Point-to-Points
Press the “Pairing” button on the transmitter box, the yellow indicator on the transmitter and receiver box
will start to flash at the same time. After a few seconds the wireless DMX indicator will stay On, this means
pairing succeeds. Now you can control your fixtures with your lighting desk.

FOS Technologies Ltd. User’s Manual
7
WireLess DMX Transceiver
AirLink Pro
2.4GHz
USER’S MANUAL
FOS Technologies Ltd.
Copyright reserved
Manual version: Ver. 1.0
Date: 20181009
Dealer info:
Table of contents
Popular Transceiver manuals by other brands

Sailor
Sailor VHF 5000 Series Workshop manual

Yaesu
Yaesu FTDX-9000 - CAT OPERATION REFERENCE BOOK Reference
Vertex Standard
Vertex Standard VX-3R operating manual

Crestron
Crestron CWD6660 Operation guide

Kenwood
Kenwood NEXEDGE NX-340 Service manual
Transition Networks
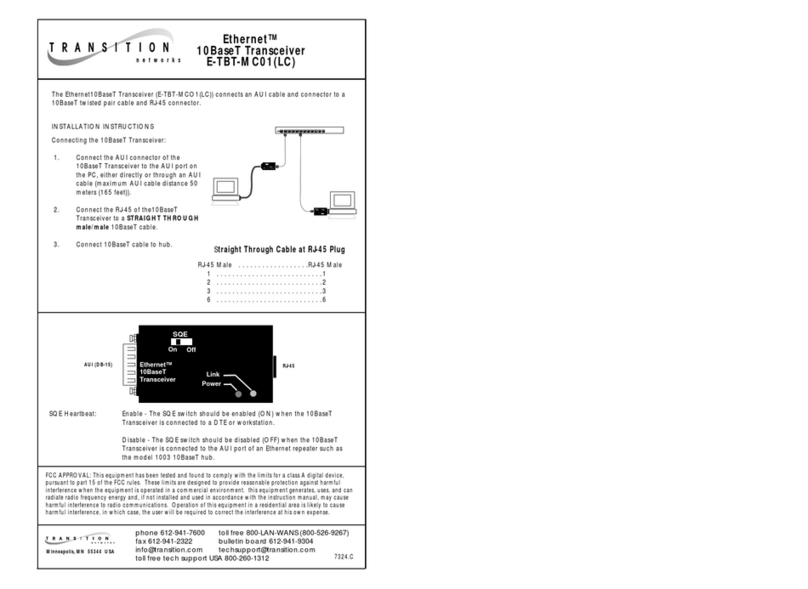
Transition Networks ETHERNET E-TBT-MC01(LC) user manual
