Notes for installation
•There is a wide selection of drill bits on the market. Some 8 mm holes are a bit tight and some a bit
loose. The rawl plugs should be hard to push in. Too loose they won’t do the job; too tight you will
not be able to screw the bolt all the way in. If you screw the bolt in as far as the end of the screw
thread and it will not go any further the hole is too small. Excessive force on the bolt it will snap, and
you will have to start again.
•It is important that the brackets are fitted the right way up. The upturned lip on the end of the
bracket hooks onto the bottom of the water butt to stop it pulling away from the wall. If the wall is
not quite square and the lip doesn’t quite catch the lugs on the bottom of the water butt just tap the
bracket until it locks into place.
•When fitting the diverter inlet to your water butt there is no location guide on the side of the water
butt. This can be place anywhere 10-15 mm below the lip the lid sits on and should be installed as per
the supplier instructions.
•The screws at the top of the water butt need to be covered in silicone to stop water running down
the wall, the inside of the butt by the screw holes has been roughed up so the silicone adheres
properly.
•It is the consumer’s responsibility to determine, if the wall has adequate strength to support the
water butt when full of water. The total weight when full and to be supported is a 170kgs.
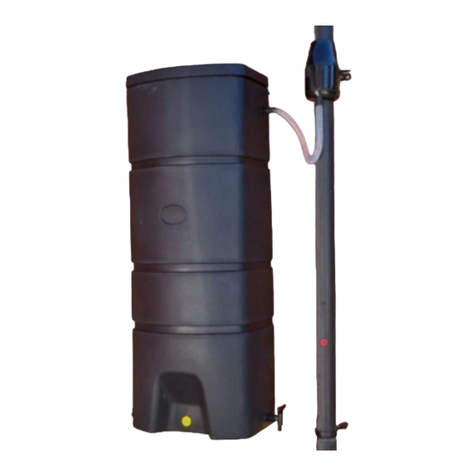
•As per the first picture in this guide, if you want to link your water butt to your downpipe you will
need to use the 50cm hose supplied with our filters. For example our Black Guttermate Diverter and
Filter (PRODUCT CODE: 7-0303) would be a great pairing for this water butt.
Opening times: Monday - Friday 9am-5:30pm


