Guangzhou Rigal Electronics RD-601 User manual

Instrucation Manual
Safety Instruction
Installation
To get a better view, pl ease use thi s projector in a semi dark room.
Pleas e use this pro jector carefully, dropping it may cause damaged part s or result in
a blurr ed image or ab normal displaying.
Power
Be care ful while using the power cord, avoid exces sive bendi ng. Damaging the power c able
may cau se electri c shock and fire.
It is bet ter to unplu g the power cord after poweringoff.
Cleaning
Unplug the p ower cable first.
Clean t he shell reg ularly with a damp cloth, neutral deterge nt can be used .
Pleas e use a glasse s cloth or lens paper, not to scratch the lens.
Pleas e clean projector ’s vents and speakers regular ly by banist er brush, or t he vents wil l be blocked .
High temperature attention
When pr ojection i s finished, the exhau st port will be very hot, may cause burning.
While p rojecting, pl ease do not look the lens directl y or it may hurt y our eyes.
Warning tips
Do not di sassembl e the projector, which may cause electric sh ock and void t he warrant y.
Pleas e do not put any liquids or weight on the projector.
To assure t he stability of heat exhaust, please open the height b racket in th e bottom bef ore starti ng.

111
1.Projector Overview (1)
War ning Tip: compu ter/vide o port need to m atch the especial cable
with th e projecto r( More details please inquir y the distri butor) .
123
4
4567
8910 11 12
1.Pro jection le ns
2.Fro nt IR remote
contr ol sensor
3.Vent ilation ho les
8.Ada pter conne ction port
4.Pow er on/off
5.U dis k/mouse po rt
6.TF ca rd reader
9.U dis k/mouse po rt
10.HD MI input por t
11.Comput er/video port
12.Sw itch

War nin g Tips: It’s str ictly prohibited to blo ck th e air i nta ke window,
this may cau se ov er he ating and damage the proj ect or.
1.Projector Overview (2) 2. Specifications
Optical
paramet ers
Project ion
paramet ers
System
paramet ers
Physical
interfa ce
Display chip: 0.3'' DMD RGB-LED
Brightness uniformity:98%
Contrast ratio:1000:1
Resolution:
1280*800
Projection size:20-200 inch
Focus mode: manual focus
Battery time:about 120 minutes
Power adapter:DC19V/3.42A
Power: 32W
Size: 175*145*31mm
CPU: Mstar-6A628VX quadcore1.5GHZ
RAM:1GB DDR3
Operation system: based on Android 4.4
Bluetooth: support bluetooth 4.0
TF: 32GB(Max)
DC power jack x 1
USB 3.0 x 1
TF card reader x1
3.5mm earphone jack x 1
Brightness:1600 lumens(international standard 350 Ansi Lumens)
Battery capacity: 10,000 mAh
Speaker:2W*2
N.W.:600g
GPU:Mali-450MP2
ROM: 8GB eMMC
USB 2.0 x 1
HDMI x 1
VGA/AV x 1
1
12
3
4
5
6
1.Hei ght bracket
2.Air i ntake hole
3.Ste nd hole(M5 )
4.Bat tery venti lation
holes
5.Vent ilation ho les
6.Foc us knob
IR: IR remote control
Smart phone pusher: Ai rpl ay, Miracast etc.
Battery: Low battery warning; overcharge warn ing
Throw ratio: 1.47:1
Lens: High light transmittance coatin g gla sse s
Keystone: Electronical adjusting 40
Offset:100%
WiFi: 802.11ac WiFi, 2.4G
NTSC: ≥120%
3D display: Yes
Battery: Li-ion style

3.Remote Control 4.Powering On/Off
1.ON: P lug the DC ter minal of power adaptor to DC-IN terminal of projector, a djust the ma ster switc h
on the ri ght to “ON”, w hile the red i ndicator light , press the power key.
2.OFF : Press the power key w hile the pro jector is working normally, if the indica tor light tu rn from gree n
to red, t he project or is off.
Switch on
Switch off
1
2
3
4
5
6
7
8
9
10
11
12
1.Pow er
2.Arr ow keys
3.Men u
8.Ent er
4.Volu me
5.Vol-
6.Homepage
7.Mut e
9.3D co nversion
10.As pect
11.Vol+
12.Ex it

5.How to Focus? 6.How to use the USB2.0/3.0 interface ?
Adjus t the focus bu tton up or down lightly until the images clea r.
Adjust the focus button up or down lightly
until the images clear.
150 inch
120 inch
100 inch
80 inch
60 inch
USB2.0 /3.0 inter faces could be connected with mouse/keyboard; it coul d read the vid eo,
audio,picture,office doc ument;it a lso could be installed APK applications.
Support Format
Picture Format
Audio Format
Video Format
MP3/W MA/ MP2 /OG G/AAC/M4A/DTS etc
JPG/JPEG /GI F/B MP/PNG etc
MP4/AVI/MOV/FLV/VOB/3GP/MPG/ RMV B/W MV et c
connect mouse/keyboard/U disk

7.How to connect WiFi?
WiFi con nection st eps:
8.How to co nnect Bluetooth?
3. Sele ct the “Blue tooth devi ce” which you want to link in the lis t, click the d evice and th en connect
match w ith projec tor
Setti ng”, find th e “Bluetooth Setting” and select “Bluet ooth” and op en;
it is ok.
Pleas e press the “Sy stem Setti ng”, find the “Network Setting” and select the
virtu al keyboar d will be showed on the bottom of the s creen afte r press “OK” k ey,
Pleas e press the ma in interface on the remote control, the mai n screen app ears,
“Wire less route r” which you want to link in the list (like the pic ture as foll ow). The
type pa ssword, th en click to link it.
For the f irst time to c onnect the B luetooth devices, (such as Bluetooth Sp eaker/ Hea dset),yo u need to
2.Pre ss the main in terface on the remote control , the main scr een appear s,click th e “system
Steps : 1.Please s elect the “ blutooth device” what you want;

9. Surfing the Net 10.File Management
Pleas e press the ma in interface on the remote control, the mai n screen app ears ,
and pre ss “My Media ”, find the “Web Browser”. The default website is Goo gle, if
you wan t to go to other w ebsite, please enter the correct website what you wan t.
(like w ww.yahoo.com.)
Click t he file you need in the right list, press the left button in mo use mode, th en
Pleas e press the ma in interface on the remote control, the main screen app ears ,
and pre ss “My Media ” find the “File Browser”, and select the “sd a1” in “Loca l”;
you can c hoose “copy”, “paste”, “del ete” etc.

11.Local Play 12.APK Install Instructions
Put the U d isk with aud io, video and text into the USB2.0 or USB3.0 in terface,
pr es s the main interface on th e remote con trol, the ma in screen ap pears, and
press t he “ My Media, ” find the “ Local,” and select the “sda1", cho ose and play
the fil e what you wan t.
Tip s: Please tr y to use the office software when you found the file c annot be ope ned.
Pleas e press the ma in interface on the remote control, the main screen app ears,
and pre ss the “All applications”, find the “ Play St ore”, down load and ins tall the sof tware.

13. Wireless Display for Android 14.Wireless Display for ios
1. Plea se press the m ain interface on the remote control, the ma in screen ap pears,
and pre ss the “My Med ia”, find the “Miracast”.
2. Andro id mobile phone and projectors need to be in th e same Wifi.
3. Open t he taskbar t o find “multi screen interactive”,(use the phone And roid 4.4
or abov e version), please auto searching the “MCast-f7cc ”, and click i t.
1. Plea se press the m ain interface on the remote control, the main screen ap pears,
and pre ss the” My Med ia”, find the “ wireless one screen”;
2.Proje ctor and iph one need to be in the same Wifi;
3. From d own to up open t he interface in the iphone.
a. sele ct Aliplay;
b. sele ct device li nk(such as: ILINK-a38e6) an d switch on Mi rroring bu tton.
Tip : Due to mobil e Android updating the advance d version in t he future, m aybe
will no t work well wi th projector on wireless disp lay functi on. Tip : Due to mobil e ios updati ng the advanced version in the future, mayb e
will no t work well with projector on wireless disp lay functi on.

15.3D Function 16.How to Charge
1. 3D vid eo play:
2. 3D for mat to be tran slated in 2D video play:
and set
"3D-2 D" to 3D video format and the operation process has been co mpleted.
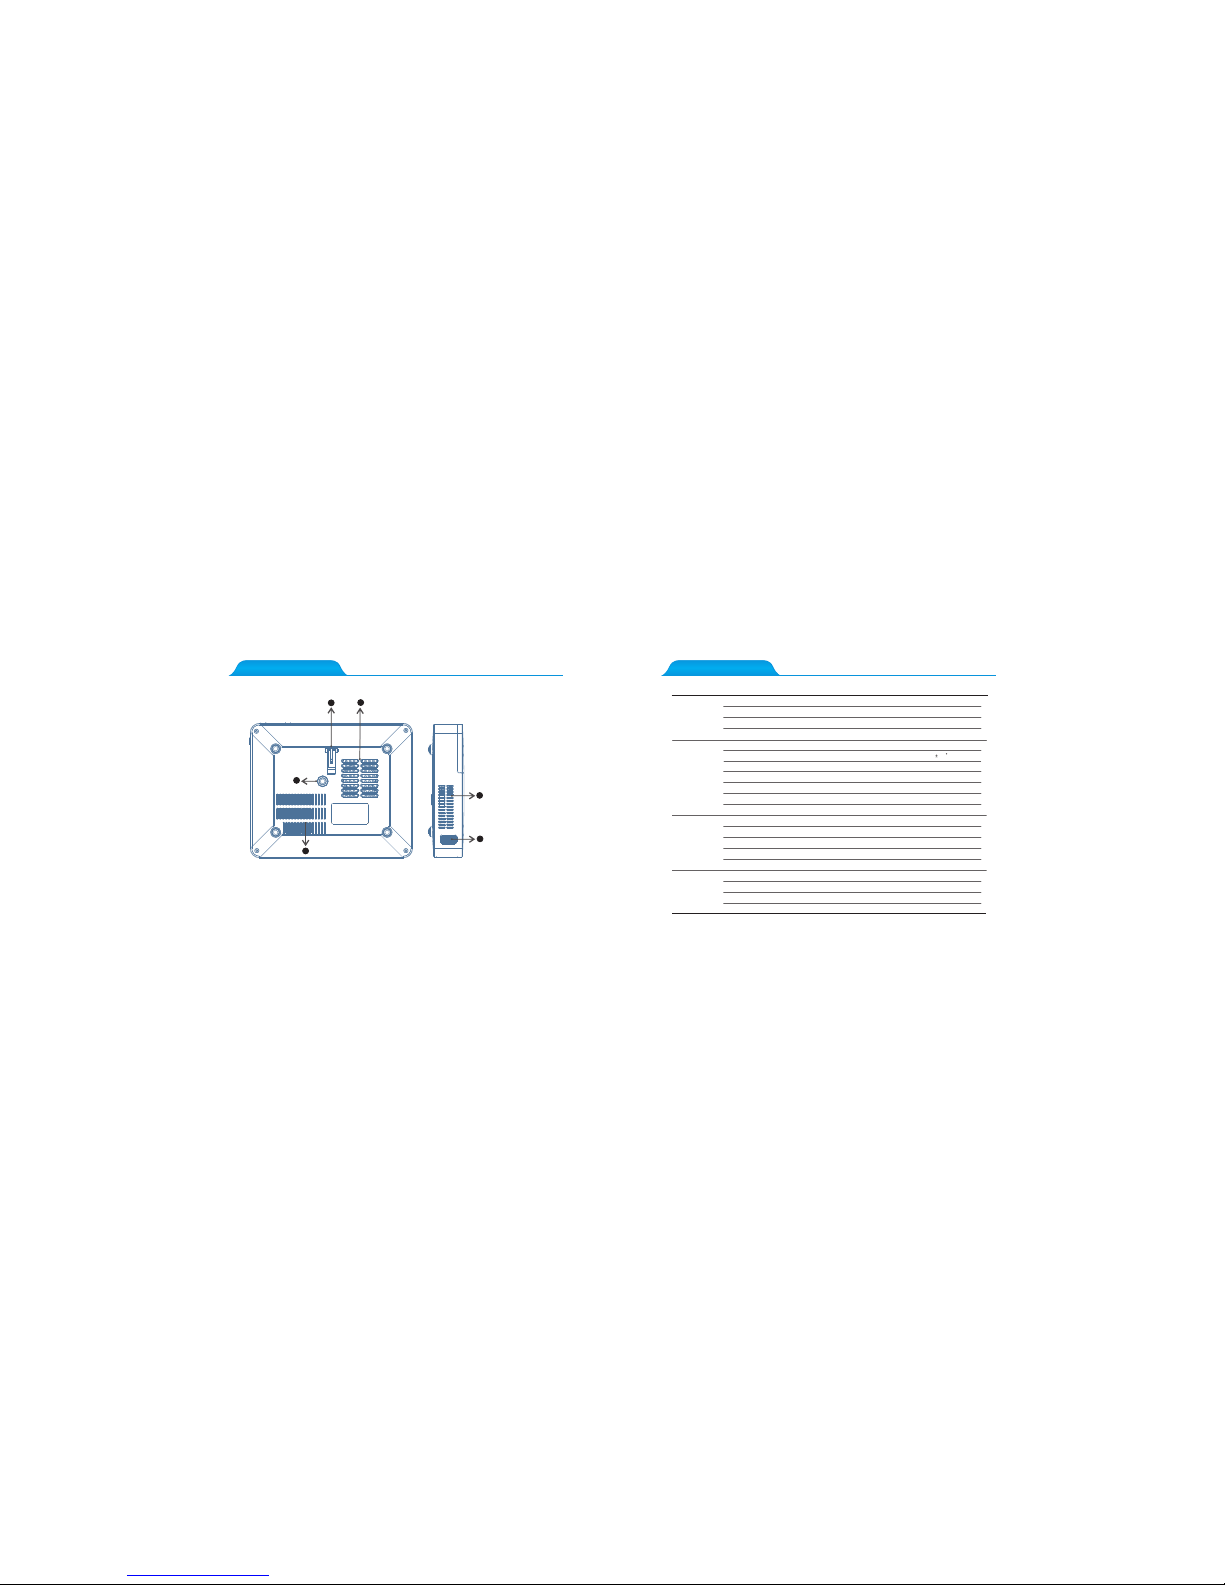
Tip s: 1. Please с harge the battery with the original power a dapter;
2. The produ ct only be suitable for a non high temperatur e environm ent;
3. When i t is charging, do n ot block the battery cooling holes;
4. Plea se don't sta b or crash the battery when it is charging;
5. Do not g et the batte ry wet.
Self Detect off
3D Coversion Au to
3D-2D None
LR View S witch Off
When pl aying the vi deo, the video sources for the 3D format, ple ase press “3 D”
on the re mote contr ol, then the main screen appears, “Close” t he “3D conve rsion”
When pl aying video, the video sources for the 3D for mat, it will r ecognize t he 3D
forma t automati cally and change 3D mode; if not successful , please pre ss “3D”on
the rem ote contro l , the main screen appears, then select “ 3D conversion” f or
“up-d own” or “lef t-right” format.
1. To charge whe n projector is off: when the projector is connec ted with the p ower adapt er, put
the swi tch in the “OF F” positio n, it means it is charging.
2. To charge whe n projector is off: when the projector is connec ted with the p ower adapt er, put
the swi tch in the “ON ” position, and press the switch, the charging icon" " wi ll be displa yed
on the up per right of t he main interface, it means it is charging.

FCC ID: 2AK43RD-601
FCC statement
This device complies with Part 15 of the FCC Rules: Operation is subject to
the following two conditions:
1. This device may not cause harmful interference and
2. This device must accept any interference that is received, including any interfer
ence that may cause undesired operation.
This device is acting as slave and operating in the 2.4 GHz (2412 ~2462 MHz)
band.
Ad Hoc function is supported but not able to operate on non-US frequencies.
Do not use the device with the environment which below minimum -10℃or maximum
over 50℃.
NOTE: This equipment has been tested and found to comply with the limits for
a Class B digital device, pursuant to part 15 of the FCC Rules. These limits are
designed to provide reasonable protection against harmful interference in a
residential installation. This equipment generates uses and can radiate radio
frequency energy and, if not installed and used in accordance with the
instructions, may cause harmful interference to radio communications.
However, there is no guarantee that interference will not occur in a particular
installation. If this equipment does cause harmful interference to radio or
television reception, which can be determined by turning the equipment off and
on, the user is encouraged to try to correct the interference by one or more of
the following measures:
- Reorient or relocate the receiving antenna.
- Increase the separation between the equipment and receiver.
-Connect the equipment into an outlet on a circuit different from that to which
the receiver is connected.
-Consult the dealer or an experienced radio/TV technician for help
Table of contents
Other Guangzhou Rigal Electronics Projector manuals