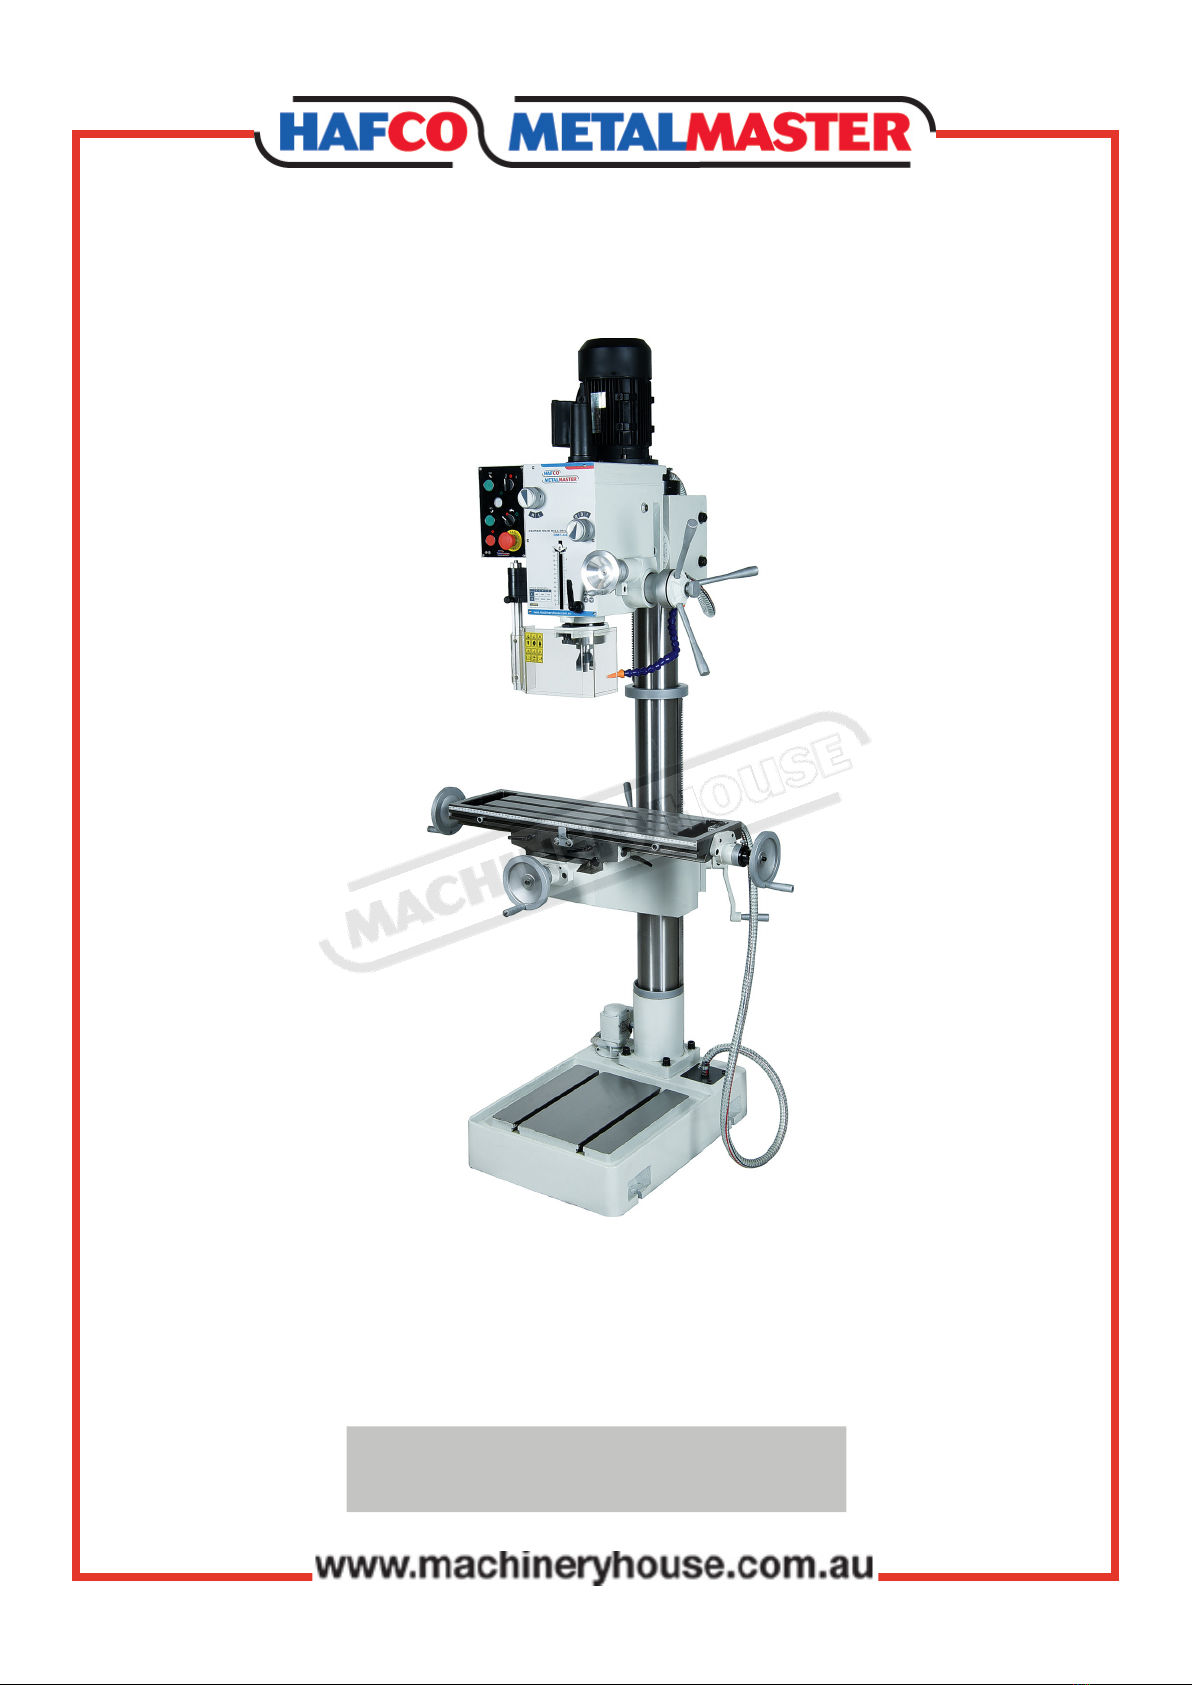
Hafco Metalmaster DMF-44 User manual

OPERATION MANUAL
Edition No : DMF-44-1
Date of Issue : 07/2020
Model. DMF-44
Order Code D185
PEDESTAL MILL DRILL

2
OPERATION MANUAL
NOTE:
In order to see the type and model of the machine, please see the
specication plate. Usually found on the back of the machine. See
example (Fig.1)
Fig.1
PEDESTAL MILL DRILL
MACHINE
DMF-44
MODEL NO.
SERIAL NO.
DATE OF MANF.
NOTE:
This manual is only for your reference. Owing to the continuous improvement of the
Hafco/Metalmaster machine, changes may be made at any time without obligation or
notice. Please ensure the local voltage is the same as listed on the specication plate
before operating this electric machine.
DistributeD by
www.machineryhouse.co.nz
MACHINE DETAILS

3
OPERATION MANUAL
C O N T E N T S:
1. GENERAL MACHINE INFORMATION
1.1 Specications.............................................................. 4
1.2 Identication............................................................... 5
1.3 Controls......................................................................... 6
2. SAFETY
2.1 General Metalworking Machine Safety............. 8
2.2 Specic Safety For Drill/Mill................................... 11
3. POWER SUPPLY
3.1 Eletrical Requirments............................................... 12
3.2 Full Load Current....................................................... 12
4. SETUP
4.1 Unpacking.................................................................... 13
4.2 Included Accessories................................................ 13
4.3 Clean Up........................................................................ 13
4.4 Site Preparation.......................................................... 14
4.5 Lifting Instructions.................................................... 14
4.6 Anchoring To The Floor............................................ 15
4.7 Machine Leveling...................................................... 15
4.8 Assembly....................................................................... 16
4.9 Checking Lubrication............................................... 17
4.10 Test Run......................................................................... 17
5. OPERATION
5.1 Operation Overview................................................. 19
5.2 Headstock Movement.............................................. 20
5.3 Spindle Movement.................................................... 21
5.4 Setting Up For Tapping............................................ 22
5.5 Table Movement........................................................ 23
5.6 Installing And Removing The Tooling................ 24
5.7 Changing The Speed................................................ 25
6. MAINTENANCE
6.1 Lubrication................................................................... 26
6.2 Changing The Gearbox Oil..................................... 26
6.3 Gib Adjustment.......................................................... 27
6.4 Troubleshooting........................................................ 28
Spare Parts............................................................................ 29
Risk Assessment Sheets................................................... 36

4
OPERATION MANUAL
1.1 SPECIFICATION
Order Code D185
MODEL DMF-44
Type Pedestal
Table Size (mm) 730 x 210
Column Size (mm) Ø125
Spindle Tape 3MT
Longitudinal Travel (X-Axis) (mm) 480
Cross Travel (Y-Axis) (mm) 200
Vertical Travel (Z-Axis) (mm) 850
Type of Slides Dovetail
Spindle to Table (mm) 630
Spindle Travel (mm) 120
Spindle Diameter (mm) Ø75
Throat Depth (max) (mm) 280
Tilting Head (Left ~ Right) ±90º
Drilling Capacity (mm) 31.5
Drilling Capacity (mm) 28
Face Milling Capacity (mm) 80
Table T-Slot Size (mm) 14
Work Table Load Capacity (kg) 55
Spindle Speeds (No./rpm) 6 (95 - 1650)
Motor Power (kW / hp) 1.5 / 2
Voltage / Amperage (V / amp) 240 / 10
Dimensions (H x W x D) (cm) 1760 x 1060 x 760
Weight (kg) 350

5
OPERATION MANUAL
1.2 IDENTIFICATION
AControl Panel HLongitudinal Travel Hand-wheel
BHead IVertical Travel Handle
CMotor JBase
DSpeed Selection Levers KCoolant Pump
EFine Spindle Feed LCross Travel Hand-wheel
FCourse Spindle Feed MSpindle
G Slotted Table NCutter Safety Guard
AB
C
E
D
F
G
G
H
I
J
K
L
N
M

6
OPERATION MANUAL
1.3 CONTROLS
The purpose of this control overview is to provide the novice machine operator with a basic
understanding of how the machine is used during operation, and the machine controls and
what they do. It also helps the operator to understand if they are discussed later in this manual.
NOTE: DO NOT start the machine until all of the setup instructions have been performed.
Operating a machine that is not set up may result in malfunction or unexpected results that can
lead to serious injury, death, or machine/property damage.
A. FORWARD Button: Starts clockwise
spindle rotation (as viewed from above).
The spindle must be completely stopped
before this button is pushed. (Fig.4.1)
B. DRILL OR TAP SELECTOR: Selects either
a drilling or tapping option. When tap is
selected the spindle reverses when it
reaches the depth stop.
C. POWER Lamp: Illuminates when the
machine is connected to power.
D. REVERSE Button: Starts counter-clock
wise spindle rotation (as viewed from
above). The spindle must be completely
stopped before this button is pushed.
E. COOLANT PUMP SWITCH: Switches the
coolant pump ON or OFF
F. STOP Button: Stops spindle rotation.
G. EMERGENCY STOP Button: Cuts power
to the spindle motor and remains
depressed until reset. Twist clockwise
until it pops out to reset. (Fig.4.1)
H. HIGH/LOW RANGE LEVER: Selects
either high or low spindle speed range.
(Fig.4.2)
I. SPINDLE SPEED LEVER: Selects one of
three spindle speeds in the selected
speed range. (Fig.4.2)
AB
C
DE
FG
Fig.4.1
H
I
Fig.4.2

7
OPERATION MANUAL
4.2 DOWN FEED CONTROLS
The machine is equipped with a course down-feed control mainly used for drilling or quick
adjustment and a ne down-feed control used mainly when milling or where controlled down-
feed is required. (Fig.4.3)
A. Depth Stop and Scale
B. Quill Lock Lever
C. Depth Stop Adjustment Knob
D. Fine Down-feed Hand-wheel
E. Down-feed Selector Knob
F. Coarse Down-feed Handle
A
B
C
D
E
F
Fig.4.3
To Use The Coarse Down-Feed:
1. Loosen quill lock lever.(B in Fig.4.3)
2. Loosen down-feed selector knob “E” to engage
coarse down-feed handles.
3. Position depth stop with adjustment knob.”C”
4. Use coarse down-feed handles to raise and
lower the spindle. “F”
To Use The Fine Down-Feed:
1. Loosen quill lock lever.
2. Tighten down-feed selector knob to engage
ne down-feed hand wheel.
3. Position depth stop with adjustment knob.
4. Rotate ne down-feed hand wheel to raise and
lower spindle.
To Set The Depth Stop:
The depth stop limits the downward
movement of the cutting tool. With the
use of the depth stop adjustment knob
(see “C” in Fig.4.4), it can be positioned
anywhere within 0–125mm. This is
useful when performing the same
operation multiple times.
C
Fig.4.4

8
OPERATION MANUAL
DO NOT use this machine unless you have read this manual or have been instructed in the use
of this machine in its safe use and operation
This manual provides safety instructions on the proper setup, operation, maintenance, and
service of this machine. Save this manual, refer to it often, and use it to instruct other operators.
Failure to read, understand and follow the instructions in this manual may result in re or
serious personal injury—including amputation, electrocution, or death.
The owner of this machine is solely responsible for its safe use. This responsibility includes, but
is not limited to proper installation in a safe environment, personnel training and authorization
to use, proper inspection and maintenance, manual availability and comprehension, of the
application of the safety devices, integrity, and the use of personal protective equipment.
The manufacturer will not be held liable for injury or property damage from negligence,
improper training, machine modications or misuse.
WARNING
2.1 GENERAL METALWORKING MACHINE SAFETY
Always wear safety glasses or goggles.
Wear appropriate safety footwear.
Wear respiratory protection where required.
Gloves should never be worn while operating the machine, and only worn when
handling the work-piece.
Wear hearing protection in areas > 85 dBA. If you have trouble hearing someone speak
from one metre (three feet) away, the noise level from the machine may be hazardous.
DISCONNECTION THE MACHINE FROM POWER when making adjustments or servicing.
Check and adjust all safety devices before each job.
Ensure that guards are in position and in good working condition before operating.
Ensure that all stationary equipment is anchored securely to the oor.
Ensure all machines have a start/stop button within easy reach of the operator.
Each machine should have only one operator at a time. However, everyone should know
how to stop the machine in an emergency.
2. SAFETY

9
OPERATION MANUAL
Ensure that keys and adjusting wrenches have been removed from the machine before
turning on the power. Appropriate storage for tooling should be provided.
Ensure that all cutting tools and blades are clean and sharp. They should be able to cut freely
without being forced.
Stop the machine before measuring, cleaning or making any adjustments.
Wait until the machine has stopped running to clear cuttings with a vacuum, brush or rake.
Keep hands away from the cutting head and all moving parts.
Avoid awkward operations and hand positions. A sudden slip could cause the hand to move
into the cutting tool or blade.
Return all portable tooling to their proper storage place after use.
Clean all tools after use.
Keep work area clean. Floors should be level and have a non-slip surface.
Use good lighting so that the work piece, cutting blades, and machine controls can be seen
clearly. Position any shade lighting sources so that they do not cause any glare or reections.
Ensure there is enough room around the machine to do the job safely.
Obtain rst aid immediately for all injuries.
Understand that the health and re hazards can vary from material to material. Make sure all
appropriate precautions are taken.
Clean machines and the surrounding area when the operation is nished.
Use proper lock out procedures when servicing or cleaning the machines or power tools.
DO NOT
×Do not distract an operator. Horseplay can lead to injuries and should be strictly prohibited.
×Do not wear loose clothing, gloves, necktie’s, rings, bracelets or other jewellery that can be
come entangled in moving parts. Conne long hair.
×Do not handle cuttings by hand because they are very sharp. Do not free a stalled cutter
without turning the power o rst. Do not clean hands with cutting uids.
×Do not use rags or wear gloves near moving parts of machines.
×Do not use compressed air to blow debris from machines or to clean dirt from clothes.
×Do not force the machine. It will do the job safer and better at the rate for which it was
designed.
2.1 GENERAL METALWORKING MACHINE SAFETY Cont.
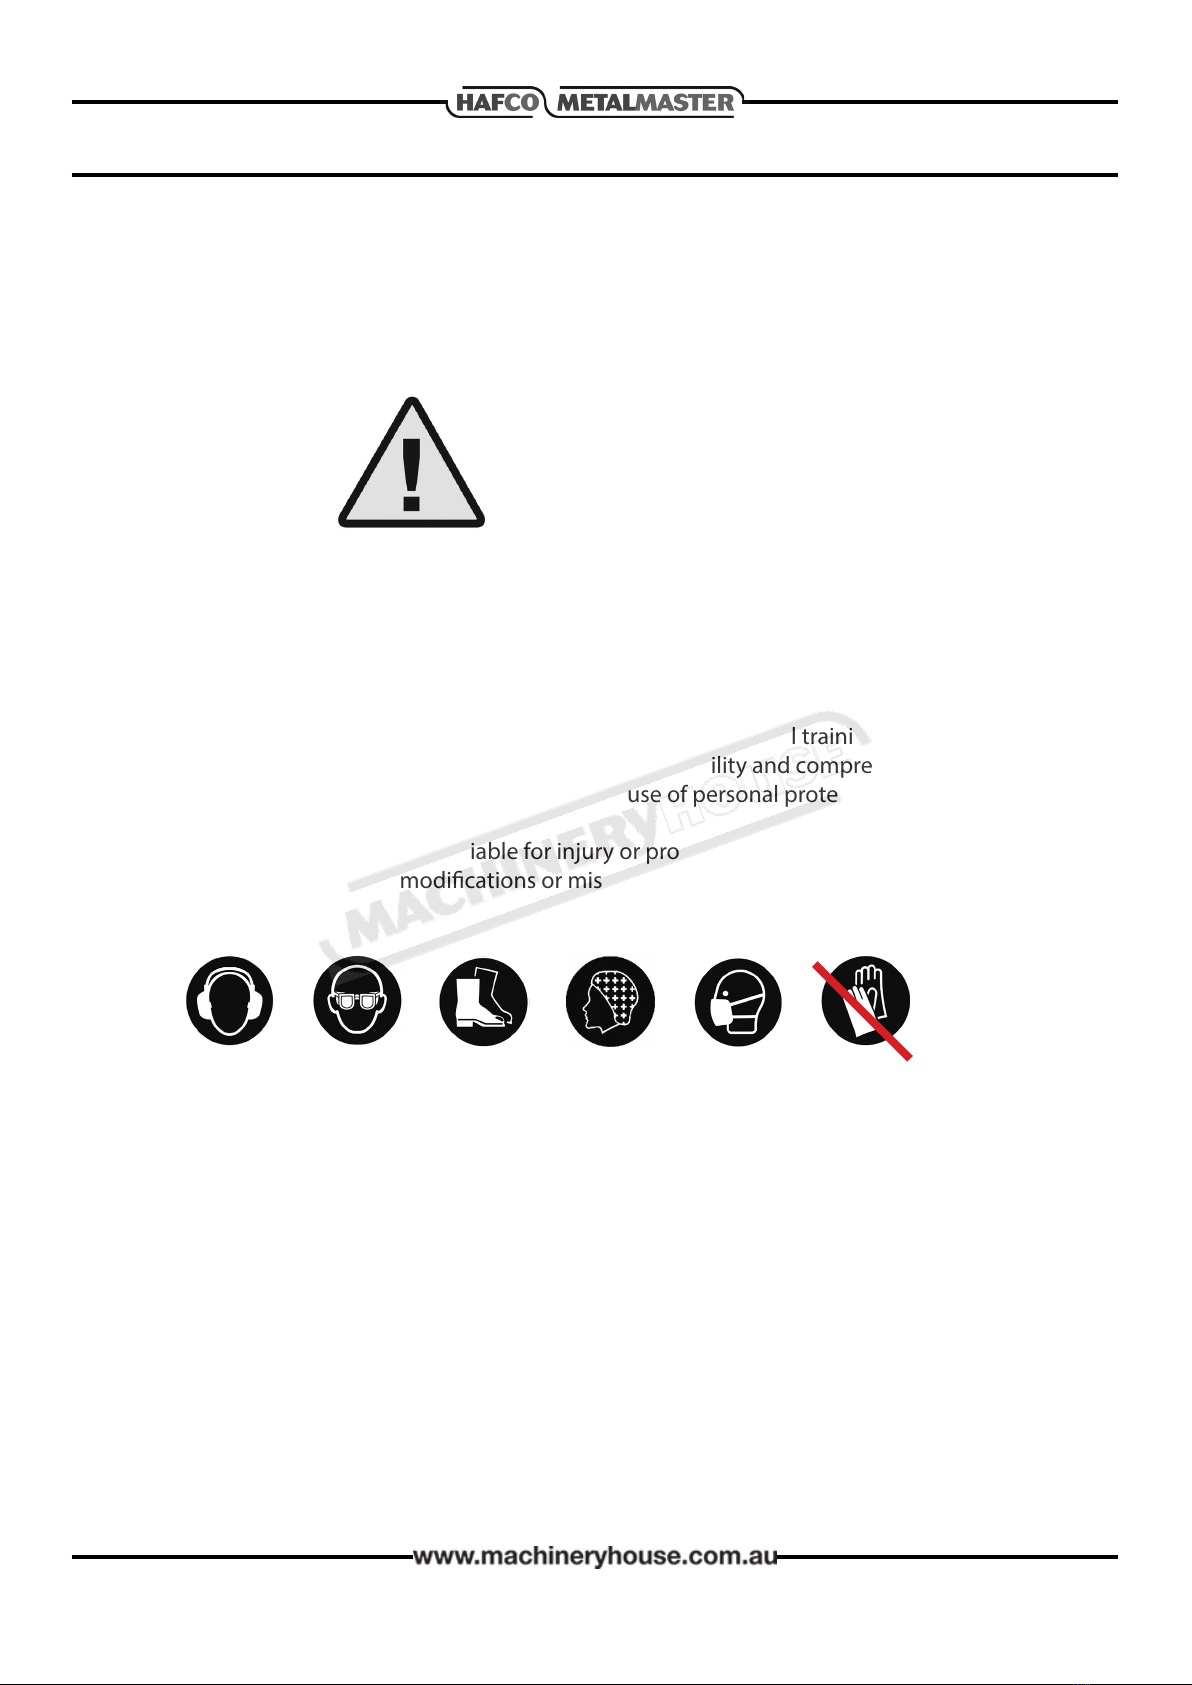
BEFORE OPERATING ANY MACHINE, TAKE TIME TO READ
AND UNDERSTAND ALL SAFETY SIGNS AND SYMBOLS.
IF NOT UNDERSTOOD SEEK EXPLANATION FROM YOUR
SUPERVISOR.

10
OPERATION MANUAL
2.1 GENERAL METALWORKING MACHINE SAFETY Cont.
HAZARDS ASSOCIATED WITH MACHINES include, but are not limited to:
• Being struck by ejected parts of the machinery
• Being struck by material ejected from the machinery
• Contact or entanglement with the machinery
• Contact or entanglement with any material in motion
Health Hazards (other than physical injury caused by moving parts)
• Chemicals hazards that can irritate, burn, or pass through the skin
• Airborne items that can be inhaled, such as oil mist, metal fumes, solvents, and dust
• Heat, noise, and vibration
• Ionizing or non-ionizing radiation (X-ray, lasers, etc.)
• Biological contamination and waste
• Soft tissue injuries (for example, to the hands, arms, shoulders, back, or neck) resulting
from repetitive motion, awkward posture, extended lifting, and pressure grip)
Other Hazards
• Slips and falls from and around machinery during maintenance
• Unstable equipment that is not secured against falling over
• Safe access to/from machines (access, egress)
• Fire or explosion
• Pressure injection injuries from the release of uids and gases under high pressure
• Electrical Hazards, such as electrocution from faulty or ungrounded electrical
components
• Environment in which the machine is used (in a machine shop, or in a work site)
MACHINES ARE SAFEGUARDED TO PROTECT THE OPERATOR FROM INJURY OR DEATH WITH THE
PLACEMENT OF GUARDS. MACHINES MUST NOT BE OPERATED WITH THE GUARDS REMOVED
OR DAMAGED.

11
OPERATION MANUAL
2.2 SPECIFIC SAFETY FOR DRILL/MILL
DO NOT use this machine unless you have been instructed in its safe use and
operation and have read and understood this manual
Safety glasses must be
worn at all times in work
areas
Long and loose hair must
be contained.
Gloves must not be
worn when using this
machine.
Sturdy footwear must be
worn at all times in work
areas
Close tting/protective
clothing must be worn
Rings and jewelery must
not be worn.
PRE-OPERATIONAL SAFETY CHECKS
Locate and ensure the operator is familiar with all the machine operations and controls.
Ensure all guards are tted, secure and functional. Do not operate if guards are missing or
faulty.
Check the workspaces and walkways to ensure no slip/trip hazards are present.
Ensure the cutter is in good condition and securely mounted.
Ensure the workpiece is securely clamped to the table or xture.
Ensure all tools and foreign objects have been removed from the machine.
Check coolant delivery system to allow for sucient ow of coolant.
OPERATIONAL SAFETY CHECKS
Keep clear of moving machine parts.
Follow correct clamping procedures. Keep overhangs as small as possible and check to
make sure that the cutter will not be impeded by the clamps
Set the correct speed to suit the cutter diameter, the depth of cut and the material.
Ensure the cutter is clear of the workpiece before the machine is started.
Before making adjustments and measurements or cleaning swarf accumulations, switch o
and bring the machine to a complete standstill.
AFTER OPERATION HOUSEKEEPING
Switch o the machine when the work is completed.
Remove the milling cutters and store them safely.
Remove all the swarf. Cover the table surface with light oil to prevent rust.
Leave the machine and work area in a safe, clean and tidy state.
DON’T
Do not use faulty equipment. Immediately report suspect machinery.
Never leave the machine running unattended.
Do not leave equipment on top of the machine.
POTENTIAL HAZARDS AND INJURIES
qSharp cutters. qEye injuries. qMetal splinters and burrs. qFlying debris.
qHair/clothing getting caught in moving machine parts. qSkin irritation.

12
OPERATION MANUAL
3. POWER SUPPLY
The full-load current rating is the amperage a machine draws when running at 100% of the out-
put power. Where machines have more than one motor, the full load current is the
amperage drawn by the largest motor or a total of all the motors and electrical devices that
might operate at one time during normal operations.
Full-Load Current Rating for these machines at 240V is 7.1 Amps
It should be noted that the full-load current is not the maximum amount of amps that the
machine will draw. If the machine is overloaded, it will draw additional amps beyond the
full-load rating and if the machine is overloaded for a long period of time, damage, overheating,
or re may be caused to the motor and circuitry.
This is especially true if connected to an undersized circuit or a long extension lead. To reduce
the risk of these hazards, avoid overloading the machine during operation and make
sure it is connected to a power supply circuit that meets the requirements.
3.2 FULLLOAD CURRENT RATING
Place the machine near an existing power source. Make sure all power cords are protected from
trac, material handling, moisture, chemicals, or other hazards. Make sure there is access to a
means of disconnecting the power source. The electrical circuit must meet the requirements for
240V.
NOTE : The use of an extension cord is not recommended as it may decrease the life of electrical
components on your machine.
3.1 ELECTRICAL REQUIREMENTS
ELECTRICAL REQUIREMENTS
Nominal Voltage.........................................240V
Cycle.............................................................50 Hz
Phase...............................................Single Phase
Power Supply Circuit...........................10 Amps
Full Load Current.................................7.1Amps
(Full load current rating is also on the specication plate on the motor.)

13
OPERATION MANUAL
4. SETUP
4.1 UNPACKING
This machine was carefully packaged for safe transport. When unpacking, separate all enclosed
items from packaging materials and inspect them for shipping damage. If items are damaged,
or missing, please contact your local distributor.
NOTE: Save all the packaging materials until you are completely satised with the machine and
have resolved any issues between your distributor or the transport company. You may need to
have the original packaging to le a freight claim. It will also be extremely helpful if you need to
return your machine later.
Fig. 4.1
4.2 INCLUDED ACCESSORIES
qFace milling cutter with inserts
qKeyed drill chuck and arbor
qChuck key to suit
qMT3 to MT2 drill sleeve adapter
q
Drill drift tool to remove drill chuck or
taper shank drills
q1 x M12 x 1.75mm draw-bar
q1 x 1/2” x 12TPI draw-bar
qSafety cutter guard(Not Shown)
When unpacking the machine, check the accessories
against the list below.
The unpainted surfaces of the machine have been coated with a waxy oil to protect them from
corrosion during shipment. Remove the protective coating with a solvent cleaner or a citrus
based degreaser.
Optimum performance from your machine will be achieved when you clean all moving parts or
sliding contact surfaces that are coated with rust prevented products.
It is advised to avoid chlorine based solvents, such as acetone or brake parts cleaner, as they
will damage painted surfaces and strip metal should they come in contact. Always follow the
manufacturer’s instructions when using any type of cleaning product.
NOTE: ALWAYS WEAR SAFETY GLASSES AND USE DISPOSABLE GLOVES WHEN USING CLEANING
PRODUCTS
4.3 CLEAN - UP
MANY CLEANING SOLVENTS CAN BE TOXIC IF INHALED.
ONLY WORK IN A WELL-VENTILATED AREA.

14
OPERATION MANUAL
4.4 SITE PREPARATION
When selecting the site for the machine, consider the largest size of workpiece that will be
processed through the machine and provide enough space around the machine for operating
the machine safely. Consideration should be given to the installation of auxiliary equipment.
Leave enough space around the machine to open or remove doors/covers as required for the
maintenance and service as described in this manual.
It is recommended that the machine is anchored to the oor to prevent tipping or shifting. It
also reduces vibration that may occur during operation.
4.5 LIFTING INSTRUCTIONS
On the day that the machine arrives, make sure that a
forklift or lifting device, with sucient capacity is avail-
able to unload the machine from the vehicle. Ensure
access to the chosen site is clear and that doors and
ceilings are suciently high and wide enough to receive
the machine.
This machine is extremely heavy.
Serious personal injury may occur if safe moving methods are not
followed. To be safe, you will need assistance and power equip-
ment when moving the shipping crate and removing the machine
from the crate.
When lifting the machine only certied lifting slings
should be used.
Hitch a web sling between the motor and the spindle.
Ensure that when lifting, the machine does not tip over.
Check that the lifting slings do not interfere with the
parts of the machine that may be damaged. (Fig.2.1)
NOTE: When lifting a heavy load it is important that
you have determined the centre of gravity before you
begin lifting. Determining the centre of gravity is vital to
achieving total control over the load.
LIFTING POINT
Fig. 4.2

15
OPERATION MANUAL
4.6 ANCHORING TO THE FLOOR
The machine is best mounted on a concrete slab.
Masonry anchors with bolts are the best way to anchor
machinery, because the anchors sit ush with the oor
surface, making it easy to unbolt and move the machine
later, if needed. (Fig. 4.3)
In some case a suitable foundation may not be available
and a new one may need to be prepared.
The foundation should be concrete approximately 200mm
thick with pockets left clear for the hold down bolts.. The
hold down bolts can be “L”shape as per the example in
Fig. 4.4
Fig. 4.4
Fig. 4.3
4.7 MACHINE LEVELING
To set your machine up so that it operates to optimum performance, the machine should be
level. To level the machine follow the procedure below.
After your machine has been anchored to a concrete slab oor, then the leveling is performed
by loosening the hold down bolts, and then inserting metal shims under each hold down bolt
until the machine is level and does not rock.(Fig. 4.5). Place a level on the surface of the
working table to check if level. The tolerance should be 1000:0.30mm, for both longitudinal and
transverse. Once the machine is level, then tighten the hold down bolts.
Metal
Shim
Fig. 4.5
Metal
Shim
The machine must not rest on supports
other than those dened in Fig. 4.5

16
OPERATION MANUAL
4.8 ASSEMBLY
The machine must be fully assembled before it can be
operated. To make sure the assembly process goes
smoothly, clean all parts that have any heavy-duty rust
preventative on them.
To assemble the machine:
1. Place the crank handle on the spindle that raises
the table, making sure that the set screw is lined up
with the dimple on the shaft. When the set screw is
lined up tighten the screw.(Fig. 4.6)
2. Mount the cross travel and longitudinal hand-wheels
to the shafts and tighten socket head cap screws and
the washers to the shafts. (Fig. 4.7)
Fig. 4.6
Set Screw
Fig. 4.7
Set Screw
Socket Head
Cap Screw
3. Install the three coarse down-feed handles onto the
coarse down-feed hub and tighten. (Fig. 4.8)
Fig. 4.8
Course Down-feed
Handles

17
OPERATION MANUAL
4.9 CHECKING LUBRICATION
The headstock oil reservoir must have the proper
amount of oil in it before the machine can be operated
for the rst time. Damage caused by running the
machine without oil in the reservoir will not be covered
under warranty. The oil level can be viewed by checking
the level in the oil sight glass on the side of the head-
stock. (Fig. 4.9) If oil needs to be added, then refer to
the Lubrication section, in the Maintenance Section, for
details on how to ll the oil.
Fig. 4.9
Oil sight glass
Test run the machine to ensure it is properly connected to power and safety components are
functioning correctly. If you nd an unusual problem during the test run, immediately stop the
machine, disconnect it from power, and x the problem BEFORE operating the machine again.
Consult The Troubleshooting table in the maintenance section of this manual for possible
solution.
The Test Run consists of verifying the following:
1) The motor powers up and runs correctly, and
2) the safety disabling mechanism on the emergency stop button works correctly.
3) Cutter Safety Guard limit switch works correctly.
To test run the mill/drill:
1. Clear all setup tools away from machine.
2. Close the cutter safety guard and connect the machine to power supply. Power lamp should
light.
4.10 TEST RUN
3. Press EMERGENCY STOP button (G in Fig. 4.10)
This will help prevent unexpected startup
when machine is connected to power
4. Shift high/low range lever (H) right to “L” and
spindle speed lever (I) right to“1”. This selects a
spindle speed of 95 RPM (refer to spindle
speed chart on headstock).
Note: You may need to rotate spindle back and
forth by hand while putting pressure on the shift
lever to allow gears to mesh.
h
i
g
Fig. 4.10
a
D
F
J

18
OPERATION MANUAL
5. Twist EMERGENCY STOP button (G in Fig. 4.10) clockwise until it pops out - this resets the
button and enables the power to control panel and motor.
6. Press the SPINDLE FORWARD button (A in Fig 4.10). Spindle should rotate clockwise (as
viewed from top) and machine should run smoothly with little to no vibration or rubbing
noises.
7. Press STOP button (F in Fig. 4.10) and wait for spindle to completely stop.
8. Press SPINDLE REVERSE button.(D in Fig. 4.10) Spindle should rotate counterclockwise (as
viewed from top).
10. Press EMERGENCY STOP button (G in Fig. 4.10) and wait for spindle to completely stop.
11. Without resetting EMERGENCY STOP button, press SPINDLE FORWARD button. Machine
should not start.
NOTE: If the machine does start (with EMERGENCY STOP button pushed in), immediately
disconnect the power to machine as EMERGENCY STOP safety feature is not working correctly.
This safety feature must work properly before proceeding with regular operations.
Refer to Troubleshooting on Page 28 for possible solution.
Fig. 4.11
12. Twist EMERGENCY STOP button clockwise to reset it.
(Fig. 4.11)
13. Check that the light on the control panel is on, then
open the Cutter Safety Guard (G in Fig.4.10) and with
the guard open the light will go out. Close the guard
and the light should come on.
NOTE: THE CUTTER SAFETY GUARD MUST BE CLOSED FOR
THE SPINDLE MOTOR TO START.
Once everything is working as it should then the Test
Run is complete and the machine can be used for normal
operation.
4.10 TEST RUN Cont.

19
OPERATION MANUAL
5. OPERATION.
The purpose of this overview is to provide the novice machine operator with a basic under-
standing of how the machine is used during operation, so the machine controls/components
discussed later in this manual are easier to understand.
Due to the generic nature of this overview, it is not intended to be an instructional guide. To
learn more about specic operations, read this entire manual and seek additional training from
experienced machine operators, and do additional research outside of this manual by reading
“how-to” books, trade magazines, or visiting websites.
When undergoing a typical operation, the operator needs to do the following:
1. Examines the workpiece to make sure it is suitable for the machining operation.
2. Check the machine to ensure that it is safe to use and put on protective clothing and
safety equipment.
3. Place the workpiece on the table and securely clamp it to the table.
4. Select the correct cutting tool for the job and with the machine disconnected from power,
install the cutting tool using the correct holder.
5. Raise the table so the cutting tool is just above the workpiece.
6. Select the correct spindle speed for the cutter and the workpiece.
7. Connect the machine to the power supply and turn it ON.
8. Uses the down feed, or table controls to perform the cutting operation.
9. Turn the machine OFF and wait for the spindle to completely stop before removing the
workpiece, changing tooling, or changing spindle speeds.
5.1 OPERATION OVERVIEW

20
OPERATION MANUAL
Fig. 5.3
hex. Nut
tilt scale
5.2 HEADSTOCK MOVEMENT
The headstock is designed to move up and down along the Z axis and tilt 90 degrees side to
side.
To Raise or Lower the Headstock
1. DISCONNECT THE MACHINE FROM POWER!
2. Loosen both Z-axis lock nuts shown in
Fig. 5.1
Fig. 5.2
To Tilt The Headstock
1. DISCONNECT THE MACHINE FROM POWER!
2. Loosen the three locking hex nuts a 1/4 to
1/2 a turn. There is one on either side of the
head (Fig. 5.3) and one under the bottom
of the head (see Fig. 5.4).
NOTE: The 3 nuts must only be loosened a
quarter to a half a turn maximum to avoid the
head disengaging from the tilting mechanism
and the head dropping under its own weight.
3. Using the scale shown as a guide, swivel
the headstock and re-tighten the three hex
nuts to secure it
3. Use Z-axis crank shown in Fig. 5.2 to adjust
the headstock height.
4. Tighten Z-axis lock nuts to secure the head
Fig. 5.4
hex. Nut
THE HEAD IS HEAVY AND WILL REQUIRE SUPPORT WHEN
TILTING. ARRANGE FOR SOME HELP TO SUPPORT THE HEAD.
Fig. 5.1
lOck Nuts
Table of contents
Other Hafco Drill manuals