Safety precautions
2
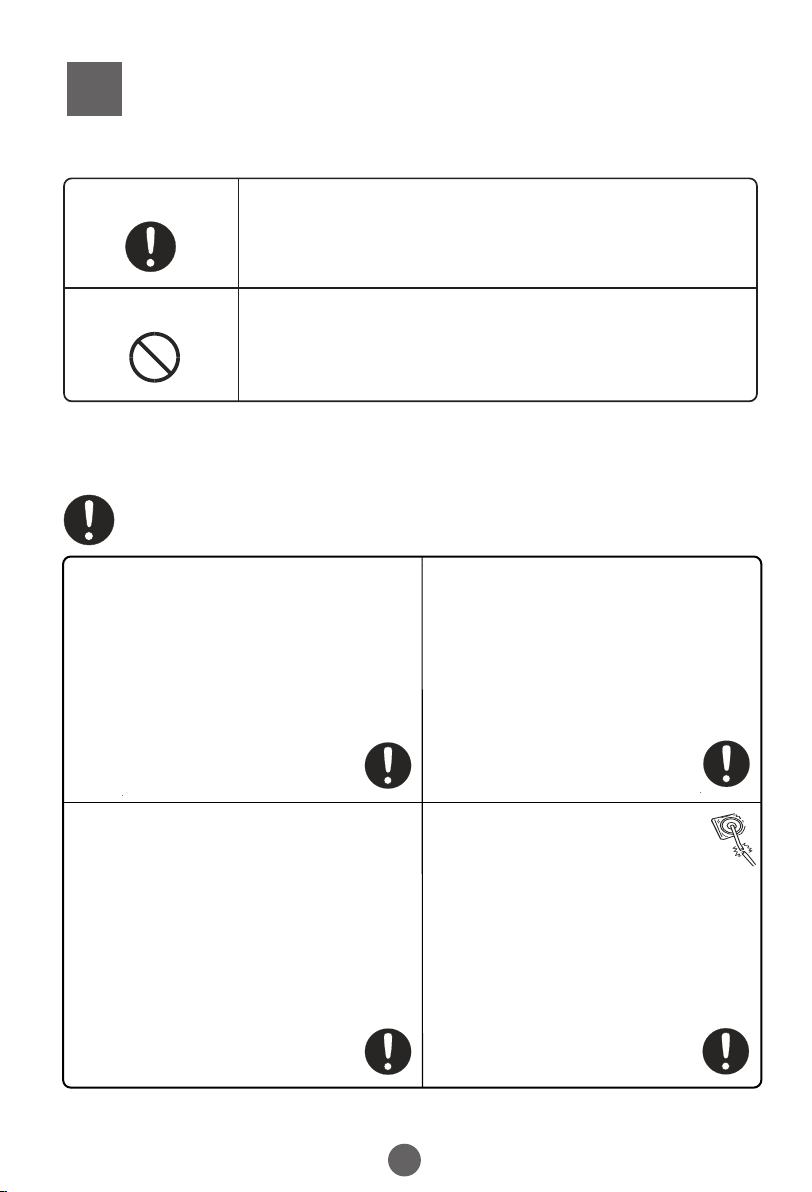
Description of symbols
Warning sign
Forbidden sign
Safety warning
Contents marked with this symbol are related to the safe use of
the product and the personal safety of the user.
Please operate in accordance to the contents of this manual,to
avoid harm to the user or damage to the machine itself.
Contents marked with this symbol indicate operations or actions
that should not be undertaken by the user.
Performing of such actions may result an injury to the user or
damage to machine itself,and void warranty.
Please check power socket condition to ensure it has been earthed correctly prior to
installation to ensure your safety
A separate, earthed power socket is
required for the power supply.
Hold the plug(not the electric cable)when
unplugging the washing machine.
Do not insert or remove the power plug with
wet hands.
The power plug should be accessible after
the machine installation.
This appliance is intended to be used in
household and similar applications such as:
— staff kitchen areas in shops,office and
other working environments;
— farm houses;
— by clients in hotels,motels and other
residential type environments;
— bed and breakfast type environments;
— areas for communal use in blocks of flats
or in launderettes.
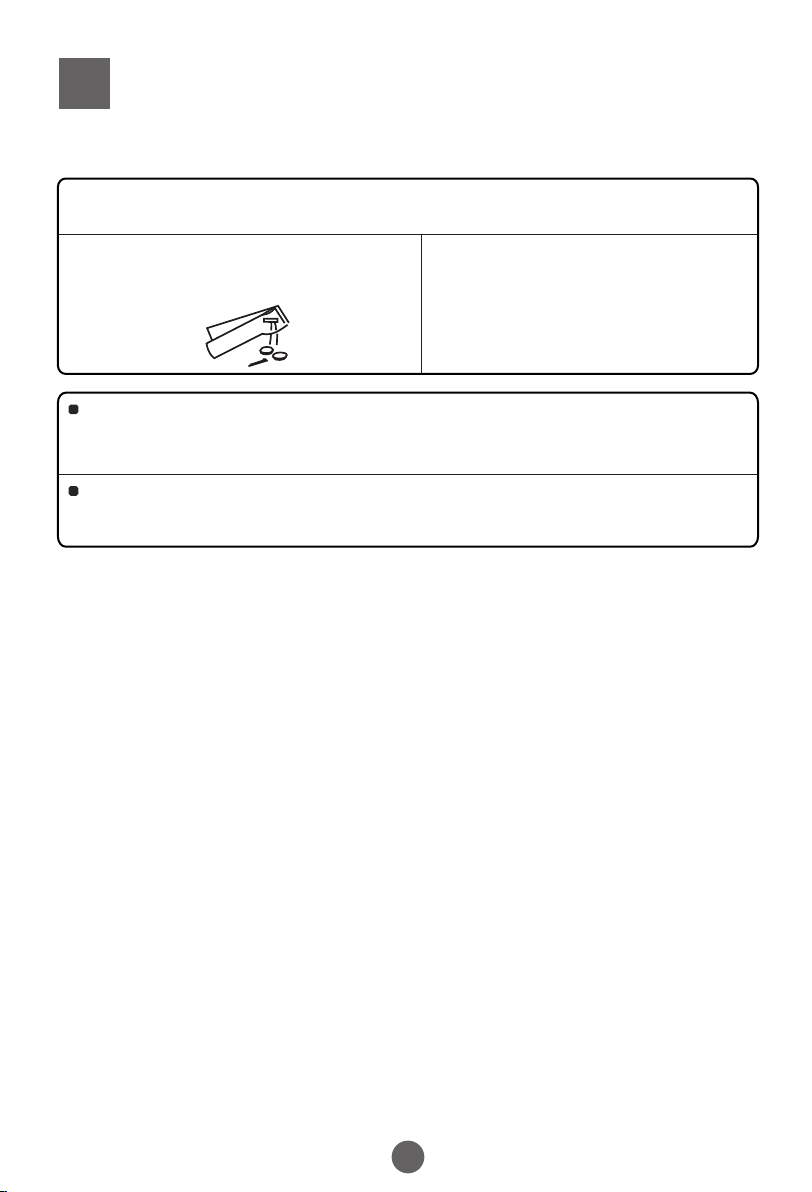
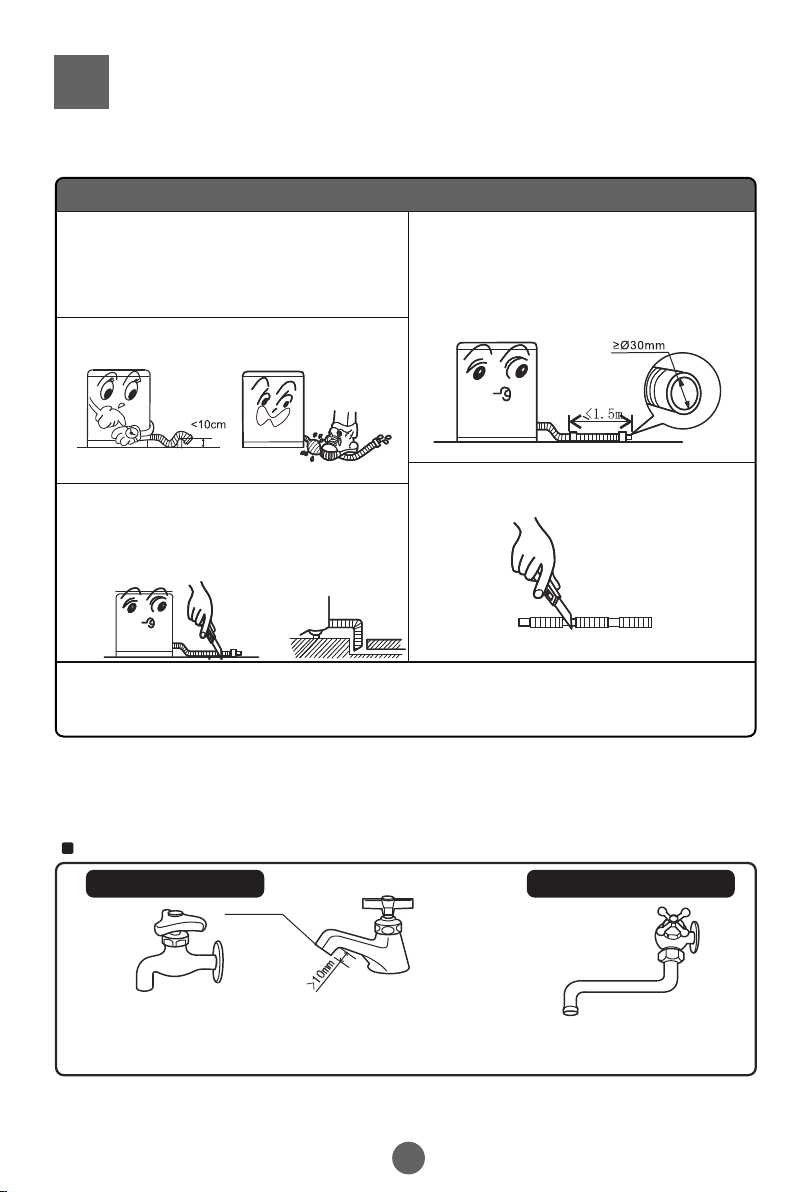
Warning
Ensure the plug is removed and the taps
turned off in the following cases.Power
failure, cleaning, moving,installation
and when not in use.
The new hose-sets supplied with the
appliance are to be used ,old hose-sets
should not be reused.
The rated washing capacity,spinning
capaciy,The max. and min.inlet
water pressure refer to
specification page.
If the supply cord is damaged, it
must be replaced by the manufacturer,
its service agent or similarly qualified
persons in order to avoid a hazard.
CAUTION:If this appliance is supplied
with a cord extension set or electrical
portable outlet device ,the cord extension
set or electrical portable outlet device
must be positioned so that it is not
subject to splashing or ingress of
moisture.