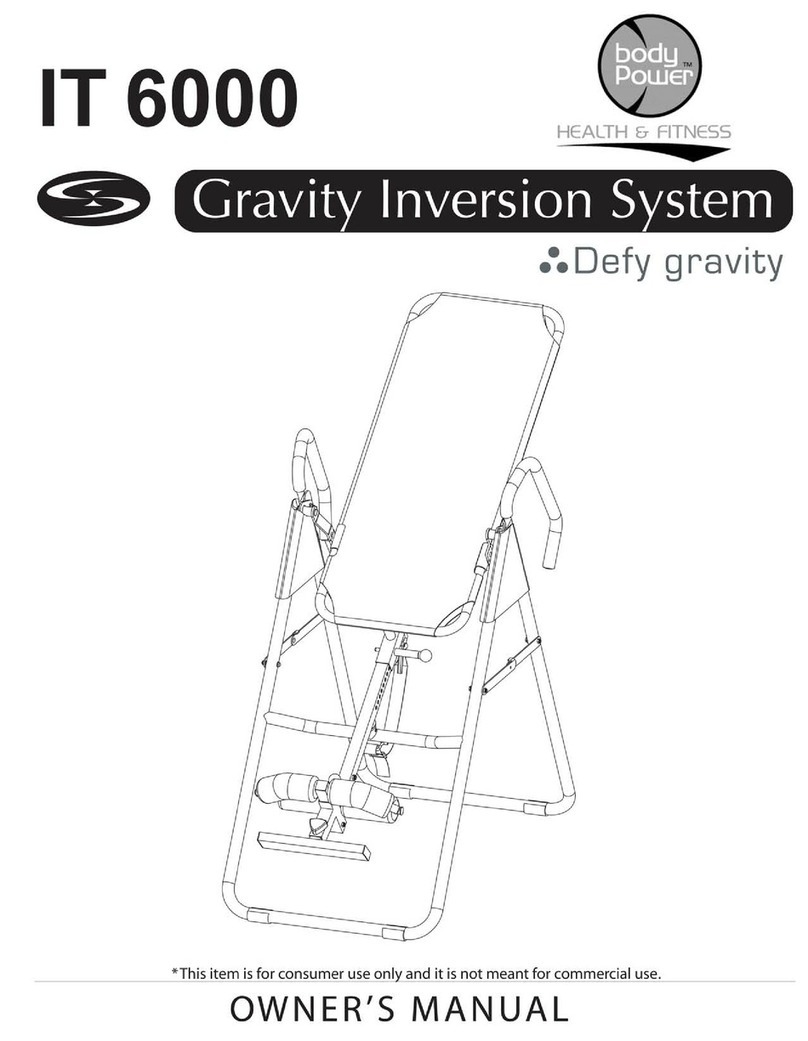
Hang ups Teeter Power II Inversion Table User manual

Patent applies.
ASSEMBLYINSTRUCTIONS
Power IITM
ITEMSFORASSEMBLY ITEM #’s
Bed frame assembly P1-1000
Chain with crank P1-5004
Rear frame P1-1001
Front frame P1-1002
Main shaft P1-2100
Locking knobs P1-1003
Handles P1-1015
DONOTDISCARD - KEEP FORFUTURE REFERENCE.
Figure 1
P1-1000
Note: The bed frame assembly arrives rotated into the fully inverted position.
This is the most convenient position from which to begin the assembly process.
STEP ONE
Secure rear frame (P1-1001) to bed frame assembly (P1-1000)
• Insert the rear frame into the bed frame assembly (the logo on the bed will
be facing the rear). (See Figure 1) Make sure the spring-loaded locking
pins on each leg pop through the holes.
STEP TWO
Secure front frame (P1-1002) to bed frame assembly (P1-1000)
• Insert the front frame into the bed frame assembly. Make sure the spring-
loaded locking pins on each leg pop through the holes.
ASSEMBLY
Before you begin: These instructions will guide you in properly assembling the unit. Please review all the steps before beginning assembly.
Carefully adhere to the Assembly Instructions and Owner’s Manual to help ensure user safety and product integrity.
1. Failure to assemble and/or use the equipment as directed may void the manufacturer’s warranty on this product and could
result in injury or death.
2. It is your responsibility to familiarize yourself with the proper use of the equipment and the inherent risks of inversion, such
as falling on your head or neck, pinching, entrapment or equipment failure.
3. Do not use the inversion table until you have thoroughly and carefully read the Owner’s Manual, reviewed all other
accompanying documents, and inspected the equipment.
4. Choose a level surface for assembling and operating the table.
5. Follow each step in sequence. Do not skip ahead.
6. Make sure that all fasteners are secure.
7. Prior to use, test and inspect the table to ensure smooth operation.
8. Refer to additional warning notices and information posted on the equipment.
!WARNING
Carefully remove the individual parts from the carton. You should have all of the items listed below. If any items are missing or damaged, contact
your retailer or customer service directly (See reverse side).
P1-1001
rear
P1-1002
front
P1-2100
P1-1015
P1-1003
arriveassembled
inthemainshaft
front frame
rear frame
P1-5004
Ensure that the spring-loaded locking pins are attached
securely and that the front and rear frames sit evenly on the
floor. Improper assembly could result in serious injury or death.
!WARNING

• ReadyourOwner’sManualthoroughlybeforeusingtheinversiontable.
• Test thetableforsmoothand steady rotationbeforeinverting.
• Foryourreference,thetable’sserialnumbercanbefoundonastickermountedto the motor housing.
• Pleasecomplete and mail your warrantycard, or submit it on-lineat www.TeeterHangUps.com.
You are finished assembling your Power IITM Inversion Table. Please remember:
ASSEMBLY
Figure 2
STEP THREE
Secure main shaft (P1-2100) to bed frame assembly (P1-1000)
• Removethe locking knobs (P1-1003) fromthe holes in the mainshaft
(theyarepre-assembledforshippingpurposes).
• Insert the main shaft into the bed frame assembly. (See Figure 2)
• Line up the holes on the back of the bed with those on the main shaft.
Insert and tighten both locking knobs to secure the main shaft to the bed
frameassembly.
STEP FIVE
Connect cord to the power source
• Connectthe cord to your power source* androtate the bed upright using
the power control switch. Make sure the table operates smoothly.
* GROUNDING INSTRUCTIONS
This product must be grounded. If it should malfunction or breakdown, grounding provides a
path of least resistance for electric current to reduce the risk of electric shock. This product
is equipped with a cord having an equipment-grounding conductor and a grounding plug. The
plug must be plugged into an appropriate outlet that is properly installed and grounded in
accordance with all local codes and ordinances. DANGER - Improper connection of the
equipment-grounding conductor can result in a risk of electric shock. Check with a qualified
electrician or serviceman if you are in doubt as to whether the product is properly grounded.
Do not modify the plug provided with the product - if it will not fit the outlet, have a proper
outlet installed by a qualified electrician.
STEP FOUR
Secure handles (P1-1015) to bed frame assembly (P1-1000)
• Insert and tighten the handles into the arms on both sides of the bed frame
assembly. (See Figure 3)
Figure 3
Assembly Instructions #LP1025 Pg. 2
For information about the Teeter Hang Ups®2-year warranty, or if you have any problems assembling the
equipment or questions about its use, please contact Customer Service at the appropriate location below:
USA & Canada:
STL Inc.
9902 162nd St. Ct. E., Puyallup, WA98375
Toll Free (Phone) 800-847-0143 (Fax) 800-847-0188
Local (Phone) 253-840-5252 (Fax) 253-840-5757
(email) Info26@TeeterHangUps.com
(web) www.TeeterHangUps.com
Patentapplies.
TeeterHangUps®isaregisteredtrademarkofSTL
Inc.andInversionInternational,Ltd.
Specificationssubjecttochangewithoutnotice.
©COPYRIGHT2004,STLInc.and
InversionInternational,Ltd.
InternationalLawProhibitsAnyCopying,01/04-1
International:
Inversion International, Ltd.
PO Box: AP 59245, New Providence Island, Bahamas
(Phone) +1-242-362-1001
(Fax) +1-242-362-1002
(email) [email protected]
(web) www.InversionInternational.com
front frame
rear frame
Figure 4

ASSEMBLY INSTRUCTIONS
LOCKING KNOB
Assembly of your new locking knob will require the following:
1. Enclosed locking knob with orange warning symbol;
2. A pair of pliers or channel locks.
• Insert the entire new locking knob assembly
into the vacated hole on your main shaft
assembly. See Figure C.
• Turn clockwise with your fingers to begin
tightening - make sure the threads are lined
up correctly. Using a pair of pliers or chan-
nel locks, clamp the ridged nut at the base of
the locking knob and finish tightening.
Make sure the locking knob is secure.
• Pull the locking knob, replace the upper ankle
bar into the housing and release the pin.
Make sure the locking pin fully engages the
hole and functions smoothly!
If you have any questions, please feel free to contact
Teeter Hang Ups customer service:
Ph: 800-847-0143 (toll free) or 253-840-5252,
Email: [email protected]
Available Monday-Friday, 8 a.m. - 5 p.m. PST
• Using a pair of pliers or channel locks, clamp
the ridged nut at the base of the locking knob
and turn counter-clockwise to loosen. See
Figure A.
• Once loose, pull out the entire knob assembly
and discard it.
• Slide the upper ankle bar out of its housing
and allow it to rest on top of the housing.
Note that it is held by a spring - use caution
to avoid overextension. See Figure B.
Step One main shaft
assembly
round
locking knob
ridged nut
Remove the existing, round locking knob from the main shaft assembly.
Step Two
Step Three
Step Four
Assemble the new locking knob (with the orange warning symbol) onto your main shaft assembly.
Step Four
Step Five
Figure A Figure B
Figure C Figure D
Table of contents
