HARDKORR Orange & White Camp Lighting Kit User manual
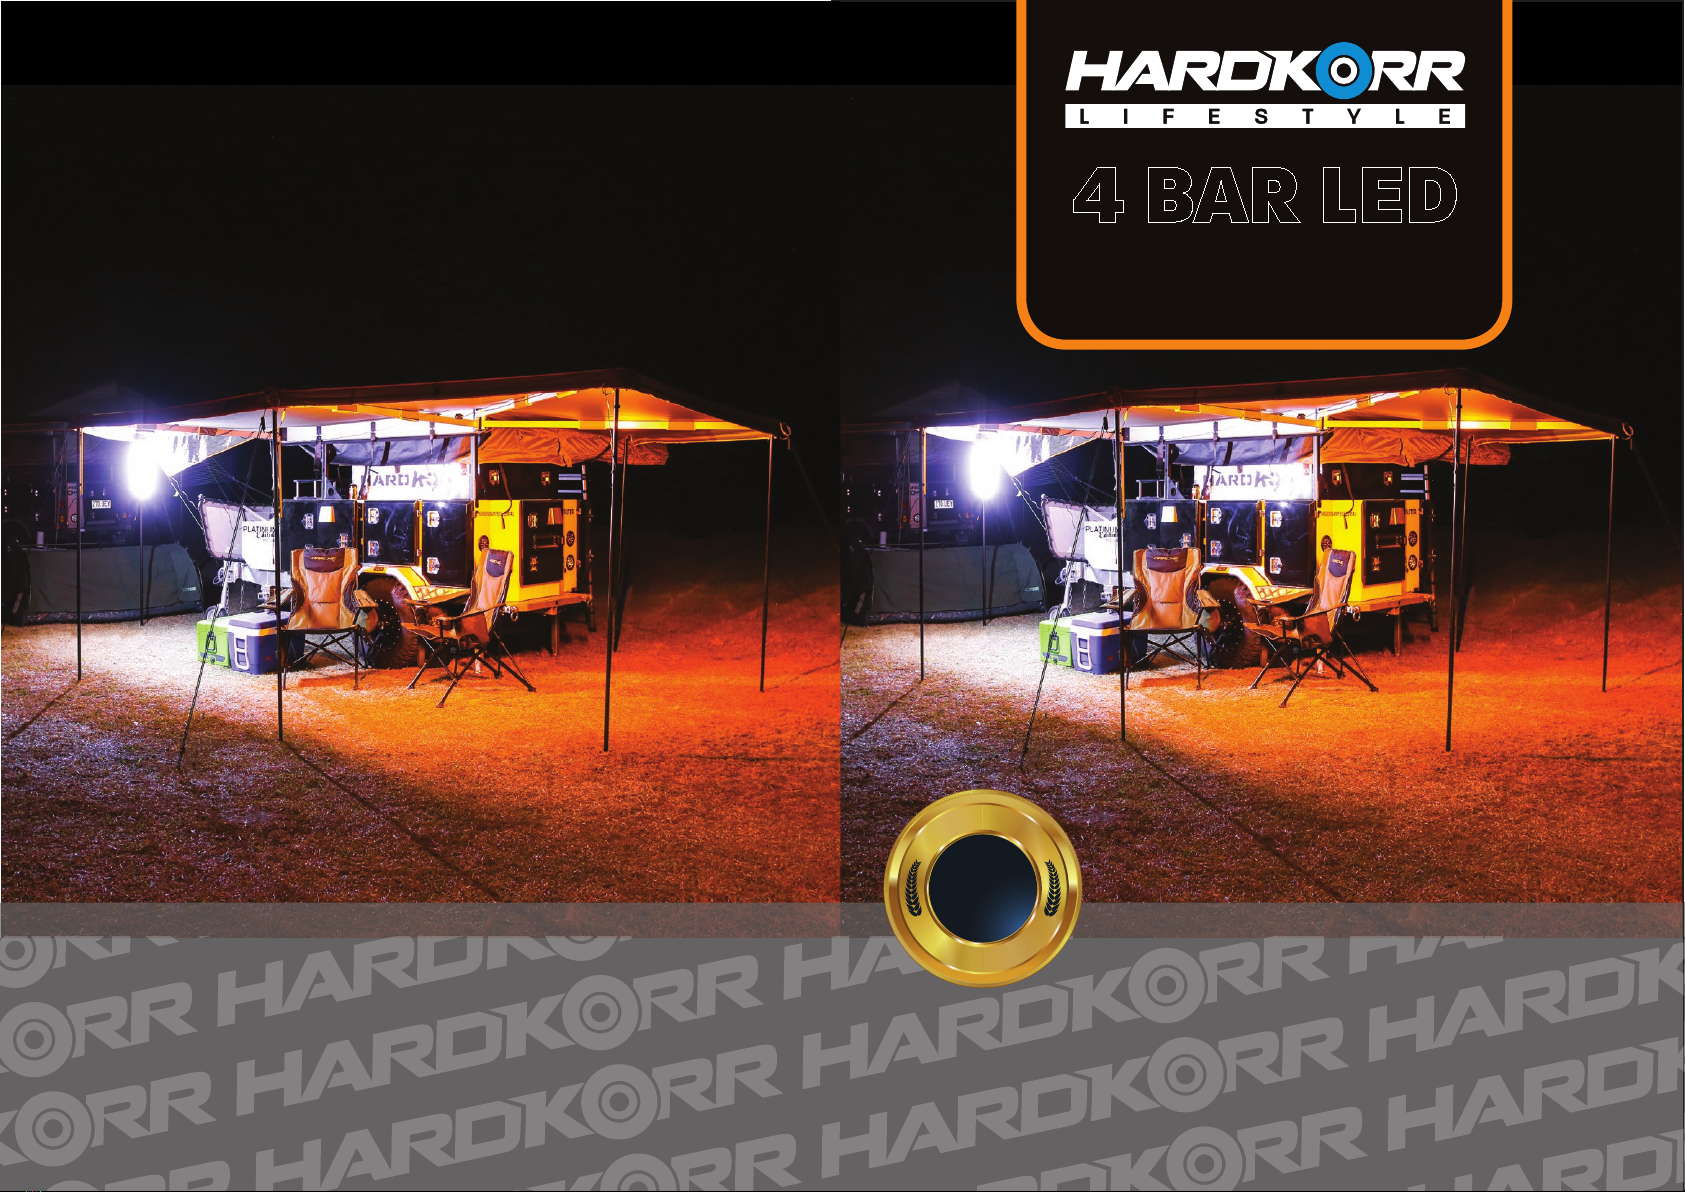
ORANGE & WHITE
CAMP LIGHT KIT
4 BAR LED
W
A
R
R
A
N
T
Y
H
A
R
D
K
O
R
R
12
MONTH
USER GUIDE
CONTACT US AT
WWW.HARDKORR.COM

3
Congratulations!
You have made an excellent decision with your purchase of this quality HARD KORR®product.
In doing so, you now have the assurance and peace of mind which comes from purchasing
a product that has been manufactured to the high quality standards of HARD KORR®
Lighting.
Our aim is for you to be completely satisfied with your purchase, and therefore, your new
HARD KORR®product is backed by a comprehensive 12 Month Warranty and an outstanding
after sales customer service team.
We hope you will enjoy using your purchase for many years to come.
If you require technical support or in the unlikely event that your purchase is faulty please
contact our support team for immediate assistance. Faulty product claims made within the
12 Month Warranty period will be repaired or replaced free of charge.
However, be aware that the warranty will become null and void if the product is found to
have been deliberately damaged, misused or disassembled.
General Information and safety instructions 4
Features 5
Instructions 6
Instructions - typical camper install 7
Frequently asked questions 8
Warranty details 9
Warranty card 10
Introduction
This Orange & White camp lighting kit must be used only for the prescribed purpose.
Any uses other than those mentioned in this manual will be considered a case of misuse.
The user and not the manufacturer shall be liable for any damage or injury resulting from
such cases of misuse.
To use the camp kit properly you must observe the safety regulations, the assembly
instructions and the operating instructions to be found in this manual.
Children should be supervised at all times whilst operating the Orange & White
camp lighting kit.
The manufacturer shall not be liable for any changes made to the camp kit nor for
any damage resulting from such changes.
Only use a HARD KORR®transformer (purchased separately) with the camp lighting kit to
connect to 110V / 240V power outlets.
Do not connect to a power source greater than 12V, unless using a HARD KORR®110V / 240V
transformer.
WARNING: Do not abuse cords. Never pull on cords to remove lights from poles. This will
result in cords being broken at light fitting and the manufacturer will consider this misuse of
product. The user and not the manufacturer shall be liable for any damage or injury resulting
from such cases of misuse.
NOTE: Your dimmers are not waterproof, so it is in your best interest to position them where
they will not get wet or damp.
WARNING Do not look directly into the lights.
Orange & White Camp Lighting Kit
Warranty Details
AFTER SALES SUPPORT
4
Never allow children to play with electrical equipment
WARNING
The product is guaranteed to be free from defects in workmanship and parts for a period of
12 months from the date of purchase. Defects that occur within this warranty period, under
normal use and care, will be repaired, replaced or refunded at our discretion.
You are entitled to a replacement or refund for a major failure and for compensation for
any other reasonably foreseeable loss or damage. You are also entitled to have the goods
repaired or replaced if the goods fail to be of acceptable quality and the
failure does not amount to a major failure.
Please contact your place of purchase for warranty information and replacements.
General Information
and Safety Instructions
www.hardkorr.com
HARD
KORR
2019
W
A
R
R
A
N
T
Y
H
A
R
D
K
O
R
R
12
MONTH
Q. Will my Camp Lighting Kit run from
110V / 240V
power outlet?
A. Yes, you must first purchase a HARD KORR®transformer if you wish to power
your kit from
110V / 240V
mains power.
Q. How does my Camp Lighting Kit go together?
A. For the first time installation we suggest you start from the cigarette lighter with the 3m
cable. This way you will start with the right male connector, from there you can configure
the lighting to suit the area you want to light up.
Q. Are my lights weatherproof?
A. Yes all lights and cables are weatherproof, however the supplied dimmers are not.
Q. What do I do if my lights don’t work?
A. First make sure you have a charged 12V battery to run from, or if coming from a 12v cigarette
input inside your vehicle, please make sure ignition is switched on.
If the kit is still not working, try directly from car battery. Next, please try connecting a
transformer to mains power.
If you are still experiencing difficulties after following these steps, please contact our
customer service team.
Q. What do I do if my controllers are not working properly?
A. Firstly, please make sure you have not put 2 dimmers on the same line of cable.
To avoid this, please use the supplied splitter cables.
If you are still experiencing difficulties after following these steps, please contact our
customer service team.
Q. How many light bars can I run from each dimmer?
A. You can run up to 3 light bars from each dimmer.
Q. Why are magnets on back of light bars?
A. This is so you can fix light bars to poles in the tent or camper easily.
Q. Can I run these lights off a generator?
A. Yes, you can connect to a generator using a HARD KORR® transformer
(purchased separately)
.
Q. What do I do if some lights work and some don’t?
A. You may have a faulty lead. Please check the light directly from the cigarette or transformer
lead. If all lights are working, please test each cord between the light and power until you
find the faulty cord.
If you are still experiencing difficulties after following these steps, please contact our
customer service team.
Q. Where do I send back items that may need to be replaced under warranty.
A. For warranty information and replacements please contact your place of purchase.
8 5
Frequently
Asked Questions
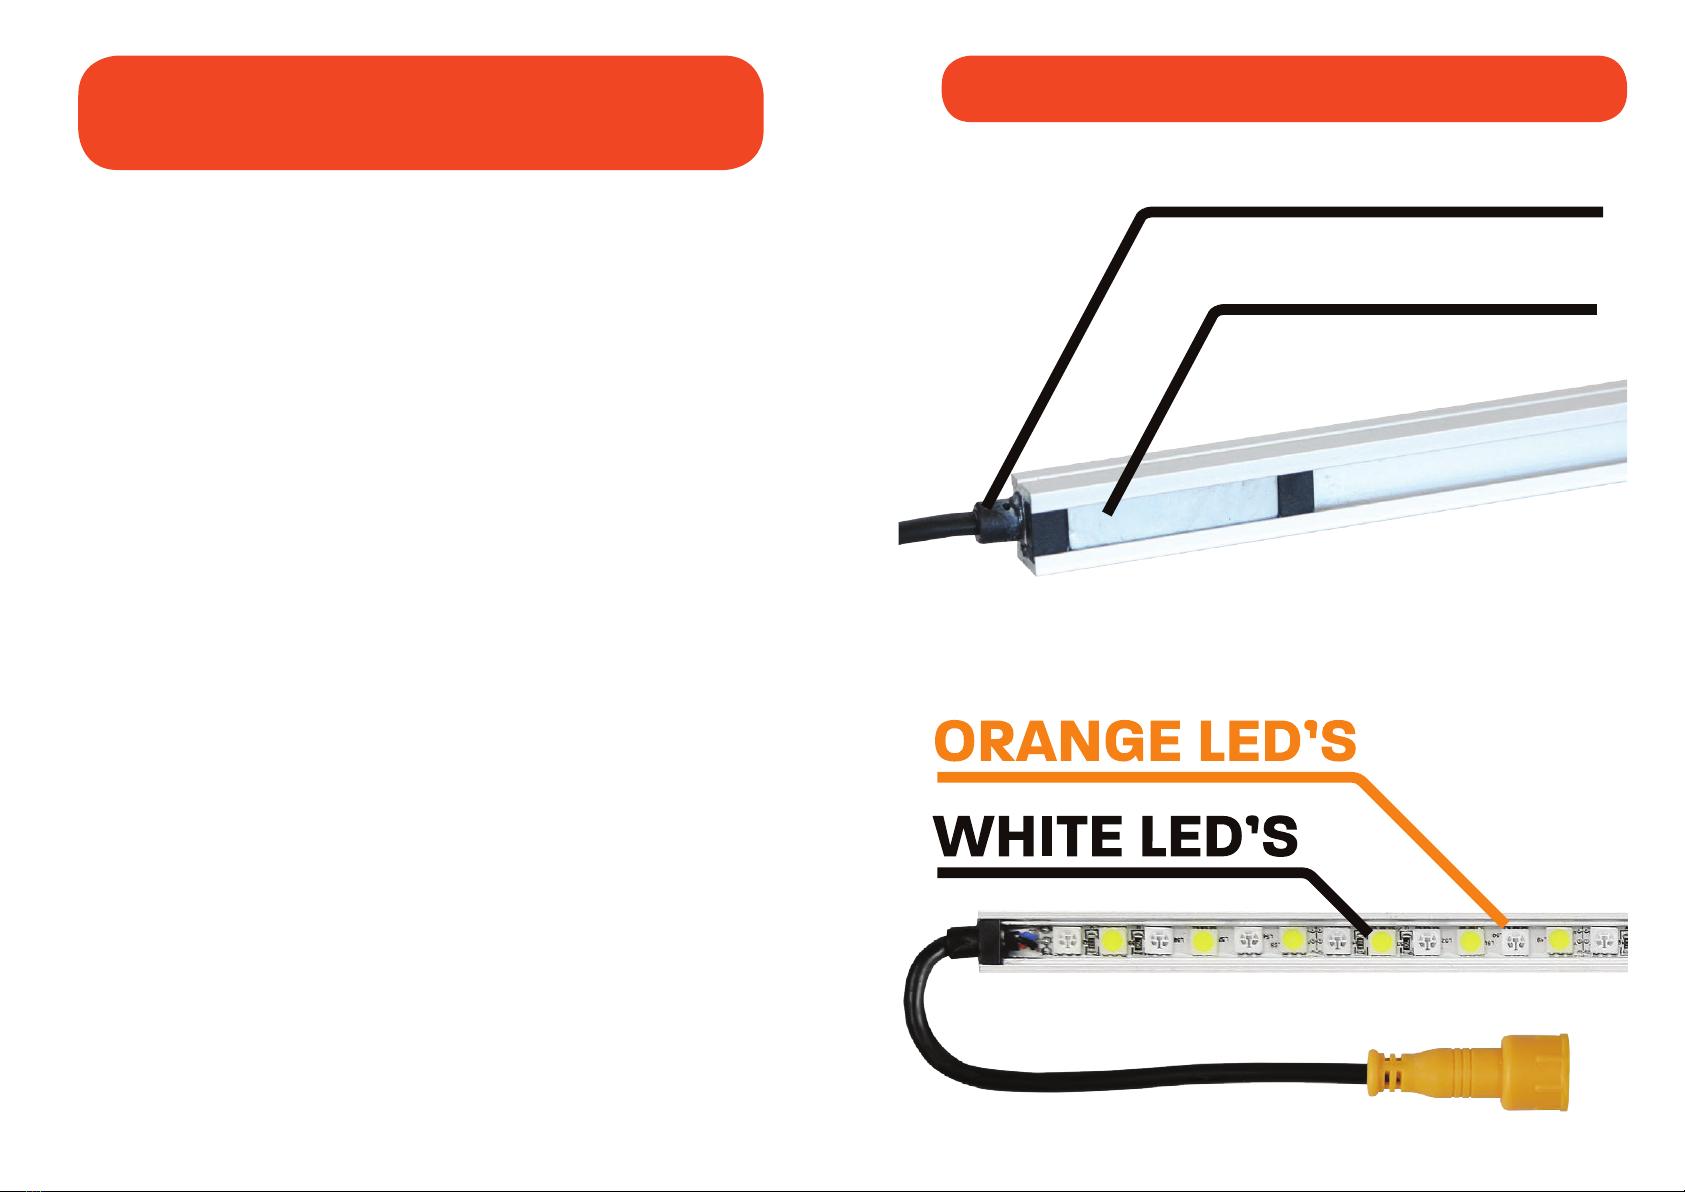
Features
PRESSED IN MAGNET
SEALED GROMMET ENDS
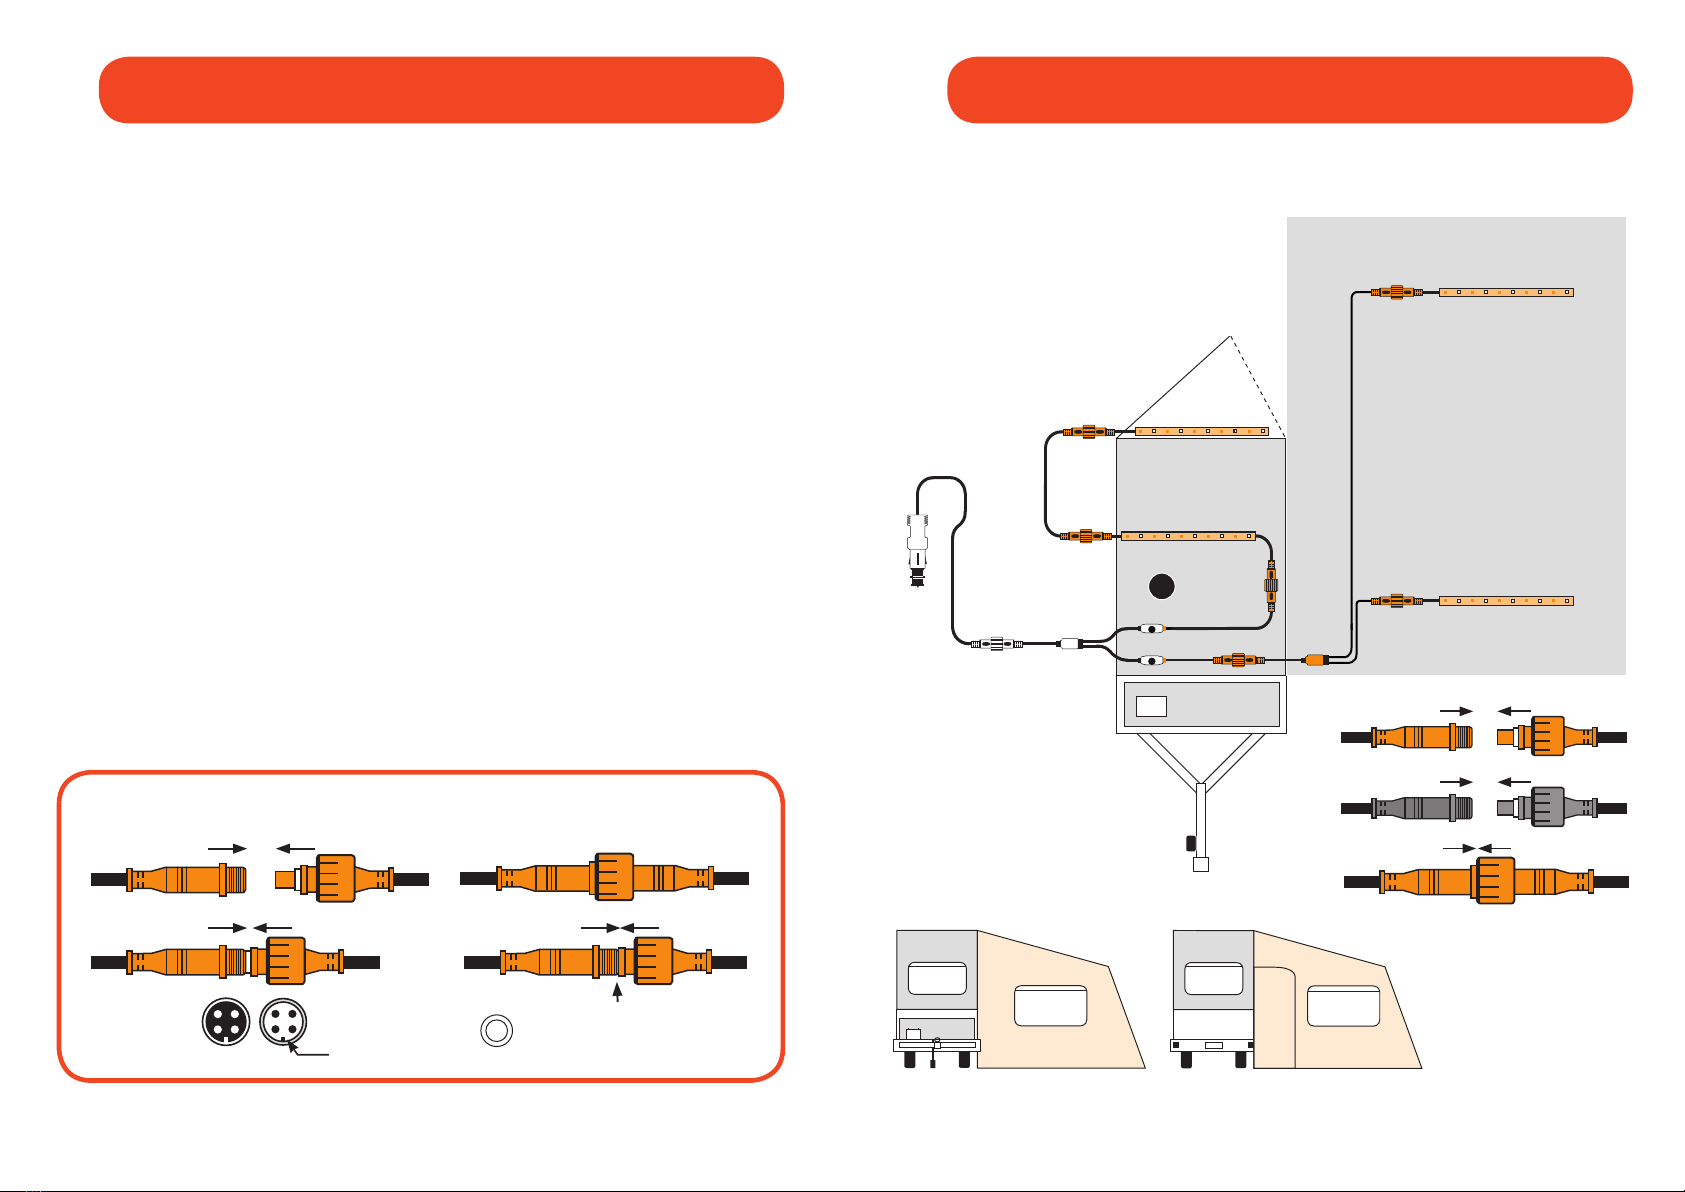
Typical Camper Install:
The diagram is to be taken as a reference only.
Shown is 4 Orange & White bars with cables
and accessories.
You do not have to follow this layout, you can
place the bars and cables where ever you like
to best suit your camp set up!
Additional supplied
extension cable
can be inserted
into the wiring flow
where needed.
Swing out
tailgate door
Assembly:
The below assembly is only a guide, as this kit is able to be arranged in
multiple different setups to suit your needs.
Step 1. Connect your 12v cigarette lead to an output. If you have a transformer, you may
use this instead if needed.
Step 2. Depending on your campsite, connect a extension cable if needed.
Step 3. From the extension cable, you can either add more cables, or you can add a
controller
.
Step 4. From the
controller
, you can add the splitter onto it to divert your lighting up
to 3 different ways, unless you have a 2-way splitter.
Step 5. And finally from here its all up to you!
You can either extend the kit with extension cables, or finally your rigid bars.
Instructions
6 7
Remove O ring if above
connection does not work
Instructions
Plug end view
Key lock
Make sure plugs connect properly or it may cause
LED lights not to work or change colour
ALIGN KEY
LOCK ENDS
Table of contents


