Hello Kitty KT4601 User manual

1
Cover
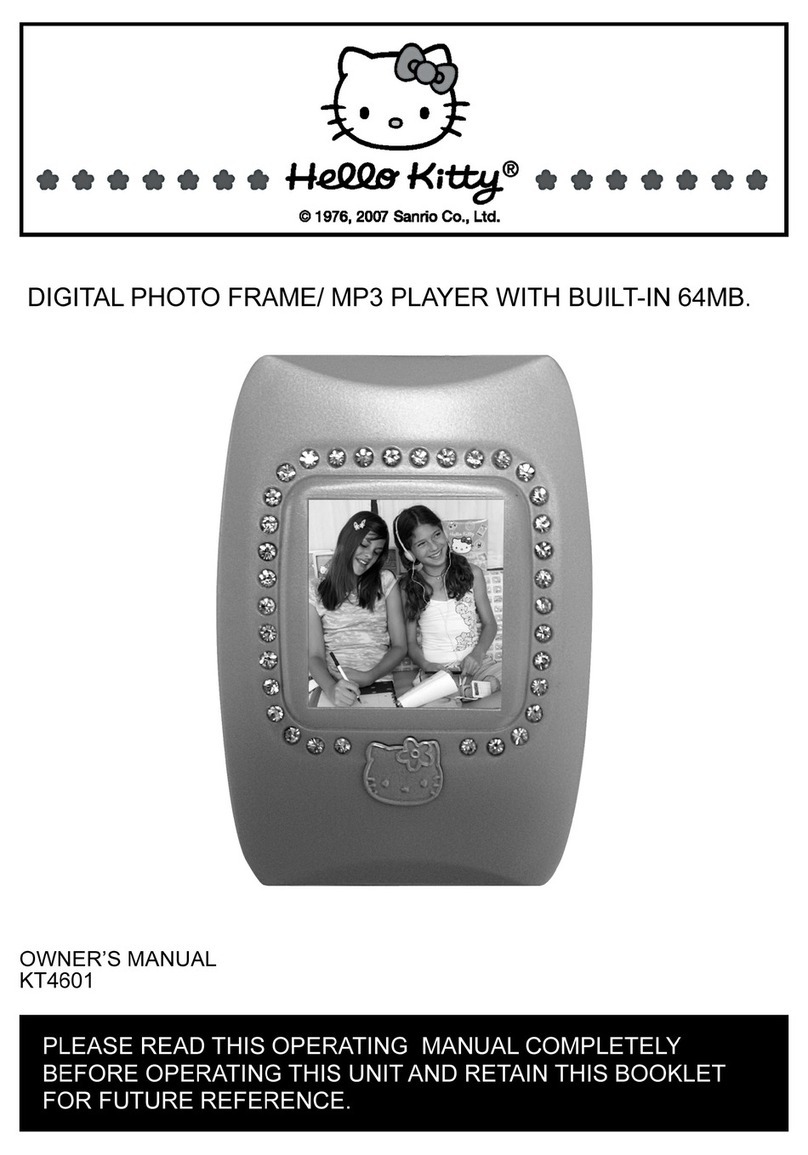
DIGITAL PHOTO FRAME/ MP3 PLAYER WITH BUILT-IN 64MB.
OWNER’S MANUAL
KT4601
PLEASE READ THIS OPERATING MANUAL COMPLETELY BEFORE OPERATING THIS UNIT
AND RETAIN THIS BOOKLET FOR FUTURE REFERENCE.

2
Dear Hello Kitty® Customer:
We have taken great care to make sure that this unit was in perfect working order when it left the
factory. It has been designed to give you many years of enjoyment and trouble free operation. Read
this manual before operating this unit to become familiar with its features and obtain the performance
that will bring you continued enjoyment for many years.
For future reference, record the serial number in the space provided.
Model Number: KT4601
Serial Number: ___________________

3
Table of contents:
Table of contents ......................................................................................1
Safety Information ....................................................................................2
Battery information ...................................................................................2
Compliance with FCC regulations ..............................................................2
1. Introduction ..........................................................................................3
2. Locations of controls ..............................................................................4
3. Operating guide
• Download/ remove files ........................................................................6
• Power on/ off ......................................................................................7
• Play music ...........................................................................................7
4. Picture viewing ......................................................................................8
5. Play movie ............................................................................................9
6. Play recorded voice files .........................................................................10
7. Record mode ........................................................................................11
8. System settings .....................................................................................12
9. Delete ..................................................................................................15
10.DRM..................................................................................................16
11.Video Conversion (SMV file)..................................................................20
12.Troubleshooting....................................................................................22
13.Specifications ......................................................................................23
14.Service ...............................................................................................24
1

4
Safety Information:
• Do not attempt to disassemble or alter any part of the unit that is not expressly described in this
guide. Internal inspections, alternations and repairs should be conducted by qualified service
personnel.
• Prevent liquids such as water and beverage from flowing into the product.
• Do not use the product where electric appliances are prohibited.
• Protect the product from violent impact and vibration.
• Place the product far away from heat sources, and protect the product from direct sunlight.
• No compensation responsibility for malfunctions caused by improper use.
• It is prohibited to conduct illegal audio recording.
• Save the data in the memory of the product to other storage device before repair. No
compensation responsibility if the data are lost during repair .
Battery Information:
For the first use of the product, you are recommended to fully charge your unit. (If the battery capacity
sign appears blank, it indicates the unit needs to recharge.) Connect the provided USB cable
correctly and charge the battery until the sign is fully displayed. The charge time is
approx.8 hours.
Compliance with FCC Regulations:
This device complies with Part 15 of the FCC Rules. Operation is subject to the following two
conditions:
(1) This device may not cause harmful interference, and
(2) This device must accept any interference received, including interference that may cause
undesired operation.
NOTE : This equipment has been tested and found to comply with the limits for a Class B digital
device, pursuant to Part 15 of the FCC Rules. These limits are designed to provide reasonable
protection against harmful interference in a residential installation. This equipment generates, uses
and can radiate radio frequency energy and, if not installed and used in accordance with the
instructions, may cause harmful interference to radio communications. However, there is no
guarantee that interference will not occur in a particular installation. If this equipment does cause
harmful interference to radio or television reception, which can be determined by turning the
equipment off and on, the user is encouraged to try to correct the interference by one or more of the
following measures:
- Reorient or relocate the receiving antenna.
- Increase the separation between the equipment and receiver.
- Connect the equipment into an outlet on a circuit different from that to which the receiver is
connected.
- Consult the dealer or an experienced radio/TV technician for help.
CAUTION : Changes or modifications not expressly approved by the party responsible for
compliance could void the user’s authority to operate the equipment.

5
2
1. Introduction
- Support of audio formats: MP3 and WMA
- Voice can be recorded through a microphone and saved as a voice file in WAV format.
- Six sound effect modes: Normal, Rock, Jazz, Classic, Pop, and Bass.
- Multiple playing modes: Normal mode, Play current music repeatedly, Play all music repeatedly,
Play all music at random, Play all music repeatedly at random and Introduction.
- Picture viewing: Support JPEG and BITMAP formats.
- Movie viewer : Support SMV format. ( SMV format conversion software is provides in
the CD-Rom)
- Auto power-off function.
- Built-in lithium battery that charged by PC USB connection.
- 1.5" 65K color TFT LCD.

6
3
2. Locations of controls
TOP PANEL
RIGHT PANEL
BOTTOM PANEL
(1) Neck-strap opening
(2) MIC hole
(3) Headphone jack
(4) “+” Volume increase
(5) “-” Volume decrease
(6) “MENU” key
(7) “LOCK” key
(8) USB jack
(9) SD card slot

7
4
LEFT PANEL
FRONT PANEL
BACK PANEL
(10) “SKIP |<<” (Previous song key)
(11) “SKIP >>| ” (Next song key)
(12) “Play/ Pause/ Power- ON/OFF”
key
(13) “Stop” key
(14) “A-B” repeat key
(15) “REC/ EQ” key
(16) LCD display
(17) RESET hole

8
5
3. Operating guide
- Before use
• Press the rear panel RESET button with a pointed object to initialize the unit before use.
• There is a neck strap provided with this unit. If you experience difficulty when inserting the cord
through the hanger hole, we suggest using a straight pin or paperclip to assist in guiding the cord
through the hole.
- Download/ remove files
• Use the USB cable to connect the unit with your computer. There is no need to install driver for Win
VISTA/WinXP/ME/2000. It is necessary to install the driver in the accompanying CD for Win98 and
below before download/ remove files.
• After successful connection, two “removable hard disks” are generated automatically in your
computer. (The drive names may vary for different computer.)
• The first “removable hard disk” is the internal memory of the unit . Three folders are created in this
hard disk to distinguish different file types: “MVIDEO” is a folder to hold SMV video files; “PHOTO” is
a folder to hold pictures; “VOICE” is a folder to hold recorded voice files.
• The second “removable hard disk” is the expanded memory of the product (the inserted SD card).
After a SD card is inserted, 2 folders have to be created BY THE USER in the second “removable
hard disk”. These folders are used to store SMV files and picture files respectively. (The second
“removable hard disk” , “MVIDEO” (for video) and “PHOTO” (for pictures) can be opened when a SD
card inserted.)
• For the picture and video files, they must be saved in “PHOTO” and “MVIDEO” folders. In these
folders, additional folders cannot be read.
• MP3 music files can be copied to first and second “removable hard disk” without creating specific
folder.
• Select files in the computer to download. Then, copy and paste them to a relative folder of a
removable hard disk.
• Keep the USB cable connected during copy and paste operation. After the downloading is finished,
remove the USB cable.

9
When you want to remove song files from your unit, you can delete them through your computer or
directly from your unit’s DELETE function.
6
- Power on/ off
• Power on: Press and hold “Play/ Pause/ Power-On/ Off” key to start your Unit.
• Power off: Press and hold “Play/ Pause/ Power- On/ Off” key until the following power-off screen
appears. The power is turned off.
- Play music
After the power is turned on, the music playing interface appears by default.
This unit supports MP3 and WMA music formats.
Press “SKIP |<<” or “SKIP>>| ” key to select a different song. Press “+” or “-” to increase or decrease
volume. After select a music file, press “Play/ Pause/ Power-ON/ OFF” key to enter the playing
interface and start playing.
Playing interface of LCD:
(1) “A-B” repeat icon
(2) EQ setting icon
(3) Current track length
(4) Track title
(5) PLAY/ PAUSE/ STOP status
(6) Lock status
(7) Battery status sign
(8) Total number of tracks and
current
playing tracks no.
(9) Volume

10
7
During music playback, press “Play/ Pause/ Power-ON/OFF” key to pause the music and press again
to resume. Pressing “Stop” key to stop the playback.
Tap “SKIP|<< / >>|” key to select your favorite song. Press and hold these keys can search the music.
Press “A-B” repeat key can define the certain music period to repeat. Tap once to define the position
A. Tap again to define position B and the unit will repeat “A-B” period again and again.
Press and hold “MENU” key can go to the main menu for other function modes.
During the music playback, press “REC” key to switch the options of EQ setting. Normal, Rock, Jazz,
Classic, Pop, and Bass. EQ sound effect is changed accordingly as a mode is changed.
4. Picture Viewing
After turn on the power, press “MENU” key to enter the main menu. Press “SKIP>>” key to select and
go to “Jpeg” interface.
Press “MENU” key and “Jpeg” picture viewing options appear. Total four options are available used to
select Jpeg picture viewing mode.
Press “SKIP |<<” or “SKIP >>| ” key to switch among different options. Press “MENU” key to enter the
selected mode and start viewing pictures. In “Manual viewing mode”, press
“SKIP|<< ”/ “SKIP >>| ” key to switch between previous and next picture and view them.
Select “Exit” and press “MENU” key to exit and return to the main menu.
(1) Manual viewing mode
(2) Automatic viewing mode
(3) Four thumbnails viewing mode
(4) Exit and return to the main menu

11
8
5. Play Movie
After turn on the power, press “MENU” key to enter the main menu. Press “SKIP|<<” / “SKIP>>|” key
to select and go to “Video” interface. Press “MENU” key to enter movie playing interface. Press “Play/
Pause/ Power-ON/ OFF” key to start playing movie.
For the SMV files setting, please refer to the “Video Conversion” section in this manual.
- During video playback, press “Play/ Pause/ Power-ON/OFF” key to pause the video and press again
to resume. Pressing “STOP” key to stop the playback.
- In movie playing mode, press “SKIP|<<” / “SKIP>>|” key to play previous/ next file. Press and hold
“SKIP|<<” / “SKIP>>|” key, and the currently played movie file will be fast backward or forward and
then be played.
(1) Total number of files and current playing
(2) File name of the movie
(3) Volume
(4) Lock status

12
9
6. Play the record voice files
After turn on the power, press “MENU” key to enter the main menu. Press “SKIP<<”/ “SKIP>>” key to
select and go to Voice interface.
Press “MENU” key to enter Voice playing interface:
Press “SKIP<<”/ “SKIP>>” key to select a different recorded voice file. After select a recorded voice
file, press “Play/ Pause/ Power-ON/ OFF” key to start playing the recorded voice file.
- In recorded voice file playing mode, press “+” or “-” to increase or decrease volume. Press
“SKIP<<”/ “SKIP>>” key to play previous/ next recorded voice file. Press and hold “SKIP<<” /
“SKIP>>” key, and the currently played voice file will be fast backward or forward and then be
continually played.

13
10
7. Record mode
After turn on the power, press and hold “MENU” key to enter the main menu. Press “SKIP<< ”/
“SKIP>>” key to select “Record” mode.
Press “MENU” key to enter to start recording or directly press “REC” key to enter Record mode and
start recording.
Press “REC” key to stop recording and return to the default music mode when the power is
turned on:

14
11
8. System Settings
After turn on the power, press “MENU” key to enter the main menu. Press “SKIP<<”/ “SKIP>>” key to
select and go to “SET” interface.
Press “MENU” key to enter “SET” interface. Play mode, About (memory information), Power (power
management), REC SET (recording settings) and EXIT.
- Play mode Settings
In “PLAY MODE” interface, press “SKIP<<”/ “SKIP>>” key to select and go to “Play mode” interface.
Press “SKIP<<”/ “SKIP>>” key to switch among the six modes: Normal, Repeat one (play a single
song repeatedly), Repeat all (play all songs repeatedly), Shuffle (play at random), Repeat Shuffle
(play repeatedly at random) and Intro.
Press “MENU” key to confirm the current settings and return to “Play mode” interface.

15
12
- About
In “SET” interface, press “SKIP<<”/ “SKIP>>” key to select and go to “About” interface.
In “About” interface, press “MENU” key. Parameters of software version, memory capacity, and
currently available space of the unit appear.
Press “MENU” key to return to “SET” interface.
- Power management
In “SET” interface, press “SKIP<<”/ “SKIP>>” key to select and go to “Power” interface. This function
is used to select an automatic power-off mode while the unit is in standby mode without any
operation.

16
13
In “Power” interface, press “MENU” key. Five options of power management appear.
Press “SKIP<<”/ “SKIP>>” key to switch among: Disable (disable automatic power-off function), 1
minute (one minute power-off mode), 2 minutes (two minute power-off mode), 5 minutes (five minute
power-off mode), and 10 minutes (ten minute power-off mode).
Press “MENU” key to save the current settings and return to “SET” interface.
- Record setting
In “SET’ interface, press “SKIP<<”/ “SKIP>>” key to select and go to “REC SET” interface.
In “REC SET’ interface, press “MENU” key to enter.
Press "SKIP<<"/ "SKIP>>" key to select sampling rate and press "A-B" key to switch seven options:
8KHz, 11.025KHz, 16KHz, 22.05KHz, 32KHz, 44.1KHz and 48KHz. The higher sampling rate, the
better voice recording quality.

17
14
9. Delete
After turn on the power, press “MENU” key to enter the main menu. Press “SKIP<<”/ “SKIP>>” key to
select and go to “Delete” interface.
In “Delete” interface, press “MENU” key to enter the options of “delete”.
Press “SKIP<<”/ “SKIP>> ” key to switch among the five options: Music (delete a single song), All
Music (delete all songs), Voice (delete a single voice file), All Voice (delete all voice files), and Exit.
After select the item you want to delete, press “MENU” key to enter “Delete” confirmation interface:
The three options are YES, NO, and EXIT. Press “SKIP<<”/ “SKIP>>” key to switch among them.
Press “MENU” key to perform the related operation.
(1) The file to be deleted
(2) Three options used for “delete” confirmation

18
15
- Exit
In “SET” interface, press “SKIP<<”/ “SKIP>>” key to select and go to “Exit” interface. The option is
used to return to “SET” interface.
10. DRM 9
What is DRM?
It stands for digital right management, a technology used to protect digital products from copyright
infringement. When a customer buys a DRM-protected music download, the download is encrypted
specifically for that customer. To allow the customer to use the file on a separate MP3 player they
must link the DRM enabled played to Windows Media Player 10 and link both applications. This
allows the downloaded music files to then be used on a separate digital music player.
How to synchronize the DRM songs into yours MP3 player?
1. Purchase DRM songs from the internet, and download them into your computer.
2. Playback the songs that you downloaded, if it plays, the download was successful. If not then you
need to download again.
3. To use the DRM function, the computer OS must be Windows XP system SP2 or higher version,
installed with Windows Media player 10 (or above) and have an active internet connection.
4. Connect the DRM MP3 player to your PC.

19
16
How to set your MP3 player DRM download?
(1) Connect the player to your computer using the provided USB cable.
(2) Launch Windows Media Player on the computer and select “SYNC tag”. The software will
automatically detect the player as a Media Player. (You may need to press the F5 button on the
keyboard to find your player.)
(3) Once your computer detects the player, it will display the following menu. You can now choose
to synchronize your music automatically or manually. When Automatic is selected, Windows Media
Player will automatically synchronize all the library music into the player or until the players memory is
full.
(4) For Manual, select "Manual" and click "Finish", it will display:
(5) Add the songs that you want to synchronize into the Sync List.

20
17
(6) Click "Start Sync".
(7) The frame will display the synchronized songs.
Other manuals for KT4601
1
Table of contents
Other Hello Kitty Digital Photo Frame manuals
