HOLGA 120S User manual

HOLGA HELP (FAQ)
Q: Can I use slide film in my Holga?
A: Yes. You need to be more careful with
your exposure estimates as slide film is
less forgiving than print film. Feel adven-
turous? Cross process your slide film.
Q: What is the easiest film to use as a
beginner Holga owner?
A: C-41 B&W films are great for begin-
ners. They are more forgiving, come in
ISO 400 & you can take them to a 1 hour
lab so you see your results right away.
Q: Can I choose a focusing range other
than what is shown?
A: Yes. Placing your focus point some-
where between the distance icons. But
the options available cover most of the
bases. The minimum focus range will
always be about 3 feet.
Q: My pictures are dark on the corners.
What am I doing wrong?
A: This is vignetting and is a natural part
of a Holga’s optics. If you prefer to mini-
mize this effect, make sure you use the
645 mask.
Q: My pictures have become more than
fuzzy, they are blurry. What happened?
A: Your film may be loose and so it is not
flush with the film plane. Check to make
sure that your cardboard wedge is in
place and working properly.
Q: Can I use my Holga 120SF with studio
strobes?
A: Yes. Set up your pack with a photo
slave. These will trigger your strobes
when the 120SF’s built-in flash goes off.
Q: Can I use infrared film in my Holga?
A: Yes. But be the impact of light leaks
are much worse on infrared films. You
should tape up your Holga to make sure
it doesn’t leak light.
Q: I’ve had my Holga for a long time but
now my pictures are way over exposed.
What’s wrong?
A: Your Holga’s shutter spring may have
finally worn out. Time for a new one. But
don’t throw it away. Convert your old
Holga to a Holga Obscura.
Q: Can I use electrical tape to cover up
light leaks?
A: Yes. But a little warmth can turn it into
a sticky mess. Use photography black
masking tape or black gaffer’s tape.
These will pull more cleanly from the
camera and the glue won’t melt.
The Holga Manual
Freestyle Advisor #1
TM
For additional information,
resources, pictures,
articles, tips and tricks...
Visit our Website at
www.freestylephoto.biz/
holgamanual.html
Visit out Retail Store at
5124 Sunset Blvd.
Los Angeles, CA 90027
Call us at
800-292-6137 (United States)
323-660-3460 (Local & International)
Email us at
©2002 Freestyle Photographic SuppliesTM
All rights reserved. Freestyle Photographic SuppliesTM
and the brand name Arista® are trademarks owned by
Freestyle Photographic SuppliesTM. All other names or
marks are the properties of their respective owners.

INTRODUCTION
Holga medium format cameras have a near
fanatical following of photographers, teach-
ers, and enthusiasts. But for those not famil-
iar with the camera and its unique abilities,
a Holga is largely an enigma. This does not
dissuade people from buying the camera. In
fact, the Holga mystique draws people to it.
In the following pages we will lift the veil
that shrouds the camera and give you spe-
cial insight into the Holga. We will explore
the camera’s inner workings, show you how
to use it, and discuss that special photo-
graphic “sensibility” the Holga offers to its user.
HOLGA SENSIBILITY
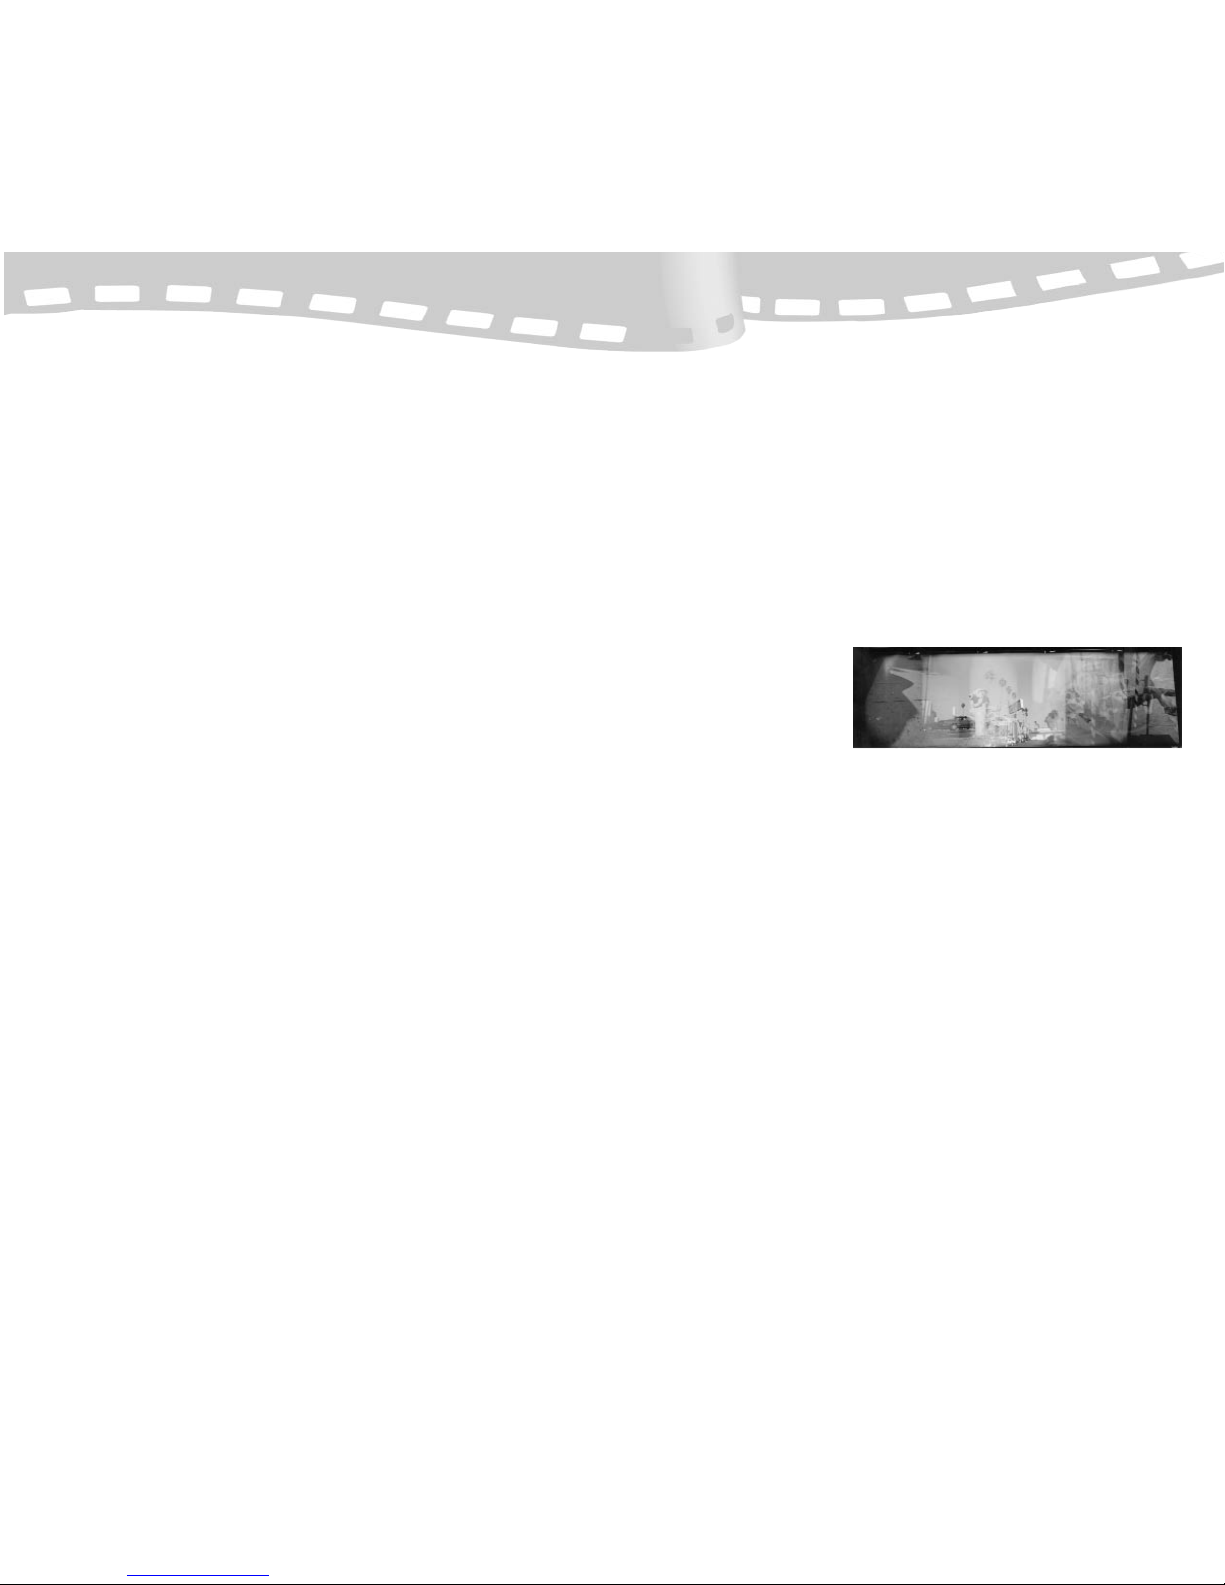
A Holga is a study in imperfection, and to use it is an exercise in breaking free
from dependence on technology, precision, and “uber-sharpness.” The slight
softness of images, uncontrollable vignetting and peculiar light leaks create a
partnership between you and the Holga. These “flaws” accompanied by your
creative choices result in a quasi-serendipitous art.
A Holga stretches our visual perception. Using a Holga adds a facet to the way
we see the world. We notice more things and thus we evaluate their status.
A Holga is a rule breaker. To use a Holga is to utterly change the terms of ref-
erence most people use to interpret photography.
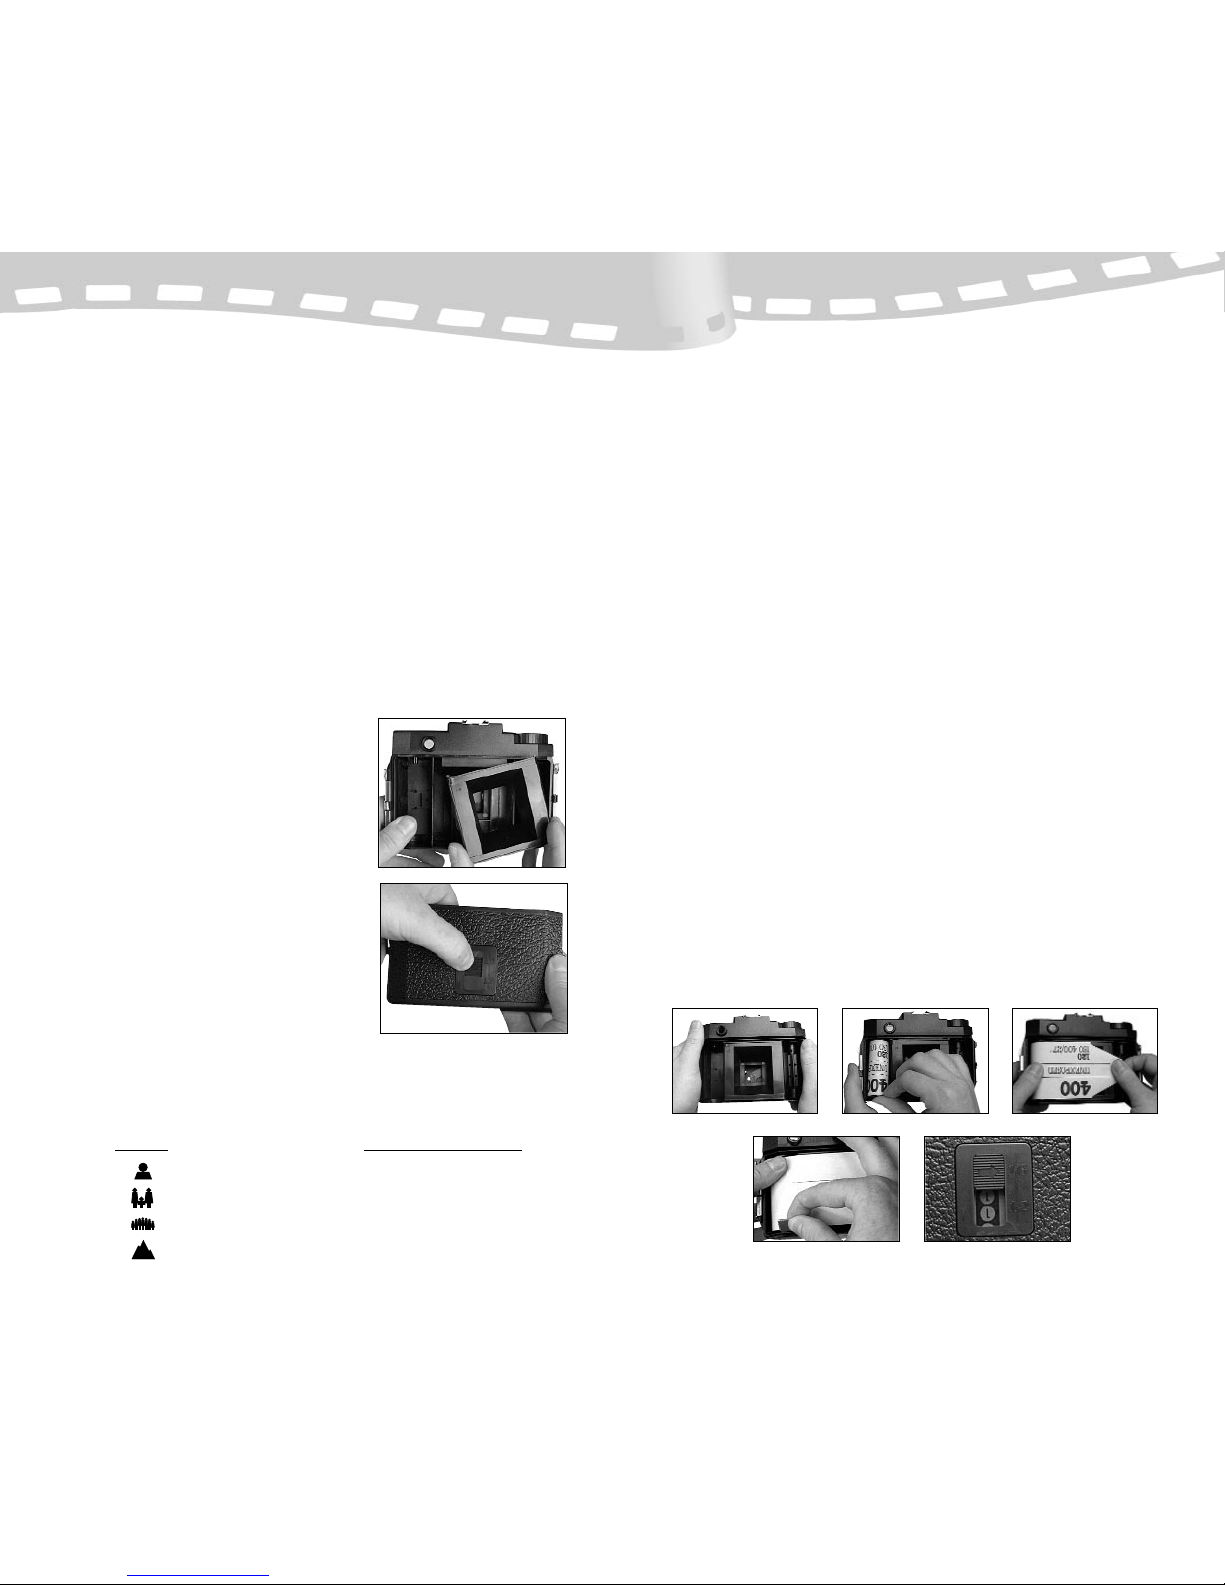
SUMMARY OF FEATURES
HOLGA 120S HOLGA 120SF
Format: Medium (120 film) Format: Medium (120 film)
Film Format: 6x4.5cm & 6x6cm Film Format: 6x4.5cm & 6x6cm
Construction: all plastic Construction: all plastic
Lens: Plastic 60mm f/8 Lens: Plastic 60mm f/8
Shutter: 1/100 sec. Shutter: 1/100 sec.
(metal spring activated mechanism) (metal spring activated mechanism)
Aperture Range: 2 settings, f/8 & f/11 Aperture Range: 2 settings, f/8 & f/11
Frame: 6x4.5cm or 6x6cm Frame: 6x4.5cm or 6x6cm
Depth of field: 3 feet to infinity Depth of field: 3 feet to infinity
Weight: 4 ounces Weight: 5 ounces
Flash: hot shoe Flash: built-in flash
2
“Lemonade” by Kristina Loughery
HOLGA HISTORY
Holga’s history is the thing of myth and legend. Some say that the camera is
made by the same people who brought us the Diana (a popular all-plastic cam-
era manufactured in the early 1960’s.) Others say the Holga was designed
specifically to fill the gap left by the Diana’s departure.
The truth is something very different. Holga is not related to Diana, and the
Holga was not designed with the Diana in mind. In fact, the people who manu-
facture the Holga were not even familiar with the Diana or its substantial fol-
lowing.
Designed and engineered in a factory in China, the Holga was initially intro-
duced to China in 1982 as an inexpensive camera using the most popular film
format in the country at that time, 120 size film. China was just beginning to
open its doors to the world and photography was skyrocketing in popularity.
Unfortunately for the Holga, no one could have predicted the quick and over-
whelming dominance that 35mm film would have on the Chinese market and
after only a few short years the Holga was overrun by its 35mm competitors.
But by then, word of a special, all-plastic camera called the Holga had spread
to the West and its popularity was growing. Since then, over a quarter of a mil-
lion cameras have been sold in 20 different countries with almost no change in
it’s original design. Then in 2000, the original Holga 120S was joined by the
120SF version which featured a built-in flash.
What’s in a name? Quite a lot it seems, because everyone is wondering where
the name “Holga” came from. The answer is related to the Holga’s oriental her-
itage. The name is derived from the Cantonese term ho gwong, which means
“very bright.” A nip and a tuck and a western twist and you get the European
name: “Holga.”
3
Holga 120SF
Holga 120S

CHOOSING FILM
Much of your flexibility is in your film because a Holga has only 2 aperture set-
tings: sunny (f/11) and not so sunny (f/8). You can shoot under almost any light-
ing condition by choosing the right film and pushing/pulling it as necessary.
Black and white C-41 films like Ilford XP2 are a good choice because they have
excellent latitude.
On a sunny day, use an ISO 400 speed b&w or color negative film. A popular
choice is our Arista® Professional B&W 400. On overcast days go for even more
speed. Try Fuji NHGII 800. Ilford Delta 3200 works well late in the day or indoors.
Slide films are much less forgiving when push or pulled, but you can get great
results in the right situation. The multi speed Fujichrome RMS 100/1000 film is
a great choice. Short of that, Fuji Sensia or Provia, Kodak 100V, VS, or SW are
all options. Tungsten slide film, like Kodak EPT, has more latitude and suffers
less from reciprocity failure than daylight balanced film. Whether or not you
decide to filter-correct for daylight is up to you.
FORMAT
Out of the box, a Holga is set up for 6x4.5cm
(15 frames) format. But to get the most out of
Holga's (in)famous vignetting and edge distortion
features, switch it to 6x6cm (12 frames) format:
1. Remove the 6x4.5 mask
2. With firm downward pressure, move the
format arrow on the back from sixteen to
twelve. This could take some coaxing
and a screwdriver or other tool may help
the transition. Be careful not to damage
the red window.
FOCUSING A HOLGA
A Holga has four focus marks on the lens barrel. Simply rotate the barrel to the
setting that most closely corresponds to your situation. Feel free to use your
own setting that might fall between these icons.
Symbol Approximate Distance
3 feet (1m)
9 feet (2m)
18 feet (6m)
30 feet (10m) to infinity
4
EXPOSURE TIPS
The lens on a Holga is fairly low contrast and tends to lose detail in the shadow
areas. For B&W negative film, the rule of thumb is to expose for the shadows
and develop for the highlights. Even color negative film can benefit from the
habit of over exposing slightly. With slide film it is best to meter as accurately
as possible.
LOADING
For best results, have ready a folded-up piece of thin cardboard (maybe an inch
(25mm) square). Part of a film box works well.
As with all film, it is best to load and unload it out of direct sunlight, preferably
in subdued light.
1. Remove the back by sliding down the metal clamps on either side of
the camera. Looking in the back side of the camera, new film is
loaded on the left side. Make sure the take up spool is on the right side.
2. Place the spool of film into the left side of the camera with the leading
edge pointing to the right. Break the seal securing the film.
3. With your left thumb resting lightly on the film, pull out the film leader
until you can insert the tapered edge into the take-up spool.
4. Spool the film with a couple of turns of the take-up knob. Keep your
thumb lightly on the film to prevent slack.
5. With your thumb still on the film, insert the piece of cardboard between
the bottom of the film spool and the camera.
6. Replace the camera back and slide the clips back into place.
7. Advance the film by turning the take-up knob until you see the number
1 appear in the red film counter window.
5

UNLOADING
1. After shooting the last frame (15 frames in 6x4.5 format, 12 frames
in 6x6 format), turn the take-up knob until the film and paper have
completely wound onto the spool.
2. Open the back in subdued light and remove the film.
Moisten the tape and wrap it around the film.
3. Switch the empty spool to the right side of the camera.
TAPING UP A HOLGA
Many Holga owners look forward to the light leak feature of the camera. The
streaks of light or color can change, even reinterpret the photograph. The most
notorious light leak on the camera comes from the film counter window. The
ortho-safe red color is not suited to today’s modern panchromatic films. Some
people don’t mind, but for the rest of us, a piece of opaque tape used as a flap
solves this problem easily.
There are those of us who prefer to expel the light leaks altogether by taping
up the entire camera. However, the judicious application of tape at key posi-
tions can nearly eliminate unwanted exposure and make film loading much
easier. (Note: there is no guarantee that even the total mummification of a
Holga will eliminate every light leak. There are reports of leaking Holgas that
were taped everywhere but on the lens.)
LEAK REMEDIATION
Camera Back
Run pieces of tape along the seam where the back fits onto the body.
Metal Clips
Cover the metal clips that secure the camera back. This will prevent them from
falling off the camera – especially when you use the strap.
645 Mask Removal
Removing the mask reveals two holes above the lens. A single piece of tape will
cover them.
Film Counter Window
Cover the window with piece of tape. Fold the tape a little to create a pull flap.
Bag the Camera
In order to take advantage of the unique light leak properties of your Holga, you
should use a camera bag to transport your Holga if you will be out in bright sun-
light for an extended period of time.
6
FLASHES AND STUDIO STROBES
A Holga has a hot shoe. So any modern camera flash will work, but an
adjustable automatic flash is best. Simply set your flash to f/8 and shoot.
To shoot studio strobes, use a hot shoe to pc adapter. This handy device fits
onto the hot shoe. Alternatively, use an on-camera flash and equip your strobes
with photo slaves.
A Holga always triggers a flash twice. Once when you depress the shutter and
once when you release the shutter. It is important to pause before releasing
the shutter. This prevents damage to the flash or strobe pack.
MULTIPLE EXPOSURES
The shutter works indepen-
dently from the film
advance. This lets you
press the shutter as many
times as you like on the
same frame. Besides the creative door this opens, a key technical benefit is
that you can build up exposures in low light situations.
MODIFYING & PERSONALIZING YOUR HOLGA
There are many things you can do to modify a Holga. I've seen a “Holgaroid”
(Holga attached to a Polaroid two-and-a-quarter back) and have heard rumor
of a “Holgablad” (a Holga with a Hasselblad Planar lens affixed to the front)
that exists somewhere in Los Angeles. Here are a few, more practical changes
you can make:
Tripod-Compatible Holga
Some super glue and a “1/4-20” (pronounced “quarter-twenty”) threaded nut
found in any hardware store will instantly convert your Holga so that it will
accept a standard tripod screw mount.
Holga Obscura (Time/Bulb Exposures)
This is a permanent change to your Holga. But that's why many people own
two! By removing the shutter spring, clearly visible when the back is off, and
securing the shutter open with glue or tape, your Holga can mimic a camera
obscura. This is great for long exposures at night. Use the Holga’s lens cap as
as a shutter. This change benefits from the tripod-compatible modification.
7
“Street Scene” by Jose Rivera