1
Content
Welcome .............................................................................................................
2
Safety Warnings
...................................................................................................
2
Installation ........................................................................................................
8
Operation ...........................................................................................................
13
Technical Data ...................................................................................................
16
Maintenance and Storage
.................................................................................
18
Troubleshooting ................................................................................................
21
Limited Warranty ...............................................................................................
24
Contact Us .........................................................................................................
25
Introduction .......................................................................................................
6
Important
..........................................................................................................
2
Package Contents
.............................................................................................
6
Description of Product
.......................................................................................
7
App Installation
.................................................................................................
8
The Charging Station Installation
........................................................................
9
Operation
.........................................................................................................
3
Preparation
.......................................................................................................
4
Control Panel
...................................................................................................
13
Basic Operation
................................................................................................
14
Charging and Testing
........................................................................................
15
Signal Selection ................................................................................................
15
Maintenance
....................................................................................................
18
Cleaning the Mower
..........................................................................................
19
Reversing or Replacing the Blades
......................................................................
20
Software Update
..............................................................................................
20
Recycling and End-of-life Disposal
.....................................................................
20
Maintenance and Storage
..................................................................................
4
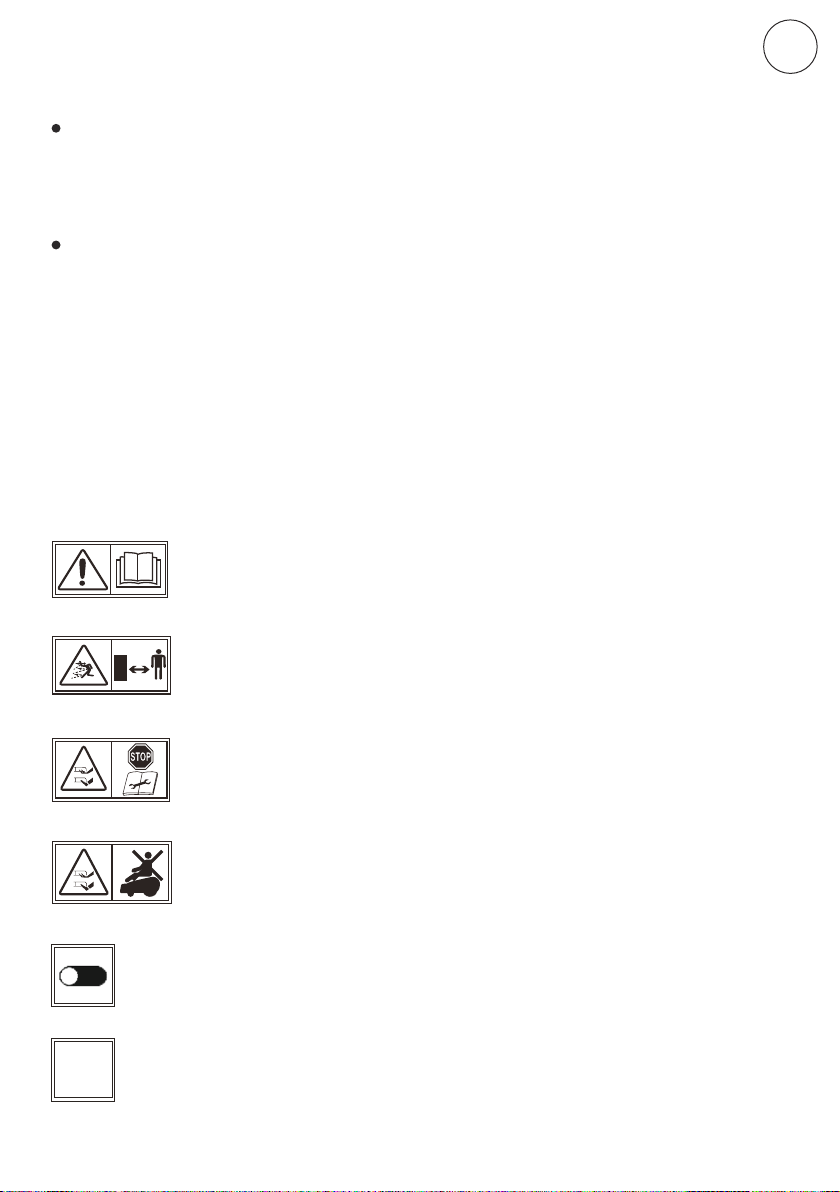
Symbols and Decals
...........................................................................................
5
Connect the charging station to the Boundary Wire
..............................................
13