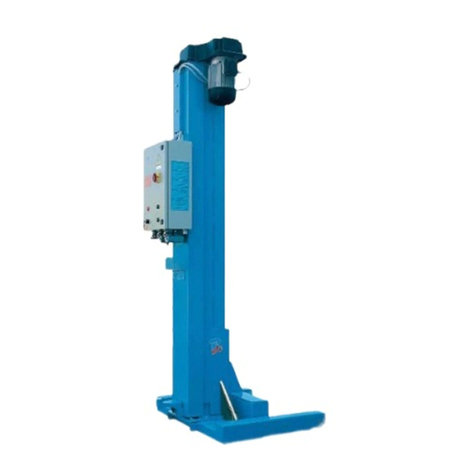
For advice on the safety and suitability of this equipment
contact your local HSS Lift & Shift Depot.
There is a serious risk of personal injury if you do
not follow all instructions laid down in this guide.
This equipment is designed to be used by an able
bodied, competent adult who has read and
understood these instructions. Anyone with either a
temporary or permanent disability, should seek expert
advice before using it.
Keep children, animals and bystanders away from
the work area.
Never use this equipment if you are ill,
feeling tired, or under the influence of
alcohol or drugs.
Wear practical, protective clothing,
gloves, footwear and a protective
hard hat. Avoid loose garments and jewellery that could
catch in moving parts, tie back long hair.
Use this equipment for vertical lifts only and
use on a level floor area able to take the
combined weight of the load and the equipment.
Ensure the load is balanced and stable and
that personnel stand clear of the raised load.
Make sure you know how to operate this
equipment safely and are aware of its limitations
before you use it.
It is both the hirers and the operators responsibility
to perform a risk assessment before assembling or
using this equipment. You are also responsible for the
safety of any one in the work area.
Make sure that anyone in the immediate work area
is warned of what you are doing.
Never allow anyone under a raised load or in a
position where they are at risk if the load shifts.
Never leave the equipment loaded or unattended.
This equipment MUST NOT be used to carry
personnel.
Never exceed the panel lifters safe working load
(68Kg) for the item being lifted.
Check the condition of the equipment before use.
If it shows signs of damage or excessive wear, return it to
your local HSS Lift & Shift Depot.
Check that the floor is capable of supporting this
type of loading.
Place the tripod base assembly on the floor, Press in
the lock pin and swing the outer legs out until the lock
pin re-engages to hold the tripod in a 3 point star. Now
lower the back stop leg.
GETTING STARTED
GENERAL SAFETY
Insert the frame assembly on to the tripod base
making sure that both the upper and lower locating
angles are correctly engaged.
The winch assembly must now be moved into its
operational position. To do this, release the winch
break lever by raising it slightly, then rotate the winch
anti-clockwise and lower the winch arm as far as it
will go. Keep a check on the winch cable to ensure it
remains under tension and doesn’t become loose on the
drum.
With the winch fully extended, release the winch
break lever and swing the transport hook clear of
the telescopic assembly.
Check that the slide bar lock is fully engaged (turn
clockwise) before proceeding, if it will not lock, DO
NOT USE THE LIFT, contact your local HSS Lift & Shift
Depot for advice.
Place the cradle on top of the telescopic assembly
ensuring the locating pin is fully inserted.
Slide the two cross support arms onto the cradle,
one each end, until the spring loaded retainers lock them
in position.
The panel lift is now ready to be used and only
requires slight adjustments to accommodate the
size of panel being lifted.
Extend the end supports to suit the size of panel.
Simply pull out the retaining pin, Slide the support out,
release the pin then continue extending until the pin
automatically engages into the pre-set distance location.
