manuals.online logo
Brands
  1. Home
  2. •
  3. Brands
  4. •
  5. Husqvarna
  6. •
  7. Lawn Mower
  8. •
  9. Husqvarna AUTOMOWER 430X User manual

Husqvarna AUTOMOWER 430X User manual

This manual suits for next models

3

Other Husqvarna Lawn Mower manuals

Husqvarna Z 254i User manual

Husqvarna

Husqvarna Z 254i User manual

Husqvarna RZ4219 User manual

Husqvarna

Husqvarna RZ4219 User manual

Husqvarna LB 248S User manual

Husqvarna

Husqvarna LB 248S User manual

Husqvarna M51-150F User manual

Husqvarna

Husqvarna M51-150F User manual

Husqvarna LZC5225 User manual

Husqvarna

Husqvarna LZC5225 User manual

Husqvarna 968999216 User manual

Husqvarna

Husqvarna 968999216 User manual

Husqvarna XT722FE Setup guide

Husqvarna

Husqvarna XT722FE Setup guide

Husqvarna EZ22 User manual

Husqvarna

Husqvarna EZ22 User manual

Husqvarna POWERDRIVE M200-107TC User manual

Husqvarna

Husqvarna POWERDRIVE M200-107TC User manual

Husqvarna LTH145 User manual

Husqvarna

Husqvarna LTH145 User manual

Husqvarna AUTOMOWER 310 User manual

Husqvarna

Husqvarna AUTOMOWER 310 User manual

Husqvarna 2348 LS User manual

Husqvarna

Husqvarna 2348 LS User manual

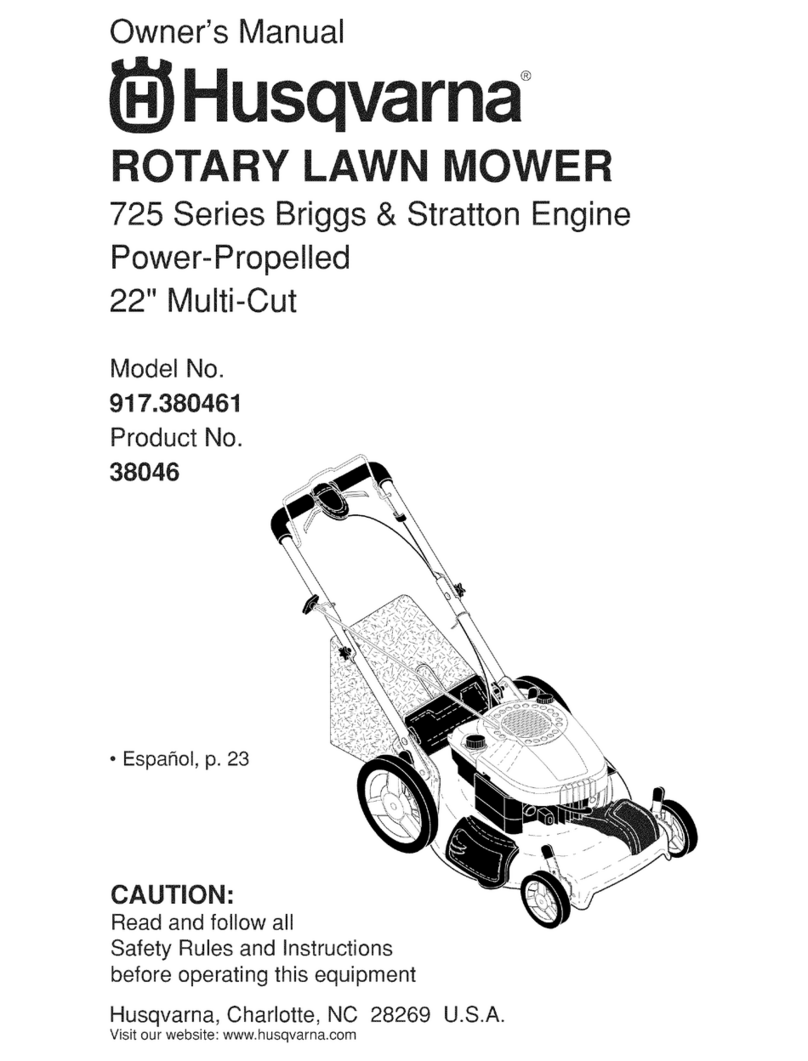
Husqvarna 22" Multi-Cut User manual

Husqvarna

Husqvarna 22" Multi-Cut User manual

Husqvarna Rider 850 Instruction manual

Husqvarna

Husqvarna Rider 850 Instruction manual

Husqvarna TS 248TD User manual

Husqvarna

Husqvarna TS 248TD User manual

Husqvarna HU700H User manual

Husqvarna

Husqvarna HU700H User manual

Husqvarna AUTOMOWER 105 User manual

Husqvarna

Husqvarna AUTOMOWER 105 User manual

Husqvarna 2754GLS User manual

Husqvarna

Husqvarna 2754GLS User manual

Husqvarna Royal 49S User manual

Husqvarna

Husqvarna Royal 49S User manual

Husqvarna CTH140XP User manual

Husqvarna

Husqvarna CTH140XP User manual

Husqvarna AUTOMOWER 210 C User manual

Husqvarna

Husqvarna AUTOMOWER 210 C User manual

Husqvarna 289580 User manual

Husqvarna

Husqvarna 289580 User manual

Husqvarna AUTOMOWER 105 User manual

Husqvarna

Husqvarna AUTOMOWER 105 User manual

Husqvarna Rider 13 AWD Instruction manual

Husqvarna

Husqvarna Rider 13 AWD Instruction manual

Popular Lawn Mower manuals by other brands

Toro 20047 Operator's manual

Toro

Toro 20047 Operator's manual

Toro Greensmaster TriFlex 3300 Operator's manual

Toro

Toro Greensmaster TriFlex 3300 Operator's manual

Global garden products 72 Workshop manual

Global garden products

Global garden products 72 Workshop manual

EINHELL 01045 operating instructions

EINHELL

EINHELL 01045 operating instructions

Toro Greensmaster 3120 Operator's manual

Toro

Toro Greensmaster 3120 Operator's manual

Baroness LM315GC Owner's operating manual

Baroness

Baroness LM315GC Owner's operating manual

GreenWorks Tools 25157 user manual

GreenWorks Tools

GreenWorks Tools 25157 user manual

Etesia MVEHH user manual

Etesia

Etesia MVEHH user manual

Gravely 915034 - ZT1640 Owner's/operator's manual

Gravely

Gravely 915034 - ZT1640 Owner's/operator's manual

Jacobsen 63281 Technical manual

Jacobsen

Jacobsen 63281 Technical manual

GreenWorks Pro MO802524 Operator's manual

GreenWorks Pro

GreenWorks Pro MO802524 Operator's manual

Toro TimeMaster 20976 Operator's manual

Toro

Toro TimeMaster 20976 Operator's manual

Deutz-Allis 3000 Series parts manual

Deutz-Allis

Deutz-Allis 3000 Series parts manual

Craftsman 917.9998C owner's manual

Craftsman

Craftsman 917.9998C owner's manual

jobmate YT9108 user manual

jobmate

jobmate YT9108 user manual

Yard force GM R40A instructions

Yard force

Yard force GM R40A instructions

STERWINS ELM2-36P-3W.4 Assemby - Use - Maintenance Manual

STERWINS

STERWINS ELM2-36P-3W.4 Assemby - Use - Maintenance Manual

Craftsman 917.378770 owner's manual

Craftsman

Craftsman 917.378770 owner's manual

manuals.online logo
manuals.online logoBrands
  • About & Mission
  • Contact us
  • Privacy Policy
  • Terms and Conditions

Copyright 2025 Manuals.Online. All Rights Reserved.

EN, English
Operator's manual
HUSQVARNA AUTOMOWER®
420/430X/440/450X
Read the operator's manual carefully and make sure that you
understand the instructions before you use the product.
Contents
1 Introduction
1.1 Support.......................................................3
1.2 Product description.....................................3
1.3 Product overview .......................................4
1.4 Symbols on the product..............................5
1.5 Symbols on the display.............................. 5
1.6 Symbols on the battery...............................6
1.7 Menu structure overview 1......................... 7
1.8 Menu structure overview 2......................... 8
1.9 Menu structure overview 3......................... 9
1.10 Display....................................................10
1.11 Keypad................................................... 10
2 Safety
2.1 Safety definitions...................................... 11
2.2 General safety instructions.......................11
2.3 Safety instructions for operation...............13
3 Installation
3.1 Introduction - Installation.......................... 16
3.2 Before the installation of the wires........... 16
3.3 Before the installation of the product........16
3.4 Installation of the product......................... 20
3.5 To put the wire into position with stakes...22
3.6 To bury the boundary wire or the
guide wire....................................................... 22
3.7 To extend the boundary wire or the
guide wire....................................................... 22
3.8 After the installation of the product...........22
3.9 Automower® Connect app........................23
3.10 To do the product settings......................24
4 Operation
4.1 Main switch...............................................35
4.2 To start the product.................................. 35
4.3 Operating mode - Start.............................35
4.4 Operating mode - Park............................. 36
4.5 To stop the product.................................. 36
4.6 To switch off the product.......................... 36
4.7 To charge the battery............................... 36
5 Maintenance
5.1 Introduction - maintenance.......................38
5.2 Clean the product..................................... 38
5.3 Replace the blades...................................39
5.4 Battery...................................................... 39
5.5 Winter service...........................................40
6 Troubleshooting
6.1 Introduction - troubleshooting...................41
6.2 Fault messages........................................ 41
6.3 Information messages.............................. 46
6.4 LED indicator lamp on the charging
station.............................................................48
6.5 LED indicator lamp on the product........... 49
6.6 Symptoms................................................ 50
6.7 Finding breaks in the loop wire.................51
7 Transportation, storage and disposal
7.1 Transportation.......................................... 54
7.2 Storage.....................................................54
7.3 Disposal....................................................54
8 Technical data
8.1 Technical data.......................................... 55
8.2 Registered trademarks............................. 57
9 Warranty
9.1 Warranty terms.........................................58
10 Applicable to US/CA market
10.1 Supplier's Declaration of Conformity...... 59
10.2 Compliance requirements...................... 59
11 Applicable to LATAM market
11.1 Compliance requirements, Brazil........... 61
11.2 Compliance requirements, Argentina..... 61
21201 - 001 - 05.06.2019
1 Introduction
Serial number:
PIN code:
The serial number is on the product rating plate and on the product carton.
• Use the serial number to register your product on www.husqvarna.com.
1.1 Support
For support about the Husqvarna product, speak
to your servicing dealer.
1.2 Product description
Note: Husqvarna regularly updates the
appearance and function of the products. Refer
to
Support on page 3
.
The product is a robotic lawn mower. The product
has a battery power source and cuts the grass
automatically. Collection of grass is not
necessary.
The operator selects the operation settings with
the keys on the keypad. The display shows the
selected and possible operation settings, and the
operating mode of the product.
The boundary wire and the guide wire controls
the movement of the product within the work
area.
1.2.1 Automower® Connect
Automower® Connect is a mobile application that
makes it possible to select the operation settings
remotely. Refer to
Automower® Connect app on
page 23
.
1201 - 001 - 05.06.2019 Introduction - 3
1.3 Product overview
Automower 420/440 Automower 430X Automower 450X
23
22
28
24 25 27
26
21
31
32
30
29
4
5
23
1
19
20
9
11
10
12
13
14
15
16
17
6
7
8
18
The numbers in the figure represent:
1. Body
2. Hatch to display and keypad
3. Stop button
4. Front wheels
5. Rear wheels
6. Ultrasonic sensors
7. Headlights
8. Replaceable cover
9. Rating plate (incl. product identification
code)
10. Display
11. Keypad
12. Cutting system
13. Chassis box with electronics, battery and
motors
14. Main switch
15. Handle
16. Blade disc
17. Skid plate
18. Contact plates
19. LED for operation check of the charging
station and boundary wire
20. Charging station
21. Power supply
22. Cable markers
23. Measurement gauge when installing the
boundary wire (the measurement gauge is
broken loose from the box)
24. Screws for securing the charging station
25. Operator’s Manual and Quick Guide
26. Alarm decal
27. Extra blades
28. Low voltage cable
4 - Introduction 1201 - 001 - 05.06.2019
29. Couplers for the loop wire 1
30. Loop wire for boundary loop and guide wire
2
31. Stakes 3
32. Connectors for the loop wire 4
1.4 Symbols on the product
These symbols can be found on the product.
Study them carefully.
WARNING: Read the
user instructions before
operating the product.
WARNING: Operate the
disabling device before
working on or lifting the
machine.
The product can only start
when the correct PIN
code has been entered.
Switch off the product be-
fore carrying out any in-
spections and/or mainte-
nance.
WARNING: Keep a safe
distance from the ma-
chine when operating.
Keep your hands and feet
away from the rotating
blades.
WARNING: Do not ride
on the machine. Never
put your hands or feet
close to or under the ma-
chine.
Never use a high-pres-
sure washer or even run-
ning water to clean the
product.
Use a detachable power
supply as defined on the
rating label next to the
symbol.
This product conforms to the
applicable EC Directives.
Noise emission to surroundings. The
product’s emissions are set out in
Technical data on page 55
and on the
rating plate.
It is not permitted to dispose this
product as normal household waste.
Ensure that the product is recycled in
accordance with local legal
requirements.
The chassis contains components
which are sensitive to electrostatic
discharge (ESD). The chassis must
also be resealed in a professional
manner. For these reasons the chassis
shall only be opened by authorized
service technicians. A broken seal can
result in the entire or parts of the
guarantee no longer being valid.
The low voltage cable must not be
shortened, extended or spliced.
Do not use a trimmer nearby the low
voltage cable. Be careful when
trimming edges where the cables are
placed.
1.5 Symbols on the display
The timer function controls when the
product cuts the lawn.
The cutting height function sets the
cutting height of the product.
The security function lets the operator
select between 3 security levels.
1Is a part of the Installation kit which is purchased separately.
2See note 1
3See note 1
4See note 1
1201 - 001 - 05.06.2019 Introduction - 5
The messages function shows error
messages and possible cause for the
problems.
The weather timer function
automatically adapts the cutting
intervals to the grass growth.
The installation function for manual
settings for the installation.
The settings function is where the
general settings for the products are
set.
The accessories function is used for
settings made for the accessories.
The product will not cut the grass do to
the timer function.
The product overrides the timer
function.
The battery indicator shows the charge
level of the battery. When the product
charges the symbol flashes.
The product is put in the charging
station but do not charge the battery.
The product is set in ECO-mode.
For Automower® Connect and
Automower® Connect@Home.
Bluetooth® wireless communication
with your mobile device.
The GPS-supported navigation is
active. Flashes as it collects GPS
information. (Automower® 430X/450X).
The GPS-supported navigation is not
active. (Automower® 430X/450X).
The bars show the signal strength of
the GPRS reception. (Automower®
Connect)
An X next to the bars indicates a
problem with the connection to the
Internet server. (Automower® Connect)
The SIM symbol indicates that there is
a problem with the SIM card or the
module. (Automower® Connect)
1.6 Symbols on the battery
Read the user instructions.
Do not discard the battery into fire and
do not expose the battery to a heat
source.
Do not immerse the battery into water.
6 - Introduction 1201 - 001 - 05.06.2019
1.7 Menu structure overview 1
Security
Low Medium High Custom Duration
Duration
of alarm
Duration
of time lock
Change
PIN code
New loop
signal
Security level
Fault
messages
Info
messages
Messages
Advanced
Timer
Overview (per day)
Overview Timer settings
Cutting height
Cutting height
Period 1 Period 2 Copy to
Su Current
day
All weekSaFrThWeTuMoAll
days
Reset
1201 - 001 - 05.06.2019 Introduction - 7
1.8 Menu structure overview 2
Use
Low Medium High
Cutting time
Weather timer
Installation
Lawn
coverage
GPS Auto
430X/450X
Overview of
lawn coverage
Area 1-5
Find charging station
Overview of search method
Guide
Delay time
Test Reset
Test
left
Test
right
Reset
Disable
Delay time
More
Disable More
Boundary Charger
Charging
station range
How? How
often?
How
far?
Disable
ResetTest
More
Exit
angles
Corridor
width
Reversing
distance
Drive past
wire
Advanced
8 - Introduction 1201 - 001 - 05.06.2019
1.9 Menu structure overview 3
Settings
ECO mode
Use
Profiles
Select Rename Save
Profile A,
B or C Time &
date
Set time Set date Time format Date format
Language Country &
Timezone
Reset all
user setting
About
LowLow- High High+Medium
Intensity
Spiral cutting General
Use Use
Headlights
(430X/450X)
Ultrasonic
(450X)
Accessories
Automower
Connect
Mower
house
Information
Slope control
Use
Connect@Home
(420/440)
Pairing Use Aviod collision with
mower house
Pairing Geofence Communication Network Reset
Use
Headlight
Schedule Flashes when fault
1201 - 001 - 05.06.2019 Introduction - 9
1.10 Display
The display on the product shows information
and settings of the product.
To access the display, push the STOP button.
1.11 Keypad
The keypad on the product let the operator
navigate in the menu of the product. To access
the keypad, push the STOP button.
1 5
6
2 4
3
7
1. The START button is used to start the
operation of the product.
2. The BACK button is used when moving back
up in the menu lists.
3. The arrow buttons are used to navigate in
the menu.
4. The OK button is used to confirm the chosen
settings in the menus.
5. The MENU button is used to go to the main
menu.
6. The PARK button sends the product to the
charging station.
7. The number buttons are used to enter digits,
for example, PIN code, time and date.
10 - Introduction 1201 - 001 - 05.06.2019