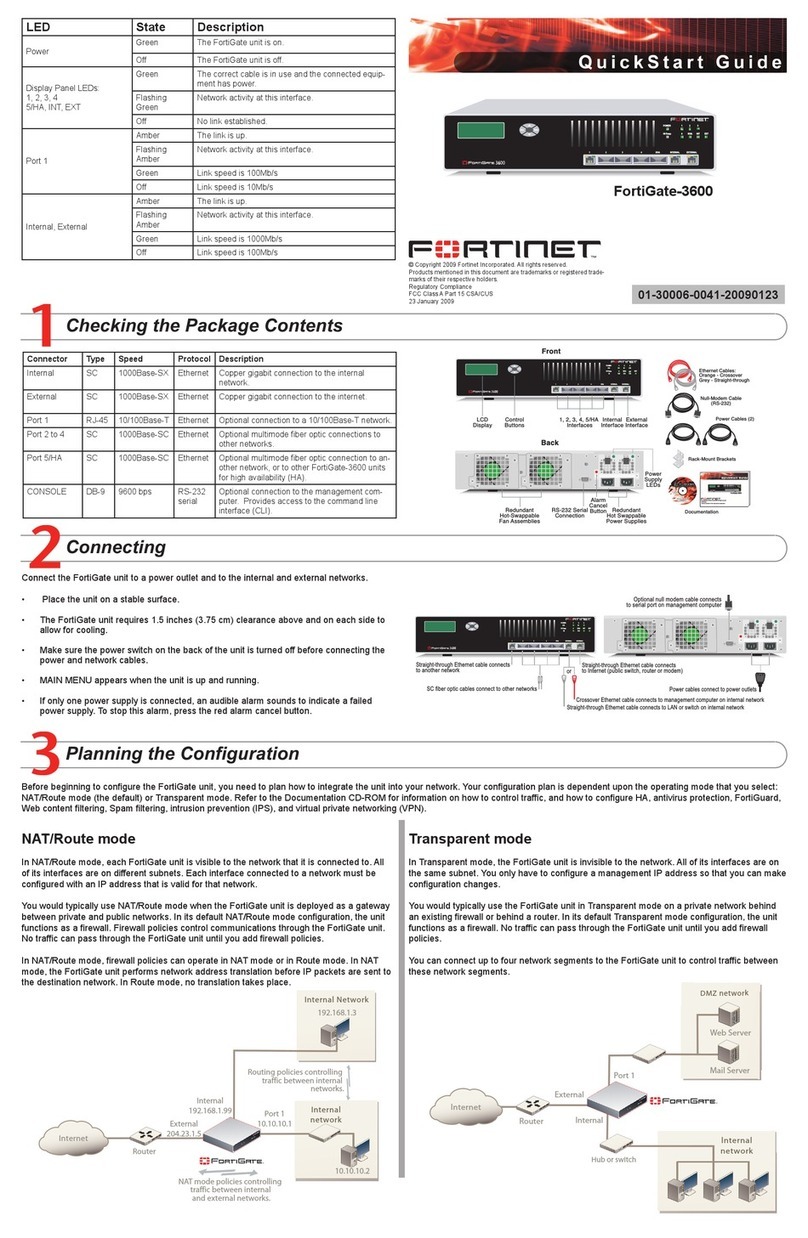
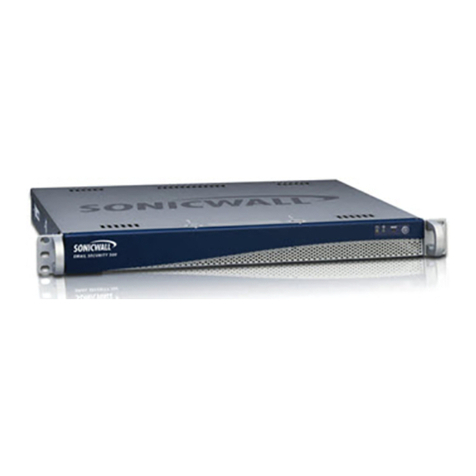
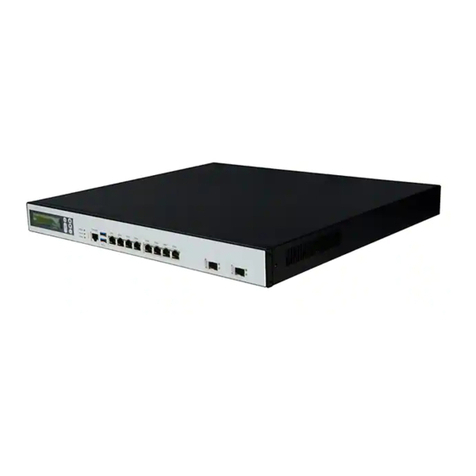
inGate SIParator SBE Installation and operating instructions

Avaya QE –Configuration Guide
Application Note
Avaya QE - Configuration Guide
17 July 2008

Avaya QE –Configuration Guide
Table of Contents
1AVAYA QUICK EDITION AND INGATE PRODUCTS ........................................................1
2CONNECTING THE INGATE FIREWALL/SIPARATOR....................................................2
3USING THE STARTUP TOOL ..................................................................................................4
3.1 CONFIGURE THE UNIT FOR THE FIRST TIME................................................................................4
3.2 CHANGE OR UPDATE CONFIGURATION .......................................................................................7
3.3 NETWORK TOPOLOGY...............................................................................................................10
3.3.1 Product Type: Firewall..................................................................................................11
3.3.2 Product Type: Standalone .............................................................................................13
3.3.3 Product Type: DMZ SIParator......................................................................................15
3.3.4 Product Type: DMZ-LAN SIParator .............................................................................17
3.3.5 Product Type: LAN SIParator.......................................................................................19
3.3.6 Product Type: LAN SIParator –“SBE SIParator Only”..............................................21
3.4 IP-PBX SETUP FOR AVAYA QE................................................................................................23
3.5 ITSP FOR AVAYA QE ...............................................................................................................24
3.6 UPLOAD CONFIGURATION.........................................................................................................27
4AVAYA QUICK EDITION SETUP..........................................................................................30
4.1 DEVICE MANAGEMENT.............................................................................................................30
4.2 SERVICE PROVIDER...................................................................................................................30
5TROUBLESHOOTING .............................................................................................................34
5.1 AVAYA QE IDENTITY REGISTRATION INFORMATION................................................................34
5.2 REGISTRATION STATUS.............................................................................................................35
5.3 INCOMING ROUTING .................................................................................................................35
Tested versions: Ingate Firewall and SIParator version 4.6.2
Startup Tool version 2.4.0
Revision History:
Revision
Date
Author
Comments
2008-07-17
Scott Beer
1st draft

Avaya QE - Configuration Guide pg. 1
1 Avaya Quick Edition and Ingate Products
The Ingate Startup Tool is an installation tool for Ingate Firewall® and Ingate
SIParator® products using the Ingate SIP Trunking module or the Remote SIP
Connectivity module, which facilitates the setup of complete SIP Trunking solutions or
remote user solutions.
The Startup Tool is designed to simplify the initial “out of the box” commissioning and
programming of the Network Topology, SIP Trunk deployments and Remote User
deployments. The tool will automatically configure a user’s Ingate Firewall or SIParator
to work with the Avaya QE as the IP-PBX and a SIP Trunking service provider of your
choice, and sets up all the routing needed to enable remote users to access and use the
Avaya QE solution. Thanks to detailed interoperability testing, Ingate has been able to
create this tool with pre-configured set ups for the Avaya QE and various ITSPs.
Download Free of Charge: The Startup Tool is free of charge for all Ingate Firewalls and
SIParators. Get the latest version of the Startup Tool at
http://www.ingate.com/startuptool.php
Avaya Quick Edition is a simple yet sophisticated phone system for small businesses or
small branch offices of enterprises. It delivers big business communications capabilities -
including a host of call handling and mobility features, voicemail, and auto attendants - to
help small offices work more efficiently and serve customers better. With Quick Edition,
all the intelligence is built into the phones, simplifying set-up and ongoing management.
Look for the Avaya ONE-X Quick Edition Icon
to focus your attention to specific Avaya QE setup instructions. These instructions are
specific to the Ingate & Avaya QE deployment.

Avaya QE - Configuration Guide pg. 2
2 Connecting the Ingate Firewall/SIParator
From the factory the Ingate Firewall and SIParator does not come preconfigured with an
IP address or Password to administer the unit. Web administration is not possible unless
an IP Address and Password are assigned to the unit via the Startup Tool or Console
port.
The following will describe a process to connect the Ingate unit to the network then have
the Ingate Startup Tool assign an IP Address and Password to the Unit.
Configuration Steps:
1) Connect Power to the Unit.
2) Connect an Ethernet cable to “Eth0”. This Ethernet cable should connect to a
LAN network. Below are some illustrations of where “Eth0” are located on each
of the Ingate Model types. On SIParator SBE connect to “ET1”.
Ingate SIParator SBE (Back)
Ingate 1190 Firewall and SIParator 19 (Back)
Ingate 1500/1550/1650 Firewall and SIParator 50/55/65
Ingate 1900 Firewall and SIParator 90

Avaya QE - Configuration Guide pg. 3
3) The PC/Server with the Startup Tool should be located on the same LAN
segment/subnet. Preferably the Ingate unit and the Startup Tool are on the same
LAN Subnet to which you are going to assign an IP Address to the Ingate Unit.
Note: When configuring the unit for the first time, avoid having the Startup
Tool on a PC/Server on a different Subnet, or across a Router, or NAT device,
Tagged VLAN, or VPN Tunnel.
4) Proceed to Section 4: Using the Startup Tool for instructions on using the
Startup Tool.

Avaya QE - Configuration Guide pg. 4
3 Using the Startup Tool
There are three main reasons for using the Ingate Startup Tool. First, the “Out of the
Box” configuring the Ingate Unit for the first time. Second, is to change or update an
existing configuration. Third, is to register the unit, install a License Key, and upgrade
the unit to the latest software.
3.1 Configure the Unit for the First Time
From the factory the Ingate Firewall and SIParator does not come preconfigured with an
IP address or Password to administer the unit. Web administration is not possible unless
an IP Address and Password are assigned to the unit via the Startup Tool or Console
port.
In the Startup Tool, when selecting “Configure the unit for the first time”, the Startup
Tool will find the Ingate Unit on the network and assign an IP Address and Password to
the Ingate unit. This procedure only needs to be done ONCE. When completed, the
Ingate unit will have an IP Address and Password assigned.
Note: If the Ingate Unit already has an IP Addressed and Password assigned to it (by
the Startup Tool or Console) proceed directly to Section 4.2: “Change or Update
Configuration”.
Configuration Steps:
1) Launch the Startup Tool
2) Select the Model type of the Ingate Unit, and then click Next.

Avaya QE - Configuration Guide pg. 5
3) In the “Select first what you would like to do”, select “Configure the unit for the
first time”.
4) Other Options in the “Select first what you would like to do”,
a. Select “Configure SIP Trunking” if you want the tool to configure SIP
Trunking between a IP-PBX and ITSP.
b. Select “Configure Remote SIP Connectivity” if you want the tool to
configure Remote Phone access to an IP-PBX

Avaya QE - Configuration Guide pg. 6
c. Select “Register this unit with Ingate” if you want the tool to connect
with www.ingate.com to register the unit. If selected, see Section 4.3:
Licenses and Upgrades.
d. Select “Upgrade this unit” if you want the tool to connect with
www.ingate.com to download the latest software release and upgrade the
unit. If selected, see Section 4.3: Licenses and Upgrades.
e. Select “Backup the created configuration” if you want the tool to apply
the settings to an Ingate unit and save the config file.
f. Select “Creating a config without connecting to a unit” if you want the
tool to just create a config file.
g. Select “The tool remembers passwords” if you want the tool to
remember the passwords for the Ingate unit.
5) In the “Inside (Interface Eth0)”,
a. Enter the IP Address to be assigned to the Ingate Unit.
b. Enter the MAC Address of the Ingate Unit, this MAC Address will be
used to find the unit on the network.
6) In the “Select a Password”, enter the Password to be assigned to the Ingate unit.
7) Once all required values are entered, the “Contact” button will become active.
Press the “Contact” button to have the Startup Tool find the Ingate unit on the
network, assign the IP Address and Password.
8) Proceed to Section 4.4: Network Topology.

Avaya QE - Configuration Guide pg. 7
3.2 Change or Update Configuration
The “Change or update configuration of the unit” setting in the Startup Tool, the Ingate
Unit must have already been assigned an IP Address and Password, either by the Startup
Tool –“Configure the unit for the first time” or via the Console port.
In the Startup Tool, when selecting “Change or update configuration of the unit”, the
Startup Tool will connect directly with the Ingate Unit on the network with the provided
IP Address and Password. When completed, the Startup Tool will completely overwrite
the existing configuration in the Ingate unit with the new settings.
Note: If the Ingate Unit does not have an IP Addressed and Password assigned to it,
proceed directly to Section 4.1: “Configure the Unit for the First Time”.
Configuration Steps:
1) Launch the Startup Tool
2) Select the Model type of the Ingate Unit, and then click Next.

Avaya QE - Configuration Guide pg. 8
3) In the “Select first what you would like to do”, select “Change or update
configuration of the unit”.
4) Other Options in the “Select first what you would like to do”,
a. Select “Configure SIP Trunking” if you want the tool to configure SIP
Trunking between a IP-PBX and ITSP.
b. Select “Configure Remote SIP Connectivity” if you want the tool to
configure Remote Phone access to an IP-PBX

Avaya QE - Configuration Guide pg. 9
c. Select “Register this unit with Ingate” if you want the tool to connect
with www.ingate.com to register the unit. If selected, see Section 4.3:
Licenses and Upgrades.
d. Select “Upgrade this unit” if you want the tool to connect with
www.ingate.com to download the latest software release and upgrade the
unit. If selected, see Section 4.3: Licenses and Upgrades.
e. Select “Backup the created configuration” if you want the tool to apply
the settings to an Ingate unit and save the config file.
f. Select “Creating a config without connecting to a unit” if you want the
tool to just create a config file.
g. Select “The tool remembers passwords” if you want the tool to
remember the passwords for the Ingate unit.
5) In the “Inside (Interface Eth0)”,
a. Enter the IP Address of the Ingate Unit.
6) In the “Select a Password”, enter the Password of the Ingate unit.
7) Once all required values are entered, the “Contact” button will become active.
Press the “Contact” button to have the Startup Tool contact the Ingate unit on
the network.
8) Proceed to Section 4.4: Network Topology.

Avaya QE - Configuration Guide pg. 10
3.3 Network Topology
The Network Topology is where the IP Addresses, Netmask, Default Gateways, Public
IP Address of NAT’ed Firewall, and DNS Servers are assigned to the Ingate unit. The
configuration of the Network Topology is dependent on the deployment (Product) type.
When selected, each type has a unique set of programming and deployment requirements,
be sure to pick the Product Type that matches the network setup requirements.
Configuration Steps:
1) In the Product Type drop down list, select the deployment type of the Ingate
Firewall or SIParator.
Hint: Match the picture to the network deployment.
2) When selecting the Product Type, the rest of the page will change based on the
type selected. Go to the Sections below to configure the options based on your
choice.

Avaya QE - Configuration Guide pg. 11
3.3.1 Product Type: Firewall
When deploying an Ingate Firewall, there is only one way the Firewall can be installed.
The Firewall must be the Default Gateway for the LAN; it is the primary edge device for
all data and voice traffic out of the LAN to the Internet.
Configuration Steps:
1) In Product Type, select “Firewall”.
2) Define the Inside (Interface Eth0) IP Address and Netmask. This is the IP
Address that will be used on the LAN side on the Ingate unit.
3) Define the Outside (Interface Eth1) IP Address and Netmask. This is the IP
Address that will be used on the Internet (WAN) side on the Ingate unit.
a. A Static IP Address and Netmask can be entered
b. Or select “Use DHCP to obtain IP”, if you want the Ingate Unit to
acquire an IP address dynamically using DCHP.

Avaya QE - Configuration Guide pg. 12
4) Optional: To configure Secure Web (https) from the Internet to the Ingate Unit
for remote administration,
a. Select “Allow https access to web interface from Internet”
b. Create a Private Certificate for https access, enter the corresponding
information required to generate a certificate.
5) Enter the Default Gateway for the Ingate Firewall. The Default Gateway for the
Ingate Firewall will always be an IP Address of the Gateway within the network
of the outside interface (Eth1).
6) Enter the DNS Servers for the Ingate Firewall. These DNS Servers will be used
to resolve FQDNs of SIP Requests and other features within the Ingate. They
can be internal LAN addresses or outside WAN addresses.

Avaya QE - Configuration Guide pg. 13
3.3.2 Product Type: Standalone
When deploying an Ingate SIParator in a Standalone configuration, the SIParator resides
on a LAN network and on the WAN/Internet network. The Default Gateway for
SIParator resides on the WAN/Internet network. The existing Firewall is in parallel and
independent of the SIParator. Firewall is the primary edge device for all data traffic out
of the LAN to the Internet. The SIParator is the primary edge device for all voice traffic
out of the LAN to the Internet.
Configuration Steps:
1) In Product Type, select “Standalone SIParator”.
2) Define the IP Address and Netmask of the inside LAN (Interface Eth0). This is
the IP Address that will be used on the Ingate unit to connect to the LAN
network.

Avaya QE - Configuration Guide pg. 14
3) Define the Outside (Interface Eth1) IP Address and Netmask. This is the IP
Address that will be used on the Internet (WAN) side on the Ingate unit.
a. A Static IP Address and Netmask can be entered
b. Or select “Use DHCP to obtain IP”, if you want the Ingate Unit to
acquire an IP address dynamically using DCHP.
4) Optional: To configure Secure Web (https) from the Internet to the Ingate Unit
for remote administration,
c. Select “Allow https access to web interface from Internet”
d. Create a Private Certificate for https access, enter the corresponding
information required to generate a certificate.
5) Enter the Default Gateway for the Ingate SIParator. The Default Gateway for
the SIParator will be the existing Firewalls IP Address on the DMZ network.
6) Enter the DNS Servers for the Ingate Firewall. These DNS Servers will be used
to resolve FQDNs of SIP Requests and other features within the Ingate. They
can be internal LAN addresses or outside WAN addresses.

Avaya QE - Configuration Guide pg. 15
3.3.3 Product Type: DMZ SIParator
When deploying an Ingate SIParator in a DMZ configuration, the Ingate resides on a
DMZ network connected to an existing Firewall. This existing Firewall must be the
Default Gateway for the DMZ network; the existing Firewall is the primary edge device
for all data and voice traffic out of the LAN and DMZ to the Internet. SIP Signaling
and Media must be forwarded to the Ingate SIParator, both from the Internet to the
SIParator and from the DMZ to the LAN.
Configuration Steps:
1) In Product Type, select “DMZ SIParator”.
2) Define the IP Address and Netmask of the DMZ (Interface Eth0). This is the IP
Address that will be used on the Ingate unit to connect to the DMZ network side
on the existing Firewall.

Avaya QE - Configuration Guide pg. 16
3) Define the LAN IP Address Range, the lower and upper limit of the network
addresses located on the LAN. This is the scope of IP Addresses contained on
the LAN side of the existing Firewall.
4) Enter the Default Gateway for the Ingate SIParator. The Default Gateway for
the SIParator will be the existing Firewalls IP Address on the DMZ network.
5) Enter the existing Firewall’s external WAN/Internet IP Address. This is used to
ensure correct SIP Signaling and Media traversal functionality. This is required
when the existing Firewall is providing NAT.
6) Enter the DNS Servers for the Ingate Firewall. These DNS Servers will be used
to resolve FQDNs of SIP Requests and other features within the Ingate. They
can be internal LAN addresses or outside WAN addresses.
7) On the Existing Firewall, the SIP Signaling Port and RTP Media Ports need to be
forwarded to the Ingate SIParator. The Ingate SIParator is an ICSA Certified
network edge security device, so there are no security concerns forwarding
network traffic to the SIParator.
On the existing Firewall:
a. Port Forward the WAN/Internet interface SIP Signaling port of 5060
with a UDP/TCP Forward to the Ingate SIParator
b. Port Forward the a range of RTP Media ports of 58024 to 60999 with a
UDP Forward to the Ingate SIParator
c. If necessary; provide a Rule that allows the SIP Signaling on port 5060
using UDP/TCP transport on the DMZ network to the LAN network
d. If necessary; provide a Rule that allows a range of RTP Media ports of
58024 to 60999 using UDP transport on the DMZ network to the LAN
network.

Avaya QE - Configuration Guide pg. 17
3.3.4 Product Type: DMZ-LAN SIParator
When deploying an Ingate SIParator in a DMZ-LAN configuration, the Ingate resides on
a DMZ network connected to an existing Firewall and also on the LAN network. This
existing Firewall must be the Default Gateway for the DMZ network; the existing
Firewall is the primary edge device for all data and voice traffic out of the LAN and
DMZ to the Internet. SIP Signaling and Media must be forwarded to the Ingate
SIParator, from the Internet to the SIParator. The voice traffic from the LAN is
directed to the SIParator then to the existing Firewall.
Configuration Steps:
1) In Product Type, select “DMZ SIParator”.
2) Define the IP Address and Netmask of the inside LAN (Interface Eth0). This is
the IP Address that will be used on the Ingate unit to connect to the LAN
network.

Avaya QE - Configuration Guide pg. 18
3) Define the IP Address and Netmask of the DMZ (Interface Eth1). This is the IP
Address that will be used on the Ingate unit to connect to the DMZ network side
on the existing Firewall.
a. A Static IP Address and Netmask can be entered
b. Or select “Use DHCP to obtain IP”, if you want the Ingate Unit to
acquire an IP address dynamically using DCHP.
4) Enter the Default Gateway for the Ingate SIParator. The Default Gateway for
the SIParator will be the existing Firewalls IP Address on the DMZ network.
5) Enter the existing Firewall’s external WAN/Internet IP Address. This is used to
ensure correct SIP Signaling and Media traversal functionality. This is required
when the existing Firewall is providing NAT.
6) Enter the DNS Servers for the Ingate Firewall. These DNS Servers will be used
to resolve FQDNs of SIP Requests and other features within the Ingate. They
can be internal LAN addresses or outside WAN addresses.
7) On the Existing Firewall, the SIP Signaling Port and RTP Media Ports need to be
forwarded to the Ingate SIParator. The Ingate SIParator is an ICSA Certified
network edge security device, so there are no security concerns forwarding
network traffic to the SIParator.
On the existing Firewall:
a. Port Forward the WAN/Internet interface SIP Signaling port of 5060
with a UDP/TCP Forward to the Ingate SIParator
b. Port Forward the a range of RTP Media ports of 58024 to 60999 with a
UDP Forward to the Ingate SIParator
This manual suits for next models
10
Table of contents
Popular Firewall manuals by other brands

Fortinet
Fortinet FortiGate-7060E System guide

Fortinet
Fortinet FortiMail-100 install guide

NETGEAR
NETGEAR FVX538v2 - ProSafe VPN Firewall Dual WAN Specifications

Alcatel-Lucent
Alcatel-Lucent VPN Firewall Brick Portfolio brochure

McAfee
McAfee NS7200 quick start guide

Secure Computing
Secure Computing Sidewinder 7.0 quick start

NETGEAR
NETGEAR FVS318G - ProSafe Gigabit VPN Firewall Data Sheet... Reference manual

Fortinet
Fortinet FortiGate 310B-LENC quick start guide

NETGEAR
NETGEAR ProSafe VPN Firewall 200 FVX538 Reference manual

Fortinet
Fortinet FortiGate FortiGate-800F quick start guide

H3C
H3C SecPath F1000-E installation manual

Kantech
Kantech Intevo Compact installation manual