InnovaPrep AIRPREP CUB ACD210 User manual

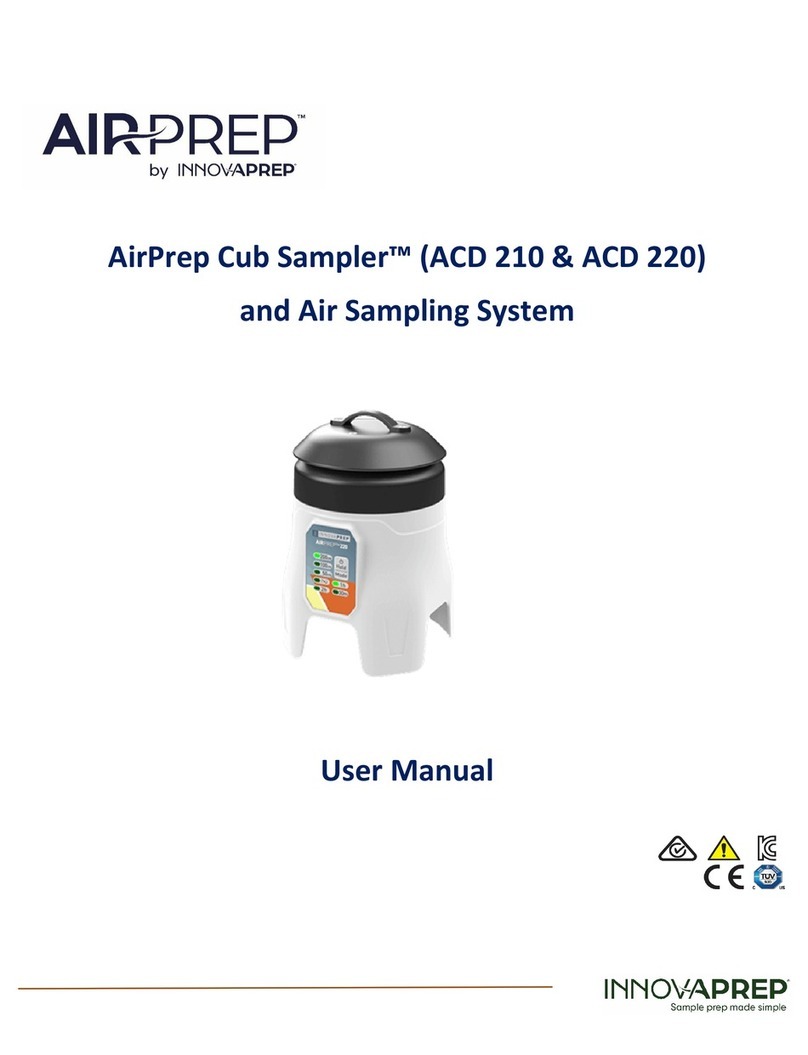
AirPrep™ Cub Sampler User Guide
Models ACD210 and ACD200
PREANALYTICAL TOOLS FOR MODERN MICROBIOLOGY
CUB

2
Contents
1Product Overview…………………………………………………….. 3
1.1 Product Description……………………………………………………3
1.2 Collection Capability…………………………………………………..3
1.3 Materials Provided:…………………………………………………….3
1.4 Materials Required But Not Provided………………………….4
2Method of Operation………………………………………………….5
2.1 Sample Collection on an Electret Filter………………………..5
2.2 Instant Wet Foam Elution™…………………………………………5
3Sampler Components…………………………………………………7
3.1 AirPrep Cub Sampler Components………………………………7
4Procedures………………………………………………………………. 8
4.1 Setting Up the AirPrep Cub Sampler for Collection………8
4.2 Installing the Filter………………………………………………………8
4.3 Control Panel Introduction………………………………………….8
4.3.1 LED Indicator Light…………………………………………………………8
4.3.2 Power on……………………………………………………………………….9
4.3.3 Powering off Manually before time Expires…………………..10
4.3.4 Power Off Due to Low Battery*…………………………………….10
4.3.5 Selecting the flow rate………………………………………………….10
4.3.6 How to select a timed run mode…………………………………..11
4.4 Recovery of the Sample……………………………………………..11
4.5 Eluting the Sample from the Filter………………………………12
4.6 Cleaning the Sampler………………………………………………….12
5AirPrep Cub Sampler- Model ACD210 Battery safety
information ................................................. 13
6Specifications ....................................... 14

3
1PRODUCT OVERVIEW
1.1 PRODUCT DESCRIPTION
The AirPrep Cub Sampler is a dry filter air sampler that operates using our
unique, patented rapid filter elution products to provide samples for a wide
range of indoor and outdoor biomonitoring applications.
1.2 COLLECTION CAPABILITY
The AirPrep Cub Sampler is suited for the collection of bioaerosols (bacteria,
molds, and viruses) and other particulate matter, including sub-micron sized
particles, and airborne molecular contamination. The AirPrep Cub Sampler
efficiently captures micron- and submicron-sized particles, including viruses,
bacteria, pollen, molds and fungal spores, as well as non-biological particles from
0.01 micron to 10+ microns.
•Users can select from three flowrate modes: 50 LPM, 100 LPM, or 200
LPM from the front panel as described in Section 4.
•Users can select from four timed modes: 30 minutes, 1 hour, 2 hours,
or continuous from the front panel as described in Section 4.
•Since liquids are not used in the collector, the system can be operated
at temperatures ranging from -2° C to +60° C in non-condensing
environments.
1.3 MATERIALS PROVIDED:
The AirPrep Cub Sampler includes the power supply cord (Item #AC04076) and a
universal fitting installed in the base of the unit for common off-the-shelf camera
tripods.
*Upon receipt, always inspect components when unpacking. If damage is
observed, do not use and contact InnovaPrep or local distributor immediately.
Please use the original box and foam packaging in the event a return shipment
is necessary.
AirPrep™ Cub Sampler ACD210 model has an internal battery
AirPrep™ Cub Sampler ACD220 model is plug-in only

4
1.4 MATERIALS REQUIRED BUT NOT PROVIDED
The single-use AirPrep Filter & Elution Kit comes with everything you need to
recover a fluid sample (as shown in Figure 1).
Users have a choice between two kits with different fluid types:
•AirPrep Filter & Elution Kit with TRIS - Item AC8100T - Recommended for
use with rapid molecular methods of analysis.
•AirPrep Filter & Elution Kit with PBS - Item AC8100P - Recommended for
classical culture analysis.
The AirPrep Filter & Elution Kit includes:
1. Elution Fluid Canister
2. Elutor Cap
3. Filter
4. Sample Cup
5. Sample Cup Lid (not shown)
The kits are available for purchase on the InnovaPrep
website https://www.innovaprep.com/store .
FIGURE 1 AIRPREP
FILTER & ELUTION KIT

5
2METHOD OF OPERATION
The AirPrep Cub Sampler uses an electret filter to capture particles. To recover
the trapped particles, a novel Wet Foam Elution™ process is employed to break
the electrostatic charge and flush the particles off the filter into a small liquid
volume in seconds.
2.1 SAMPLE COLLECTION ON AN ELECTRET FILTER
The dry 52 mm electret filters are made with a combination of positively charged
and negatively charged fibers. This substantially increases the collection
efficiency of the filter and allows for the use of lower pressure drop filters, which,
in turn, allows for higher sampling rates for extended periods using battery
power.
2.2 INSTANT WET FOAM ELUTION™
The patented wet foam elution process uses a very specific high-quality foam
to elute the filter. The elution fluid is composed of water, a low concentration
surfactant (0.15% Tween 20), and a pH buffer (Tris or PBS). This solution is
carbonated, which dissolves significant amount of CO2into the fluid. During the
elution process, the valve opens as the elution canister is pushed into the
elutor cap that is fitted onto the filter, forcing the elution fluid through the
pressure orifice, through the filter and into the sample cup. As the fluid passes
from the high-pressure environment on one side of the orifice, to the low-
pressure environment on the other side, the dissolved CO2expands, comes out
of the solution to form micro-bubbles. These micro-bubbles increase the
volume of the fluid six-fold or more as it passes through the filter. The foam
immediately collapses back into a liquid and is ready for sample processing and
analysis. InnovaPrep’s patented Wet Foam Elution process
(https://www.innovaprep.com/patents)is much more efficient than liquid
rinsing for the following reasons:
•Volume Expansion - When rinsing a filter with liquid, most of the liquid
volume is used to fill the dead space inside the filter housing; only a small
portion of the fluid covers the filter surface. This can be avoided to an extent
by reducing the cross-sectional area of the fluid path across the filter, but a
large portion of the liquid is still underutilized. Because our elution foam is
80-90% gas, this fills the empty space without contributing to the final
sample volume.
•Increased Viscosity - Liquid has a tendency toward “channeling” when
flowing through a filter, creating an area of high flow in the center of the
fluid path, while the portion of flow in contact with the filter surface is much
slower. The higher viscosity of our elution foam prevents channeling and
allows for a more uniform flow through the interstitial spaces of the filter.

6
•Bubble Dynamics - The micro-bubbles in the foam behave as deformable
solids. As they travel through the filter they move as a rigid body.
•Exfoliating Action - As the micro-bubbles in the foam impact against each
other and burst, the turbulence and energy produced helps to lift particles
that are adhering to the filter fibers.
•Buffered Elution - The buffered elution fluid is conductive and breaks down
the electrostatic charges holding the particles to the electret filter,
effectively releasing them in the liquid sample.

7
3SAMPLER COMPONENTS
3.1 AIRPREP CUB SAMPLER COMPONENTS
1. Omni-Directional Inlet Cap – protects from water ingress
2. Inlet - screws off left to open for loading or recovering the filter cartridge.
Screws on right to close
3. Front Panel - Power on and Mode selections (see section 4 for instructions)
4. Power Supply and Plug
5. Universal Tripod Connection - for attaching to a common, off-the-shelf
camera tripod is located on the bottom of the instrument (not shown)
4
.
1.
2.
3.
FIGURE 2 SAMPLER
COMPONENTS

8
4PROCEDURES
This section includes some of the basic instructions for operation.
4.1 SETTING UP THE AIRPREP CUB SAMPLER FOR COLLECTION
Push the barrel plug of the power supply (Figure 2) into the power jack on the
bottom of the instrument. Plug the AC Power Cord into the power supply and
plug the other end into an appropriate wall outlet.
4.2 INSTALLING THE FILTER
Open the inlet cap by twisting it to the left to lift off. Insert the filter into the top
of the AirPrep Cub Sampler, as shown in figure 2. The filter housing is designed
to only fit in one way. Screw the inlet lid on (twisting right) to close.
4.3 CONTROL PANEL INTRODUCTION
The control panel consists of four timer setting LED
indicator lights, three flowrate LED indicator lights,
and one momentary pushbutton switch
(Hold/Mode).
Two variables constitute a “run mode”: flowrate
and runtime.
To turn on and off:
• Press Hold/Mode for 2 seconds to
Power on/power off
To change run modes
• press the Hold/Mode for 4 seconds
Reset Button
• A reset button is located on the bottom of each instrument,
pressing this will result in an immediate system interrupt and
reset of the system.
4.3.1 LED INDICATOR LIGHT
Flowrate LED Indicator Light
The flowrate LED indicator for the selected run mode will stay on while the fan
is running.
FIGURE 3 CONTROL
PANEL

9
Timer LED Indicator Light
• The timer LED Indicator light will flash slowly as they countdown, as they
approach the expiration they will increase in frequency until the unit times
out and shuts down. The light will remain solid for the last 10% of the
timer.
• If the timer is set to continuous, the LED indicator light will stay steadily on.
4.3.2 POWER ON
When powering-on the sampler, the previous run mode will be recalled and
started by default.
The Battery LED Indicator Light (Model 210 only) will flash in the
following situations:
• When a run mode is selected that exceeds the expected battery
capacity
• After the battery is drained low enough to shut down the fan before
the timer expired
• The battery LED indicator light will start to flash slowly as the charge
approaches a critical level- increasing in frequency until it is steady
on when the battery is at its preset critical charge.
FIGURE 4. POWER-ON

10
4.3.3 POWERING OFF MANUALLY BEFORE TIME EXPIRES
To power-off the Air Sampler before the time expires, hold the Hold/Mode
button for 2 seconds, the unit will power-off.
4.3.4 POWER OFF DUE TO LOW BATTERY*
*Model 210 only
4.3.5 SELECTING THE FLOW RATE
1. Press Hold/Mode button for 4 seconds, if fan was already running it will shut
off after the first two seconds.
a. All 3 Flowrate LED Indicator lights will flash
2. Let up and momentarily press the Hold/Mode button
a. The 50LPM LED indicator light will flash. If desired, stop to select or
FIGURE 5. POWER-OFF DUE TO LOW BATTERY (MODEL 210)

11
3. momentarily press the Hold/Mode button again
a. The 100LPM LED indicator light will flash. If desired, stop to select.
Additional momentary presses will continue to cycle through the 50, 100
and 200 LPM LEDs
4. Press the Hold/Mode button for 2 seconds to save. Selected flowrate mode
is saved, and LED indicator light illuminates steadily; all timer LED indicator
lights start flashing
4.3.6 HOW TO SELECT A TIMED RUN MODE
1. Once the flow rate has been set. Press the Hold/Mode button
momentarily.
a. All four timed mode LED indicator lights will flash
2. Let up and momentarily press the Hold/Mode button
a. The 30 Min LED indicator light will flash. If desired, stop to select or
3. momentarily press the Hold/Mode button again
a. The 1 hour LED indicator light will flash. If desired, stop to select.
Additional momentary presses will continue to cycle through the remaining
timer modes.
4. Press Hold/Mode button for 2 seconds to save selection. Selected flowrate
mode is saved and LED indicator light illuminates.
a. Fan will start.
4.4 RECOVERY OF THE SAMPLE
1. When the run is completed, recover the filter from the sampler with
gloved hands by twisting the inlet to the left to open.
2. Remove the filter cassette, invert it top-side-down, and press onto the
sample cup firmly until it clicks all the way around the cup. Perform this
on a stable surface.
3. Cap the filter with the elutor cap as shown in Figure 6 (make sure the filter
and elutor cap are fully sealed).
4. Place the filter assembly in a zip-type bag for transporting dry, or
alternatively, elute the filter as described in the following section.
If a time & flowrate combination requires more battery than is available,
the battery LED will flash to alert you

12
4.5 ELUTING THE SAMPLE FROM THE FILTER
To extract the captured particles from the filter:
1. Place the sample cup, filter, and elutor cap,
as shown in Figure 6, on a stable surface.
2. Firmly press the elution fluid canister into the
elutor cap. The elution foam will be released
from the elution fluid canister through the
filter when the canister valve is pressed
down. Hold the canister down until all the
foam is released. The foam quickly collapses
into a liquid in the sample cup and available
for sample processing and analysis.
4.6 CLEANING THE SAMPLER
Common off-the-shelf alcohol or bleach wipes can be used for cleaning and
disinfection of the entire sampler. If applicable, disconnect the AC power plug
prior to cleaning.
FIGURE 6 AIRPREP
FILTER & ELUTION KIT

13
5AIRPREP CUB SAMPLER-MODEL ACD210 BATTERY SAFETY INFORMATION
14.4V 3350mAh
Operating temperature:
•Charge: 10 - 45°C
•Discharge: -20 - 6O°C
Storage temperature:
Recommended 25+/-5°C at 50% state of charge
•Do not immerse the AirPrep Cub Sampler in liquid. Exposure to liquid may
damage the battery or the circuits. As a result, the battery may generate
heat, smoke, catch fire, or explode.
•Do not use or place the AirPrep Cub Sampler near an open flame, heater,
or high temperature (above 80°C).
•Do not use unauthorized chargers. Use of an unauthorized charger could
cause the battery to generate heat, smoke, catch fire, or explode.

14
6SPECIFICATIONS
Please contact InnovaPrep or an official InnovaPrep distributor for technical
assistance and troubleshooting.
InnovaPrep, LLC
132 East Main Street, Box 68, Drexel, MO 64742
Phone: 816-619-3375
info@innovaprep.com and www.innovaprep.com
Revision
Date
Author
2
10/19/21
AKP
Dimensions & Weight
8” X 5” X 5” and 2.5 lbs.
Filter Material
52mm dry electret depth filter
Particle Size Collection
0.01μm to 10μm+
Flow Rate/s
50, 100, and 200 LPM
Run Modes
Continuous, 2-hour, 1 hour, 30 min.
Power
120W AC
Sample Recovery Method
Instant Wet Foam Elution
Elution Fluid
Either 0.15% Tween 20 25mM Tris or
0.15% Tween 20 PBS
Single-use Rapid Filter Elution
Kit Components
Filter, Sample Cup, Sample Cup Lid, Elutor
Cap, and Elution Foam Canister
Final Sample Volume
6-7 mL
Compatible Analysis Methods
PCR, NGS, Culture (bacteria, molds)
Operating Temp./Humidity
Range
Operating temperature: -2° C to 60° C in
non-condensing environments.
Storage Temp.
0°C to 30°C
AirPrep Cub Sampler-Model ACD210 only
Battery Type
Lithium ion, 14.4V 3350mAh
@ 0.2 C discharge, room temperature
Battery Life
4 hours continuous @ 200 LPM, 20 – 30 °C
Long Term Storage
(Recommended)
20 – 30°C, 45-85% RH, @ 50% Charge (> 3
Months)
This manual suits for next models
1
Table of contents
Other InnovaPrep Sampler manuals


