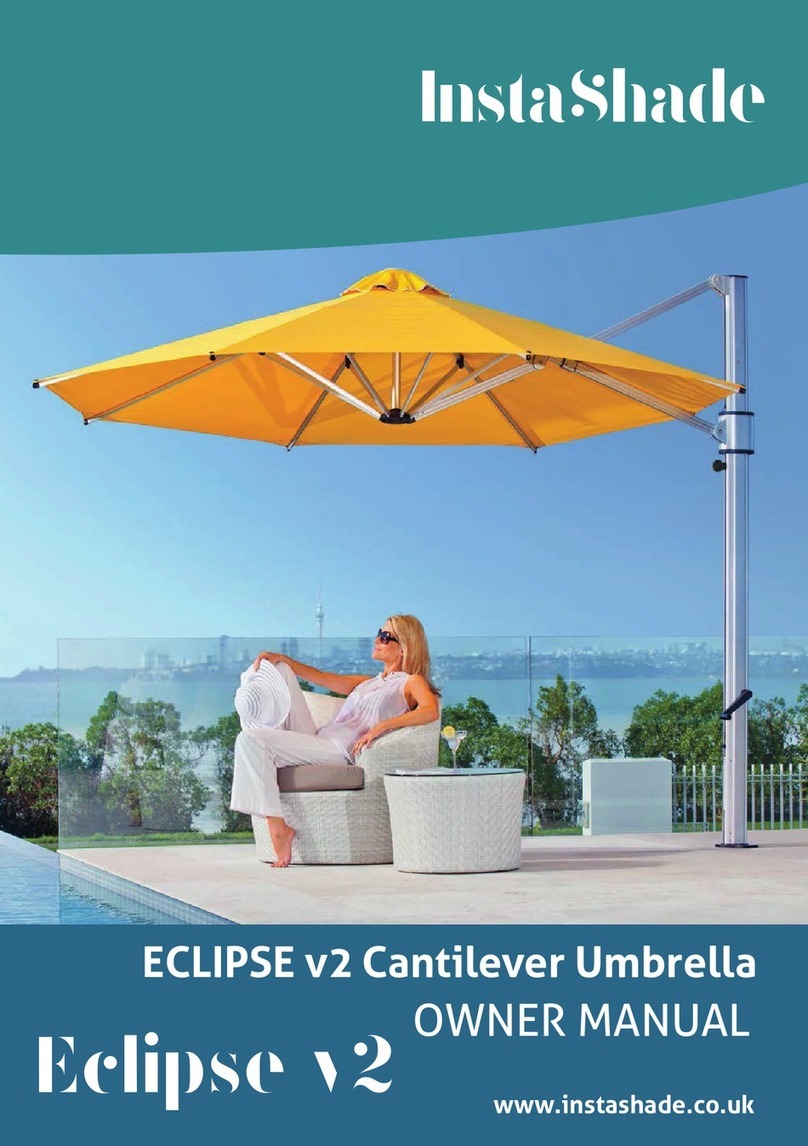
InstaShade ECLIPSE User manual

Owners Manual
Eclipse Parasol

Page 2
ECLIPSE CANTILEVER PARASOL
General Information
Do not leave the parasol open when unattended, particularly in windy conditions.
The parasol should be securely strapped when closed, especially in strong winds
and adverse weather conditions.
Any modifications to your parasol, except those made by Instashade Ltd. may
invalidate the warranty.
The parasol should be clean and dry prior to storing away for any extended periods
of time. This will prevent mould from developing
Inspect the installation fitting / base on a regular basis and tighten if required.
The Eclipse parasol is principally intended for use in low to moderate wind conditions
which will provide you with many hours of protection from the sun and light rain. You
will get maximum benefit from your parasol when you use it in accordance with our
instructions and within appropriate weather conditions.

Page 3
ECLIPSE PARTS IDENTIFICATION

Page 4
TO OPEN THE ECLIPSE PARASOL
1. Remove the strap from the canopy.
2. Gently spread the canopy arms open
with your hands (refer Figure A).
3. Ensure the turning knob for the slider
can move freely (refer Figure B). Insert
the winder handle (30) into the hole on
the side of the mast and rotate in a
clockwise direction.
4. Continue winding until the canopy is
fully open and the edge of the canopy is
firm (refer Figure C). Note: The winder
handle will become a little harder to wind
as the parasol is fully open. Stop winding
when the canopy is taut/firm. Do not
overwind.
5. Once the canopy is fully opened, hold
the turning knob (20) and push the slider
up until the canopy is at the desired tilt
angle. Tighten the knob (20) clockwise to
secure the parasol at that angle.
Important: The slider knob (20) must be
done up tightly, especially when used in
exposed locations. The parasol should
not be tilted when windy.
6. When the slider is pushed up to the
highest point, the locking pin (20) will
automatically engage, locking the canopy in
the horizontal position. The optimum strength
of the parasol is reached only when the
canopy is in the horizontal position, with the
slider at its maximum height and the locking pin (20) engaged.
7. The tilt angle of the canopy can be adjusted as required at any time by loosening
the slider knob (20), pulling the locking pin outward and sliding the slider up and down
the mast. Note: The locking pin will only engage at the horizontal level.
Gently spread the canopy arms open
Figure A
Ensure tilt knob is loose (turn anti-clockwise)
when opening and closing parasol
Figure B
Edge of canopy should be tight
Figure C

Page 5
TO CLOSE THE ECLIPSE PARASOL
2. Turn the slider tilt knob (20) anti-clockwise
until loose, hold the slider tilt knob and pull the
slider down the mast towards the ground. If the
canopy is in the horizontal position, pull the
locking pin out first.
3. Fold the canopy neatly when storing for
extended periods of time to reduce the risk of
damage to the canopy caused by constant
rubbing against the parasol frame. To do this,
stand in front of the canopy and take hold of the
front two panels, pull them away from the parasol
towards your body and roll them together back
towards the parasol frame. Hold the rolled panels
with one hand, while grabing a third panel, tightly
folding it over the roll to hold it in place, alternate
folding over the remaining five panels from left
to right.
5. Secure folded panels in place with the canopy
strap, wrapping it around the mast and canopy.
Gently push the folded canopy back against the
mast so that it is compact. Important: When the
parasol is closed it should always be firmly
strapped.
6. FITTING THE OPTIONAL COVERBAG: Stand
in front of the folded canopy and open the
coverbag zip completely. Use the handle rod to
lift the coverbag behind the mast and up as high
as possible to clear the top of the parasol. Pull
the coverbag down over the top of the mast and
canopy. Zip the coverbag closed. The zip should
be on the front side of the canopy, not at the
back of the mast.
Ensure tilt knob is loose (turn anti-clockwise) when
closing parasol
Figure A
Fit the cover bag over mast and frame and zip up
Figure B
1. Rotate the winder handle (30) in an
anti-clockwise direction. The canopy will begin to
collapse. Continue winding in an anti-clockwise
direction until the canopy is mostly closed and
the canopy arms are pointing almost vertically
down to the ground.

Page 6
TO ROTATE THE ECLIPSE PARASOL
There are 16 rotational-locking holes in the
spigot. These location holes are found at
every 22.5 degrees around the spigot
base. They are located where indicated on the
spigot base and are under the nylon indexing
shield (34) which acts as a dust cover for the
holes not in use.
1. Pull the rotation lift handle (35) out from
the mast cavity (refer Figure A)
2. Lift up on the handle and feel the
resistance from the spring that houses
the rotating lock pin.
Warning: In lifting this handle you are
not attempting to lift the whole parasol,
rather just the spring on the rotating lock
pin that locates the rotation lock pin.
Do not apply too much force when
lifting up on the handle.
3. By using the rotating lift handle (35) as a
lever you may rotate the parasol on the
base (refer Figure B) until you arrive at
the new required position.
NOTE: There is some resistance to
rotation as the weight of the parasol
when opened and friction need to be
overcome. For easier rotation close
the parasol canopy first.
4. Each position is marked by a notch on the
spigot base. Align the indicator arrow
with a notch (refer Figure C). Once
aligned with a notch, lower the rotating handle down to locate the rotating lock
pin. WARNING: Do not force the rotating handle down if the indicator arrow is
between notch positions. The rotating handle should close down easily. If any
resistance is encountered do not force it, rotate the parasol further slightly
to locate the correct hole position.
Lift rotation handle
Figure A
Rotate the parasol by using the handle
Figure B
Align the indicator arrow with a notch
Figure C

Page 7
TO USE YOUR (OPTIONAL) STABILISER BARS
Your Eclipse cantilever parasol can be fitted
with an optional stabilising bar to assit its
performance in a wider range of wind
conditions.
Note: The Eclipse parasol does not need to
be fitted with the stabilising bar for normal
operation in calm to moderate wind conditions.
However for higher wind environments or for
commercial applications is it advisable to fit the
stabilising bar to add stability to the parasol.
1. Slide the stabiliser arm block (38) up the
internal mast housing to a height roughly the
same as the height of the stabiliser bars when
standing vertical (refer Figure A).
2. Attach the threaded stainless screw (with
the two aluminium stays attached) to the stay
block and tighten the screw sufficiently for the
stay block to remain in position without sliding
down the mast (refer Figure B).
3. Swing either aluminum stay arm off the
ground and attach to the parasol arms (refer
Figure C) using the black ‘screw in’ fittings.
4. You may need to loosen the locking knob
(refer Figure B) and adjust up or down the
mast for the stabiliser arms to reach the
correct position on the arms (refer Figure C).
Once both stabiliser arms have been attached,
tighten the central threaded-locking knob to
lock in position (refer Figure C).
Caution: Do not use tension as this may distort the parasol arms. Reverse the process
to remove the stabilising bar. It must be removed to close the parasol or tilt the canopy.
Important: Your Eclipse parasol even when fitted with the stabilising bar, is not a
permanent, all-weather structure. We recommend the parasol should be
closed and folded when not in use and never left open in strong winds.
Slide stay block up the mast
Figure A
Screw stays into stay block
Figure B
Slide end stay arm over T-lock
Figure C

Page 8
Simple Maintenance Procedures:
1. In coastal or metropolitan environments frequent washing (with a hose) of the
complete unit is very beneficial.
2. Should the 16 rotating mechanism stop pin holes become filled with sand or dust
lift the parasol spigot up 20cm and allow the dust cover to be lifted and the 16 holes
can be cleaned.
3. Periodic cleaning of the slider tracks with mineral turpentine is recommended.
It is important to keep tracks free of dirt, grit, cobwebs and other foreign objects.
Spray can be used to lubricate the tracks after cleaning.
4. Always fold the canopy as described in section “TO CLOSE AURORA PARASOL”.
This will prolong the new look of the canvas and prevent marking and holes caused
by “pinching” in the parasol frame.
5. If you have a cover bag it is advisable to fit it if the parasol is not being used for
some time.
6. It is recommended that if the parasol is not being used for a period of time during
the winter months, then it is a good policy to put the umbrella in storage. You may
even remove the spigot if required.
7. The canvas canopy can be cleaned or mould removed by using a mild mixture of
an approved mould remover and or warm soapy water using a soft brush. Test first
on the strap to ensure no damage will be caused to the parasol canopy fabric.
SIMPLE MAINTENANCE INSTRUCTIONS

CARE INSTRUCTIONS FOR YOUR INSTASHADE PARASOL
HOW TO CLEAN YOUR OUTDOOR PARASOL FABRIC
Recasens 100% Solution-Dyed Acrylic Canvas Fabric
Recasens acrylic canvas fabric is water and mould repellent and will last a very
long time if maintained well. However, over time, the accumulation of dust,
pollution particles, organic plant matter, pollen and general dirt can embed itself
into the fabric and shorten the life of it.
It is a good idea to periodically give your parasol fabric a light brush down with
a soft bristled brush/broom and water from a garden hose. This will help to
dislodge and remove loose dust and dirt that has settled on the fabric before it
can embed itself deeply. Although mould will not grow directly on clean
acrylic canvas, as dirt and organic matter embeds itself into the fabric the mould
will be able to grow on the embedded dirt and organic matter, so it is best to
remove dirt early.
How to clean light dirt and marks from your outdoor parasol fabric:
Depending on how often you use your parasol, you may eventually need to give
it a more thorough wash to remove any embedded dirt or early signs of mould
growth. To do this you will need to mix warm water and sugar soap in a bucket.
Use a soft bristled brush (or a long broom) to generously work this soapy water
into a lather over the parasol fabric. Focus mostly on the areas with the most dirt
or stains, then allow the soapy water to soak into the parasol fabric.
Once you are finished soaking the parasol fabric, rinse it thoroughly with a hose
until all soap residue is removed, and then air dry the fabric.
Once you have finished soaking the parasol fabric, rinse it thoroughly with a hose
until all the soap residue is removed, and then air dry the fabric.
Instashade uses the finest marine grade solution-dyed acrylic canvas fabric
manufactured by S.A. Recasens in Spain. This premium outdoor fabric has the
best available colour fastness rating of 7.8 out of 8.
Recasens fabrics also has the highest possible UV protection rating of UPF 80
according to the European UV standard 801, cutting out the maximum amount
of harmful UV light for excellent sun protection.
Page 9

Page 10
How to remove heavy dirt or mould from your outdoor parasol acrylic
canvas fabric:
Warranty:
If you have heavy dirt or mould growth in your acrylic canvas fabric and the
instructions above have not removed it, you may need to repeat the instructions
again, but add between half and one cup of bleach to the bucket of soapy water.
The acrylic canvas fabric used by Instashade should not fade or lose colour when
using bleach (diluted with water) when cleaning. Feel free to test the bleach
mixture on the canopy strap first to check that there is no colour loss.
Recasens fabrics are manufactured with only the highest quality raw materials
and the most rigorous quality-assurance procedures. Recasens fabrics are
covered by a 10 year residential warranty (5 years for commercial use) covering
rot and colour fading* in normal environments and conditions of use. The
warranty does not cover wear and tear, or wind related damage.
*Colours with red pigmentation (red, orange and yellow etc) will have lower
colour fastness than other colours and will show some fading earlier.
The best way to remove heavy dirt and mould is to remove the canopy from the
parasol and soak it in warm water with something like bleach or “Vanish Oxi
Action”. You might need to change the water and repeat this process until all the
dirt or stains are removed. It is then essential that the fabric is thoroughly rinsed
with water to remove any cleaning product. A good way to do this is to put the
fabric through a gentle machine wash with cold water and washing detergent.
Once this is done, put the parasol fabric back on to the parasol frame wet and
then allow to air dry..

Page 11
PARASOL BASE CARE
SUMMARY
Do not let dirt build up on the bases. Cleaning with mild soap and water,
and seasonal touch-up of any scratches, chips or occasional rust seepage
from crevices or hidden, unfinished surfaces inherent in some designs is all
that is required. Never leave bases standing in water. To keep your bases
looking their best, you may wish to store them when not in use for any
extended period of time.
Brush off dust and dirt with a soft brush. NEVER brush with stiff brushes
since this can damage the fabric finish.
Brush off dust and dirt with a soft brush. NEVER brush with stiff brushes
since this can damage the fabric finish.
Remove the roof fabric from the parasol.
Prepare a solution of something like bleach or “Vanish Oxi Action” in
warm water (no more than 30°c).
Scrub with a soft brush, allowing the solution to penetrate the fabric.
Spray the parasol with clean water. If a hose is used, avoid high preassure.
Light Cleaning
Deep Cleaning
Prepare a solution of sugar soap in warm water (no more than 30°c)
and apply it to the fabric and stitching.
Scrub with a soft brush, allowing the solution to penetrate the fabric.
Rinse with water to remove all traces of soap.
Let air dry and do not close the parasol until the canvas is completely dry.
You may need to change the water and repeat if necessary.
Ensure that all the product is rinsed from the fabric put on a gentle
machine was on a Gentle Machine wash with cold water and laundry
detergent.
Let air dry and do not close the parasol until the canvas is
completely dry.

Page 12

Page 13
WARRANTY
WARRANTY TERMS:
FABRIC WARRANTY TERMS:
Our solution dyed acrylic fabrics are guaranteed against:
Rot or significant loss of strength from normal usage and exposure conditions. It does not apply
against any deterioration of any kind due to wind or weather-related damage, misuse, burns,
negligence, vandalism, perforations or stains due to evironmental pollution and fair wear and
tear.
Loss of colour. Our acrylic canvas fabric is warrantied to remain colour-fast to a rating of 7-8 on
a 1-8 scale (meaning minimum fading).
INSTASHADE PARASOLS ECLIPSE, AURORA, NOVA ALL COME WITH THE FOLLOWING WARRANTIES:
The warranty covers faulty materials and faulty workmanship only. Wind damage is not covered by
this warranty.
This warranty does not cover damage caused by wind or adverse weather conditions, fair wear
and tear, accidents or misuse.
This warranty is valid only if the parasol is installed and operated as per the instructions in this
manual.
This is a back base warranty. In the case of repairs to the parasol being required (regardless
of whether the repairs are covered under warranty) the cost of transportation to/from
Instashade Ltd. Is to be paid by the claimant.
Installation fittings and spigots are made using galvanised steel. Rust is a natural part of the
aging process of all steel, based materials and is therefore not considered a defect and is not
covered under warranty.
This warranty is given by Instashade Ltd. No person has the authority to change or add to these
obligations and liabilities without Instashade Ltd. approval in writing.
Instashade Ltd. reservers the right to determine whether fault is caused by faulty workmanship,
faulty materials or that any part is defective. Where fault is determined, we reserve the right to
repair or replace products at our discretion.
Instashade Ltd. or its authorised agent may offer advice but accepts not responsibility as to the
ultimate positioning of the parasol. In the case of installations, the owner is to ascertain
position of all underground pipes and electrical wires and notify the installer of any obstacles.
Although all care will be taken, no responsibility can be accepted for any damage during
intallation.
Any parasol repair, hardware replacement or fabric replacement supplied under the warranty is
covered for the time remaining in the original warranty and does not active a new warranty
period.
This warranty applies to the orginal purchaser only.
3 year NO FADE olefin canvas
10 year NO FADE on acrylic (Eclipse/Nova)
Recasens fabrics are manufactured with only the highest quality raw materials
and the most rigorous quality-assurance procedures. Recasens fabrics are
covered by a 10 year residential warranty (5 years for commercial use) covering
rot and colour fading* in normal environments and conditions of use. The
warranty does not cover wear and tear, or wind related damage.
*Colours with red pigmentation (red, orange and yellow etc) will have lower
colour fastness than other colours and will show some fading earlier.

Unit 7 & 8 Tatton Court
Kingsland Grange
Warrington
WA1 4RR
Tel: 01925 859960
Web – www.instashade.co.uk
Other InstaShade Patio Furniture manuals
Popular Patio Furniture manuals by other brands
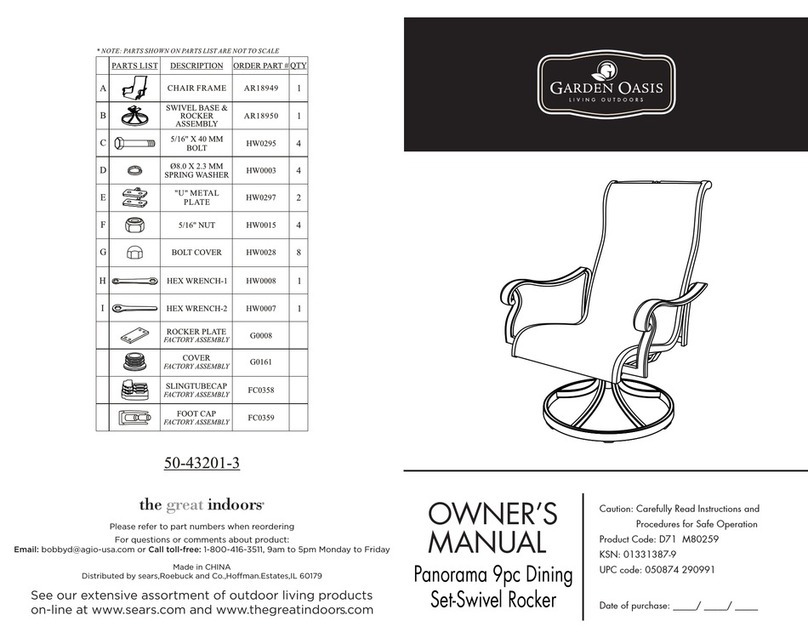
Garden Oasis
Garden Oasis 50-43201-3 owner's manual
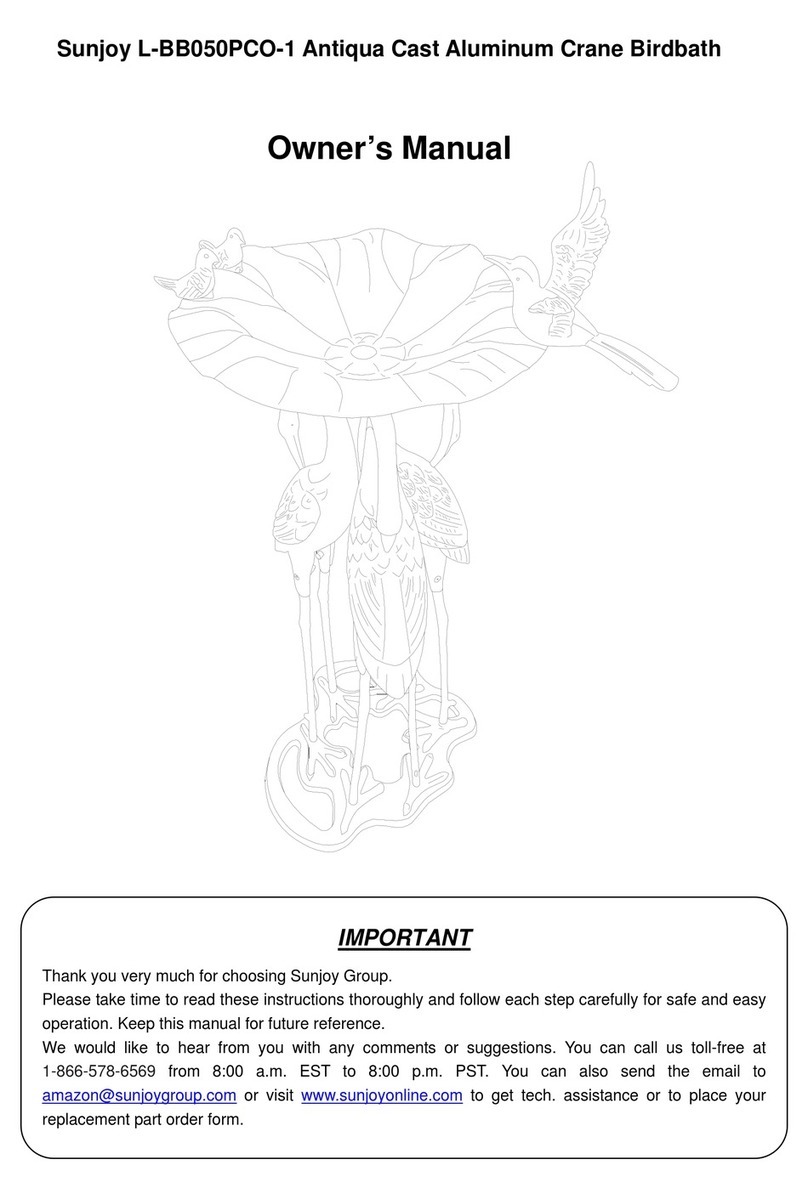
Sunjoy
Sunjoy L-BB050PCO-1 owner's manual
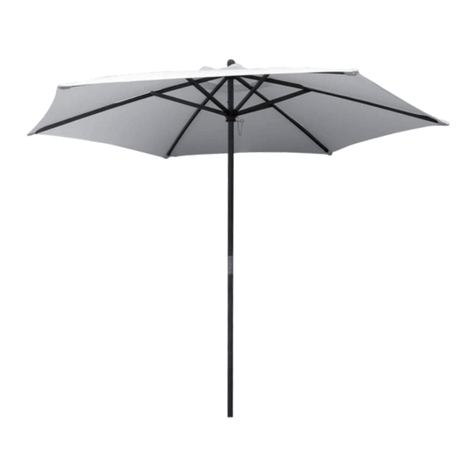
Essential Garden
Essential Garden 0-01269361-0 owner's manual

Garden Gear
Garden Gear G3753 instructions

Glatz
Glatz SUNCOMFORT SUNFLEX instruction manual

California Umbrella
California Umbrella Fiberglass Stainless Pulley 09 LUXY brochure
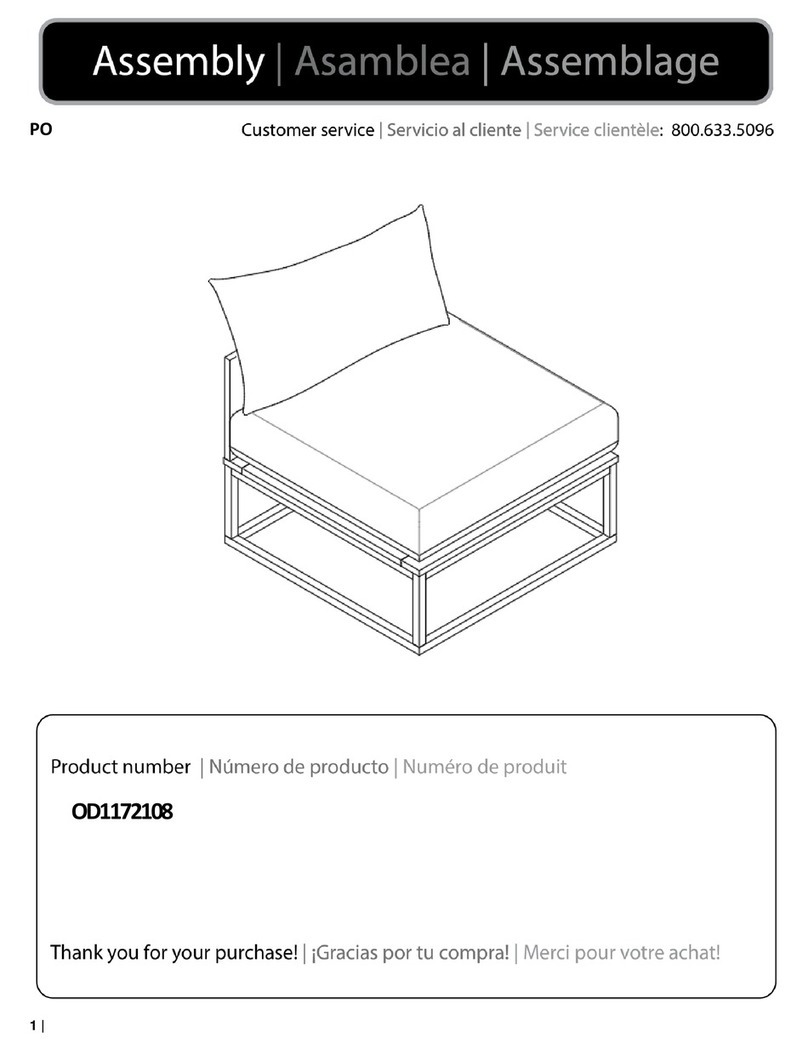
SEI
SEI OD1172108 Assembly
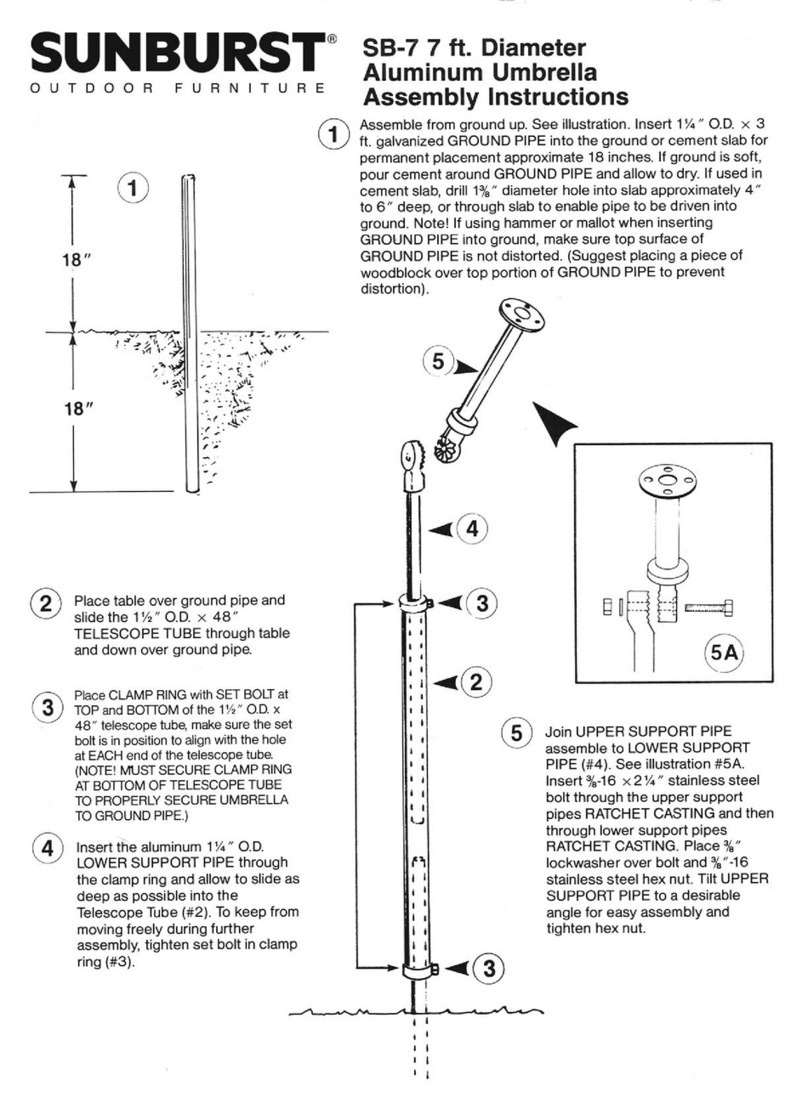
Sunburst
Sunburst SB-7 Assembly instruction

real living
real living VERRADO BS20010 Assembly instructions

LIVARNO home
LIVARNO home 1061-G Installation, operating and safety information
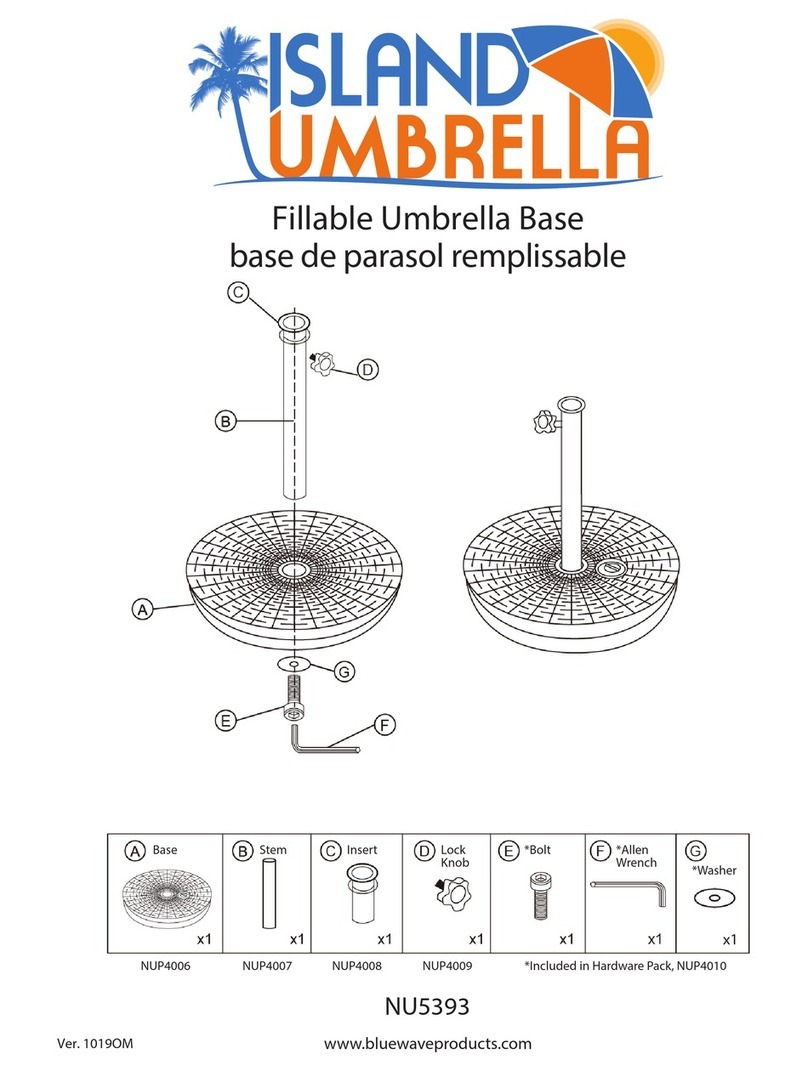
Island Umbrella
Island Umbrella NU5393 Assembly instructions
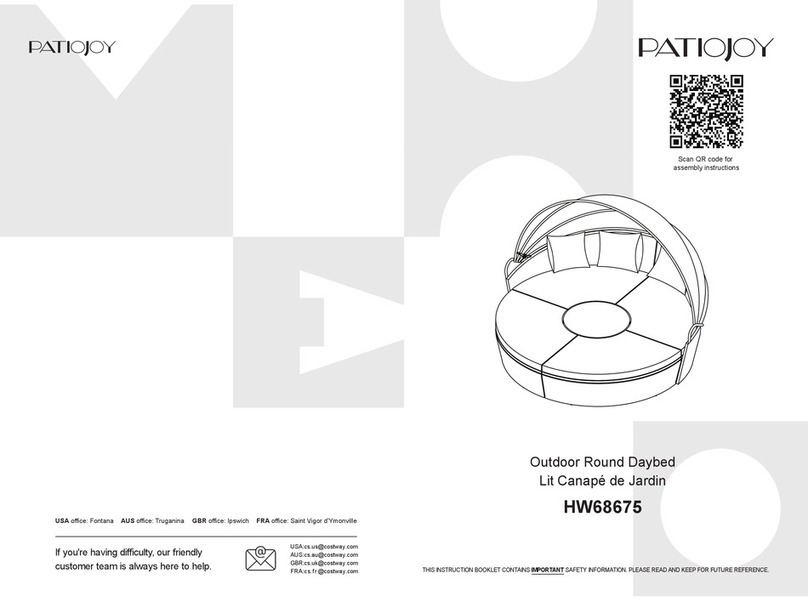
PATIOJOY
PATIOJOY HW68675 quick start guide
