5PROFILER STAGE QUICKSTART
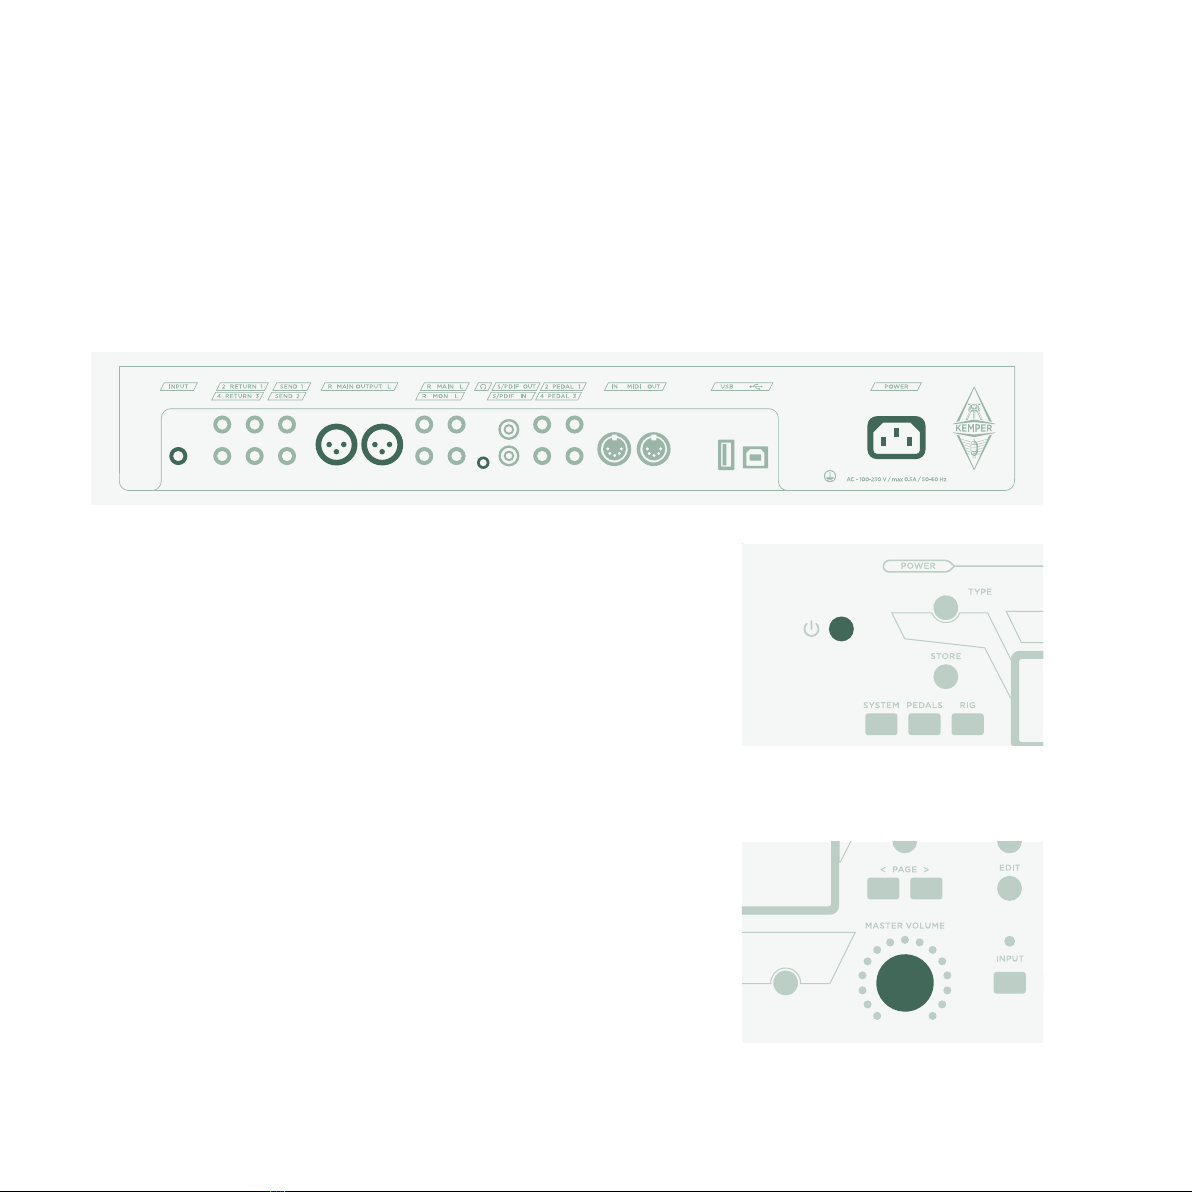
TABLE OF CONTENT
Okay, so what did I just buy?........................................................................................................................................7
Getting Started ...................................................................................................................................................................7
Making Connections ........................................................................................................................................................ 8
Switching Rigs.................................................................................................................................................................... 9
Editing and Storing Rigs...............................................................................................................................................10
Noise Gate............................................................................................................................................................................ 11
Adding Eects .................................................................................................................................................................. 12
Toggling Eects on/o with Eect Buttons........................................................................................................13
Tuner......................................................................................................................................................................................14
Volume Pedal.....................................................................................................................................................................15
Wah Pedal ...........................................................................................................................................................................15
Morph Pedal .......................................................................................................................................................................16
More Fun with Pedals..................................................................................................................................................... 17
Lock Function....................................................................................................................................................................18
Setting up KEMPER Power Kabinet.........................................................................................................................19
Keeping your PROFILER up to date with Rig Manager.................................................................................. 21
Documentation and Video Tutorials.......................................................................................................................24
Support and User Forum.............................................................................................................................................25
Important Safety Instructions ...................................................................................................................................26
Technical Requirements............................................................................................................................................... 27
Compliance Statement.................................................................................................................................................28