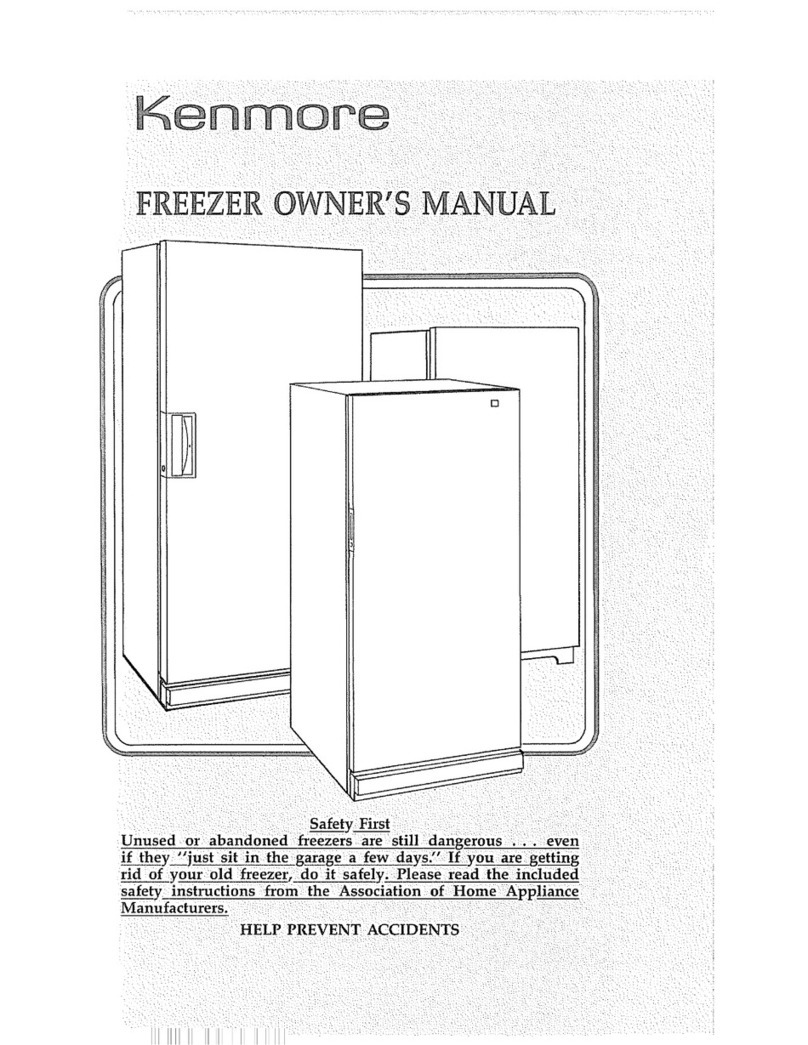
SafetyFirst..................................FrontCover
IfDoor Must Be Removed ........................,...2
InstallIt...........................................2
LevelIt............................................2
Ground It............................................2
Adjust It......................................
StartIt .........................................3
,iii,,i ",
CONTENTS
Featuxes .................................................. 3-1..5.6
BeforeCallingforService...........................................6
DefrostIt!QuickDefrost..................................7
Clean It...........................................................7
Energy Savings Tips ................................... 7
Vacation and Moving Care......................7
Warranty ...........................................Back Cover
RG. I RG. 2
WARNING: If freezer is plugged in, unplug the
electrical cord plug from wall outlet.
o Lay freezer on its back on a throw rug.
(Fig 1) Remove base panel by unscrewing. 2
screws from front of base panel° Remove wire
from clips on bottom of cabinet.
oUnplug connector by holding the cabinet
connector in place and pulling door connector
out, then remove the two screws from the
bottom hinge.,
,, (Fig° 2) Lift up plastic hinge cover and fold back.
It is very important that a screwdriver be used
both to loosen and retighten the flat head
screws on the top hinge, to insure asecure
assembly and prevent hinge slippage°
o Remove the top hinge from cabinet, and lift the
door off the cabinet.
To replace door, reverse above order°
5. dL
, ,i i
......... i i1,1
3
INCHES
3 INCHES -./__.
i
Allow three inches of air space on all sides of the
freezer.
• Keep away from flammables, such as gasoline.
- The floor must support the weight of the freezer
when fully loaded,
° Keep away from an oven or other heat source_
Preferably locate in an area below 100°F, 2
\
NOTE: All four-levelers must be reinstalled in
bottom of cabinet after skids are removed.
To Level:
•Screw levelersup asfaraspossible
•Adiustlevelersdown untilthecabinetislevel.
•Try tomove orrockcabinettocheckforstability,
oIfcabinetis"wobbling"adjustlevelsas required
to stabile for a firm installation,
• As atip, the door will dose
more readily if
front of cabinet is Turn Turn
slightly higher atghtto Lento
than rear. Inspect Lowar Ra_sa
door seal
GROUNDED
_p 3"_RONG
WALL
_,, RECEPTACLE
RONG
I_III ['LUG
DO NOT REMOVE GROUND PLUG UNDER
ANY CIRCUMSTANCES. DO NOT USE AN
EXTENSION CORD.
For your safety and protection, the Kenmore
freezer is equipped with a spedal three:termi'nal
type grounciing plug on the electrical cord. It
must be ptuggea into its own properly grounded
three-prong outletql5 volt, 60 Hertz, protected
with a I5 amp time delay fuse or circuit breaker°
Do not plug the freezer into an outlet controlled
by a wall switch or pull cord which might be
turned off accidentally,
If the electrical outlet you intend to use will not
accept the tbxee-prong plug, or if you are not sure
the outlet is adequately grounded, you should
have a properly grounded three-prong outlet
installed according to the National Electrical Code
by a qualified electridan.
Never unplug your freezer by pulling on the cord_
Alway_s grip the plug firmly and pull straight out
from the receptacle.
