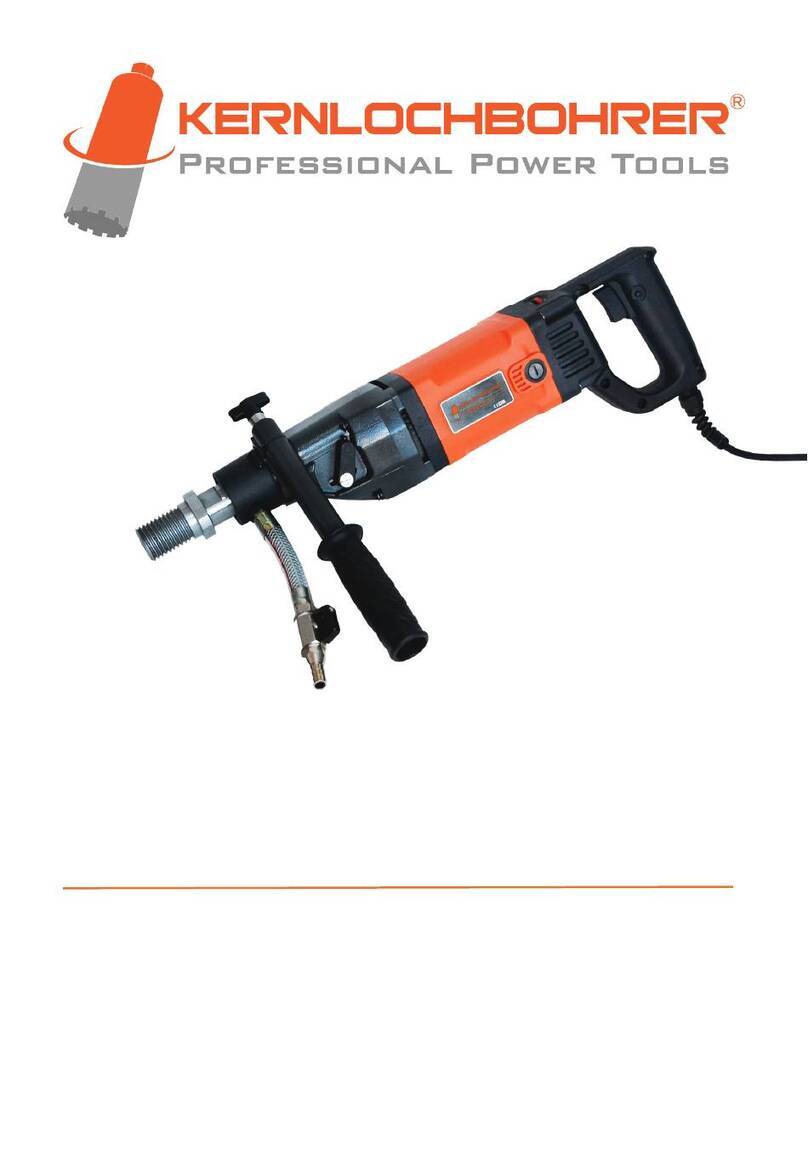
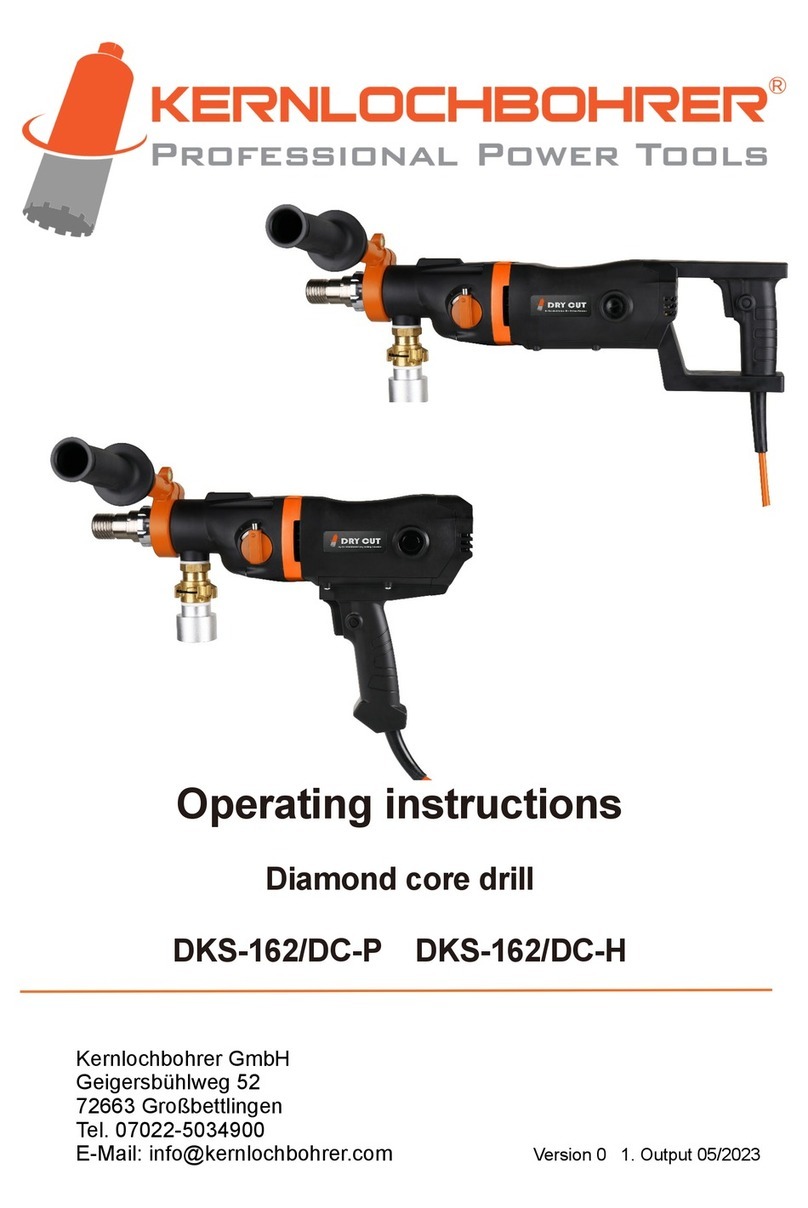
Kernlochbohrer DKS-132/DC-H User manual

Operating instructions
Diamond core drill
DKS-132/DC-H
Kernlochbohrer GmbH
Geigersbühlweg 52
72663 Großbettlingen
Tel. 07022-5034900
E-Mail: info@kernlochbohrer.com Version 0 1. Output 05/2023

Content
Introduction and description 3
About this guide 3
Thanks to the buyer 4
Explanation of symbols 4
Safety regulations 4
Technical data 8
Product description 8
Use and care 9
Precautions 9
Preparation 10
Use and change of drill bits 11
Drill and machine cooling 11
Speed selection 11
Drilling 11
Soft strike function 13
Mechanical overload protection 13
Electronic overload protection 14
Overvoltage protection 14
Overheating - Thermal protection 14
Protection of the control unit 15
Daily maintenance of the power tool 15
Maintenance and inspection plan 16
Troubleshooting 17
Environmental protection 18
Noise/Vibration 19
Warranty 19
Exploded view 20
EC Declaration of Conformity 22
2

Introduction and description
The core drilling equipment of the DKS-DC series is intended for professional use
and may only be operated by instructed persons. Strictly adhere to the instructions
in the operating manual to avoid electric shock or fire.
Our company declines all responsibility in the event of violations of the operating
instructions that may result in injury or machine damage. In addition, all currently
applicable regulations of the Accident Prevention Regulations (UVV) and the
Employer's Liability Insurance Association (BG) must be observed.
In connection with the corresponding drill bits, the machine is intended for drilling
concrete, stone and masonry in dry cutting. The machine has a soft impact function
that facilitates drilling. However, care must be taken to select the appropriate drill
bit.
The machine may be serviced only by persons who have the appropriate
qualification and certification.
About this guide
These operating instructions are for the model
DKS-132/DC-H
Check the machine model against the nameplate.
3

Thanks to the buyer
Thank you for purchasing a core drill of the DKS DryCut series from Kernlochbohrer
GmbH. Please read the operating instructions carefully and observe the safety
instructions. Through proper operation, you will fully appreciate the outstanding
performance of our products. Keep this manual in a safe place for future reference.
If you have any questions regarding the operation of the core drill, please contact
Core Drill GmbH directly. We are available to answer your questions at any time.
Note:
Kernlochbohrer GmbH reserves the right to change the design and appearance of
the products and their operating instructions. Future changes to the operating
instructions will be made without prior notice.
Explanation of symbols
General Danger Warning. Failure to follow these safety precautions and instructions
may result in electric shock, fire and/or serious injury.
Safety regulations
❖Read all precautions before start-up and keep the operating instructions. In
addition, all currently applicable regulations of the Accident Prevention
Regulations (UVV) and the Employer's Liability Insurance Association (BG)
must be observed.
❖Please follow the operating instructions carefully, as failure to follow these
safety precautions and instructions may cause electric shock, fire and/or
serious injury.
4

1. Keep your work area clean and well lit. Disorder or unlit work areas can lead to
accidents.
2. Do not work with the power tool near flammable liquids, gases or dust. Power
tools produce sparks that can ignite dust or fumes, causing explosions.
3. Keep children and other persons away while using the power tool. If you are
distracted, you may lose control of the tool.
4. Be attentive, work with concentration and pay attention to what you are doing.
Do not use a power tool when you are tired or under the influence of drugs,
alcohol or medication. A moment of inattention can result in serious injury.
5. Wear suitable protective equipment and always protective goggles. Wearing
suitable protective equipment such as a dust mask, non-slip safety shoes, hard
hat or hearing protection reduces the risk of injury.
6. Avoid unintentional starting of the machine. Make sure that the power tool is
switched off before connecting it to the power supply. If you have your finger on
the switch when carrying the power tool or connect the machine to the power
supply when it is switched on, this can lead to accidents.
7. Remove setting tools or wrenches before switching on the power tool. A tool or
wrench that is on a rotating device can cause injury.
8. Avoid unusual postures. Ensure a secure footing and maintain your balance at
all times. Do not work on a ladder. This will give you better control of the power
tool in unexpected situations.
5

9. Wear appropriate clothing. Do not wear loose clothing or jewelry. Keep hair,
clothing and gloves away from moving parts. Loose clothing, jewelry or long hair
can be caught by moving parts.
10. Do not overload the device. Use the appropriate power tool for your work. With
the appropriate power tool, you will work better and more gently in the specified
power range.
11. Do not use a power tool whose switch is damaged. A power tool that cannot be
switched on and off is dangerous and must be repaired.
12. Unplug the power tool from the wall outlet before making any adjustments,
replacing accessories, or setting aside the power tool. This safety measure
prevents the power tool from starting unintentionally.
13. Keep unused power tools out of reach of children. Do not allow persons to use
the device who are not familiar with it or have not read these instructions. Power
tools are dangerous when used by inexperienced persons.
14. Note that the voltage must not exceed +/-5% of the nominal voltage. Higher
voltages can cause irreparable damage. Note that higher voltage peaks are not
generated when operating the machine via a generator.
15. The plug of the power tool must match the socket. Do not change the plug
under any circumstances. Do not use adapter plugs with grounding-type forces.
Unmodified plugs and matching outlets reduce the risk of electric shock.
16. Avoid body contact with grounded surfaces or grounded components such as
pipes, radiators, ranges, and refrigerators.
17. Do not expose power tools to rain or wet conditions. Water entering a power
tool increases the risk of electric shock.
6

18. Never use the cord to carry or pull the power tool or to unplug the power tool
from the wall outlet. Keep it away from heat, oil, sharp edges or moving parts.
Damaged, crushed or twisted cables increase the risk of electric shock.
19. When using a power tool outdoors, use only an extension cord that is suitable
for outdoor use. Using a cord that is suitable for outdoor use reduces the risk of
electric shock. When using with an extension cord, also make sure that the
extension cord has the same cross-section as the cord on the machine.
20. The use of products such as cutters, grinders, drills that machine sand or other
materials can generate dust and fumes that may contain hazardous chemicals.
Check the type of material you are going to machine and use a suitable
respirator.
21. Non-approved spare parts and any modification are prohibited on our products.
22. If the operation of a power tool in a damp environment is unavoidable, use a
residual current circuit breaker. The use of a ground fault circuit interrupter
reduces the risk of electric shock.
23. If a vacuum cleaner and suction device are required, make sure they are
connected and used properly. The use of a vacuum cleaner can reduce dust-
related hazards.
7

Technical data
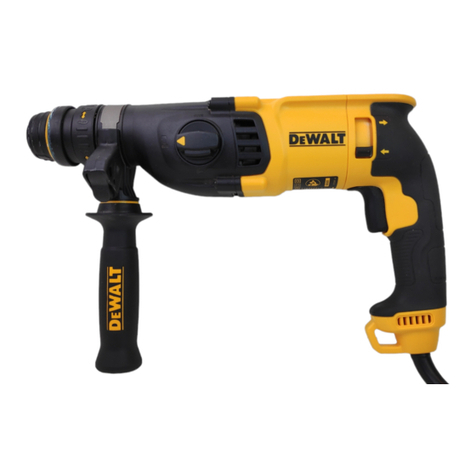
Product description
DKS-132/DC-H
1. Adapter M18 to M16 4. Motor housing
2. Switch for gears 1 / 2 5. LED red and yellow light
3. Switch for soft strike function
Model
DKS-132/DC-H
Item no.
6193
Power
1500W
Voltage
230V
Current
10A
Weight
3,7kg
Frequency
50-60HZ
Gauge speed
1500/3000 1/min
Max. Drill diameter
132mm / 72mm
Beat frequency
24000BPM / 48000 BPM
Spindle thread
M18
8
1
3
4
5
2

Use and care
Only use diamond core bits which are in a sharp and undamaged condition.
Properly maintained diamond core bits with sharp cutting segments do not become
entangled so quickly and are easier to guide.
Use the power tool, accessories and drill bits etc. in accordance with these
operating instructions, taking into account the working conditions and the work to
be performed. Using the power tool for operations other than its intended use could
result in a hazardous situation.
Have your power tool repaired only by qualified personnel and only with original
spare parts.
Precautions
1. ALWAYS wear hearing protection! When using drilling motors, the loud drilling
noise in the working area can cause hearing damage.
2. When drilling, keep a sufficient distance to the core drill and do not touch any
rotating parts. Protect the danger zone and keep children and other persons
away from it. Falling and splashing parts can cause injuries.
3. This diamond core drill is intended for professional use only and may only be
operated by trained personnel. The appropriate use of the core drill includes
drilling rock, reinforced concrete and masonry.
4. The drill motor must be checked regularly (approx. every 6 months) by a
certified electrician in accordance with VDE.
5. Switch off the core drill immediately if it stops for any reason. After you have
determined and eliminated the cause and performed a visual inspection of the
device and core bit, the core drill can be restarted.
9

Preparation
Subject the core drill to a brief visual inspection before each start. Also check
whether the network voltage corresponds to the voltage specified on the nameplate
of the tool.
Use and change of drill bits
A diamond core bit is a cylinder which is equipped with brazed or laser-welded
segments. The DKS-132/DC-H core drill is only suitable for dry drilling. Please
make sure that you use an appropriate core bit for dry drilling. The machine is
equipped with a soft impact function. If you want to use this, please make sure that
you use a corresponding core bit that is suitable for this. The drive spindle has an
M18 connection. An adapter from M18 to M16 is included in the scope of delivery.
Adapters are available as accessories for drills with other external threads.
For easier removal of the drill bit, you can apply waterproof grease to the spindle
thread of the machine.
Make sure that you have disconnected the mains plug from the mains before
changing drill bits or removing them.
The core drill and the drill bit are relatively heavy. For this reason, always wear
protective gloves to prevent the sharp tool from causing injury to your hand.
To mount a drill bit on the core drill, simply screw it onto
the drill spindle. To change the drill bit, use a 22mm
wrench on the drill spindle and a 24mm wrench on the
core bit at the same time.
After mounting the drill on the machine, run it briefly and check the radial runout of
the drill bit.
10

Drill and machine cooling
The gearbox of the drill motor has an oil-lubricated solid cooling system. The
electric motor is air-cooled.
Speed selection
The DKS-132/DC-H is equipped with a grease gear.
Select the speed according to the drill diameter (see type plate).
Speed selection or gear change may only be performed when
the core drill is switched off. Turn the gear selector either
clockwise or counterclockwise to the desired position until it is
engaged. If necessary, turn the drill spindle slightly with a
wrench to facilitate the speed change. In this case, disconnect
the machine from the power supply beforehand.
The maximum diameter and speeds indicated on the nameplate are based on an
average concrete hardness. The speed varies depending on the hardness of the
material. For reinforced concrete, please select a low gear to reduce the speed.
Drilling
Always switch on the machine without load.
Start the gate cut by not approaching the drill diameter with the full cutting surface
of the drill. Once a V-notch cut is drilled on the drill face, line up the drill at a right
angle while increasing the feed pressure.
11

Increase the feed pressure as soon as the cutting depth of approx. 10mm is
reached.
Always keep an eye on the condition of the core drill. If you notice that it starts to
smoke slightly or you notice the smell of an electric motor, relieve the core drill by
withdrawing it from the core hole. Then continue drilling slowly and carefully.
When you have almost reached the end of the through hole, reduce the feed
pressure at this point until the core bit exits at the other side.
If you have selected too high a speed when drilling or you are working with too high
a feed pressure, this can cause the drill bit to jam.
When using the soft impact function, a low initial feed pressure is recommended.
If, during the drilling process, you notice that the feed rate decreases at the same
force and metal splinters are visible, you have encountered rebar. Reduce the
pressure on the drill bit to cut through this without difficulty. You can increase the
pressure again when you have cut through the reinforcing iron.
If wooden beams, thick asphalt or bitumen are cut, this will increase the current. In
this case, reduce the feed rate to continue drilling.
If you need to drill deeper than the effective length of your drill allows, an optional
extension can be used.
12

Soft strike function
You can use the DKS-132/DC-H with soft impact function or in normal drilling mode.
To make this selection, use the switch on the top of the machine. When dry drilling
reinforced concrete, the soft impact function is recommended.
Soft strike function normal drilling mode
Mechanical overload protection
This machine is equipped with a mechanical slip clutch to protect the operator and
the machine from excessive torque forces. If the drill suddenly jams in the hole, the
safety clutch disengages and the drill spindle stops.
Make sure that the load on the clutch does not exceed max. 3-4 seconds. Unload
the machine immediately. Otherwise, the high wear may destroy the safety
coupling. Do not continue drilling if the slipping clutch has been released, reduce
the feed rate immediately and wait until the drill bit has reached the desired speed
again.
Avoid jamming the drill bit during drilling.
Caution!
A worn clutch must be replaced immediately by a specialist at an authorized
workshop. Working with a worn slipping clutch can lead to serious injuries.
13

Electronic overload protection
There are 2 LED indicators on the DKS-132/DC-H core
drill. When the core drill reaches peak load for the first
time, the unit starts to reduce its speed. If you continue
to use it at full load or the peak load is reached again, a
red LED lights up to signal the operator that the
maximum power supply has been reached. Immediately
reduce the feed rate until the red LED goes out.
If the core drill is in overload condition for a long time, the machine switches off for
self-protection and the red LED remains lit. Disconnect the machine from the power
supply and carry out a visual inspection of the machine.
Overvoltage protection
The drill motor can absorb short-term voltage peaks of up to max. 260V. Higher
voltages can cause irreparable damage. Please note that if the machine is operated
via a generator, they do not exceed the maximum specified value.
If the overvoltage protection trips during operation of the DKS-132/DC-H core drill,
please check the power source and change it if necessary.
Overheating - Thermal protection
If the temperature of the drill motor becomes too high, the built-in thermal protection
switch in the machine responds. At the same time, the yellow LED light illuminates
and the motor switches off. If this happens, do not restart the motor immediately.
Always allow the motor to cool down first for approx. 2-3 min.
14

Protection of the control unit
When the power tool operates under adverse conditions and problems such as
overload, bevel failure, short circuit or even rotor-stator interference, the power tool
control unit will shut down the power. The red LED light flashes in case of overload,
the yellow LED light flashes in case of overheating.
Daily maintenance of the power tool
1. Check that all screws and nuts are well tightened.
2. Check if the gearbox is tight or if grease is leaking.
3. Always keep all accessories and the machine clean and dry.
4. Check the condition of the gearbox grease after the gearbox has reached
approx. 200 working hours. If the gearbox grease is heavily contaminated,
have the gearbox grease replaced immediately by an authorized service
center. Recommended grease: SHELL GADUS S2 U460L 2, quantity of
grease: 35 grams
5. After finishing the work, remove the drill bit and then clean the entire machine.
Do not forget to lubricate the spindle thread. Keep the power tool out of reach
of children and in a dry environment.
6. Insulation resistance measurement. Use a 500V ohmmeter to measure the
insulation resistance between L1 (phase), N (neutral) and the housing. The
value must not be less than 7 MΩ.
15

Maintenance and inspection plan
Regular inspection according to the maintenance and inspection schedule is
urgently required. Shorten the intervals between maintenance if you use the
product very frequently.
Maintenance points
(regular inspection
required)
Each time
before use
In the first
month or
after 25
working
hours
In the
third
month or
after 50
hours of
work
Every
year or
after 200
working
hours
Leakage of the gearbox
seals
√
√
√
√
Mains cable Visual
inspection
√
√
√
√
Concentricity of the
drilling spindle
√
√
√
√
Wear / damage to the
drill spindle
-
-
√
√
Mains switch Function
test
√
√
√
√
Drill spindle lubrication
√
√
√
√
Nuts and bolts
√
√
√
√
Gear grease
-
-
-
√
General cleaning
-
√
√
√
16

Troubleshooting
If a defect occurs during operation of the core drill, contact a nearby service station
or Kernlochbohrer GmbH immediately. Never disassemble the power tool yourself.
Electrical components such as the rotor-stator, printed circuit board, power cable or
plug, etc. may only be checked and repaired by a certified electrician in accordance
with VDE.
Malfunction
Possible cause
Troubleshooting
Drill motor does not work
Mains power supply
interrupted or plug not inserted
correctly.
Power cord or switch
damaged.
Rotor stator damaged.
Plug in another electrical
device and check the
function or check the plug
connection.
Have it checked and, if
necessary, replaced by a
qualified electrician.
Have it checked by a
qualified electrician and
replaced if necessary.
Drill stops unexpectedly
suddenly during drilling
The gears are not engaged or
disengaged properly.
Slipping clutch worn.
High steel content in concrete
or very hard material.
Gearbox damaged.
Selector lever is not engaged
when turned. Turn it to the
desired position until it
engages.
Have clutch friction disks
replaced.
After switching off the
machine, adjust the position of
the drill bit slightly with a
wrench and tap the tube
carefully and gently with a
mallet handle until the stuck
drill bit loosens. Slowly pull out
the drill bit and restart the drill.
Have the gearbox replaced by
a specialist.
17

Environmental protection
Raw material recovery instead of waste disposal!
To avoid transport damage, the device must be delivered in sturdy packaging. Packaging
as well as the device and accessories are made of recyclable materials.
The plastic parts of the device are marked according to the material. This enables
environmentally compatible, sorted disposal via the collection facilities offered.
For EU countries only
Do not dispose of power tools in household waste! According to the European Directive
2012/19/EU on waste electrical and electronic equipment and its implementation in
national law, used power tools must be collected separately and recycled in an
environmentally friendly manner.
Drilling speed is much
too slow
End of drill life or segments
are not in good condition or
broken off.
Drill bit is blunt.
High proportion of steel in the
concrete or hard drilling
material.
Drill angle has become
misaligned.
Check the drill and the
segments and replace the drill
if necessary.
Re-sharpen the segments.
Reduce the pressure on the
drill to cut through the steel.
Increase it again when it has
cut through.
Realign the drill angle so that
the drill is perpendicular to the
cut surface.
Drilling spindle wobbles
Drilling spindle is worn
Check whether the spindle is
worn and have it replaced if
necessary
Flying sparks on the
collector
There is a short circuit or
an interruption at the rotor
coils.
The commutator is worn
out.
Have the rotor checked
and replaced if necessary.
Replace the rotor with a
new one.
18

Noise/Vibration
The noise of this power tool is measured according to DIN 45 635, part 21. The
sound pressure level at the workplace can exceed 85dB (A); in this case, sound
protection measures for the operator are required.
Wear hearing protection!
Hand/arm vibration is typically lower than 2.5m/s². Measured values determined
according to EN 61 029.
The specified vibration level represents the actual applications of the power tool.
However, if the power tool is used for other applications, with deviating application
tools or insufficient maintenance, the vibration level may deviate. This can
significantly increase the vibration load over the entire working period.
For an accurate estimation of the vibration load, the times should also be taken into
account when the unit is switched off or running but not actually in use. This can
significantly reduce the vibration load over the entire working period.
Establish additional safety measures to protect the operator from the effects of
vibration, such as: Maintenance of power tool and insert tools, keeping hands
warm, organization of work procedures.
Warranty
In accordance with our general terms and conditions of delivery, a warranty period
for material defects of 12 months applies in business transactions with companies
(proof by invoice or delivery bill). Damage caused by natural wear and tear,
overloading or improper handling shall remain excluded from this. Damage caused
by material or manufacturer defects will be remedied free of charge by repair or
replacement. Complaints can only be accepted if the unit is sent to the supplier
unassembled. Wear parts, such as rotor-stator, printed circuit board, bearings,
water seals, oil seals, etc. are not covered.
19

Exploded view
DKS-132/DC-H
20
This manual suits for next models
1
Table of contents
Other Kernlochbohrer Drill manuals

Kernlochbohrer
Kernlochbohrer DKB Series User manual

Kernlochbohrer
Kernlochbohrer KBS-200M User manual

Kernlochbohrer
Kernlochbohrer MKB-60RL User manual

Kernlochbohrer
Kernlochbohrer DKS-162/DC-P User manual

Kernlochbohrer
Kernlochbohrer KBS-352/M-PRO User manual

Kernlochbohrer
Kernlochbohrer DKB-132/2H User manual

Kernlochbohrer
Kernlochbohrer DKB-352/S-PRO User manual