Keyang PHD-38 User manual

ELECTRIC HAMMER DRILL
www.keyang.com
2004.02.28
823-2 Wonsi-dong, Ansan-shi, Kyouggi-do, KOREA
Tel : Int+82-31-490-3000 Fax : Int+82-31-490-3019
PHD-38
(Oil grease lubrication type) PHD-3800
(Grease lubrication type)
PHD-3800M
(Grease lubrication type)
SDS-MAX
OhD-4000R
(Grease lubrication type)
OhD-4000M
(Grease lubrication type)
SDS-MAX
MANUAL
Please read this manual to the last
for safe and efficient operating
before using, keep well in place
can find easily.
PHD-38
PHD-3800
PHD-3800M
OhD-4000R
OhD-4000M

2
We, Keyang Electric
Machinery Co., Ltd., would
like to express our sincerest
gratitude to you who always use
our power tools.
You must read carefully this
“instruction manual”before use
the tool for safe and effective
operation.
1. Safety Rules ··························3
2. Check Before Using ·····················7
3. Specifications and Standard Accessories ·········9
4.Functional Descriptions and Applications ·········13
5.
Operating Instructions
··················14
6.
Installing and Removing the Core Bi
t········16
7.
Changing grease and Oiling
··············17
8..
Maintenanceg
························18
【Note】
As our engineers are striving for the constant research and
development to develop the quality of products,
3
Table of Contents
Safety Rules
GENERAL SAFETY INSTRUCTIONS
1. Keep your work area in order.
Distractions in the work area and workbench may cause accidents.
2. Consider your work environment.
Do not expose power tools to rain and other forms of moisture.
Keep your work area well lit.
Do not operate power tools in explosive atmospheres, such as in the presence of
flammable liquids or gases.
3. Beware of electric shocks.
Avoid body contact with grounded surfaces such as water pipes, heaters, ranges and
refrigerators.
4. Keep children away while operating a power tool.
Keep children away from a power tool or extension cord.
Keep visitors away from your work area.
5. Keep your tools in a safe place, away from your children.
Keep your tools in a dry and locked place out of the reach of children.
6. Do not plug power tools into overloaded electric circuits.
Using power tools with the specified electric output will allow for their safer and more
effective operation.
7. Always use the proper tools.
Do not use weak tools or parts for high strength work.
Use the correct tool for your application.
For example: do not use a circular saw to fell or prune trees.
8. Dress properly.
Do not wear loose clothing or jewelry. Loose clothes, and jewelry or long hair may be
caught in moving tool parts. Non-skid safety shoes must be used for outdoor operation
of power tools.
9. Always wear safety goggles.
Use a dust mask or a face mask for applications that generate dust.
10. Do not abuse the cord.
Never use the cord to carry tools or to pull a plug from an outlet. Keep the cord away
from heat, oil, and sharp edges.
11. Fix your working materials.
Fix your working materials with a clamp or a vice, rather than by hand. This is safer
and lets you operate your work materials with both hands.
1

54
Warning
■Do not apply cutting oil or water during use.
Water or other liquids entering a power tool will increase the risk of electric shock or loss of
life.
■Do not expose power tools to rain or wet condition.
This may cause serious personal injury or loss of life by electric shock.
■Do not make your body including fingers and hands contact with
drill bit during operation.
Avoid body including fingers and hands contact or being caught in drill bit.
This may cause serious personal injury.
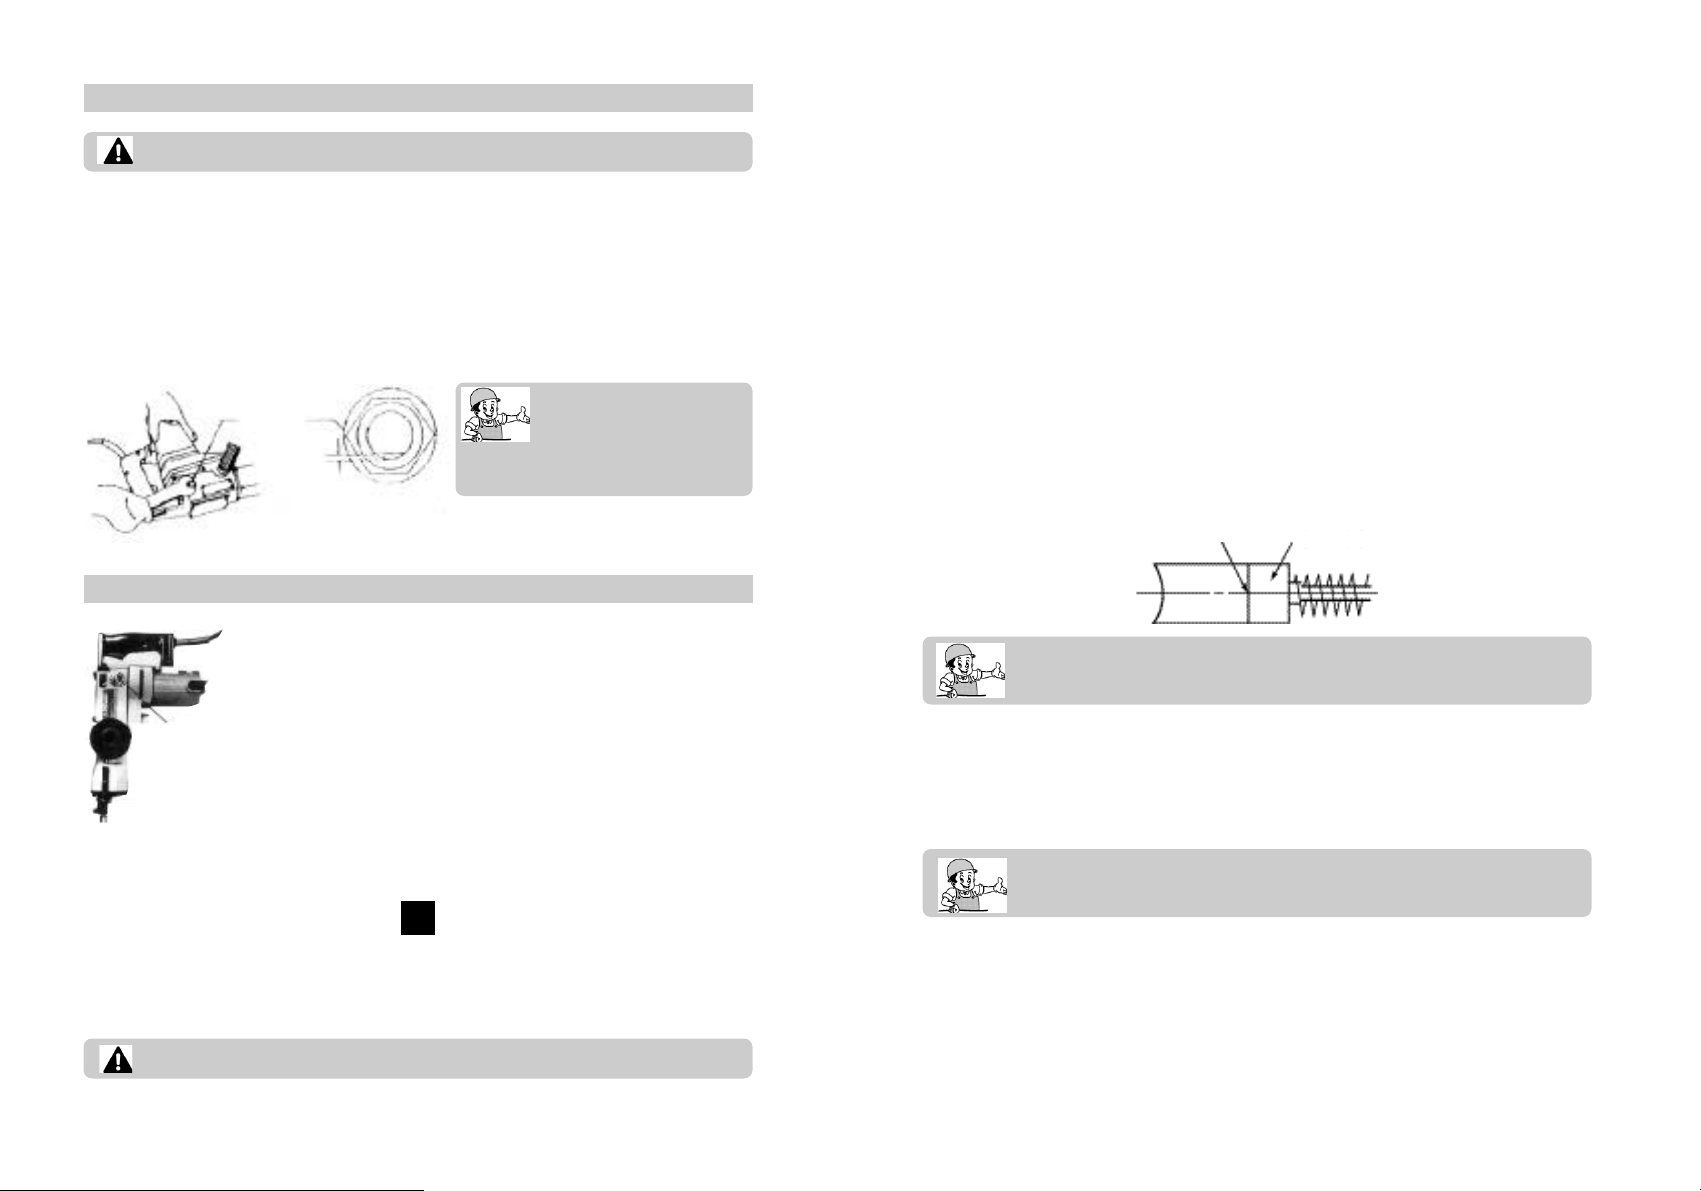
■Always mount and hold side handle firmly.
Always mount and hold side handle firmly during operation to prevent personal injury by the
tool without safety clutch.
■Never adjust the slip clutch torque without permission.
The slip clutch is set in the specified slip torque for shipment at factory. Too hard fastening of
the slip clutch torque may cause an accidental movement of the hammer drill. In result, it may
cause serious personal injury.
■Before operation, be certain the grounding conductor is connected.
Without connecting the grounding conductor with a single insulated hammer drill, it may cause
electric shock.
■Be sure switch is“OFF”before plugging in.
Plugging in tools that have the switch“ON”invites serious personal injury by sudden rotation
of drill bit.
■Always wear safety goggles for the ceiling operation.
Concrete dust created by the ceiling operation may cause serious eye injury.
Special Safety Rules
Be careful for hazardous situation in special condition.
The instructions in this user’s guide include critical information for safe
use. Failure to follow all instructions in this manual, may cause property
damage, serious personal injury, or loss of life.
‘WARNING’and‘CAUTION’signs are used in this manual for your safe use.
Please study them and learn their meaning.
To prevent the possible accidents during using and carrying the tool, cautions are
used in this manual. These warnings and cautions cannot cover all possible
accidents. Take great care during using and carrying the tool. Read and understand
all instructions.
Warning
Failure to follow these instructions,
can result in serious personal injury,
or loss of life.
Caution
Failure to follow these instructions,
might result in serious personal
injury, or loss of life.
Caution
Failure to follow these instructions,
may result in malfunction or
unrepairable trouble.
12. Do not overreach.
Keep proper footing and balance at all times.
13. Maintain your tools with care.
Keep your tools clean and sharp so that you will be able to work with them efficiently
and safely.
Follow maintenance rules and replacement instructions.
Periodically examine your tool’s plugs and cords. They must be serviced only by
qualified repair personnel.
Periodically examine extension cords, and replace damaged ones promptly.
Keep the handles of your power tools dry and free from oil or grease.
14. Keep electric plug pulled off.
Always pull off your tools’ electric plugs from their power supply before making any
adjustments on them, before changing their accessories, (such as drills, blades, bits,
and cutters), or before storing them.
15. Remove adjusting keys.
Check to see that keys and adjusting wrenches have been removed from your tools
before you switch them“ON”.
16. Avoid accidental starting.
Carrying tools with your finger on the switch or plugging in tools with their switches
“ON”may cause them to accidentsally start.
Before plugging in a tool, make sure the switch is“OFF”.
17. Use an outdoor extension cord when operating tools outdoors.
When operating a power tool outdoors, use an outdoor extension cord rated for outdoor
use.
18. Stay alert.
Watch what you are doing and use common sense when operating a power tool.
Do not use a power tool when you are having difficulty in concentrating on your work.
19. Check your tools before using them.
Make sure your tools’ safety devices and running parts are functioning well and that
the latter are not caught in anything before you use them. Correct assembly is
necessary for perfect operation. If a safety device or part is damaged, have it serviced
at a Keyang Service Center. Do not use a tool when its switch is not functioning.
20. Exercise caution!.
Use only parts and accessories that are recommended by your tools’ manufacturers or
that are specified in your tools’ manuals. Using parts and accessories that are not
specified in your manuals or catalogues may cause injuries.
21. Have your tools serviced only by qualified repair personnel.
Follow safety rules when operating power tools. Only qualified electrical repair
personnel must service tools. Service or maintenance performed by unqualified
personnel may cause accidents.

76
■Take great care for operation in wall, floor, ceiling and other blind
areas where electrical wiring may exist.
When the tool touches live electric wire and conduit tubes, it may cause an electric shock. You
must check the laid conduit tubes thoroughly before the wall, floor and ceiling work.
■Damaged cord must be replaced or repaired immediately.
This may cause electric shock.
Caution
■Use the extension cord as short as possible.
Too long or thin cord may cause high voltage drop and poor motor power.
■Always make a trial run before operation.
Make a trial run with drill bit pointed away from people to check the tool.
■For oil lubrication type tool (PHD-38), fill up oil.
Operation without oil may cause trouble.
■For oil lubrication type (PHD-38) tool, always run idling before the
ceiling operation.
Always run a idling for two minutes or more by standing the hammer drill for the ceiling
operation. Otherwise, it may cause the hammer drill failure due to poor oil lubrication.
■For grease lubrication type tool (PHD-3800, PHD-3800M, OhD-4000R, OhD-4000M),
replace
grease after about 6 months.
After 6 months, replace grease.
Poor lubrication can cause trouble.
■Always replace grease at Keyang Service Center (agencies).
When you assemble the tool incorrectly after changing of grease, you may experience the
trouble of the tool.
Caution
■Use only nationally authorized drill bit for specific application.
Failure to follow this instruction, may cause performance deterioration of the tool and/or
serious personal injury.
■Never leave running tool alone.
This may cause personal injury of other operator.
■Switch off and disconnect the plug from the power supply before
installing the tool or after operation.
An accidental switching on may cause sudden operation of the drill bit. It may cause personal
injury.
■Always wear ear protector to protect against noise.
Amplified noise in the close space may cause personal injury.
■Always disconnect the plug from the power supply before oil supply or
grease replacement.
1. Earth leakage breaker
Check Before Using
2
Before operation, check to see that earth leakage breaker is installed in the power supply for the electric
drill.
When plugging in the power supply without the earth leakage breaker that has the current operating mode
in below 15 mA of the rated sensitivity current and 0.1s of the operating time, always ground the tool.
Using the earth clip in the edge of the plug and the outlet for easy operation.
When grounding with the earth clip, be sure the position between the earth clip and outer metal case of the
tool is live. (Double insulated tool requires no ground.)
Extension cord can be used for remote power
supply. Use proper length and thickness for
satisfactory electric current. Too long or thin
cord may cause high voltage drop and poor
motor power. Use the extension cord as short
as possible.
2. Extension cord
Check work place considering cautions.
3. Work place
Damaged cord must be displaced or repaired immediately.
Use 3-core cable for the power supply without the earth leakage breaker.
【
For 110 V
】
Earth clip
Plug
Outlet
Nominal cross
section of
conductor
Nominal cross
section of
conductor
1.25mm220m 1.25mm240m
2mm230m 2mm260m
3.5mm250m 3.5mm2100m
110 V 220 V
Max.
length Max.
length
【
For 220 V
】

9
8
Be certain the outlet voltage supplied is within the voltage marked on the nameplate. Use
110 V only tool in 220 V outlet may result in damage of bit and/or tool by accidental high
speed of motor.
4. Power supply
Check to see that switch lever returns to its original position after pulling or pushing it.
5. Switch
When you plug in the power supply with the tool switched on, sudden rotation of
tool may result in accident.
Use 110 V only tool in 220 V outlet can cause motor failure or electric shock.
Specifications and Standard Accessories
3
2. Standard accessories
1. Specifications
PHD-38
─
─
─
─
PHD-3800
─
─
─
─
─
PHD-3800M
─
─
─
─
─
OhD-4000R
─
─
─
─
─
OhD-4000M
─
─
─
─
─
Part name
Plastic box
Side handle
Grease tube
Oil feeder (100cc)
Hexagonal L wrench (5mm)
Spanner
Drill bit
(17.5x320mm)
Carbon brush
Stopper
Bull point (17x280 round)
Power supply
Power input (W)
Motor
Lubrication type
Cord
PHD-38 PHD-3800 PHD-3800M OhD-4000R OhD-4000M
Single phase AC 50/60 Hz
110 V or 220 V(No shared tool)
38㎜ 38㎜ 40㎜
105㎜ 105㎜ 118㎜
1050 1050 1200
400 350 290
3,000 3,100 3,000
Protective single phase series commutator motor
7.5㎏ 7.2㎏ 7.4㎏ 7.9㎏ 7.4㎏
Oil lubrication Grease lubrication
3 core cabtyre cord
2 core cabtyre cord with earth clip
Max. drilling
capacity
No-load speed
(rpm)
No-load number
of impact (spm)
Without
( cord, side handle)
Drill bit
Core bit
Model
Items

++
+
+
+
+
1110
3. Special part(option)
Category
Full length
Outer diameter
Drill bit (hexagonal shank)
280, 505 ㎜
28, 32, 38 ㎜
Drill bit for stone (hexagonal shank)
280, 505 ㎜
28, 32, 38 ㎜
Category
Morse taper No. 1
Morse taper No. 2
Drill bit (taper shank)
11, 12, *14.3, 14.5, 17.5 mm
21.5 mm
Taper shank adapter
11, 12, 14.3, 14.5, 17.5 mm
21.5 mm
Outer
diameter
Outer
diameter
Outer
diameter
Outer
diameter
+
Use the drill bit for stone to drill in stone and high intensity concrete Bull point (full length 280, 450mm)
+
Cold chisel (full length 280, 450mm)
+
Bushing tool Shank
Rammer (outer diameter 140mm),
Shank (common use with rammer)
+
++
+
(3) Core bit ·Outer diameter: 25, 29, 32, 35, 38,
45, 54, 64, 79, 94, 105mm.
(4) Core bit shank ·Outer diameter of core bit: 25, 29, 32, 35, 38mm
·Outer diameter of core bit: 38, 45, 54, 64, 79, 94, 105mm
·Anchor adapter for impact & rotation + impact.
Anchor size
No20 W1/4 No25 W5/16 No30 W3/8
No40 W1/2 No50 W5/8
4) Crushing (impact)
5) Grooving & angling (impact)
6) Rough patterning (impact)
7) Ramming (impact)
1) Drilling (rotation & impact)
2) Drilling for anchor bolt (rotation & impact)
3) Drilling for large hole (rotation & impact)
(1) Center pin - ·Outer diameter of the core bit: For 32, 35mm
·Outer diameter of the core bit: For 38, 45, 54, 64, 79, 94, 105mm
For core bit. Do not use the center pin for outer diameter in
25 and 29mm.
(2) Guide plate: Do not use for outer diameter in 25 and 29mm.

8) Cutting & removing (impact)
9) Earth rod type operation (impact)
The S shaped earth adapter is used only for our S shaped earth rod type special adapter of
Keyang Electric Machinery Co., Ltd.
10) Digging (impact)
11) Syringing (dust removing after drilling)
○Drilling in concrete ○Digging for anchor bolt
○Crushing, grooving, squaring, cutting, hardening, removing in concrete.
[Examples]
Heating & cooling work, piping work, wiring work, sanitary facilities work, installation of
machinery, water supply & drainage works, interior decoration work, installation of seats,
harbor facilities work and other engineering facilities works.
12 13
Functional Descriptions and Application
4
Cutter
S shaped earth adapter
+
Shovel
+
+
1. Functional descriptions
2. Applications
Side handle
Retainer
Retainer
Change lever
Dust cover
Front cover
Nameplate Nameplate
Bearing cover
Brush protection cover Brush protection cover
Housing Housing
Drill bit
Drill bit
Stopper Grease cover Grease cover
Dust cover
Housing
Front cover
Retainer
Tail cover
Brush cap
Set screw
Stopper Nameplate Oil gauge
Switch
Handle
Side handle
■PHD-38
■PHD-3800M■PHD-3800
■OhD-4000M■OhD-4000R
Side handle Side handle
Handle Handle
Switch Switch
Grease cover
Handle
Nameplate
Switch
Safety cover
(Brush cap)
Housing
Retainer
Dust cover
Front cover Handle
Switch
Side handle
Brush protection cover
Housing
Retainer
Change lever
Grease cover

15
1. Using the stopper
1. Installing the stopper
(1) Turn the side handle counterclockwise, insert
the stopper into the hole of the holder bolt in
the front cover shaft.
(2) Loosen the holder bolt, move the stopper into
the desired position. Then, turn the side handle
clockwise to secure it.
2. Drilling (rotation + impact)
(1) Set the end of the drill bit to face against
drilling position, and switch on.
(2) Do not press the hammer drill too much. Press
the hammer drill lightly so that it can produce a
little bit chips.
3. Crushing (impact)
Set the end of the tool to face against crushing
point, and perform operation with its own weight.
Do not have to insert the tool with excessive
pressure.
14
Operating Instructions
5
This hammer drill is equipped with the slip
clutch. However, when the drill bit is
contacted with objects like steel reinforcing,
the drill bit is suddenly stopped and the
hammer drill will spin for its reaction. Hold
the side handle and hammer drill securely
during operation.
Holder bolt
Front cover
Side handle
Stopper
After operation, always switch off and
disconnect the plug from the power supply.
4. Bit attachment detachment
1. Hexagonal Sink (PHD-38, PHD-3800, OhD-4000R)
2. SDS-MAX (PHD-3800, OhD-4000M)
5. HAMMER / HAMMER DRILL change lever (SDS-MAX)
Attach/detach bit under condition where retainer has
been raised up.
Restore retainer precisely to original position after
finishing the attachment so take care that bit be not
detached during working.
Hammer drill
Drilling work Position adjustment
Chisel position adjustment by graduation of
each sixteenth
Hammer
Chisel work or crushing work
When installing, insert bit while turning at same time.
Bit is fixed inside along with click sound.
Confirm installation status.
When detaching, pull out bit to separate it under
condition where retainer has receded.
When in the crushing work or in the chisel work by using (round) chisel, shovel or spade, perform work
after setting the change lever at hammer position.
In position adjustment range of the change lever, the adjustment is available by interval of 22.5°while
turning the bit.
When chisel working by using (round) chisel, shovel, spade or scoop, first select the wanted position
within position adjustment range and perform work after setting the change lever at hammer position.
The change lever can be adjusted under condition where the change knob has been depressed while the
lever can be set at hammer (drill) position.
Pull tool plug out of socket before attaching or detaching bit.

17
Changing Grease and Oiling
7
1. Grease changing (Model: PHD-3800, OhD-4000R)
(1) Disassemble the grease cover, and mop up
grease inside the tool with clothe.
(2) And, apply 30 g of grease for Keyang hammer drill
(2/3 of the special accessory tube in 50 g).
(3) Reassemble the grease cover after changing grease.
No dust entering and lubricating oil leakage for its complete airtight structure. Use for a
long time without greasing.
●Changing grease
(1) At every 6 months after purchasing, grease should be replaced.
(2) Change grease at the below places.
◦Main office of Keyang Electric Machinery Co., Ltd.
◦Agencies of Keyang Electric Machinery Co., Ltd.
◦Authorized Keyang Service Center.
If necessary, change grease for yourself as belows.
●Changing grease
Always disconnect the plug from the power supply and turn off the switch
•Do not apply too much grease. This can cause a bad impact.
•Only the special grease for Keyang Hammer Drill in low viscosity should be
used.
•The grease is available at Keyang Electric Machinery agencies, shops,
and authorized Service Centers.
1. Installing
(1) Install the core bit in the core bit shank. Apply oil in
the round screw of the core bit shank.
(2) Install the core bit shank into the tool as the same
manner to install the drill bit and bull point.
(3) Insert the center pin in the guide plate all the way. Set
the depressed part of the guide plate to the core bit tip
When turning the guide plate at any direction and
release your hand from the depressed part, it will not
fall from the core bit tip.
2. Drilling
(1) Put the plug in the power supply.
(2) The center pin has a built-in spring. Depress the tool
to the wall or floor lightly and straightly. Start to
operate the tool with full surface of the core bit chip
contacted with work area.
Installing and Removing the Core Bit
6
16
To prevent accident, always switch off and disconnect the plug from the power supply.
Installing and removing

19
1. Tool (Drill)
Use of worn drill may cause damage to motor and decrease work efficiency. Grind it or
replace with new drill bit immediately.
2. Screws
Periodical maintenance of screws will be provided for safe operation. Tighten loose screws
firmly to prevent hazardous situation.
3. Dust cover
The dust cover prevents dust from entering in the tool. If inside diameter is worn and the
distance with the drill bit gets larger, change it.
Pull the dust cover, removing it.
4. Carbon brush
Disposable carbon brush is used in the motor.
Heavily worn carbon brush may cause motor failure. Replace the worn carbon brush to the
wear limit with new one. Always keep it clean to move in the brush holder freely.
Maintenance
8
Disconnect the plug from the power supply before making maintenance.
You must purchase the genuine parts in A/S centers authorized by Keyang
Electric Machinery Co., Ltd. for change. Different carbon brush may cause
sudden wear of commutator to shorten the life of the tool.
WEAR LIMIT CARBON BRUSH
18
2. Oiling (Model: PHD-38)
Use for about 20 days without additional oiling (3~4 hours consecutive use for a day) for its
oil tank. Oiling in the tank as follows.
(1) Oiling before oil cannot be seen in the raised oil gauge glass.
(2) Loosen the oil gauge with the spanner to oil. Be careful of the rubber packing in
the below of the oil gauge.
(3) Always check oil level before use once a day.
(4) Fasten the oil gauge firmly after oiling.
3. Caution for the ceiling operation (Model: PHD-38)
To perform the ceiling operation, raise the tool and
run idling for 2 minutes or more. When performing
the ceiling operation without idling, oil is not
supplied into the needle bearing in the connecting
rod. It may cause heat in the needle bearing, and
result in tool damage due to overload. After
operating for 20 minutes, always idle the tool for 2
minutes or more.
Always disconnect the plug from the power supply and turn off switch before oiling.
Check to see the oil level with the
tool raised. Run idling for 2 minutes
or more with the tool raised.
Keyang hammer drill oil is
available as special parts.
Buy Shell Rottella Oil #40
in petroleum class (engine
oil) at gasoline shop.
OIL GAUGE
3 mm
RAISE THE OIL GAUGE. OILING
WHEN OIL LEVEL IS ABOUT 3MM.
5. Motor
The winding and commutator in the motor is the core of the hammer drill.
Do not scratch the surface of the winding and commutator in the motor, and never apply oil
or water on it.
6. Keep after operation
Keep tools out of reach of children in dry area.
7. Malfunction or failure
Troubleshooting or repairing by consumer is dangerous. Call for Keyang Service Center for
the best solution.
Dust in the motor will increase the possibility of failure. After using the tool for
50hours, let the compressed air in the ventilation slots in the switch side by
rotating the hammer drill in no-load speed eliminate dust from the motor.
This manual suits for next models
4
Other Keyang Drill manuals
Popular Drill manuals by other brands

Mac allister
Mac allister MSDD18-Li-2 Original instructions

MasterForce
MasterForce 241-0420 Operator's manual

MasterForce
MasterForce 241-0412 Operator's manual

Central Pneumatic
Central Pneumatic 2439 Assembly and operating instructions

Power Fist
Power Fist 8001260 owner's manual

BLACK DECKER
BLACK DECKER BCD702 instruction manual