Kingston Technology K-PEX 100 User manual

21
● Separately packaging materials, batteries,or used electric products prior to disposal.
● Packing materials consist of pasteboard, polyethylene,and PS.
● Storage Temperature: -5℃~ 35℃
● Humidity: 10% ~ 75%
ENVIRONMENT INFORMATION
OPTIMUM CONDITIONS for using the player
EARPHONE
Keep away from dusty
areas.
Never attempt to disassemble,
repair, or modify the K-PEX
Portable Media Player.
Keep away from direct
sunlight.
Keep the K-PEX Portable
Media Player away from
foreign objects.
Do not drop the Portable
Media Player or store it
under heavy objects.
Keep the Player away from
flammable chemicals
(e.g. benzene, thinner, etc.)
Keep the Portable Media Player
away from water. If it comes in
contact with water do not turn
it on. Consult a Service Center
for assistance.
Keep away from extreme
temperatures and damp
areas. Recommended
storage temperatures are
-5 ˚C to 35 ˚C
※In no event will Kingston be liable to the purchaser or to the user of this product for any lost or
unrecoverable data or any damages arising from the use or inability to use this product.
SAFETY PRECAUTIONS SAFETY PRECAUTIONS
● These precautions are for the safety of the user.
● Following these instructions will help prevent damage to the K-PEX Portable Media Player.
[ ROAD SAFETY ]
● Do not use earphones while cycling, driving,or operating any motorized vehicle.
This may lead to a traffic accident and is illegal in certain areas.
It can also be potentially dangerous to play your player at high volumes while walking,
especially at pedestrian crossings.
[ PREVENT HEARING DAMAGE ]
● Avoid using earphones at high volumes. Hearing experts advise against continuous, loud,
and extended play.
● If you experience a ringing in your ears,reduce the volume or discontinue use.

34
PRODUCT SPECIFICATIONSSYSTEM REQUIREMENTS
●Pentium 200MHz or higher.
●Windows 2000 / WIndows XP
●DirectX 9.0 or higher.
●50MB Hard Drive free space.
●USB port.
●Windows Media Player 9.0 or higher.
●Support for audio files (MP3, WMA, Audio ASF, and OGG).
●View images in JPG and text in TXT format.
●Firmware upgradeable.
●Video WMV, ASF,MPG,and AVI file support with the PMP Transcoder.
●Support for encoding audio into WMA format.
●Supports 3D Stereophonic Sound.
●2 inch Color TFT LCD.
●Host support enables direct music and image transfer with external USB devices.
●Rechargeable Lithium battery supports up to 17 hours of audio playback.

65
PRODUCT SPECIFICATIONS TABLE OF CONTENTS
●SAFETY PRECAUTIONS
●SYSTEM REQUIREMENTS
1-2
3
7
8
9
10
- Installation
- Converting Files
- PMP Player
65g
95 X 45.5 X 14.5mm (W x H x D)
87.5 Mhz~108.0 Mhz
Multiple languages including English (Default),Korean, Spanish,
Portuguese, Traditional Chinese,Simplified Chinese, Japanese,
and Russian.
Graphic(220 X 176) 262K TFT LCD
85 dB Over
18mW (16 Ohm)
5Kbps ~ 192Kbps
8Kbps ~ 320Kbps,VBR
WMA (32Kbps ~ 128Kbps)
0 ℃~ 40℃
Condition of use
Weight
Dimensions
FM Frequency Range
Supported Language
LCD
Earphone
S/N Ratio
WMA
MP3Decoding
Encoding
Memory Capacity
Model Name
※Product specifications and appearance are subject to change without notice.
Item Specification
1GB/2GB
KPEX100/1GB and KPEX100/2GB
11
12-16
17
●CONNECT TO PC
●DATA TRANSFER
●SAFELY REMOVE HARDWARE (WINDOWS 2000)
●GETTING STARTED
18
21
22
48
20
19
●MENUS
●FM RADIO
●FILE MANAGER
●MENU TABLE
●MUSIC
- Play / Stop Audio
- Scanning Audio Files
- EQ Settings
- Repeat
- ID3 Tag / Play Speed
- User EQ / User UI
29
30
47
23
24
25
26
27
28
●GAME
●FAQS
●SETTING
●RECORD
- Listen to the Radio / Signal Strength
- FM Region / Preset Setting
- Stereo / Mono Setting
31
32
33
- Using the Recorder / Auto-Sync
- Rec. Quality / Source
34
35
●VIDEO
- Play / Stop Video Files
- Scanning Video Files
36
37
●TEXT
●PHOTO
●HOST
38
39
40
- Setting Scroll Speed / Master Reset
- Information / Language
- Font Color / Auto Power Off
- Sleep Timer / Clock
- Display Duration / Rotation
- Transparency
41
42
43
44
45
46
●PRODUCT SPECIFICATIONS
●COMPONENTS
●CHARGING
●LCD DISPLAY
●FEATURES
4-5
●PMP TRANSCODER

8
7
- Do not continuously charge the K-PEX Portable Media Player over 12 hours.
Over charging shortens the life of the rechargeable battery.
- Keep the terminals (metal parts) of the rechargeable battery from contacting (shorting)
conductible objects like necklaces or coins.
Caution
●Some of the specified storage space is unavailable due to the internal firmware.
● The appearance of the K-PEX Portable Media Player and/ or the components listed above are subject to
change without notice.
Main device
CHARGING COMPONENTS
1. Connect the mini USB plug into the K-PEX Portable Media Player and connect the standard USB plug into an
available USB port (Illustrated in the figure below).
2. When prompted,power-off the K-PEX Portable Media Player for quick charge.
※The LED located on the front of the K-PEX Portable Media Player will blink until the charge is complete.
※A full charge will take 3.5 hours.
EarphoneLanyard
Install CDManual
USB cable USB Host
cable
Protective Cover
Line In
cable
Charging
USB connecting terminal
PC
USB port

109
R
L
EQ
Speed
Spectrum/
L-R Bar
miniSD Card
File Name/ID3 Tag
Bit Rate/ Sample Rate
Folder Name
Current Time
LCD DISPLAYFEATURES
Progressive status bar
Track/# of Tracks
Elapsed Time/Play Time
Battery Icon
File Type
Hold Icon
Volume
Repeat

1211
[ Transcoding ]
1. Double click the icon .
2. Click the Open button and select an input file for transcoding.
The input and output file information will be displayed in the window.
PMP TRANSCODERPMP TRANSCODER
Output: .mpx file
Input:File(WMA,ASF,MPG,AVI)
PMP
Transcoder
Insert the installation CD into a computer CD-ROM drive, run the "Install MPEG Transcoder" file and select
Install Transcoder. The following screens will display during the installation.Click Next and Yes where indicated.
Click Finish to complete the installation.
●The K-PEX Portable Media Player supports MPX video formats only. To play other video files on the K-PEX
Portable Media Player,use the PMP Transcoder software to change,WMV,ASF, MPG, or AVI files into the
supported MPX format. The following will give installation and operation instructions for the PMP Transcoder.
PMP Transcoder
Installation
Converting Files
Note
- Depending on the encoding format of the video file,additional codec may be required
for conversion.

1413
1. Move the seek bar to the desired start position.
2. Click on the |->Start Pos button to set the starting point. A start flag will be located at the
starting point to indicate the start position.
3. Move the seek bar to the desired stop position.
4. Click on the <-|End Pos button to set the ending point.A stop flag will be located at the
ending point to indicate the end position.
5. Click on the Select button to confirm the start/stop range.
3. To transcode the file,click Transcode.
4. The transcoding status dialogue box will appear with the progress status and the changes
made to the input and output files.
5. Click or Stop to stop transcoding and/ or to pause.
PMP TRANSCODERPMP TRANSCODER
A
[Transcoding a Section of a File]
Follow the instructions below to transcode a section of a file.
[Transcoding a File]
Follow the instructions below to transcode a file.

1615
1. Click Setup to display the Transcoder settings.
2. Select the Video tab to set video options.
4. Output File : Browse to a location where you would like to save transcoded files.
3. Audio Setup : Select the Audio tab to set audio options.
Select from 64kbps to 128kbps audio bit rate.
①Frame Size
Indicates the frame size of the video.
The default size is 224 x 176
②Video Quality
Sets the video quality from
the Video Quality drop down list.
PMP TRANSCODERPMP TRANSCODER
Configure audio/video options and preset directories to save converted files.To view the current
format of a file to be converted, highlight the file while it is in the Transcoder window.
Transcoder Options

1817
1. Double click on the icon.
2. Press the button and choose the file to play.
3. Press the Play button.
4. You can change the play position by pressing
button or button.
5. Press button to pause and press button to stop.
6. Press button to make the window to an icon
and press button to close.
You can play the converted file with the PMP Player.
PMP TRANSCODER PLAYER CONNECT TO PC
USB connecting terminal
PC
Connect to a PC
1. Connect the USB cable to the USB port of a computer.
2. Connect the opposite end of the USB cable to the Mini USB terminal located on the left side K-PEX Portable
Media Player.
3. USB driver will be installed with a message finding a new device.
The install screen may not appear. Check the device manager to verify the installation.
USB port
Transcoder Player
- The LED on the K-PEX Portable Media Player will blink during data transfer(s).
Note
- The K-PEX Portable Media Player will prompt you to “Push Power Button for Quick Charge.”
Ignore this message if you are transferring files to and/ or from the K-PEX Portable Media Player.

2019
Note
- Two Removable Disks will be displayed in My Computer and/ or Windows Explorer, for data transfer.
The first drive letter will be assigned to the K-PEX Portable Media Player and the second drive letter will
be assigned to the MiniSD slot.
Caution
When the file(s) transfer is complete, following the steps below to safely remove the K-PEX Portable Media
from a Windows 2000 computer.The following is not required for Windows XP computers.
1. Double click the Safely Remove Hardware
utility located in the System Tray (Figure 1).
2. The Safely Remove Hardware window will
display. Select USB Mass Storage Device and
click Stop (Figure 2).
Safely Remove Hardware
SAFELY REMOVE HARDWARE (WINDOWS 2000)
1. Make sure the K-PEX Portable Media Player is recognized by the PC.
2. Run Windows Explorer or My Computer to access the Removable Drives which will be assigned to the
Portable Media Player and MiniSD slot.
3. Select the files you want to transfer.Drag-and-drop the files to the appropriate location.
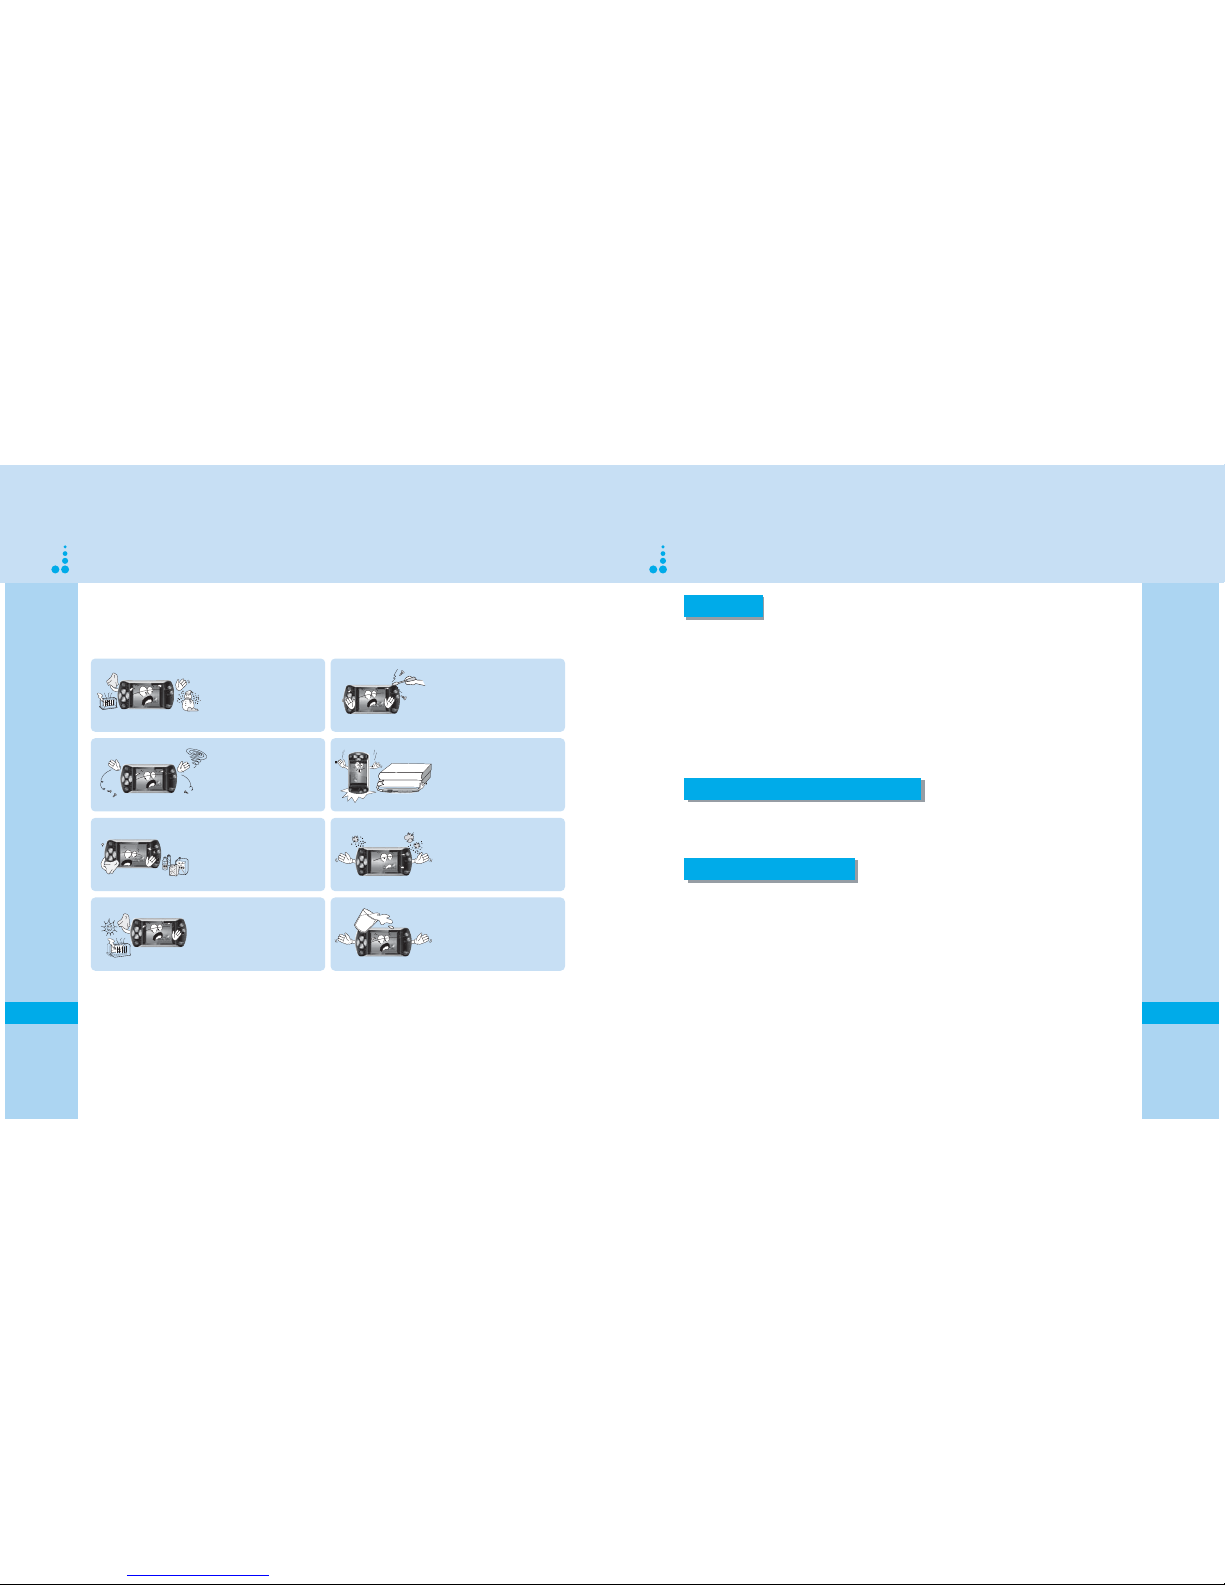
- Disconnecting the K-PEX Portable Media Player without stopping it may result in data loss
or data corruption.
Data Transfer
DATA TRANSFER
Windows 2000 Users.
- When the the file(s) transfer is complete,use the
Safely Remove Hardware utility to stop the K-PEX
Portable Media Player prior to disconnecting it from
the USB port.
(See page 20)
Caution
"Double Click"
Note
- If you transfer data to the K-PEX Portable Media Player you will need to save the files in the appropriate
folder, saving music files in the MUSIC folder,text files in the TEXT folder,etc.
- If you transfer data to a MiniSD card you can save it directly to the root.
3. The Stop Device window will display
(Figure 3).Select USB Mass Storage
Device to stop the K-PEX Portable Media
Player for safe removal and click OK.
Figure 3:Stop Hardware Device window
Figure 1:Safely Remove Hardware utility
Figure 2:Safely Remove Hardware window

2221
●Music: Play audio files with the media player.
●File Manager: Explore the contents of the K-PEX Portable Media Player and/ or MiniSD media.
●Game: Access K-PEX compatible games.
●Record: Records sound through the built-in microphone or via third party audio device connected to the
Portable Media Player.
●Video: View video files
●Text: View text files in TXT format.
●Photo: View compatible picture files.
●Host: Connect a USB storage device to the K-PEX Portable Media Player with the USB Host
cable. Transfer compatible media files directly to the K-PEX Portable Media Player.
●System Setting: Setup K-PEX Portable Media Player features.
1. Press the MENU button to view the menu options.
2. Using the left/right directional buttons [◀/▶], choose the desired menu and press the SELECT button.
3. Press the ESC button at anytime to return to the menu screen.
Volume - Volume +
In case of abnormal operation, press the RESET button with
a pointed tip to reinitialize the K-PEX Portable Media Player.
●
Files saved on the Portable Media Player or the MiniSD card
will not be lost.
Adjust the volume using [-/+] buttons
during audio/video playback.
●
The volume can be adjusted between 00-40.
Getting Started
Adjusting the Volume
GETTING STARTED
Reset
[ Power]
Press and hold the power button to power
the K-PEX Portable Media Player on and off.
Press and hold
Press Shortly
MENUS

2423
MUSIC will play audio files stored on the K-PEX Portable Media Player and/ or on a MiniSD media card.
Note
- Depending on the VBR (Variable Bit Rate) and/ or file format,some of these functions may
not work properly.
Quickly press the right directional key [▶] to advance to the next audio file.
Quickly press the left directional key [◀] to go back to the previous audio file.
To scan forward or reverse,press and hold the left/right directionsl keys [◀/▶]
during audio playback.
Selecting the Next or Previous Audio File
Scanning Audio Files
- If the audio is set to pause,by default the K-PEX Portable Media Player will automatically
power-off after one minute.
- To change the auto power-off setting, go to System Setting and select Auto Power Off.
[ Play ]
Press the PLAY button to play the audio files stored on the K-PEX Portable Media Player and/ or the
MiniSD media card.
[ Pause ]
Press the PLAY button during audio playback to pause the audio.
MUSIC
MUSIC MUSIC
Music Play/Stop
Note
1. Select Music from the menu list.
2. Press the directional keys up/down [▲/▼] and select Audio.
[Audio]
- The K-PEX Mutlimedia Player can connect to external speakers with the Line-IN cable.
Note

2625
Repeat
All Repeat
Dir Repeat
One Repeat
Shuffle
EQ Setting
Repeat options for audio playback
1. Select Music from the menu list.
2. Press the directional keys up/down [▲/▼] and select Repeat.
3. Select the Repeat option for audio playback.
Press the Repeat button to change the
repeat mode during audio playback.
Repeat
MUSIC MUSIC
●All Repeat: Continuously repeat all of the audio file
stored on the K-PEX Portable Media Player and the
MiniSD media (if inserted).
●Dir Repeat: Continuously repeat audio files stored within
a folder.
●One Repeat: Continuously repeat a single audio file.
●Shuffle: Continuously repeat all of the audio file stored on
the K-PEX Portable Media Player and the MiniSD media (if inserted)
in random order.
Normal
Jazz
Pops
Classic
3D Sound
Rock
EQ Setting
- If the User option is selected,K-PEX will utilize your personal User EQ settings fo audio
playback.See User EQ on page 28 for details.
Note
Press the Mode button to change the
EQ setting during audio playback.
EQ Setting for audio playback
1. Select Music from the menu list.
2. Press the directional keys up/down [▲/▼] and select EQ Setting.
3. Select the EQ Setting for audio.
●Normal
●Jazz
●Pop
●Classic
●Rock
●3D Sound
●User
[Repeat]
[EQ Setting]

2827
Play Speed
100%
ID3Tag
User EQ
ID3 Tag options for audio playback
1. Select Music from the menu list.
2. Press the directional keys up/down [▲/▼] and select ID3 Tag.
3. Select the ID3 Tag mode for audio playback.
The ID3 Tag will scroll the audio file information across the LCD screen during audio playback.
ID3 Tag
MUSIC MUSIC
●On - Will scroll the music file information across the LCD screen
during audio playback.
●Off - Will disable this feature.
User UI
L-R Bar
Spectrum
User EQ
- To utilize these settings go to,Menu>EQ Setting and then press the up/down [▲/▼]
directional keys to select User.
Note
Allows you to manually adjust a 5-band equalizer for audio playback.
User EQ Settings for audio playback
1. Select Music from the menu list.
2. Press the directional keys up/down [▲/▼] and select User UI.
3. Select the User UI for the audio player.
●Spectrum
●L-R Bar
[ID3 Tag] [User EQ Settings]
Play Speed options for audio playback
1. Select Music from the menu list.
2. Press the directional keys up/down [▲/▼] and select Play Speed.
3. Select the Play Speed for audio playback.
[Play Speed]
●100 % will play the audio file(s) at their normal speed(s).
●Setting the Play Speed lower or higher than 100% will cause the
audio file(s) to playback slower or faster than its normal speed.
Play Speed
Play Speed controls the speed of the audio play back.
1. Select Music from the menu list.
2. Press the directional keys up/down [▲/▼] and select User EQ.
3. Select the User EQ settings for audio playback.
●Set the bass, treble,etc.,levels from -12 (low) to +12 (high).
User UI
User UI options for the audio player
Controls the equalizer’s visual response during audio playback.

- Press and hold the Menu button to exit the Game mode at any time.
1. Select Game from the menu options to access any stored K-PEX compatible game(s).
2. Locate the game of your choice and press the Select button to load and play a game.
3. Follow the on-screen instructions for game play information (where available).
GAME
Note
3029
FILE MANAGER
FILE MANAGER GAME
If you explore the K-PEX Portable Media Player,by default game files will be located in the
GAME folder, audio files will be located in the MUSIC folder, etc.
Note
FILE MANAGER is used to explore the contents of the K-PEX Portable Media Player and/ or on a MiniSD media card.
Exploring files with the File Manager
1. Select File Manager from the menu list.
2. Press the directional keys up/down [▲/▼] and select ROOT or miniSD.
[File Manager Options]
●ROOT - Explore the content of the Portable Media Player.
●miniSD - Explore the content of the MiniSD Media card.
GAME allows you to play K-PEX compatible games.
Play K-PEX compatible games.
Transfer / delete files
1. Select File Manager from the menu list.
2. Press the directional keys up/down [▲/▼] and select ROOT or miniSD.
●Locate and highlight a file to transfer or delete and quickly press the
Mode button.
●Use Copy to copy the data to the clipboard, select Delete to delete the file,
or select Exit to cancel this operation. After you highlight your action, press
the Select button.
●If you have copied the data to the clipboard, select the folder where
you would like to transfer the data.
●Press and hold the Select button to transfer the data.
[Transfer/delete files]

Korea
Japan
USA
China
Europe
FM Region
Signal Strength
High
Middle
Low
3231
Listen to FM Radio
1. Select FM Radio from the menu list.
2. Press the directional keys up/down [▲/▼] and select FM Radio.
3. Manually select a station or select a preset station.
FM Radio plays FM stations in several regions.Headphones are required to listen to the FM Radio.
FM Radio
FM RADIO FM RADIO
[Preset]
FM Region
1. Select FM Radio from the menu options.
2. Move the directional keys up/down [▲/▼] and Preset Setting.
3. Select Preset mode or Manual mode for FM Radio.
●Press and hold the Mode button to let the K-PEX
Portable Media Player automatically scan and preset
FM stations. Preset numbers will display in red.
1. Select FM Radio from the menu list.
2. Press the directional keys up/down [▲/▼] and select FM Region.
3. Select the FM Region for your FM radio play.
[FM Region]
●Select from Korea, Japan, USA, China, and Europe.
●Low - Will only pick-up the strong signal radio stations during scan.
●Middle - Will pick-up the strong signal radio stations and some of the
low signal radio stations during scan.
●High - Will pick-up the strong signal radio stations and the majority
of the low signal radio stations during scan.
[Signal Strength]
1. Select FM Radio from the menu list.
2. Press the directional keys up/down [▲/▼] and select Signal Strength.
3. Select the signal strength for scanning radio stations.
Signal Strength
To get instructions for the preset stations,refer to Preset Settings on page 32.
Note
[Selecting FM Stations]
●Seek - Press and hold the left/right [◀/▶] directional keys to scan for available FM stations.
●Tune - Quickly press the left/right [◀/▶] directional keys to select a specific FM station.
Preset Setting
Preset - Used to listen to preset station.
Manual - Used to create/add preset stations.
●Press and hold the Repeat button to delete a preset
station.
[Manual]
●Quickly press the Select button to preset an FM station.
Quickly press the Mode button to switch between Preset and Manual mode.
Note

3433
Stereo/Mono Setting
Stereo
Mono
AUTO-Sync
Record a voice memo with the internal K-PEX microphone or record audio from an external device
with the Line IN feature.
RECORD
Using the Recorder
Changing the FM mode
RECORD
FM Radio
Stereo/Mono Setting
1. Select FM Radio from the menu list.
2. Press the directional keys up/down [▲/▼] and select Stereo/Mono Setting.
3. Make your selection for FM radio play.
[Stereo/Mono Setting]
●Select between Stereo and Mono.
Press the Play button to switch between Mono and Stereo mode while
listening to the FM Radio.
Note
1. Select Record from the menu list.
2. Press the directional keys up/down [▲/▼] and select Recorder.
[Recorder]
●Press the Record button to start/stop recording.
●Press the Play button to pause/continue recording.
●When you are done recording, the voice file will be saved
into the Record folder located on the K-PEX Portable Media
Player.
AUTO-Sync
1. Select Record from the menu list.
2. Press the directional keys up/down [▲/▼] and select AUTO-Sync.
3. Select the AUTO-Sync setting for recording.
[AUTO-Sync]
●ON - Detects the silence between each audio track resulting in
a seperate file for each track.
●OFF - Will ignore sound breaks between audio tracks and will record
multiple tracks as a single mix file.
AUTO-Sync is a feature to be used with Line IN recording. See Source>Line-IN on page
35 for more details.
Note

3635
Source
Voice
Line-In
●Choose from 32kbps to 128kbps
Rec. Quality
80 KBPS
-
Note
VIDEO
Source
Rec. Quality
RECORD VIDEO
Note
●Voice Recording = Saved as VORC00x.WMA file.
●Line-IN Recording = Saved as AUDI00x.WMA file
- Recording will automatically stop if the memory is full.
- Voice files cannot be saved to a MiniSD media card.
1. Select Record from the menu list.
2. Press the directional keys up/down [▲/▼] and select Rec. Quality.
3. Select the recording quality.
[Rec. Quality]
Note
128kbps bit rate files require more space than the lower bit rate files.
1. Select Record from the menu list.
2. Press the directional keys up/down [▲/▼] and select Source.
3. Select the source for recording.
[Source]
●Voice - Records sound with the use of the K-PEX internal Mic.
●Line-IN - Record sound directly from an external audio device
connected to the K-PEX Portable Media Player via the Line-iN cable.
Video plays video files stored on the K-PEX Portable Media Player and/ or on a MiniSD media card.
Video Play/Stop
1. Select VIDEO from the menu list.
2. Locate and select a video file stored on the K-PEX Portable Media Player
or on a MiniSD media card.
[ Play ]
Press the PLAY button to play the video file.
[ Pause ]
Press the PLAY button during video playback to pause the video.
[Video]
- If the video is set to pause,by default the K-PEX Portable Media Player will automatically
power-off after one minute.
- To change the auto power-off setting, go to System Setting then select Auto Power Off.
Note
The K-PEX Portable Media Player supports MPX video formats only.To play other video files
on the K-PEX Portable Media Player,use the PMP Transcoder software to change,WMV,ASF, MPG,
or AVI files into the supported MPX format.See PMP Transcoder on page 11 for details.

3837
Quickly press the right directional key [▶] to advance to the next video file.
Quickly press the left directional key [◀] to go back to the previous video file.
To scan forward or reverse,press and hold the left/right directionsl keys [◀/▶]
during video playback.
Selecting the next or previous video file
Scanning video files
Sentence1.txt
Sentence2.txt
Sentence3.txt
Sentence4.txt
Sentence5.txt
Sentence6.txt
TEXT
View Text Files
TEXT
VIDEO
Text is used to view text files stored on the K-PEX Portable Media Player
and/ or on a MiniSD media card.
1. Select TEXT from the menu list.
2. Locate and select a text file stored on the K-PEX Portable Media Player
or on a MiniSD media card.
- Text files stored on the K-PEX Portable Media Player will be located in the TEXT folder with a
txt extension.
Note

4039
Image 001.jpg
Image 002.jpg
Image 003.jpg
Image 004.jpg
Image 005.jpg
Image 006.jpg
Transferring media files with host mode.
HOST enables you to connect an external USB storage device to the K-PEX Portable Media Player
with the USB Host cable. Transfer compatible media files directly to and from the K-PEX Portable Media Player.
HOST
PHOTO
PHOTO HOST
- Only use the USB Host cable provided for the K-PEX Portable Media Player.
- Host functions may not work properly if the third party device’s power
consumption exceeds the capabilities of the K-PEX Portable Media Player.
Note
Sentence1.txt
Sentence2.txt
Sentence3.txt
Sentence4.txt
Sentence5.txt
Sentence6.txt
Copy
USB Host cable
External USB device
connects here.
Device
ROOT
ROOT
HOST
mini SD
PHOTO is used to view picture files stored on the K-PEX Portable Media Player and/ or on a
MiniSD media card.
View Photo Files
1. Select PHOTO from the menu list.
2. Locate and select a photo file stored on the K-PEX Portable Media Player
or on a MiniSD media card.
- Photo files stored on the K-PEX Portable Media Player will be located in the PHOTO folder
with a jpg extension.
Note
1. Connect an external USB Storage device to the
K-PEX Portable Media Player via the USB Host cable.
2. Select HOST from the menu list.
3. Select OK.
●The external device will display as Host,the K-PEX Portable Media
Player will display as Root,and a MiniSD card will display as mini SD.
●Locate and highlight a file to transfer or delete and quickly press the
Mode button.
●Use Copy to copy the data to the clipboard, select Delete to delete the file,
or select Exit to cancel this operation. After you highlight your action, press
the Select button.
[Host Mode Transfers]
●If you have copied the data to the clipboard, select the folder where
you would like to transfer the data.
●Press and hold the Select button to transfer the data to the select
folder.
- While previewing a picture,press and hold the Select button to set the image as the
K-PEX wallpaper.
Note
This manual suits for next models
2
Table of contents