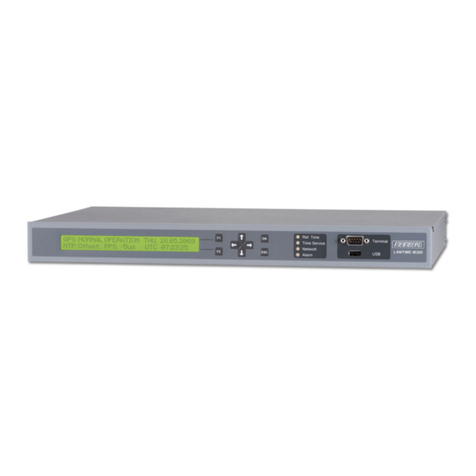
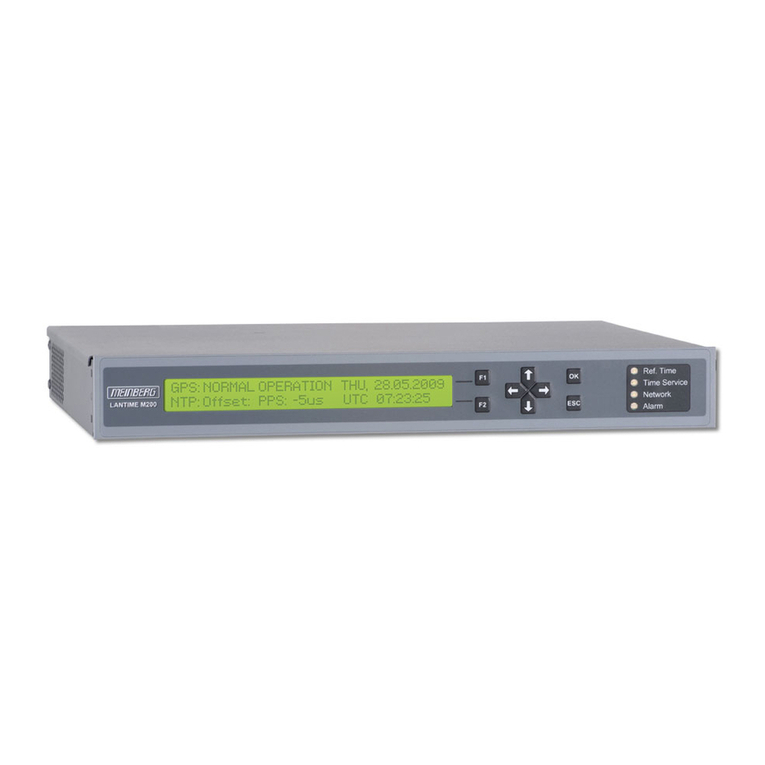
Krontek KT2000 User manual

KT2000 GPS SNTP
Network Timeserver
User Guide
Krontek Pty Ltd June 2022 V2.0

1 | Page
Krontek Pty Ltd
www.krontek.com.au
KT2000 User Guide - 2022
Contents
Introduction .............................................................................................2
Installation ................................................................................................2
Connecting to the Timeserver ..............................................................3
Configuration ..........................................................................................4

2 | Page
Krontek Pty Ltd
www.krontek.com.au
KT2000 User Guide - 2022
Introduction
The Krontek GPS SNTP Timeserver is a fully featured, high
performance Stratum 1 referenced timeserver which derives its
time from the GPS satellite system. Its accuracy is within a few
milliseconds of GPS time which is referenced to the Atomic Clocks
maintained by the American National Institute of Standards and
Technology (NIST). The KT2000 series Timeservers will provide time
according to the SNTP protocol with only three satellites in view.
Configuration of the Timeserver is simple and is conducted via the
network using an easy to understand telnet interface. Once
configured, and in absence of a change in network
circumstances, your Timeserver will be fit for years of service
without additional maintenance.
Installation
The most important requirement in installation of your GPS SNTP
Timeserver is ensuring that the antenna is exposed to as much
clear sky as possible.
To facilitate this, the Timeserver comes with a GPS antenna with 5
meters of cable, a second 5m antenna cable extension, and an
angled window bracket to mount the antenna. NB: Do not
connect or disconnect the antenna while power is applied as this
may damage the GPS receiver.
Choose a window with an unobstructed view of the sky. You may
need to experiment to find a suitable position. This can be done
by placing the antenna in various positions logging into the server
to check the satellite count. The antenna is weather-sealed and
may be mounted outside the building if required.
Once a suitable position has been identified, the mounting
bracket can be attached to the window using the included
Velcro® tape. For windows exposed to high temperatures, the
use of a silicon adhesive is recommended. The antenna is
magnetic and should be attached to the surface of the bracket
that has the small hole in it.
Screw the antenna connector to the antenna socket on the
timeserver end plate. Ensure connector is tightened to finger-tight
only. Connect the server to the network, then apply power to the
device.
3 | Page
Krontek Pty Ltd
www.krontek.com.au
KT2000 User Guide - 2022
When a suitable number of satellites are available and the server
is receiving a valid time signal, the “Active” LED on the server will
flash once per second. During the initial installation, it can take
from 10 – 15 minutes to establish a “positional fix” which is then
stored in memory. Subsequent power up sequences will be
“warm starts” and should only require about a minute or so before
the server is operational.
The timeserver decodes GPS time once per second. If the
satellites are blocked, the server will continue to operate for a few
minutes until the signal is restored. In the event of a continuous
signal failure, the server will not respond to a client request.
Connecting to
the Timeserver
Before you can communicate with the Timeserver, you must know
its IP address. By default, your Timeserver is pre-configured with an
IP address of 192.168.0.128 and will respond to a telnet session on
default port 23.
To connect to the Timeserver, you have two options;
1. Connect to the device to a network that is already
compatible. i.e. IP addresses in the range 192.168.0.xxx
2. Manually configure a PC to a compatible IP address (e.g.
192.168.0.50) and connect directly to the device using a
network cable.
Suggested methods of establishing a telnet connection to your
Krontek GPS SNTP Timeserver include using PuTTY or establishing a
telnet session from the command line. For help on how to
establish a telnet session, please refer to the Telnet Guide on the
Krontek website.
IMPORTANT: When you are finished with your connection, ensure
that you close the session by returning to the main menu and
selecting option 99 to close the connection. Failure to do so may
inhibit your ability to telnet in the future as only one session can
operate at a time.

4 | Page
Krontek Pty Ltd
www.krontek.com.au
KT2000 User Guide - 2022
Configuration
After establishing a telnet connection, you will be presented with
the following menu.
**********************************
* *
* KRONTEK GPS SNTP TIME SERVER *
* *
* Rev 3.01 15-Nov-2016 *
* *
* MAC 00:80:A3:93:1E:E1 *
* *
**********************************
---- Menu ----
1 - Set device Address, Mask,
Gateway
2 - Set/Change Passcode
3 - Set Broadcast
4 - Display Status
9 - Exit
Select?
These options are as follows;
1 – Set device Address, Mask, Gateway
Select this to set the IP address of your GPS Timeserver.
The Controller will display;
Current IP Address: 192.168.000.128
Change Y/N?

5 | Page
Krontek Pty Ltd
www.krontek.com.au
KT2000 User Guide - 2022
If you select to change this, you will be prompted with each octet
(three-digit field) in brackets. You can change this, or press enter
to skip to the next field.
(192) 10.(168) 50.(000) .(128) 100
In the above example, we have changed the IP address to
10.50.0.100.
Once you make this change, you will have the option of selecting
the subnet mask (via CIDR selection representing the number of
bits in the prefix), and the gateway address.
Once all selections have been made, the Timeserver will display
the new settings and ask for confirmation to save it.
2 – Set/Change Passcode
This option allows you to set a passcode to restrict unauthorised
access to the Timeserver.
The passcode requires four characters made of Alpha (A-Z) and
numeric (0-9) characters. Lower case characters are converted
to upper case.
To disable passcode checking, enter a code of four zeros (0000).
3 – Set Broadcast
An SNTP broadcast is the transmission of an unsolicited SNTP
packet. Many SNTP clients can be configured to “listen” for these
broadcasts.
On a /24 class C network (subnet mask 255.255.255.0) with a
device IP address of 192.168.0.70, the broadcast address will take
the form 192.168.0.255. On a class B network, it would be
192.168.255.255. All broadcasts are on port 123.
In this menu, you have the option to send a single broadcast
(generally only used for testing purposes) and the option to set
the interval between broadcast transmissions. The broadcast
interval is set by the number of minutes between broadcasts.
A broadcast interval of zero will disable the broadcast.

6 | Page
Krontek Pty Ltd
www.krontek.com.au
KT2000 User Guide - 2022
4 – Display Status
This option will display;
1. The number of satellites in view and available for use.
2. The ID number of the satellites in view and their signal strength
3. The ID number of the satellites used. These are the satellites
from which the GPS receiver is processing data.
4. The current UTC time. UTC is the current time at the earth’s
zero meridian.
Table of contents
Other Krontek Network Time Server manuals