-3- -4-
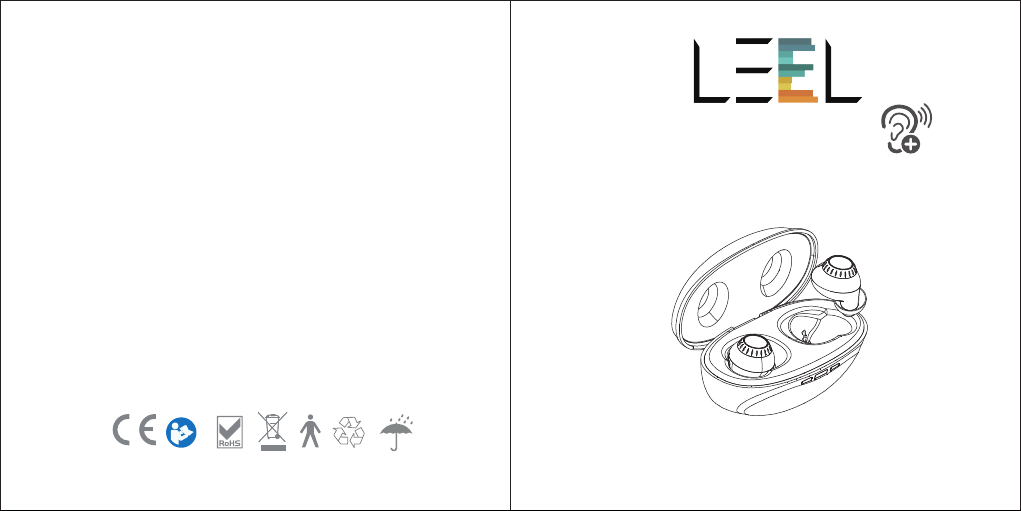
I.IMPORTANT SAFETY INSTRUCTIONS
1. CONTRAINDICATION
The device should not be used in the following situations:
- Patients with chronic suppurative otitis media (CSOM),congenital
ear atresia, or any type of ear discharge
- Anyone under 6 years old
2. WARNINGS
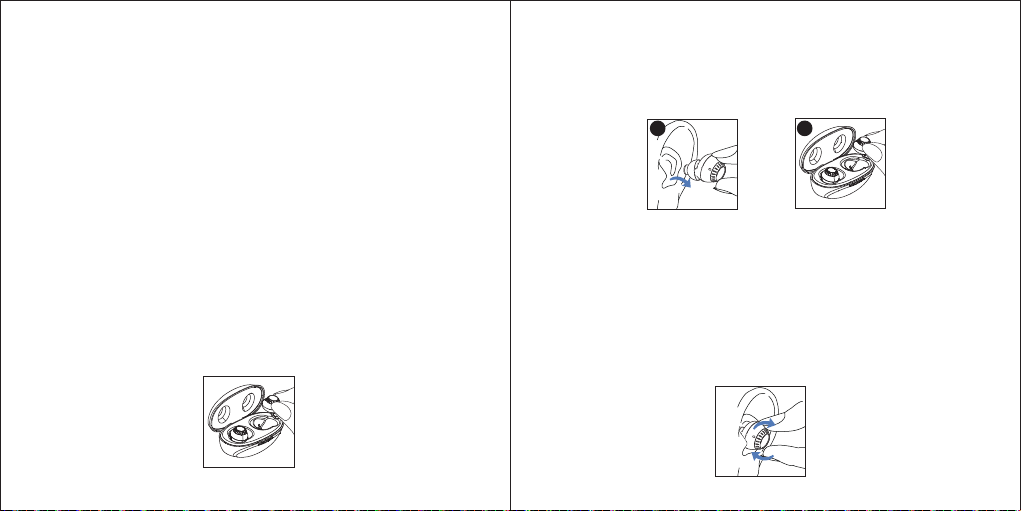
- Keep small parts (hearing instrument, ear domes, battery or other
detachable parts) that can be swallowed out of children’s reach.
Dropping, immersing in liquid, exposure to strong electromagnetic
fields or excessive heat will damage the hearing amplifiers.
Remove devices prior to any type of X-ray, MRI, or CT scan. If parts
become stuck in the ear canal, seek medical assistance - do not
attempt to remove by yourself.
3. Notice
- Do not use at high volume for extended periods of time - ear injury
can result.
- If you experience any pain or strong discomfort using the devices,
remove and consult a doctor.
- Routine maintenance to keep the device clean is required.
Ensure that ear domes are free of debris and moisture at all times.
- Avoid shocks or dropping the product.
- Do not store or use the product in environments of high humidity
or temperature (such as sauna room), to avoid damage.
- Batteries should be properly recycled and not disposed in the
trash.
- Keep the devices away from small children. Injury or damage may
result.
- Do not set volume levels too high. Listening with high-output
devices for extended periods at high volume levels can cause
further hearing damage.
- Do not share your hearing amplifiers with others. Using a hearing
amplifier configured for someone else can result in hearing
damage or injury.
- Monitor for any unusual skin reaction. If you notice any allergic
reaction (itchiness, swelling, or rash), stop wearing the hearing
amplifiers and consult a medical specialist.
- Do not touch the hearing amplifiers to any type magnet or magne-
tized object. Your hearing amplifiers are delicate electronic
instruments and may be damaged by contact with strong magnetic
fields.
- Do not attempt to open or repair the devices yourself. Damage
Warning
Read all the information in this instruction manual and any other
literature included in the box before using the device.
Warning