ENGLISH
8
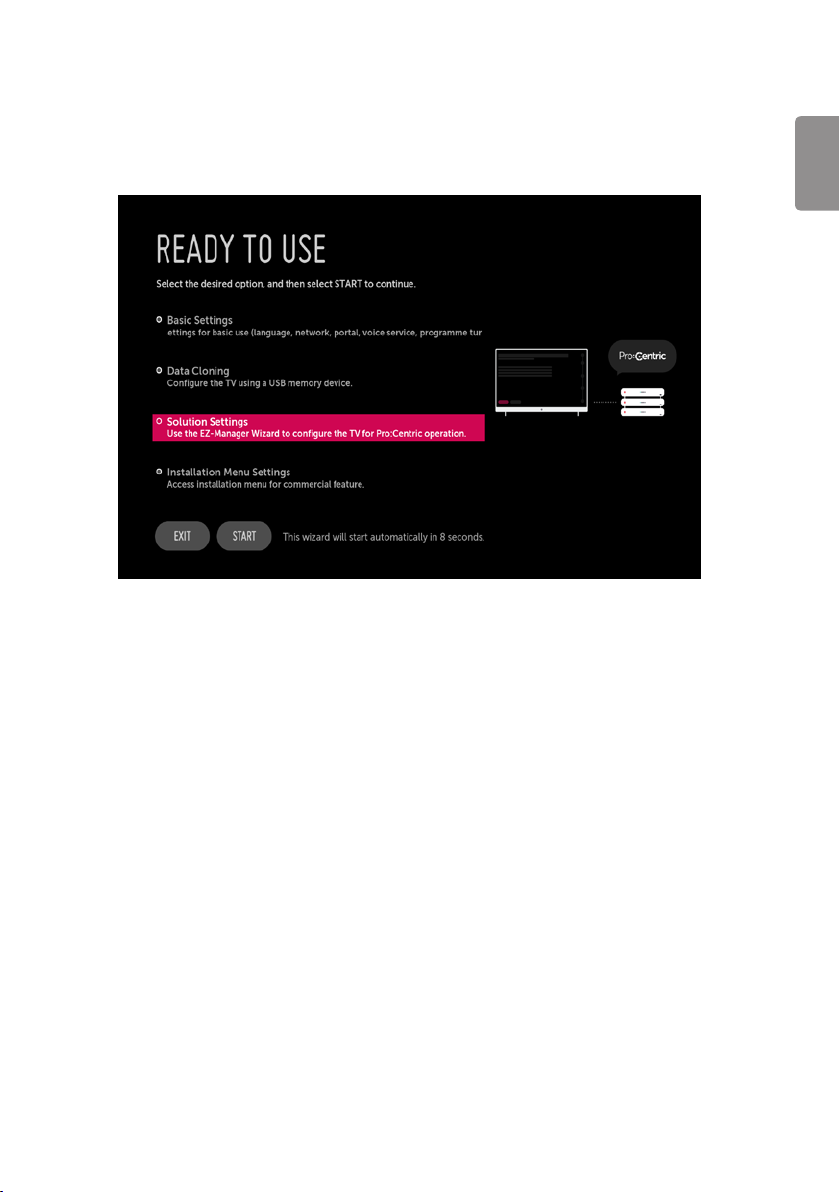
Data Cloning
Access Data cloning menu ofTV Manger application for applying cloning le.
Solution Settings
The Pro:Centric Platform enables you to simply install, manage and use guest-centric solutions.The default Domain“procentric.local”and IP Server
Address are needed to be registered in DNS TV will contact the IP Server using the default Domain“procentric.local”via IP on server search page. If TV
doesn’t contact the Server, TV will search the pre-dened channel earlier than all channels. (Only DVB-C)
The frequencies of pre-dened channels are below.
•Germany:‘51000, 858000, 778000, 698000, 618000, 538000, 458000, 378000, 298000, 218000, 138000 khz’.
•Philippines 6 Mhz:‘57000, 651000, 591000, 531000, 471000, 411000, 351000, 291000, 231000, 171000, 111000 khz’.
•Other Country:‘50000, 842000, 762000, 682000, 602000, 522000, 442000, 362000, 282000, 202000, 122000 khz’.
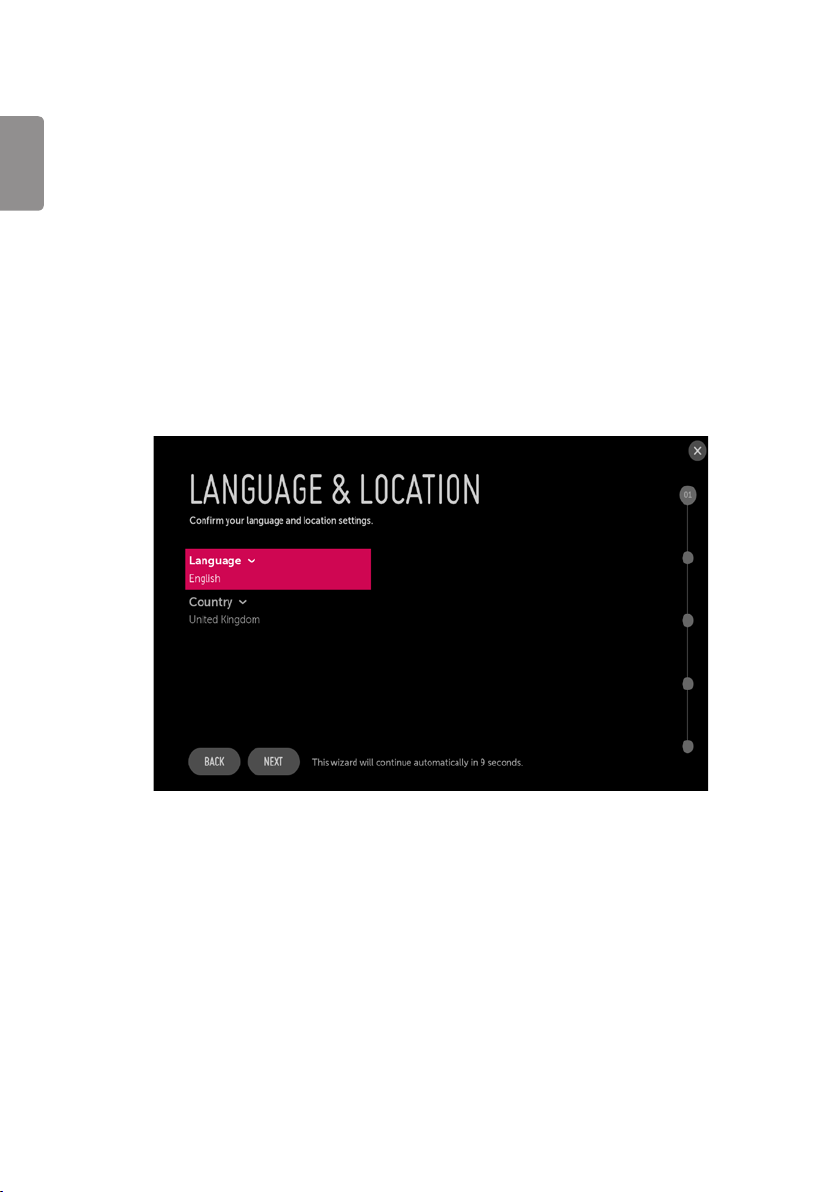
Language & Country selection
(Depending on model)
•Please select the Language and Country. Some countries need to select the Time Zone.