
2. FEATURES & TECHNICAL EXPLANATION
2-1. FEATURES
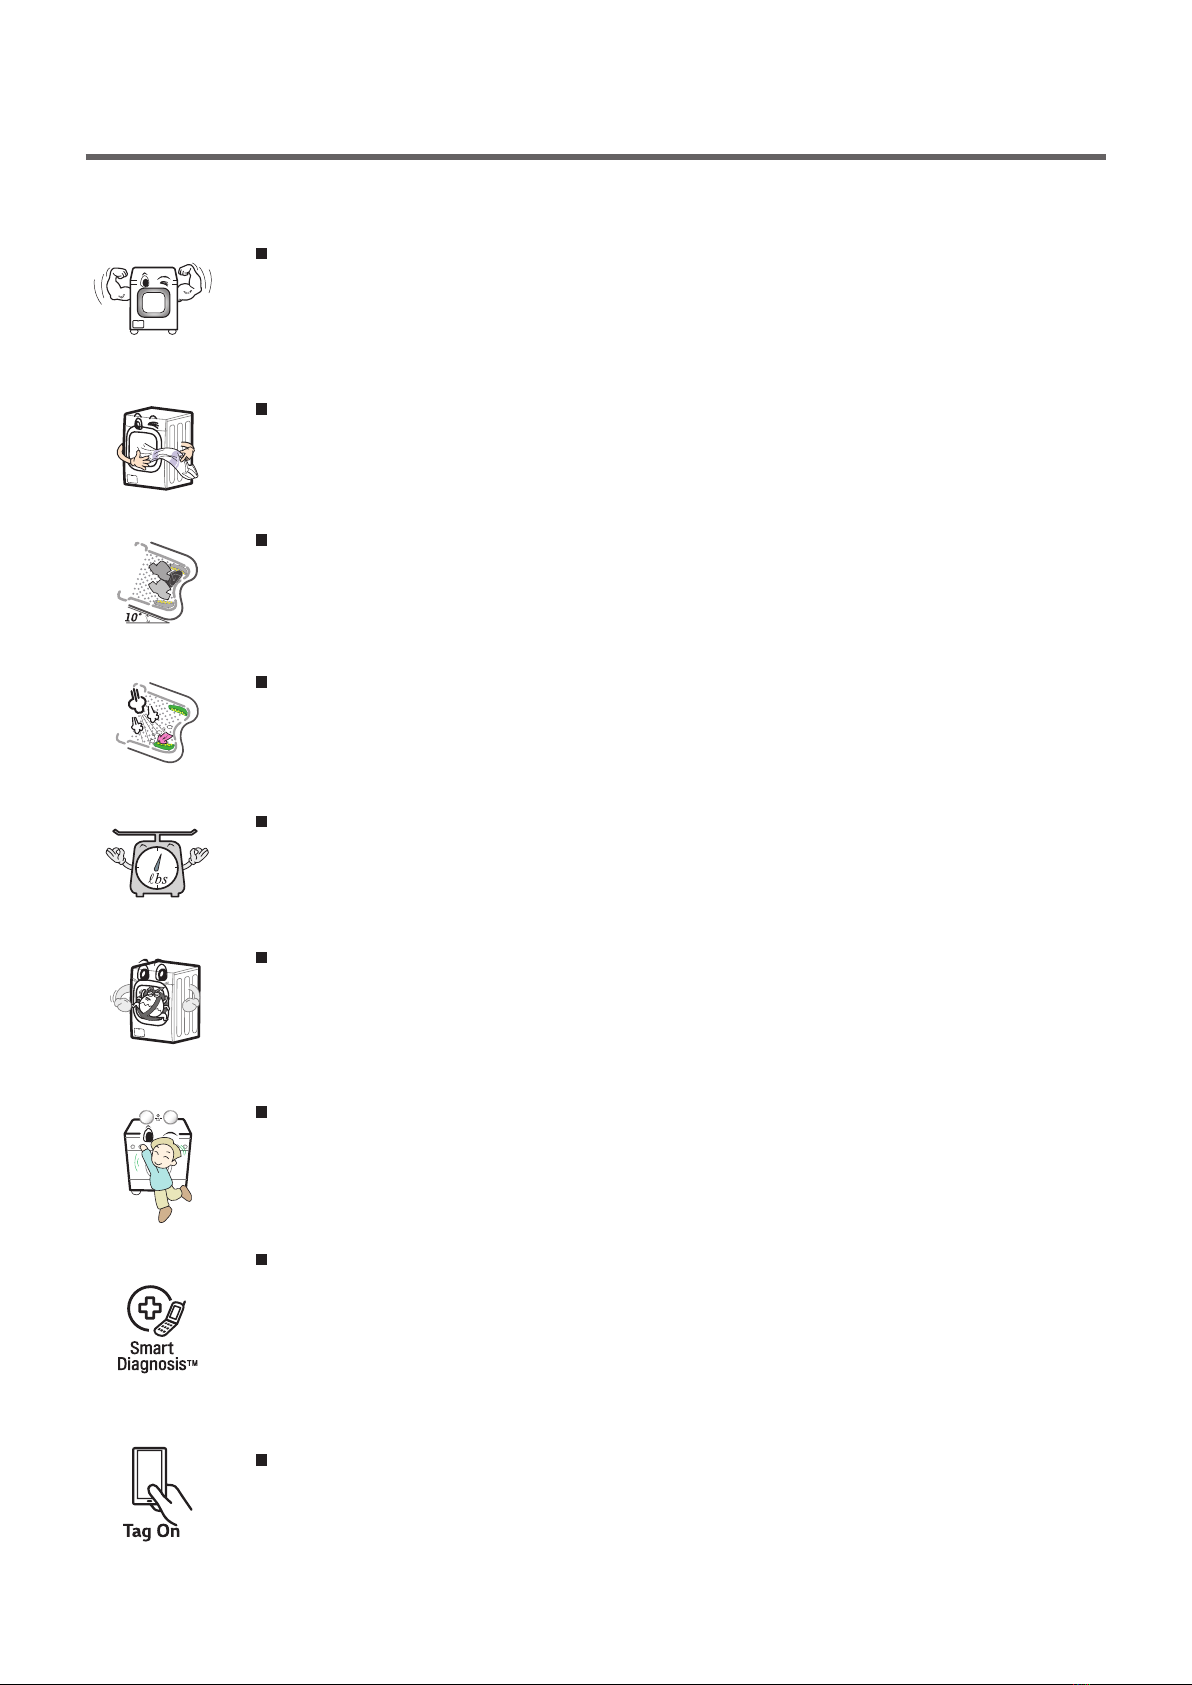
Ultra Capacity
The larger drum enables not just higher head drop and stronger centrifugal force,
but also less tangling and wrinkling of the laundry. Heavier loads, such as king size
comforters, blankets, and curtains, can be washed.
Direct Drive System
The advanced brushless DC motor directly drives the drum without belt and pulley.
Tilted Drum and Extra Large Door Opening
Tilted drum and extra large opening make it possible to load and unload clothing
more easily.
Steam Washing
Steam washing features upgraded washing performance with low energy and water
consumption.
Automatic Wash Load Detection
Automatically detects the load and optimizes the washing time.
Built-in Heater
Internal heater helps to maintain water temperature at its optimum level for selected
cycles.
Child Lock
The child lock prevents children from pressing any button to change the settings
during operation.
SMART DIAGNOSIS TM
Should you experience any technical difficulty with your washing machine, is capable
of producing multiple distinct different motions for optimal washing performance
with very little noise and vibration. The motor assembly also contains fewer moving
parts, thus resulting in fewer repairs.
NFC (Tag On Function)
This feature uses LG Smart DiagnosisTM, Cycle Download, and Laundry Stats when
you touch the LG appliance’s Tag On logo with your NFC equipped smartphone.


S(U)P User manual")


-16220(5)FB User manual")


