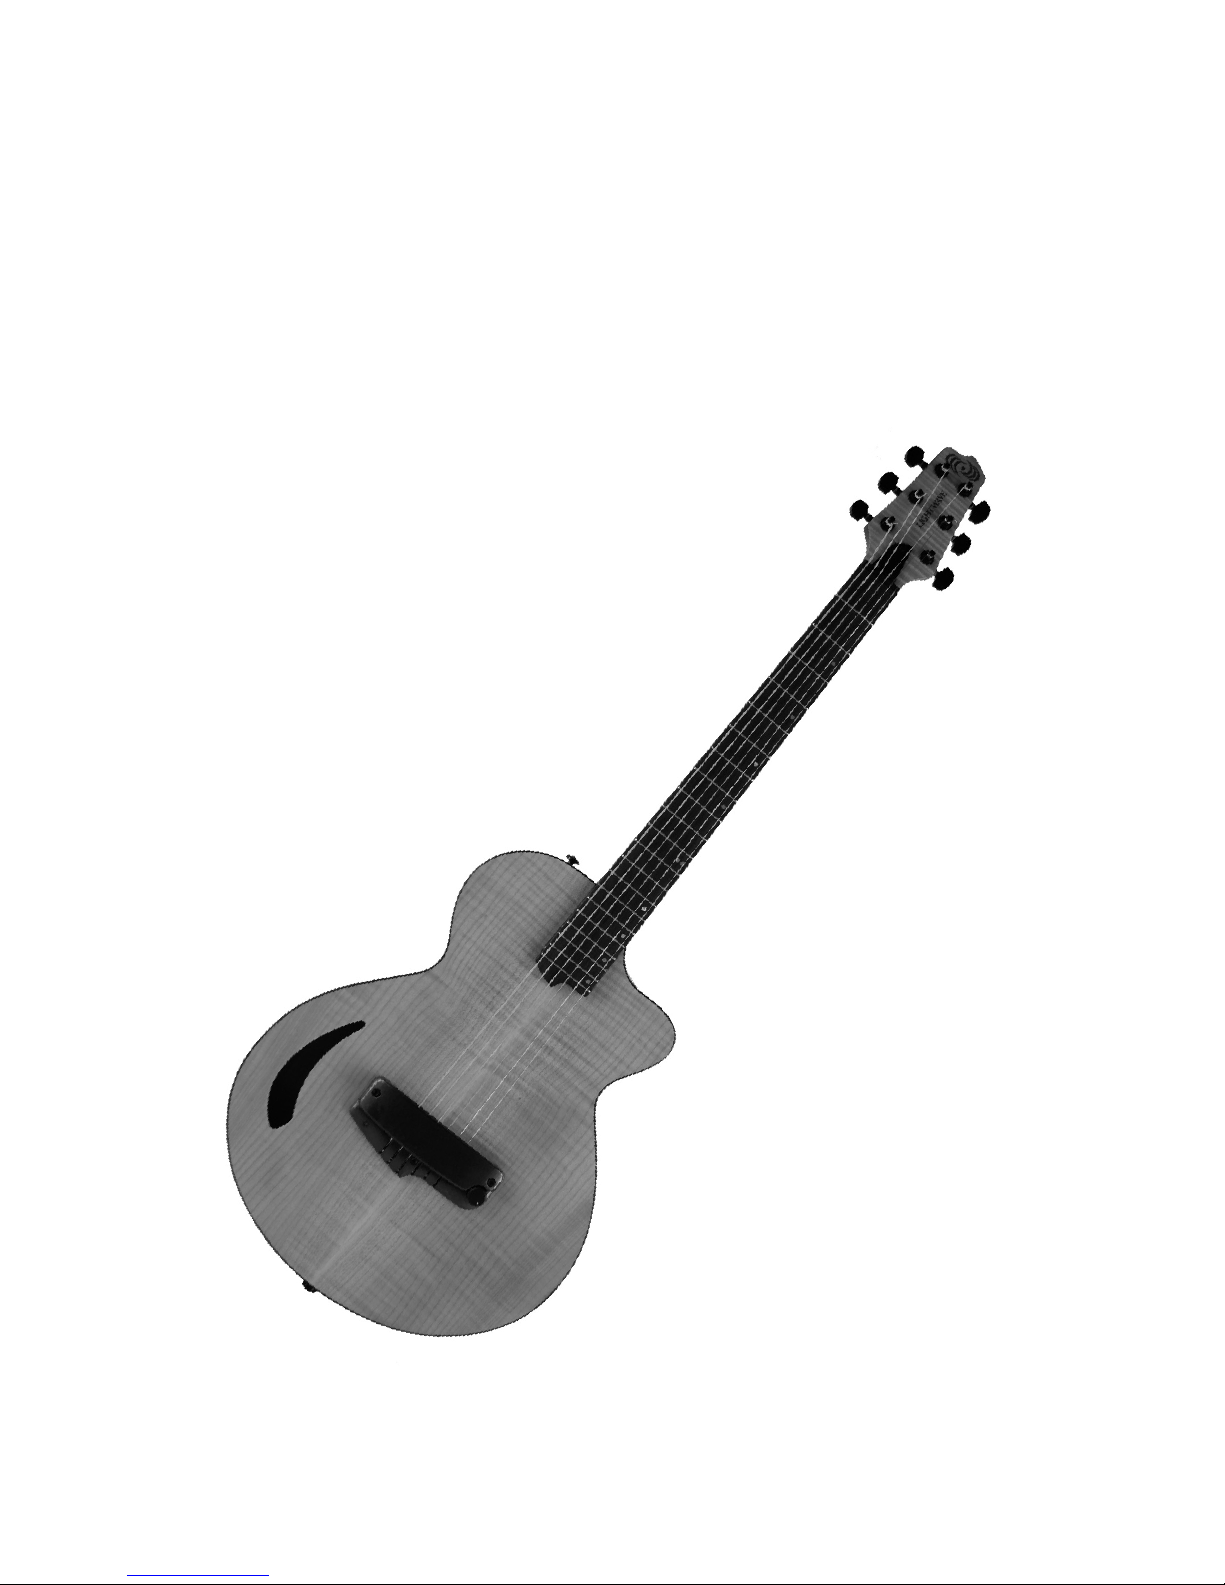
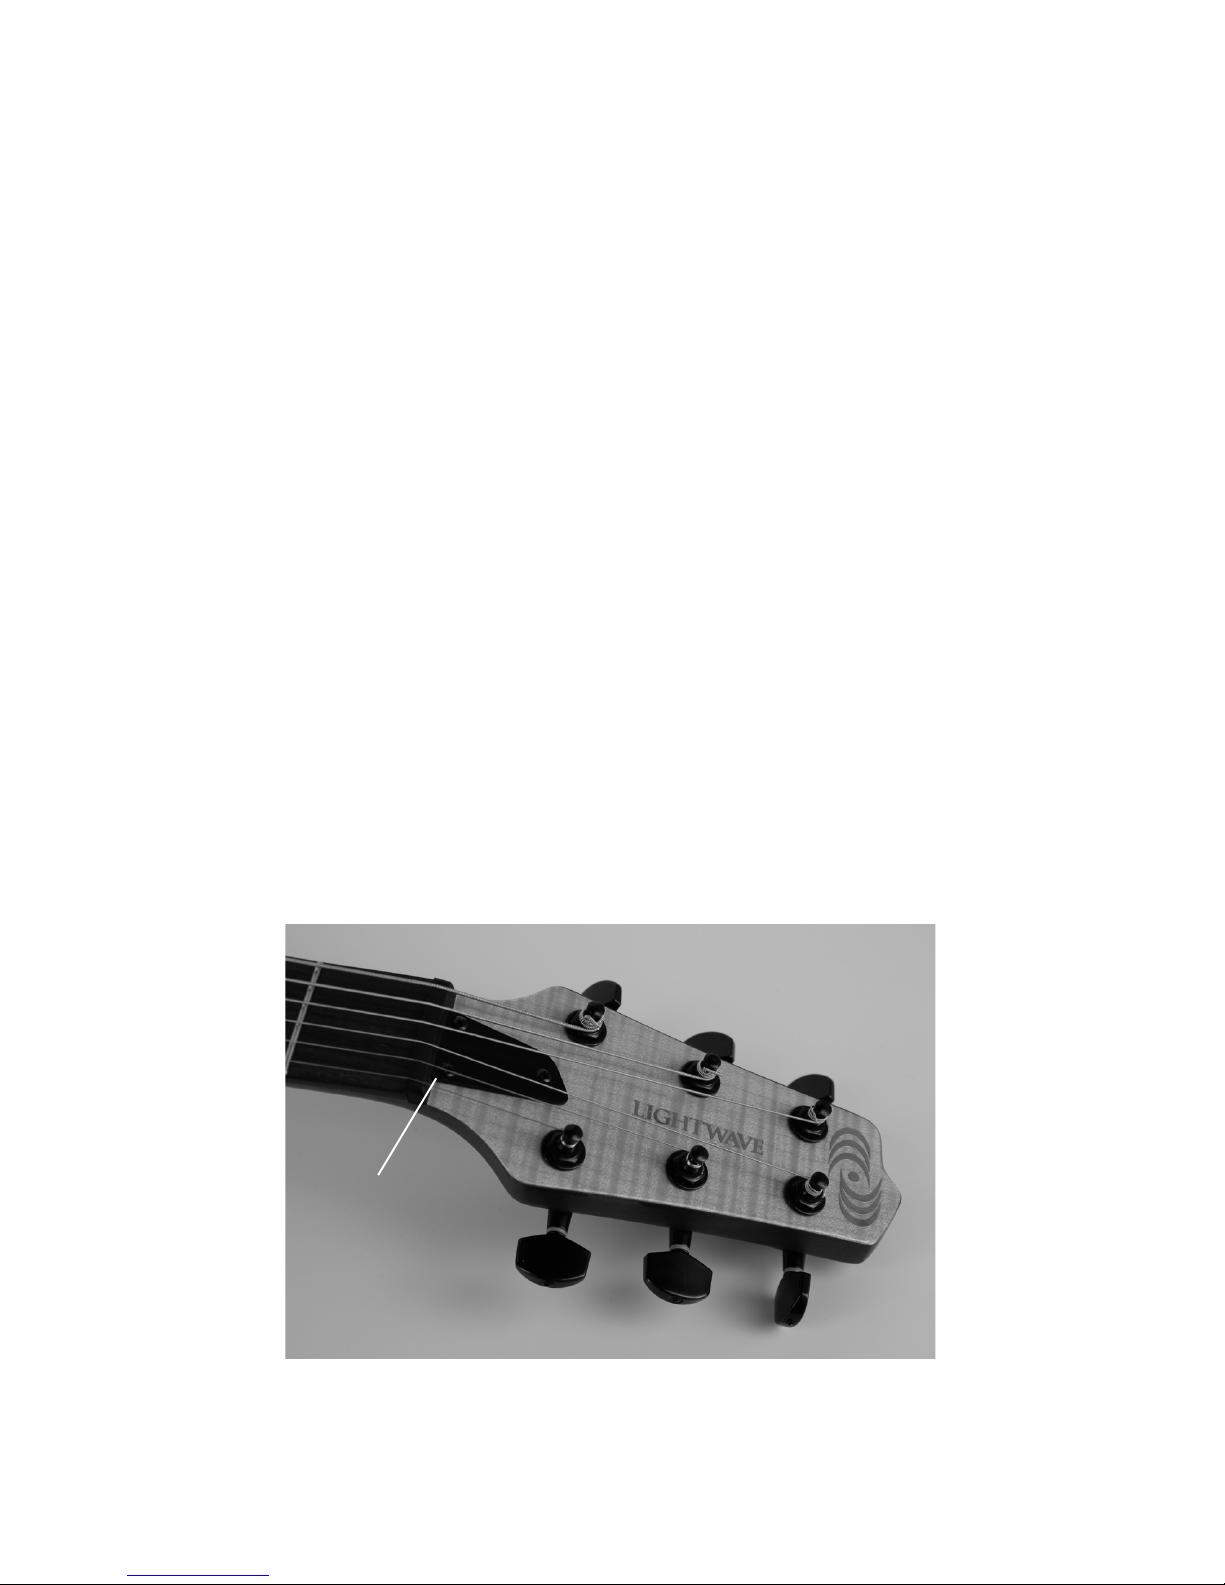
8
strings. This will provide maximum output, as well as
accommodate string bending and related playing tech-
niques. This operation can be done by ear, or electroni-
cally. In either case, remove the bridge cover, turn on the
guitar, and adjust the position of the optics by turning the
9/64” hex adjustment screw on the two ends of the pickup
baseplate. It is a three-step process:
First, adjust the highest string; then the lowest; and then
go back and re-trim the highest string. This can be done
by ear, or using the visual indication of the centering LED
on the Motherboard in the electronics cavity.
Adjusting by ear: with the instrument plugged into an
amplier, raise and lower the pickup baseplate, listening
for the “sweet spot”, where the sound output is loudest.
Do this three times, alternating between the high-string
and low-string ends of the baseplate, in the order above
(string 1; then string 6; then string 1 again).
Adjusting electronically: select the string to be cali-
brated, by turning the miniature rotary selector switch on
the Motherboard (use a ~2mm at screwdriver). If your
guitar has the HexFX option, the rotary switch will be hid-
den under the HexFX daughterboard. Lift straight up on
the daughterboard to temporarily move it out of the way.
The switch positions are numbered to correspond with the
strings, with position 1 being the highest string. When the
correct string is selected, the red/green LED on the Moth-
erboard indicates the position of the optics. LED ‘green’
indicates that the optics are below the string, and must be
raised (counterclockwise turn of the adjustment screw).
LED ‘red’ indicates that the optics are above the string,
and must be lowered (clockwise turn of the adjustment