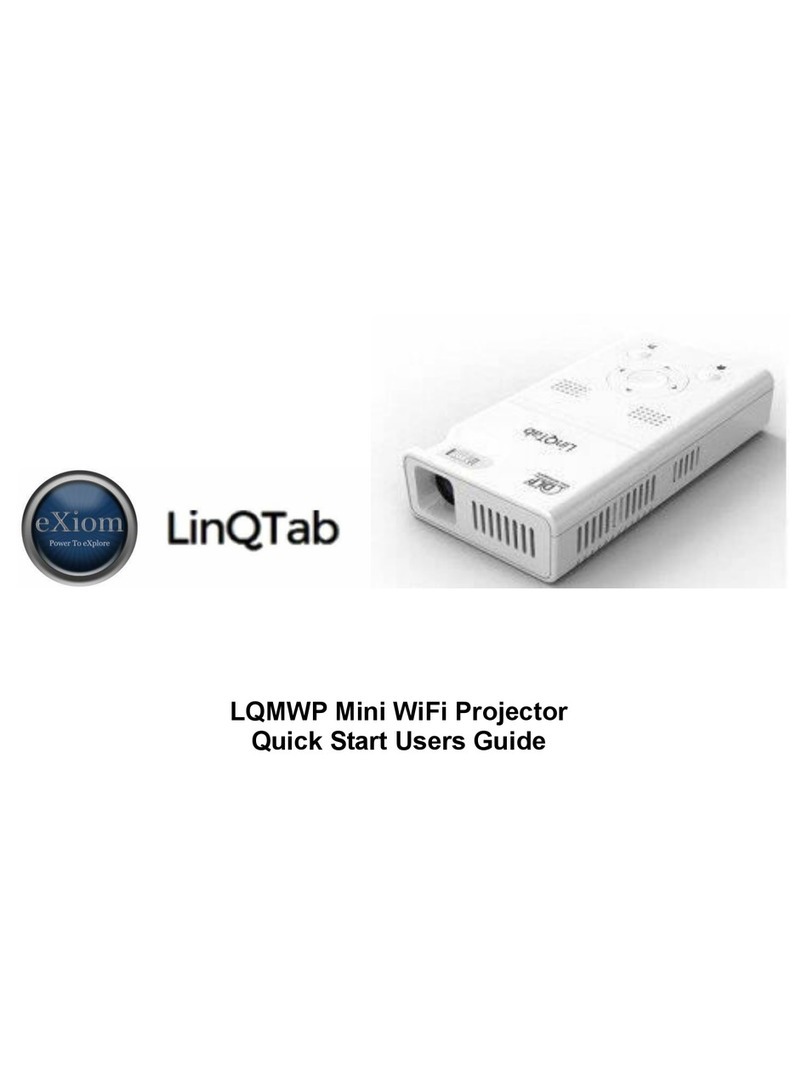
LinQTab LQCP - Mini Setup guide

LQCP – Mini DLP Projector
Quick Start Users Guide

Table Of Contents
LQCP – Mini DLP Projector Quick Start Users Guide.............................................................................................1
Table Of Contents............................................................................................................................................2
Important Notice..................................................................................................................................................3
LinQTab LQCP - Mini DLP Projector Features: ..................................................................................................4
LinQTab LQCP - Mini DLP Projector Safety Precautions:...................................................................................4
About the Lithium Polymer Rechargeable Battery: ..............................................................................................4
Lithium Polymer Rechargeable Battery Precautions:............................................................................................4
Packing list:.........................................................................................................................................................5
Product Features, Controls and Connections: .......................................................................................................6
Projector Lens And Front View:.......................................................................................................................6
Side And Back View:.......................................................................................................................................7
Connectors View:.............................................................................................................................................8
LQCP – Mini Projector Controls:.....................................................................................................................9
LQCP – Mini Projector Input / Output Ports:....................................................................................................9
LQCP – Mini Projector Infrared Remote Control:..............................................................................................10
LQCP – Mini Projector Infrared Remote Control Button Functions:...............................................................11
Operating The LinQTab Mini DLP Projector:........................................................................................................12
Basic operation: .................................................................................................................................................12
Powering ON and OFF:..................................................................................................................................12
Focus: ............................................................................................................................................................13
Home Menu:......................................................................................................................................................14
Home Menu - Micro SD card and USB disk:..................................................................................................15
Home Menu – HDMI & MHL:.......................................................................................................................17
Home Menu – VGA:......................................................................................................................................17
Home Menu – Settings:..................................................................................................................................18
Battery:..................................................................................................................................................................19
Battery Installation:............................................................................................................................................19
Recharging The Battery: ................................................................................................................................19
Battery Status:................................................................................................................................................20
Maintenance: .....................................................................................................................................................21
Cleaning The Projector Lens:.........................................................................................................................21
Cleaning The Case Of The Projector:.............................................................................................................21
Storage:..........................................................................................................................................................21
Appendix A - Product Specifications: ....................................................................................................................22
Appendix B - Questions and Answers:...................................................................................................................23

Important Notice
Thank you and congratulations on your purchase of our LinQTab Mini DLP Projector. This manual contains the
product instructions and any cautions for using this product successfully and safely. We sincerely hope that you will
read through this manual so that you will get the most from our product.
While we endeavour to maintain the content included in the Quick Start Users Guide this manual may not match all
the specific features of the product you have purchased. If you find this is the case please check our web site for any
available updates.
Please do not try to and/or dismantle the product yourself, doing so will void your warranty and may cause your
device to stop working. Any product that has been tampered with will be ineligible for return or refund.
The LinQTab Mini DLP Projector is ready to go for both your next business presentation and for your
entertainment needs at home or when traveling. Before starting to use the LinQTab Mini DLP Projector is, please
read the manual in order to get the most from your LinQTab Mini DLP Projector.

LinQTab LQCP - Mini DLP Projector Features:
Slim and cute, brilliant and portable
Excellent image quality
Audio and Video display
High capacity and removable lithium polymer battery
LinQTab LQCP - Mini DLP Projector Safety Precautions:
Please don't aim the projection at somebody's eyes or an animal’s eyes.
Please keep it away from rain and direct sun.
Please don't store it in a damp or hot area, do not place the unit near any heat generating device.
Please don't use the device on an uneven surface as it may fall and be damaged.
Use a dry soft cotton cloth to clean the device.
Keep the device out of reach of children.
Please be careful when inserting the battery inside the device to comply with the direction of the negative
and positive connections. Inserting the battery incorrectly could damage your product and may void your
warranty.
Please do not use the device when driving or riding.
Use the manufacturer’s parts and accessories only to ensure your device lasts and to maintain your warranty.
If the device falls down and is damaged, please power off, remove the battery and contact the authorized
retailer or the maintaining service center to inspect and repair the product.
About the Lithium Polymer Rechargeable Battery:
Device Model No LQCP
Battery Type Lithium polymer rechargeable battery (LI-PO)
Battery Voltage 3.7 volts
Battery Capacity 4600 mAh
Lithium Polymer Rechargeable Battery Precautions:
Using the authorized power adapter only when charging your device.
Never dismantle the product and/or the battery.
Do not insert the battery with the poles in the wrong order or direction.
Store the LI-PO battery safely.
Never expose the battery to excessive heat, fire and/or water, this may result in an explosion and/or injury.
Keep the battery at 70% power if you are not using the device for extended periods and charge the battery
monthly but store the battery separately.

Packing list:
Please check that all the accessories are accurately in listed, if something is missing, please contact the point of sale
immediately.
LinQTab LQCP - Mini DLP Projector
Quick Start Users Guide
LQCP Power Adapter
LI-PO rechargeable battery
Triangle Stand (optional)
VGA Cable (optional)
HDMI Cable (optional)
MHL Cable (optional)
Mini-HDMI cable (optional)
Carrying Bag (optional)

Product Features, Controls and Connections:
Projector Lens And Front View:
In the images below you will find the LQCP – Mini DLP Projector features and controls pointed out for the
projector lens and the front view where most of the projectors operation controls are present.

Side And Back View:
In the images below you will find the LQCP – Mini DLP Projector features and controls pointed out for the side
and back views of the device.

Connectors View:
In the image below you will find the LQCP – Mini DLP Projector features and available connections pointed out
for the bottom view of the device.

LQCP – Mini Projector Controls:
CONTROL FUNCTION
Power Switch Power the Projector On / Off
Home Button Home Menu
Return or Back Button
Return to the previous step
Direction (four way) Direction Switching
OK or Confirmation Enter or OK
Focus Adjust the Projectors Focus
LQCP – Mini Projector Input / Output Ports:
PORT FEATURE
VGA Input VGA input for Laptop or Desktop Computer connection
DC Input 12 volt DC Adapter Input
Headphone 3.5 mm Stereo Headphone Output
Infrared Infrared Remote Control Receiver
Setup Button Device Reset/Setup Button
HDMI / MHL Input
HD Multimedia Port for connecting computers, gaming
console, HD digital camera or other multimedia devices.
USB Input USB Stick / Disk and USB OTG

LQCP – Mini Projector Infrared Remote Control:
For Business Presentations or Entertainment use an infrared remote control allows you to control your LinQTab
LQCP Mini DLP Projector from a distance. Ensure that the infrared remote receiver on the bottom of the device is
not blocked to ensure that your remote functions correctly.
The LinQTab LQCP Mini DLP Projector Remote includes all the controls you will need during a presentation,
direction buttons, OK or Enter, Return (Back), Play, Mute, Volume Decrease, Volume Increase and the Home
Menu button. The remotes range of operation may vary due to the environment being operated in, ensure the
infrared receiver is not blocked.

LQCP – Mini Projector Infrared Remote Control Button Functions:
All the controls you will need during a Business Presentation or for Entertainment use are included on the Infrared
Remote Control included with you LinQTab Mini DLP Projector.
BUTTON FUNCTION
Directions
(Up/Down/Left/Right)
Screen Direction Selection
Move up, down, left or right on the screen.
OK OK or Enter
Return Return or Go Back.
Ay Play
Mute (Sound) Turn Sound On or Off
Volume - Decrease the Volume
Home Go to the Home Menu
Volume + Increase the Volume

Operating The LinQTab Mini DLP Projector:
Now that you are familiar with the LinQTab Mini DLP Projector controls and features you are ready to explore and
experience all this device has to offer.
Basic operation:
Powering ON and OFF:
Before you can use the LinQTab Mini DLP Projector you must first install the battery and charge the unit fully.
As shown in the above picture, ensure that the power button is in the OFF position when charging the device.
The Power Button operates in the following manner:
When in Powered OFF mode, push the power button up for 5 seconds till the led indicator lights up green and then
you will be in the Powered ON mode and the system should start up.
When in Powered ON mode, push the power button up for 2 seconds and then click on the "OFF" from the pop-out
screen in order to Power Off the device.
Note:
If for any reason the LinQTab Mini DLP Projector becomes unresponsive and you need to force a Power OFF
please push the power button up for 6 seconds. This will force the system to Power OFF.

Focus:
The LinQTab Mini DLP Projector can display media on whatever surface you wish, however for the best quality we
suggest you find the white wall with smooth surface and place the projector with its projector lens facing the wall.
Once in the Powered ON mode you can adjust the focus manually until to get a clear and bright shot.
Note:
Taking into consideration the design specifications and using vast test experience, in order to get the clearest and
best quality projection image, the distance between the projector and screen or wall should be not less than 0.5
meters, however we recommend a distance of 3 meter.

Home Menu:
Power on and adjust the focus manually, then when the system is started select the Home button to get to the Home
Menu.
The home menu contains several icons to access functions and settings: Micro SD card, USB disk, HDMI & MHL,
VGA and Settings.
1) Micro SD card: Click on it and get into the TF space.
2) USB disk: Click on it and get into the USB space.
3) HDMI & MHL: Get connected to the media player through a HDML cable and project the content. Or to
access mobile with a MHL cable.
4) VGA: Click on it and get connected to the desktop computer or laptop computer.
5) Settings: Click on It and get into the system setup screen.

Home Menu - Micro SD card and USB disk:
Click on the Micro SD card or USB disk icon, below screen comes out.
1) Photo: Choose using the Direction Buttons and enter
2) Music: Choose using the Direction Buttons and enter
3) Movie: Choose using the Direction Buttons and enter
4) Text: Choose using the Direction Buttons and enter
Photo Projection
After selecting Photo on the Home Menu, select the photo you wish to display by using the direction buttons on the
remote control or the projector itself, and click on it for display.
Photo Projection Options:
Pause, play, last one, next one, stop, cycling display:
Music: Display the background music
Displaying list: All photos are listed in line and row.
Information: the description of the current photo.
Music Projection
After selecting Music on the Home Menu, select the song you wish to play by using the direction buttons on the
remote control or the projector itself, and click on it to play.
Music Projection Options:
Pause, play, fast reverse, fast forward. last song, next song, stop, cycling play, sound off.
Movie Projection
After selecting Movie on the Home Menu, select the movie you wish to display by using the direction buttons on
the remote control or the projector itself, and click on it for display.
Movie Projection Options:
Pause, play, fast revert, fast speedup, last song, next song, stop, cycling play, sound off.

Text Projection
After selecting Text on the Home Menu, select the text you wish to display by using the direction buttons on the
remote control or the projector itself, and click on it for display.
Text Projection Options:
Last page, next page, last file, next file, stop, etc.
Text lists: All files store in a line or a row.

Home Menu – HDMI & MHL:
Select to go to the Home Menu using the Home button on the remote control or the projector. Once on the main
menu select and click on the HDMI & MHL icon. The projector will now source signals via the HDMI connection
from other external devices.
To get connected to your laptop or desktop computer or other device using an HDMI or MHL cable please connect
both ends of the cable and then on the Home Menu using the direction buttons on the remote or projector select
HDMI & MHL then Click on the icon by pressing OK.
Note:
If your screen does not appear please check that the signal from the device connected to the projector is working
and that both cable connections are secure.
Home Menu – VGA:
Select to go to the Home Menu using the Home button on the remote control or the projector. Once on the main
menu select and click on the VGA icon. The projector will now source signals via the VGA connection from other
external devices.
To get connected to your laptop or desktop computer or other device using an VGA cable please connect both ends
of the cable and then on the Home Menu using the direction buttons on the remote or projector select VGA then
Click on the icon by pressing OK.
Note:
If your screen does not appear please check that the signal from the device connected to the projector is working
and that both cable connections are secure.

Home Menu – Settings:
Select to go to the Home Menu using the Home button on the remote control or the projector. Once on the main
menu select and click on the Settings icon. The projector will now display a list of parameters that you can set up
and change.
Image: Set up the Contrast Ratio, Brightness and Colour Temperature.
Language: Set up and choose the Language you wish to use.
Time: Set up the time for the automatic shut-down.
Upgrade: Software upgrade.
Information: Check the software version and the power volume the usage.

Battery:
Battery Installation:
Push down the battery cover from the back case to slide open the battery compartment.
Insert the LI-PO battery into the battery slot as indicated. (The upper the metallic plate from the battery must be
connected with the metal points from the slot)
After the installment of the LI-PO battery is complete, push the battery compartment cover back into position.
Recharging The Battery:
Please charge the battery to full volume before using the LinQTab Mini DLP Projector for the first time.
The led light indicated will display in red when the projector is recharging; Once the charging is complete, the led
light becomes dark.
Note:
Please use the included power adapter only or the authorized adapter to recharge the LinQTab Mini DLP Projector.
Using any other power adapter may cause unrepairable damage to your device, void your warranty or it may cause
the battery to overheat which could result in the battery exploding.

Battery Status:
Click on the setting icon at the Home Menu and then select the information column to check the battery status and
the length of time remaining to use.
When the battery runs out of power, the projector will shut down automatically. The working time for the battery is
related with the system's multimedia performance, quantity of tasks operated at one time and the frequency of same
Operations, as well as the sound volume level.
This manual suits for next models
1
Table of contents
Other LinQTab Projector manuals
