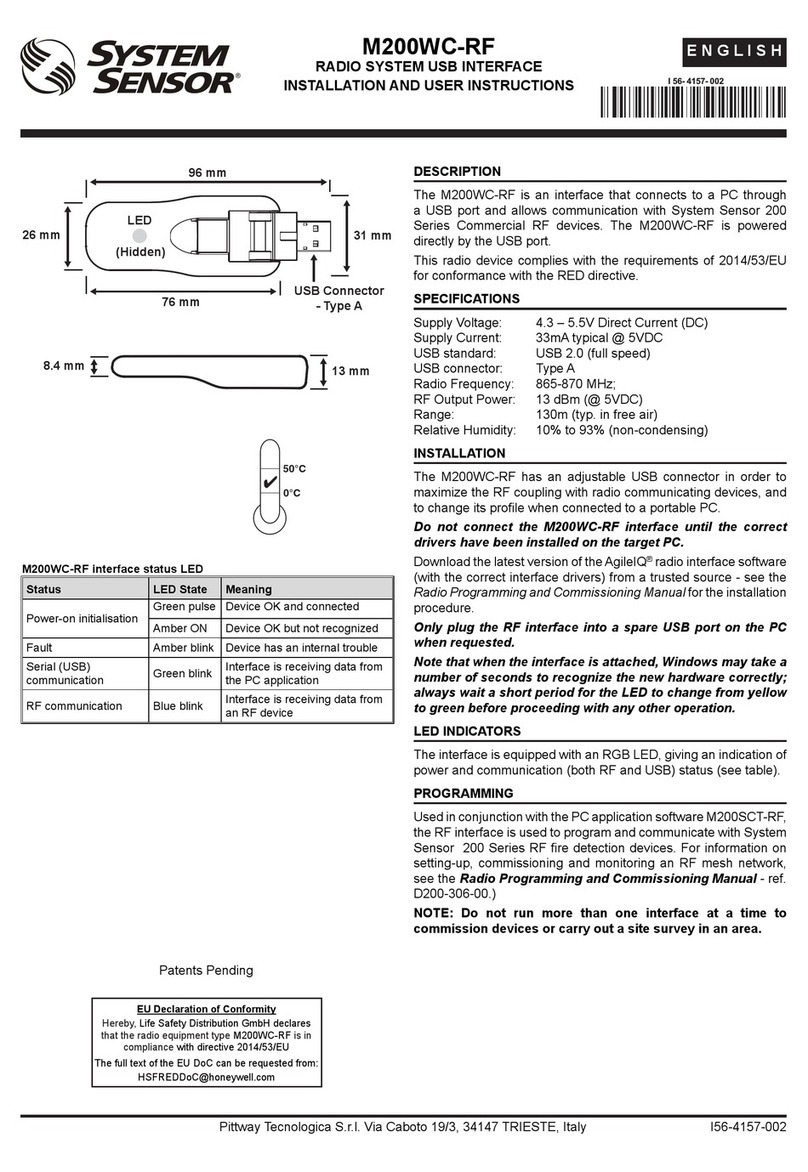
LogTag Recorders LTI-WiFi User manual

Quick Start Guide
LTI-WiFi
www.logtagrecorders.com

1. Introduction
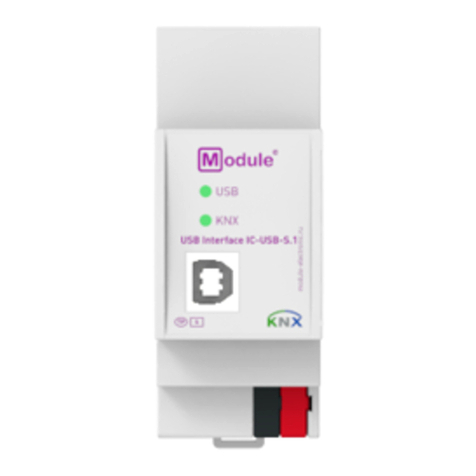
The LogTag USB Desktop Interface model LTI-WiFi serves as the data transfer link between LogTag
Analyzer software and your Logger.
• Used with all models that establish PC communication via the 3 contact pins at the rear of your
Logger.
• Connects to wireless access points and routers with WPA network security.
• Red and green LED’s provide feedback about the data exchange between Logger and software.
• Dual red/blue network LED’s show connection status.
• Buffers Logger data during network outages.
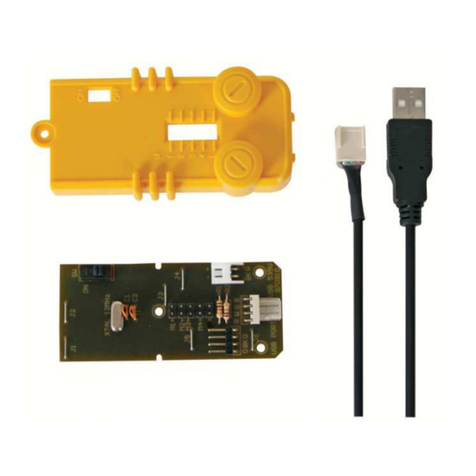
• The LTI-WiFi Interface Cradle comes with a micro-USB to USB-A 2.0 cable (power, computer
What you need to provide
• 5VDC/5W power supply with USB type A socket (or power supply with a fixed Micro-USB cable).
• Wireless network with internet connection.
• Computer for configuration of Wireless Interface
• LogTag Online account
2. Connecting the Interface Cradle
Connect the Interface Cradle to your computer using the included USB cable. Please note that the wider
part of the Interface Cradle’s USB socket is oriented towards the bottom.
Both LED’s will briefly blink to indicate your computer has recognized the new device. Windows will now
proceed with the setup. This may take a few moments. Once the setup is complete, you can start the
wireless network connection process.
WiFi Connection Wizard
• To configure the wireless network connection, download the WiFi Configuration Wizard:
http://help.logtagrecorders.com/WiFi-Interface/
• Under the “Setting up...” icon, select the “WiFi Configuration Wizard”.

• On the next page click the button “Download Now”. The WiFi Configuration Wizard will now be
downloaded.

• Start the WiFi Configuration Wizard by double clicknig the downloaded file. Select the “Easy WiFi
Setup” and click “Next”.

• On the next screen, the WiFi Configuration Wizard will scan for your LTI-WiFi Interface Cradle. Click on
“next when your Interface Cradle has been found.

• The next screen will ask to add in your network security key (WiFi password), so your WiFi connection
can be established.
• Put in your WiFi password, click “Next” and the screen will disappear. The wireless connection has
now been set up.
Connecting to LogTag Online
• Your WiFi Interface Cradle has now been set up for a connection with LogTag Online. To finish the
setup, visit http://logtagonline.com
• Sign in with your account details, or create a new account. When you are creating a new account, a
verification email will be sent to your email address.
• Once you are logged into LogTag Online, please click “register device”. Here you can register your
LTI-WiFi Interface Cradle. When you use a WiFi Interface Cradle, it’s not necessary to register your
Logger you are using. Enter a description and the Interface Cradle serial number (the number after
S/N, found at the underside of the Interface Cradle).

• Click register to complete the process. Your LTI-WiFi Interface Cradle is now ready to upload data to
the LogTag Online cloud service.
• Connect the LTI-WiFi Interface Cradle to your computer. Once the Interface Cradle has been
connected to your LogTag Online account, the blue LED will turn on. If it can’t connect, you can use
the Network LED table to detect possible causes (see “4. ADDITIONAL INFORMATION” on page
8). Make sure you close LogTag Analyzer or any other LogTag software when using LogTag Online
to make sure that it can detect your Logger and/or Interface Cradle.
• Insert a (non-WiFi) Logger into the LTI-WiFi Interface Cradle. The recorded data is now automatically
downloaded into the Interface Cradle’s internal memory. The green ‘ready’ LED will turn off and the red
‘busy’ LED will turn on during the data exchange.
• If the download was successful, the green LED blinks and you can remove the Logger. The Interface
Cradle will now upload the data to the cloud server (LogTag Online), where they will be available for
viewing after a short time. If no cloud server connection is available, the data will be retained in the
Interface Cradle until a connection can be made.
If an error occurred the red ‘busy’ LED blinks. The most common causes for this are a low battery, dirty
Logger contacts or downloading a Logger while it’s still cold. You will also see this red LED blinking if you
don’t provide a password if required or cancel an operation mid-way.
The red activity LED will blink slowly when the Interface Cradle’s memory is full and no more Loggers can
be downloaded until the buffered data are uploaded to the cloud.
Your data will show up in your location (if this has been set up), otherwise it will show up in LogTag Drive.
More information about these different options can be found in the LogTag Online User Manual.
3. Download the results

SIGNAL SEQUENCE
Initialised 7alternate flashes of green/red LED’s
Waiting for a Logger Green LED is solid on
Logger being downloaded Red LED is solid on
Download successful Sequence of very quick flashes of green LED’s
Problems during download Sequence of very quick flashes of red LED’s
Interface memory full Slow blinking of red LED’s
4. ADDITIONAL INFORMATION
Light patterns
SIGNAL SEQUENCE
WiFi not configured or off No LED signal
Not connected to WiFi Slow blinking of red LED’s
Connected to WiFi, but no cloud server connection* Red LED is solid on
Connected to cloud server , link not established* Slow blinking of blue LED’s
Connected to cloud server, link established Blue LED is solid on
Uploading data Quick flashes of blue LED’s
LED Signals - Network LED’s
* Some signals only appear for a very short time, and may not always be observed
Table of contents