Mezzo ME TF-10Q User manual
ME TF-10Q
80IM.pdf 16/5/07 9:10:23 AM

Important Safety Instructions
-Save these instructions-
INSTALLATION INSTRUCTIONS
Before Using Your Freezer
•Remove the exterior and interior packing.
•Check to be sure you have all of the following parts:
4 Baskets
1 Instruction Manual
•Before connecting the freezer to the power source, let it stand upright for approximately 2 hours.
This will reduce the possibility of a malfunction in the cooling system from handling during
transportation.
•Clean the interior surface with lukewarm water using a soft cloth.
Installation of Your Freezer
•Place your freezer on a floor that is strong enough to support the freezer when it is fully loaded.
To level your freezer, adjust the legs at the front of the freezer.
•Allow 5 inches of space between the back and sides of the freezer, which allows the proper air
circulation to cool the compressor.
•Locate the freezer away from direct sunlight and sources of heat (stove, heater, radiator, etc.).
Direct sunlight may affect the acrylic coating and heat sources may increase electrical
consumption. Extreme cold ambient temperatures may also cause the freezer not to perform
properly.
•Avoid locating the freezer in moist areas. Too much moisture in the air will cause frost to form
quickly on the evaporator requiring more frequent defrosting of the freezer.
•Plug the freezer into an exclusive properly installed-grounded wall outlet. Do not under any
circumstances cut or remove the third (ground) prong from the power cord. Any questions
concerning power and or grounding should be directed toward a certified electrician.
2
•Never allow children to operate, play with, or crawl inside the freezer.
•Before discarding or storing any refrigerator or freezer, consider the entrapments/
suffocation risk for small children. Take off the doors and leave the shelves in place
so that small children cannot easily climb inside
•Read all instructions before using the freezer.
• Never clean freezer parts with flammable liquids.
The fumes can create a fire hazard or explosion.
To reduce the risk of fire, electrical shock,
or injury when using your freezer, follow
these basic precautions:
WARNING-RISK OF CHILDREN ENTRAPMENT
GENERAL WARNING
THIS APPLIANCE IS NOT INTENDED FOR USE BY YOUNG CHILDREN OR INFIRM
PERSONS UNLESS THEY HAVE BEEN ADEQUATELY SUPERVISED BY A RESPONSIBLE
PERSON TO ENSURE THAT THEY CAN USE THE APPLIANCE SAFELY. YOUNG CHILDREN
SHOULD BE SUPERVISED TO EN T PLAY WITH THE APPLIANCE.
SURE THAT THEY DO NO
80IM.pdf 28/5/07 1:38:57 PM
Electrical Connection
Warning
Improper use of the grounded plug can result in the risk of electrical shock. If the
power cord is damaged, It must be replaced by the manufacturer, its service agent
or similarly qualified persons in order to avoid a hazard.
This freezer should be properly grounded for your safety. The power cord of this freezer is
equipped with a three-prong plug which mates with standard three prong wall outlets to
minimize the possibility of electrical shock.
Do not under any circumstances cut or remove the third ground prong from the power cord
supplied.
Use of extension cords is not recommended.
This freezer requires a standard 220/240 volts, 50Hz electrical outlet with three-prong ground.
The cord should be secured behind the freezer and not left exposed or dangling to prevent
accidental injury.
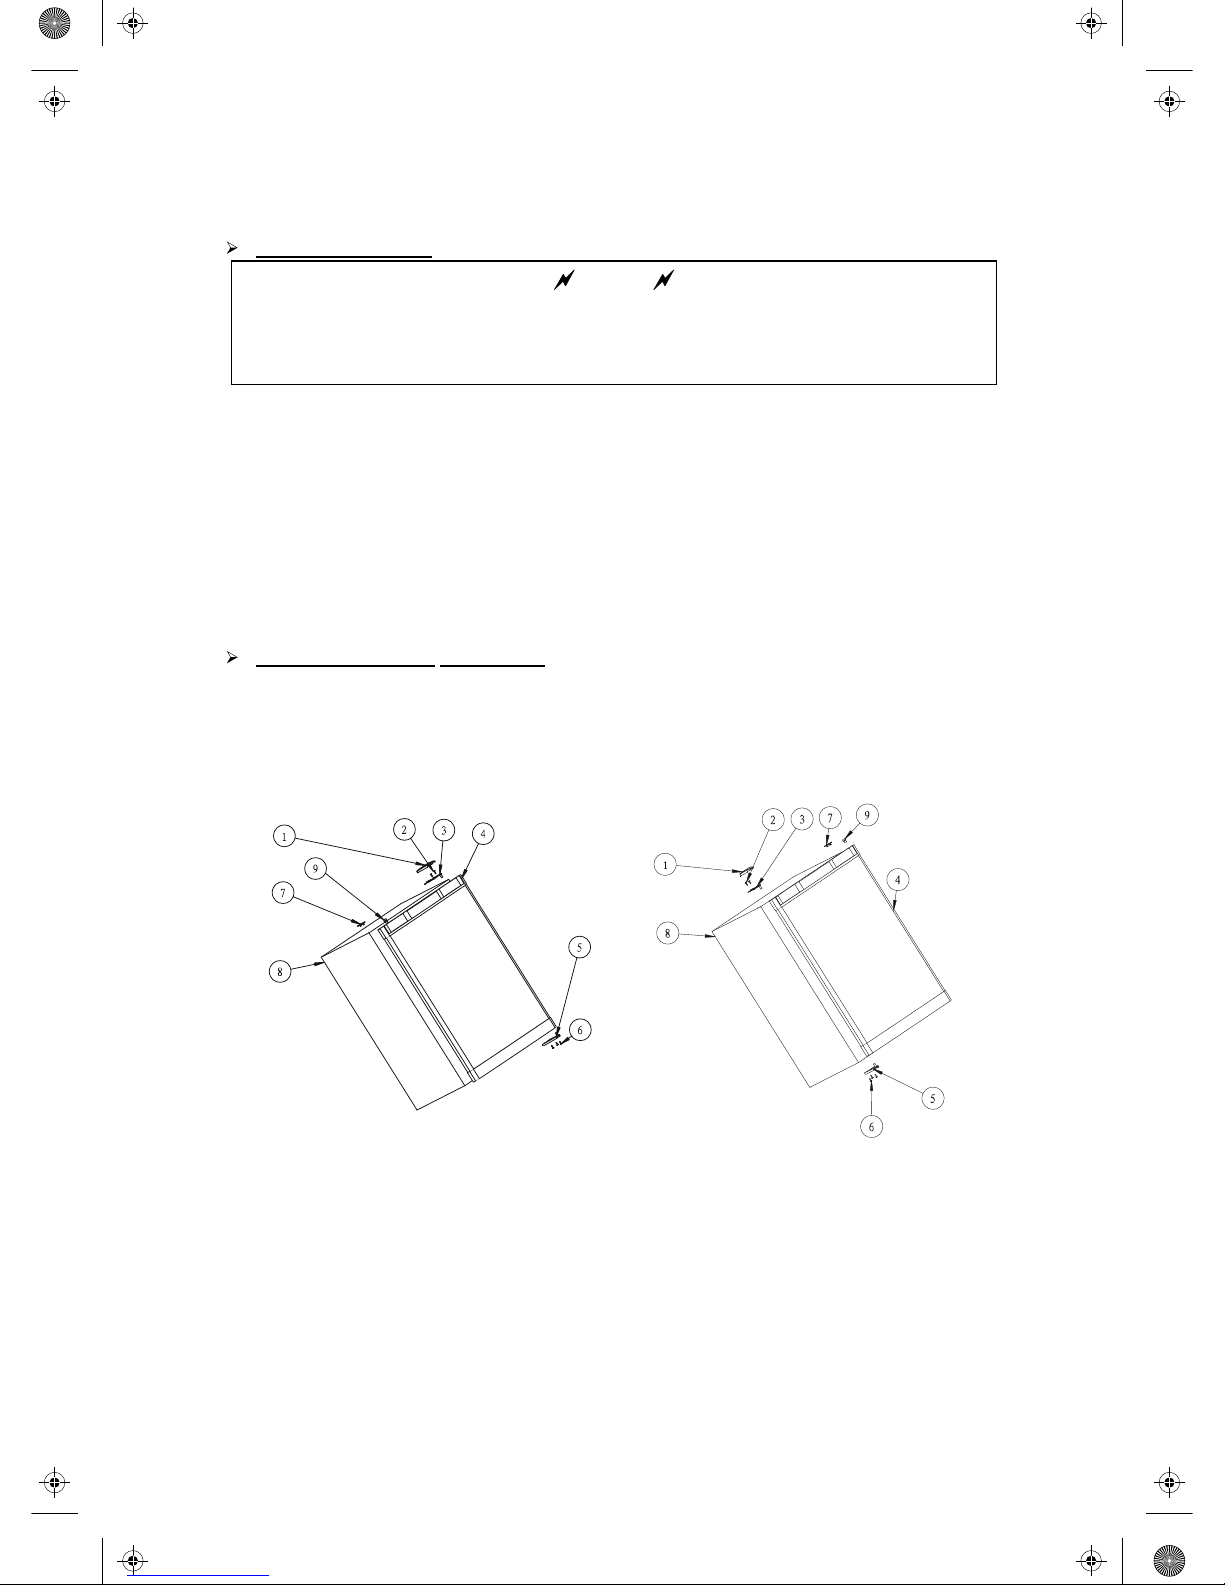
Reversing the Door of Your Freezer
This freezer can be opened either from the left or right side. The default way of opening the door is
from the right side. If you want to open the door from the left side, please follow the instructions
below.
NOTE: All the removed parts must be well kept for the reinstallation of the door
FIGURE 1 (Normal position) FIGURE 2 (Position after door reversal)
1 Upper hinge cover
2 Screw
3 Upper hinge
4 Door
5 Lower Door Hinge
6 Screw
7 Hole cover
8 Cabinet
9 Pin cap
3
80IM.pdf 17/5/07 3:33:27 PM

•Remove the three screws (6) that hold the lower door hinge (5), keep the hinge for later
use.
•Remove the door from the upper pin (3), and keep the padded surface upwards to prevent
the scratching.
•Remove the upper hinge cover (1), remove the two screw (2), hold the upper hinge(3), save
the hinge for later use.
•Remove the hole cover (1) and transfer it to the same location on the opposite side.
•Insert the lower door hinge in the right side, fix the lower right hinge by tightening all the
screws.
•Remove the pin cap (9) from the right side of the upper frame of the door, and then transfer
it to the same location on the opposite side.
•Put the door on the Lower Door Hinge(5), keep the door level , and then fix the upper
hinge(3) to the body(4) by the screws
•Put on the upper hinge cover(1).
OPERATING YOUR FREEZER
Temperature Control
•The temperature control is located at the rear bottom corner of the appliance.
•The first time you turn the unit on set the temperature control to the maximum position, using a
coin or flathead screwdriver.
•The range of the temperature control is from position" 1" the warmest to “6” the coldest. After 24
to 48 hours, adjust the temperature control to the setting that best suites your needs. The
setting of “3~4” should be correct for home or office freezer use.
•To turn the freezer off, turn the temperature control to "OFF”
NOTE:
Turning the temperature control to "OFF" position stops the cooling cycle but does not shut
off the power to the freezer.
If the unit is unplugged, power lost, or turned off; you must wait 3 to 5 minutes before
restarting the unit. If you attempt to restart before this time delay, the freezer will not start.
Defrosting Your Freezer
•When? For the most efficient operation and minimum energy consumption, defrost the freezer
compartment when the frost on the freezer walls is excessive or ¼ inch thick.
•How? To start defrosting, turn the temperature control to "OFF", unplug the freezer, remove the
food and baskets. After the frost or ice has melted, discard the water and dry up the
interior of freezer. Then the freezer can be restarted by a turning its thermostat to the desired
setting.
CAUTION
Do not use boiling water because it may damage the plastic parts. In addition, never use
a sharp or metallic instrument to remove ice as it may damage the cooling coils and
will void the warranty. We recommend using a plastic scraper.
•Use a sponge or towel to pick up the melting ice off the freezer floor.
The Freezer Compartment
•This compartment is designed for the long term storage of frozen food.
•The storage life of frozen foods varies and the recommended storage time should not be
exceeded. The instructions regarding the care of frozen foods should be followed when
defrosting the freezer.
•Pre-packed commercially frozen food should be stored in accordance with the frozen foods
manufacturer’s instructions for a three star frozen food storage compartment or home freezer.
4
80IM.pdf 17/5/07 3:37:08 PM

•Place frozen food into the freezer as quickly as possible after purchase. If there are instructions
on the packet, carefully follow these instructions regarding storage times.
•The freezer door is susceptible to breaking due to excessive ice build up. Be sure to defrost
when the ice reaches ¼ inch thick.
CARE AND MAINTENANCE
Cleaning Your Freezer
•Turn the temperature control to "OFF", unplug the freezer, and remove the food, and baskets.
•Wash the inside with a warm water and baking soda solution. The solution should be about 2
tablespoons of baking soda to a 1 litre of water.
•Wash the baskets with a mild detergent solution.
•The outside of the freezer should be cleaned with mild detergent and warm water.
CAUTION
Failure to unplug the freezer could result in electrical shock or personal injury.
•Power Failure
Most power failures are corrected within a few hours and should not affect the temperature
of your freezer if you minimize the number of times the door is opened. If the power is going
to be off for a longer period of time, you need to take the proper steps to protect your food.
Vacation Time
During long absences, remove all the food; unplug your freezer, clean your freezer, and leave the
door open slightly to avoid possible formation of condensation, mold, or odors.
Moving Your Freezer
•Remove all the food.
•Securely tape down all loose items inside your freezer.
•Turn the leveling screws up to the base to avoid damage.
•Tape the door shut.
•Be sure the freezer stays in the upright position during transportation.
Energy Saving Tips
•The freezer should be located in the coolest area of the room, away from heat producing
appliances or heating ducts, and out of the direct sunlight.
•Let hot foods cool to room temperature before placing in the freezer. Overloading the freezer
forces the compressor to run longer. Foods that freeze too slowly may lose quality, or spoil.
•Be sure to wrap foods properly, and wipe containers dry before placing them in the freezer.
This cuts down on frost build-up inside the freezer.
•Freezer storage baskets should not be lined with aluminum foil, wax paper, or paper toweling.
Liners interfere with cold air circulation, making the freezer less efficient.
•Organize and label food to reduce door openings and extended searches. Remove as many
items as needed at one time, and close the door as soon as possible.
5
80IM.pdf 17/5/07 3:39:01 PM
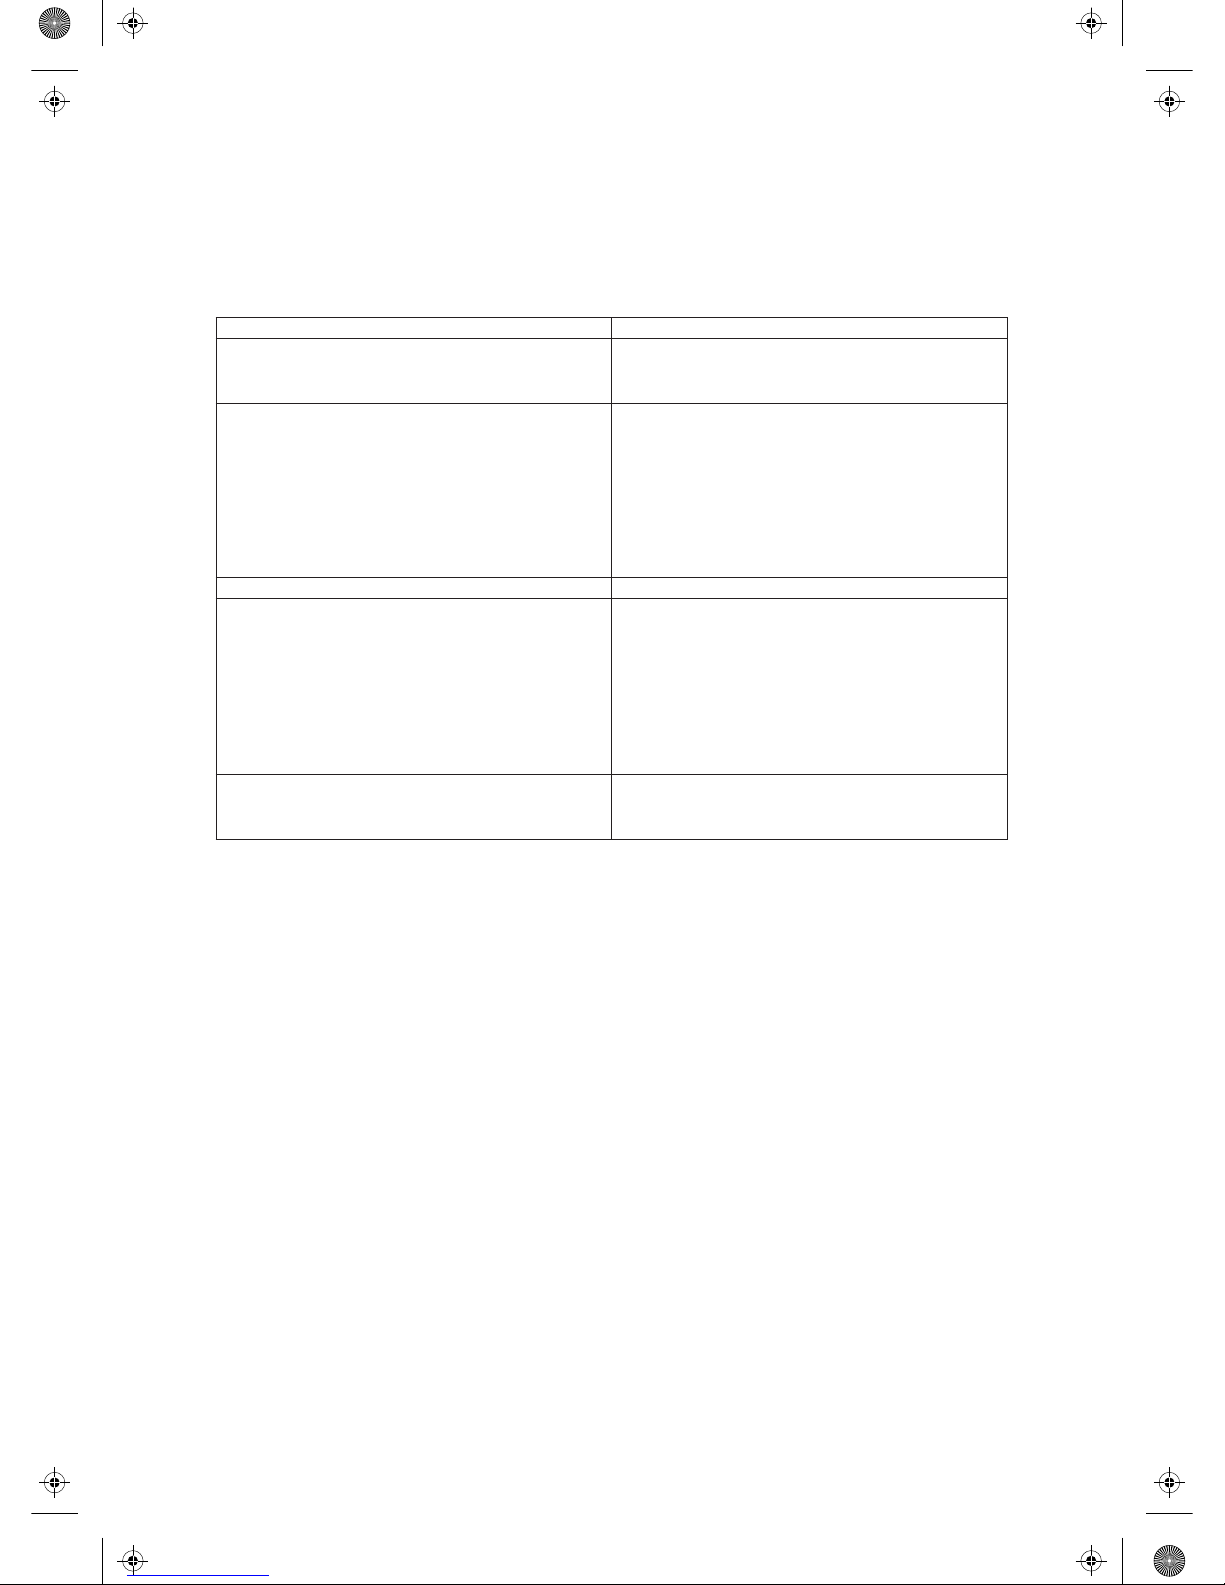
PROBLEMS WITH YOUR FREEZER?
You can solve many common freezer problems easily, saving you the cost of a possible service call. Try
the suggestions below to see if you can solve the problem before calling the service.
TROUBLESHOOTING GUIDE
PROBLEM POSSIBLE CAUSE
Freezer does not operate. Not plugged in.
The circuit breaker tripped or blown fuse.
The freezer temperature control is set at "0FF".
Compressor turns on and off frequently. The room temperature is hotter than normal.
A large amount of food has been added to the
freezer.
The door is opened too often.
The door is not closed completely.
The temperature control is not set correctly.
The door gasket does not seal properly.
The freezer does not have the correct clearances.
Vibrations. Check to assure that the freezer is level.
The freezer seems to make too much noise. The rattling noise may come from the flow of the
refrigerant, which is normal.
As each cycle ends, you may hear gurgling
sounds caused by the flow of refrigerant in your
freezer.
Contraction and expansion of the inside walls may
cause popping and crackling noises.
The freezer is not level.
The door will not close properly. The freezer is not level.
The door is reversed and not properly installed.
The baskets are out of position.
6
80IM.pdf 17/5/07 3:40:14 PM
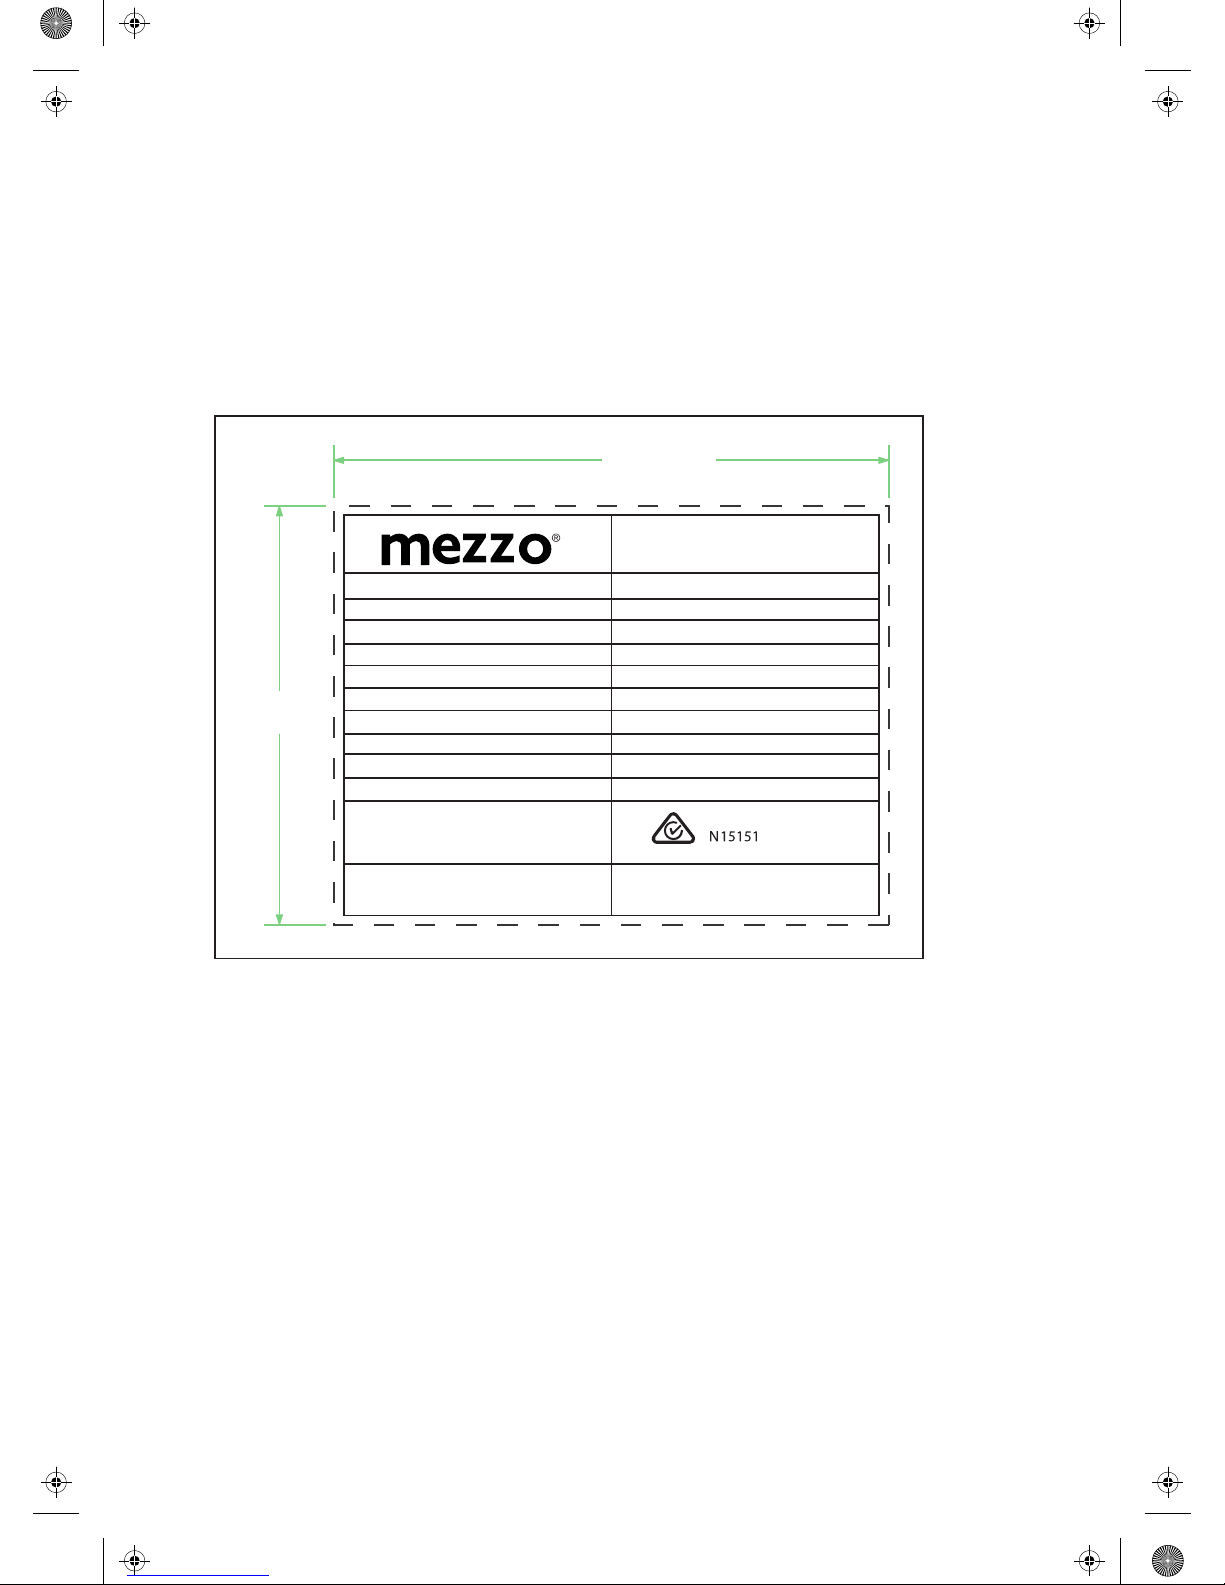
Freezer
114.0 mm
86.0 mm
ME TF-10Q
T
C-P
80 Litres
I
220-240V,50Hz
90W
R134a 70g
842×549×494mm
1.2A
Model:
Climate Class
Foaming Components
Net Volume
Protection Class
Voltage
Input Power
Current
Refrigerant
Dimensions(H×D×W)
Serial No.
Made in China 0807
80rating lable 23/5/07 10:41:04 AM

Warranty Card
This product is guaranteed against faulty materials and workmanship for a period of twelve months from the
date of purchase. This warranty becomes void if the product has been tampered with, damaged by accident,
damaged in any other way by improper use or has been purchased second hand. All production orders have
quality inspections.
For any customer query or in the unlikely event of a product failure, please phone
or email the helpline contact details below for assistance.
DO NOT RETURN THE PRODUCT TO THE RETAILER
WARRANTY FOR APPLIANCES USED COMMERCIALLY LIMITED TO 90 DAYS
IMPORTANT!
Please retain this warranty card along with your purchase receipt. Please do not post to the
retailer.
Toll Free Help line: 1300 366 144
Email: [email protected]
Product:
Model No: Purchase Date:
Product Purchased From:
Your Name:
Address:
Phone Number:
138.0 mm
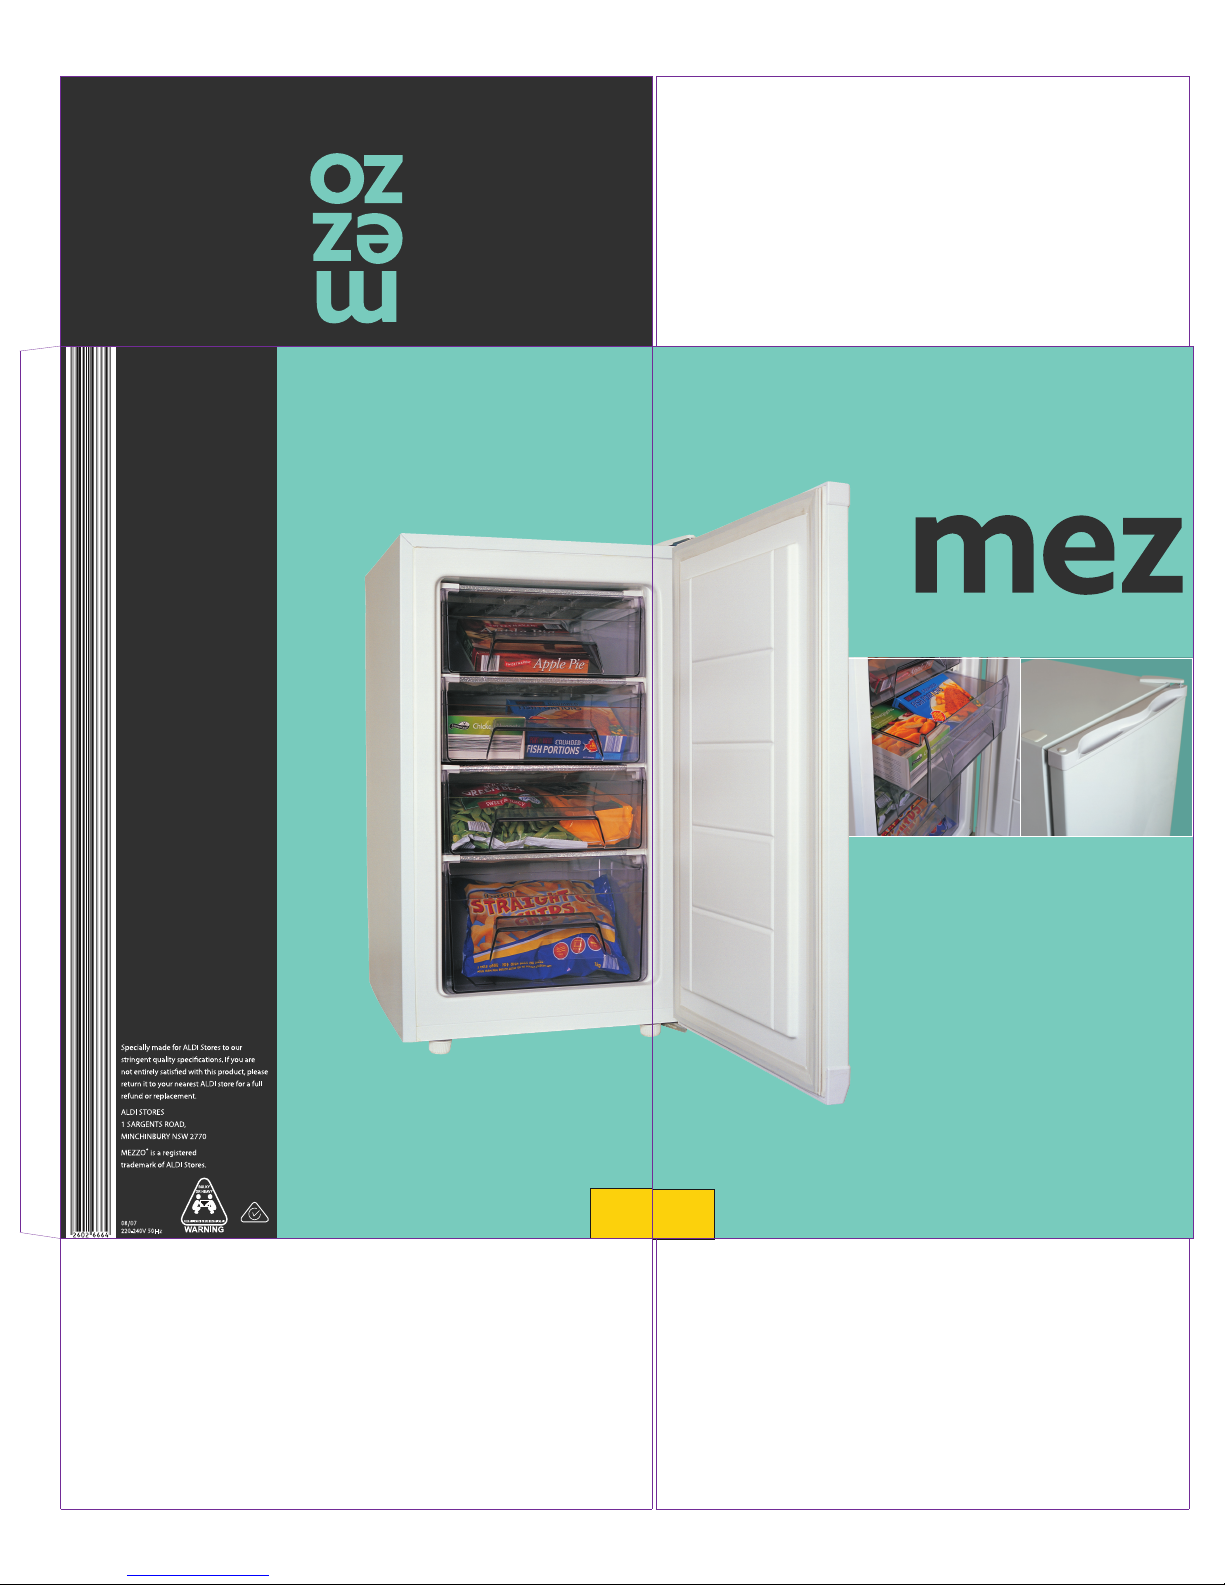
MEZZO freezer Model ME TF-10Q
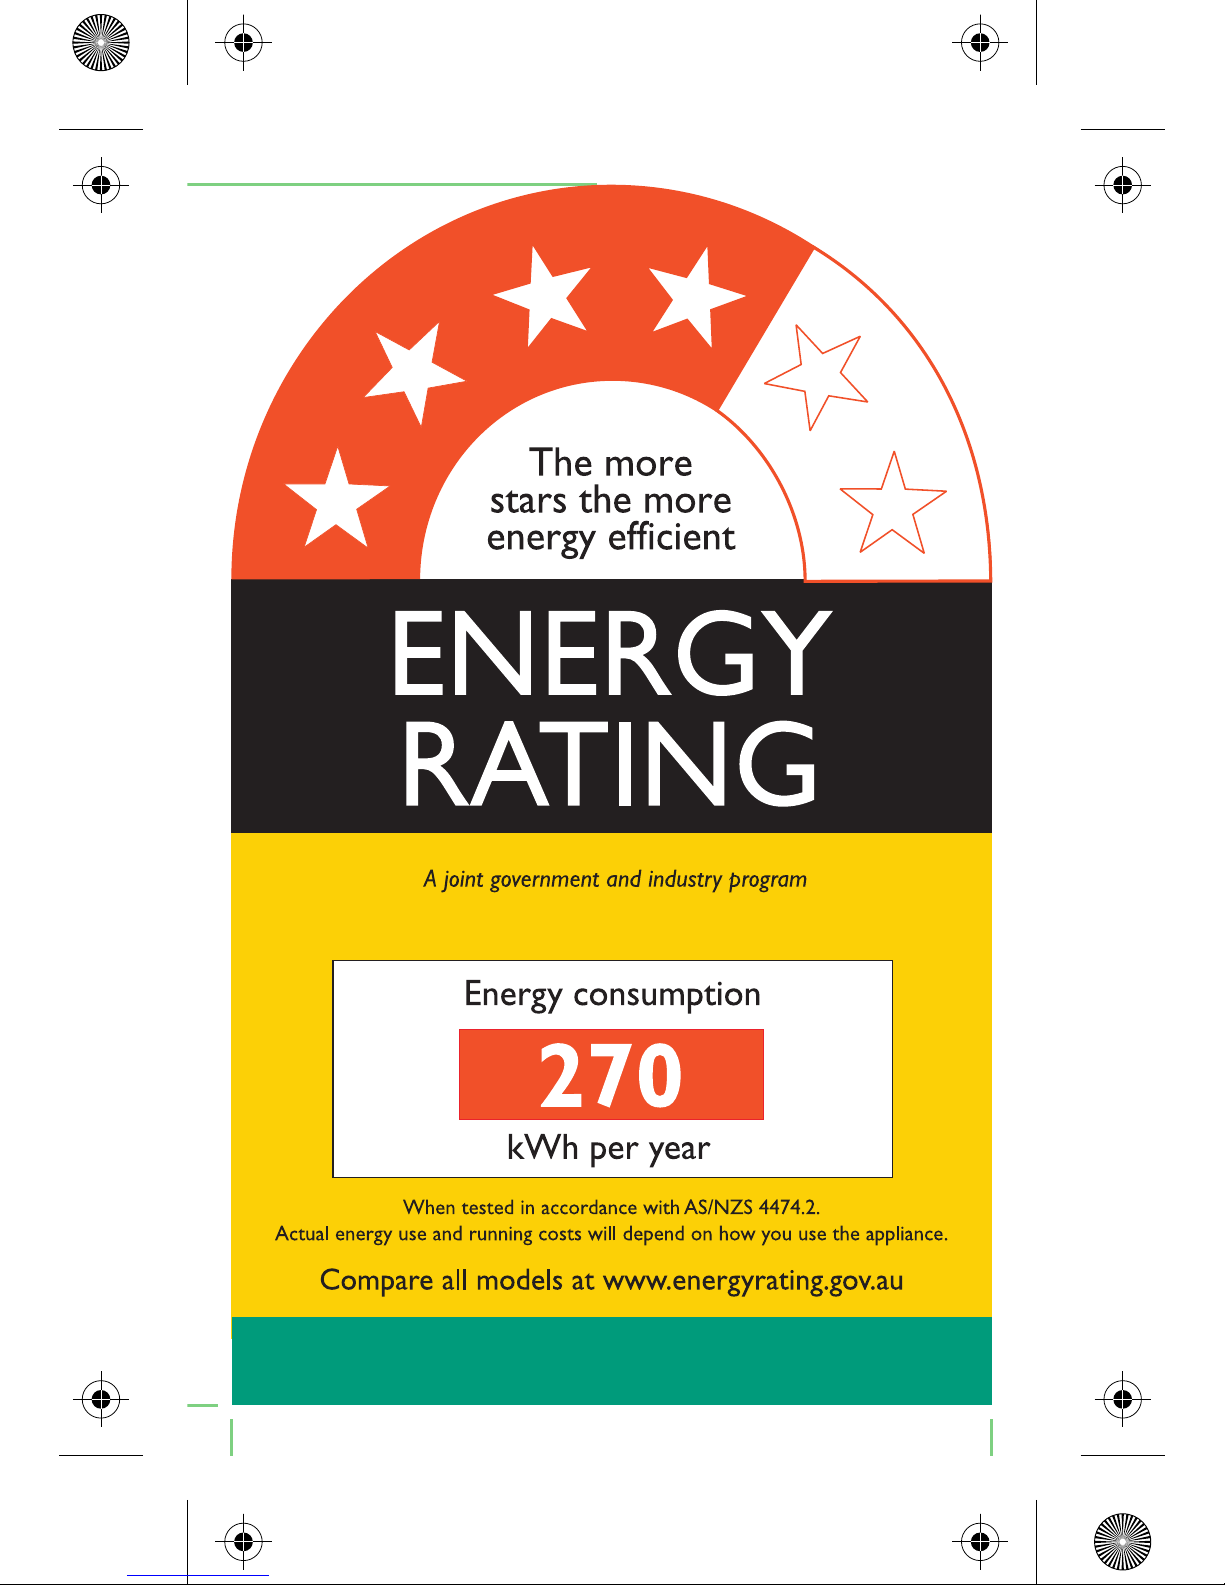
80Enger label 16/5/07 9:12:35 AM
KITCHEN
ESSENTIALS
®
80 litre capacity
Freezer
Four drawer design
Adjustable thermostat
Reversible door
Adjustable legs
441
N15151
www.aldi.com.au
08/07
220-240V 50Hz
441
30-35 kg
ME TF-10Q
Made in China
80 litre capacity
Freezer
Four drawer design
Adjustable thermostat
Reversible door
Adjustable legs
Table of contents


