minus40 S225SHD User manual

OPERATING INSTRUCTION GUIDE
Follow these easy steps to Install your new Minus40 unit.
• Set the desired temperature on the controller.
• Temperature can only be set between+0°C to +10°C (Fridge)
and - 5°C to - 15°C (Freezer).
• Check the voltage before the freezer is switched on, to prevent
damage of resulting from incorrect voltages.
• Position the unit out of direct sunlight and away from any other
sources of heat. Do not built into a furnishing xture, or have
its back to the wall as the unit “breaths” through the grill, and
if blocked, will not operate properly, damaging the compressor.
• Leave the unit switched on for 8 to 10 hours before stocking to
allow the temperature to drop down to operating temperature.
Afterwards, an additional 4 to 8 hours of power is required.
• Once the compressor switches off the unit is ready to use.
• For these units, the recommended minimum battery capacity is
100 amps hours.
• This size battery will operate the unit continuously for app. 17
hours without re-charging.
• These models can also operate on 24/DC electrical current.
• Voltage drops during operation and start-up due to extended
leads can cause premature failure of electrical equipment and
could constitute a re hazard.
• The motor is thermostatically controlled and will switch off when
the freezer has reached operating temperature.
• The maximum ambient temperature at which the unit will function
is 35°C.
• Ensure the unit is perfectly level for the door to function properly.
• Defrost the unit when the ice formed on the side of the freezer is
+12mm thick.
• Always close the door properly and do not overstock the unit.
• The battery used will require re-charging periodically. This can
be done using a charger operating from the mains, utilizing a
solar panel.
S225SHD Solar Refrigerator
Congratulations on your new Minus40 Refrigerator!
This premium product incorporates the latest innovations in
refrigeration technology with a highly durable design. Properly
maintained, the unit(s) will provide many years of reliable service.
MINUS
40
MINUS40 (PTY) Ltd Head Office: 8 Manhattan Street | Airport Industria Ext 2 | Western Cape
MINUS40 Instruction Manual Solar Fridge/Freezer
SAFETY INSTRUCTION
• Always disconnect the unit from the mains supply before
attempting to do maintenance or before removing the bottom
grille.
• In case of unit failure, disconnect it from the power supply and
contact your service technician or supplier for advice.
• If the supply cord is damaged it must be replaced by the
manufacturer or its service agent or a similarly qualied person
to avoid a hazard.
CLEANING INSTRUCTIONS
Interior and Exterior Cleaning
• Please ensure that the unit has been disconnected from the
electricity supply.
• The unit should be cleaned periodically with a non-abrasive
cleaner and soft cloth.
• Do not use any detergents or abrasive
• A damp cloth may be used provided that all surfaces are polished
dry afterwards.
In the event of the unit not being used for extended periods;
• Disconnect from the power supply.
• Remove all the stock
• Thoroughly clean the unit inside and out.
• Leave the door(s) slightly open so that air can circulate freely.
• Switch the unit back on & wait until temperature has stabalized
before loading medicine / vaccines
Please read the following instructions carefully as it contains
important information concerning the safety, installation, operation and
maintenance of your Refrigerator.
POWER SUPPLY
DO NOT CONNECT THE UNIT TO THE MAINS SUPPLY UNTIL YOU
HAVE READ THE FOLLOWING INFORMATION.
• The Solar refrigerator can be used on 12/24V DC. If the unit is
require to run on 110 -220V/AC, the correct power supply cord
for 220V is required.
• The power supply should be per the electrical specications
listed on the rating plate. The rating plate can be located inside
the unit on the top right-hand side.
• Always ensure that the electrical connection is suitably earthed.
• An inadequate electrical installation can result in voltage
reduction at the compressor or cause damage to the motor.
• If in doubt about any of the electrical matters mentioned above, a
suitably qualied electrician should be consulted.
• When all of the electrical requirements have been satised, the
unit may be plugged into the mains socket.
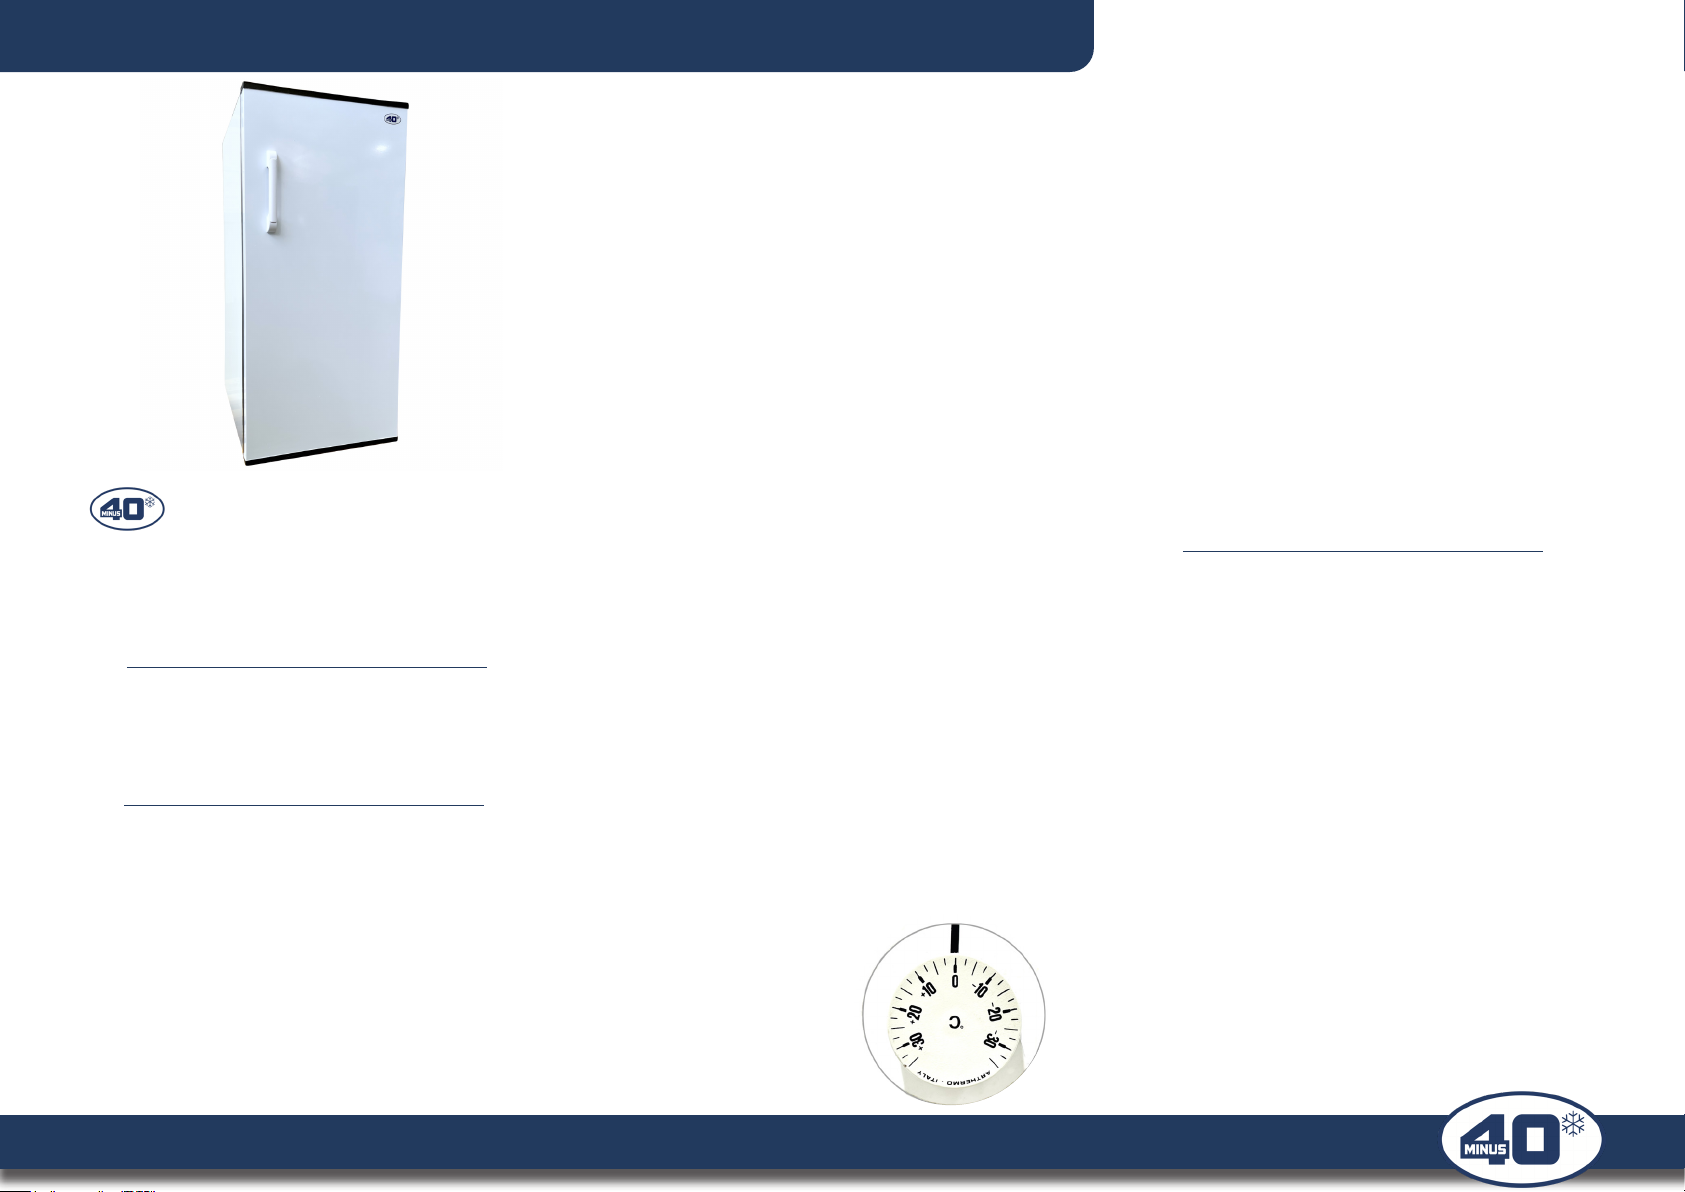
Themostat control
positioned
at 0°C Degrees

100 - 240V AC
50V60Hz
Fuse Main Switch
Power Supply
-
+
Main Switch
Fan
LED +
-
Thermostat
R1
R2
-
-
-
+
F
A
C
D
C
P
T
L
N
101N0500
o
MINUS
40
MINUS40 (PTY) Ltd Head Office: 8 Manhattan Street | Airport Industria Ext 2 | Western Cape
MINUS40 Instruction Manual Solar Fridge/Freezer
TEMPERATUR SETTING GUIDELINE
PRODUCT STORAGE TIME TEMPERATURE
※Uncooked meat ※1 to 2 days
※8 to 10°C degrees
※Milk & Dairy products ※2 to 3 days
※5 to 8°C degrees
※Vegetables ※+7 days
※5 to 9°C degrees
※Frozen meat & poultry ※up to 7 days
※-6 to -2°C degrees
※Pre-prepared food ※Not exceeding 30 days
※-15 to -12°C degrees
WIRING DIAGRAM - S225SHD
SAFETY INSTRUCTION
• All plugs and switches in the circuit should have a 20Amp DC
rating and wiring should have a cross section area of not less
than 2.5mm.
• A separate earth (Negative) wire should run the fridge to the
auxiliary battery, and NOT earth to the vehicle body.
• The wire should be the same thickness as the positive wire.

MINUS
40
MINUS40 (PTY) Ltd Head Office: 8 Manhattan Street | Airport Industria Ext 2 | Western Cape
MINUS40 Instruction Manual Solar Fridge/Freezer
TROUBLE SHOOTING CHECKLIST
SYMPTOM CHECK
※The unit does not run & the controller or fans do not
work or the lights are off
※Make sure the unit is plugged in
※Check for a tripped circuit breaker
※Unit does not run, but the controller is on ※Check the temperature setting on the controller
※Unplug the unit, wait two hours and plug it in. If you hear it running, a problem is causing the compressor to
overheat
※Check if the evaporator fan is running
※Listen if the compressor ever runs. If not the compressor might be faulty
※Unit is not cold enough ※Check the temperature setting
※Assure that there is enough room for airow in the fridge.
※Check for airow restrictions in front and at the back of the grille.
※Clean the condenser coils
※Check the door seal
※Unit is too cold ※Check the temperature setting
※Unit is noisy ※Hissing and popping sounds are normal.
※Check that the fridge is level
※Unit runs continuously ※Check the door seals
※Clean Condensor
※In the event of a breakdown ※Disconnect the fridge from the power supply. Contact your supplier for advice.
※Compressor does not run and red light emmitting
diode ashes
※i - Once every 4 Seconds
※Check wiring thickness as per manual. Check for loose connections in plugs or leads.
※Check for low battery and re-charge with fridge disconnected from battery
※ii. Twice every 4 Sec ※Disconnect fan at F. If problem goes away, replace fan motor. If persists contact your Minus 40 Dealer/
Agent
※iII. Three times every 4 Sec ※Switch fridge off for 15 minutes to allow differential pressure to equalize in the Refrigeration system.
※Restart fridge.
※i. Four times every 4Sec ※Check that fan working
※Check that ambient temperature does not exceed 55°C. Pre-cool the unit before loading

MINUS
40
MINUS40 (PTY) Ltd Head Office: 8 Manhattan Street | Airport Industria Ext 2 | Western Cape
MINUS40 Instruction Manual Solar Fridge/Freezer
CONDENSER CLEANING
Always follow these steps when cleaing the unit condenser.
Remember the Voltage Protector
The Refrigerator must always be connected to a voltage protector
supplied. If neglected the warranty will be void.
Power off
Unplug the unit from the mains
electricity supply.
Remove
the Grille
Remove the bottom grille
underneath the door(s) by lifting
slightly and pull away from the
retaining handle.
CAUTION: Some pipework &
components might be hot
Locate
Condenser
Locate the condensor next to,
and attached to, the fan.
*It looks similar to a car radiator
Soft Brush
Take a soft brush and clean
the ns.
CAUTION: The condensor is
very delicate
• Do not to bend the ns.
• Never poke anything
through the ns
• Never use water
• Never use a hard brush
Vaccuum
If possible, use a vaccuum to
clean away the debris.
Check the rest of the
compartment for any foreign
objects and remove.
Remove Tools
Ensure that all tools have been
removed.
Voltage
Protector
Plug the unit back in to the
mains electricity supply.
Ensure that the voltage
protector is in use.
Listen to ensure the unit runs
normally.
Log the Data
Log the date of the cleaning
and make a dairy note to clean
it again in 2 to 3 months
1
2
3
4
5
6
7
8
Why Clean the Condenser?
The function of the condenser is to dissipate the heat from within the
fridge/freezer. By keeping the ns clear of dust, the unit will run more
effectively with lower energy consumption and a longer product life.

MINUS
40
MINUS40 (PTY) Ltd Head Office: 8 Manhattan Street | Airport Industria Ext 2 | Western Cape
MINUS40 Instruction Manual Solar Fridge/Freezer
CONDENSER CLEANING SCHEDULE
Please indicate the DAYS that the condenser is cleaned on the chart
Date cleaned marked with an ‘X’
1 2 3 4 5 6 7 8 9 10 11 12 13 14 15 16 17 18 19 20 21 22 23 24 25 26 27 28 29 30 31
Jan
Feb
Mar
Apr
May
Jun
Jul
Aug
Sep
Oct
Nov
Dec
• Clean the condenser with a soft brush
• Check the condenser monthly
• If there is dirt of uff on the condenser clean as above
• Mark the chart above with a cross on the DAYS that the condenser is cleaned
Table of contents
Other minus40 Freezer manuals