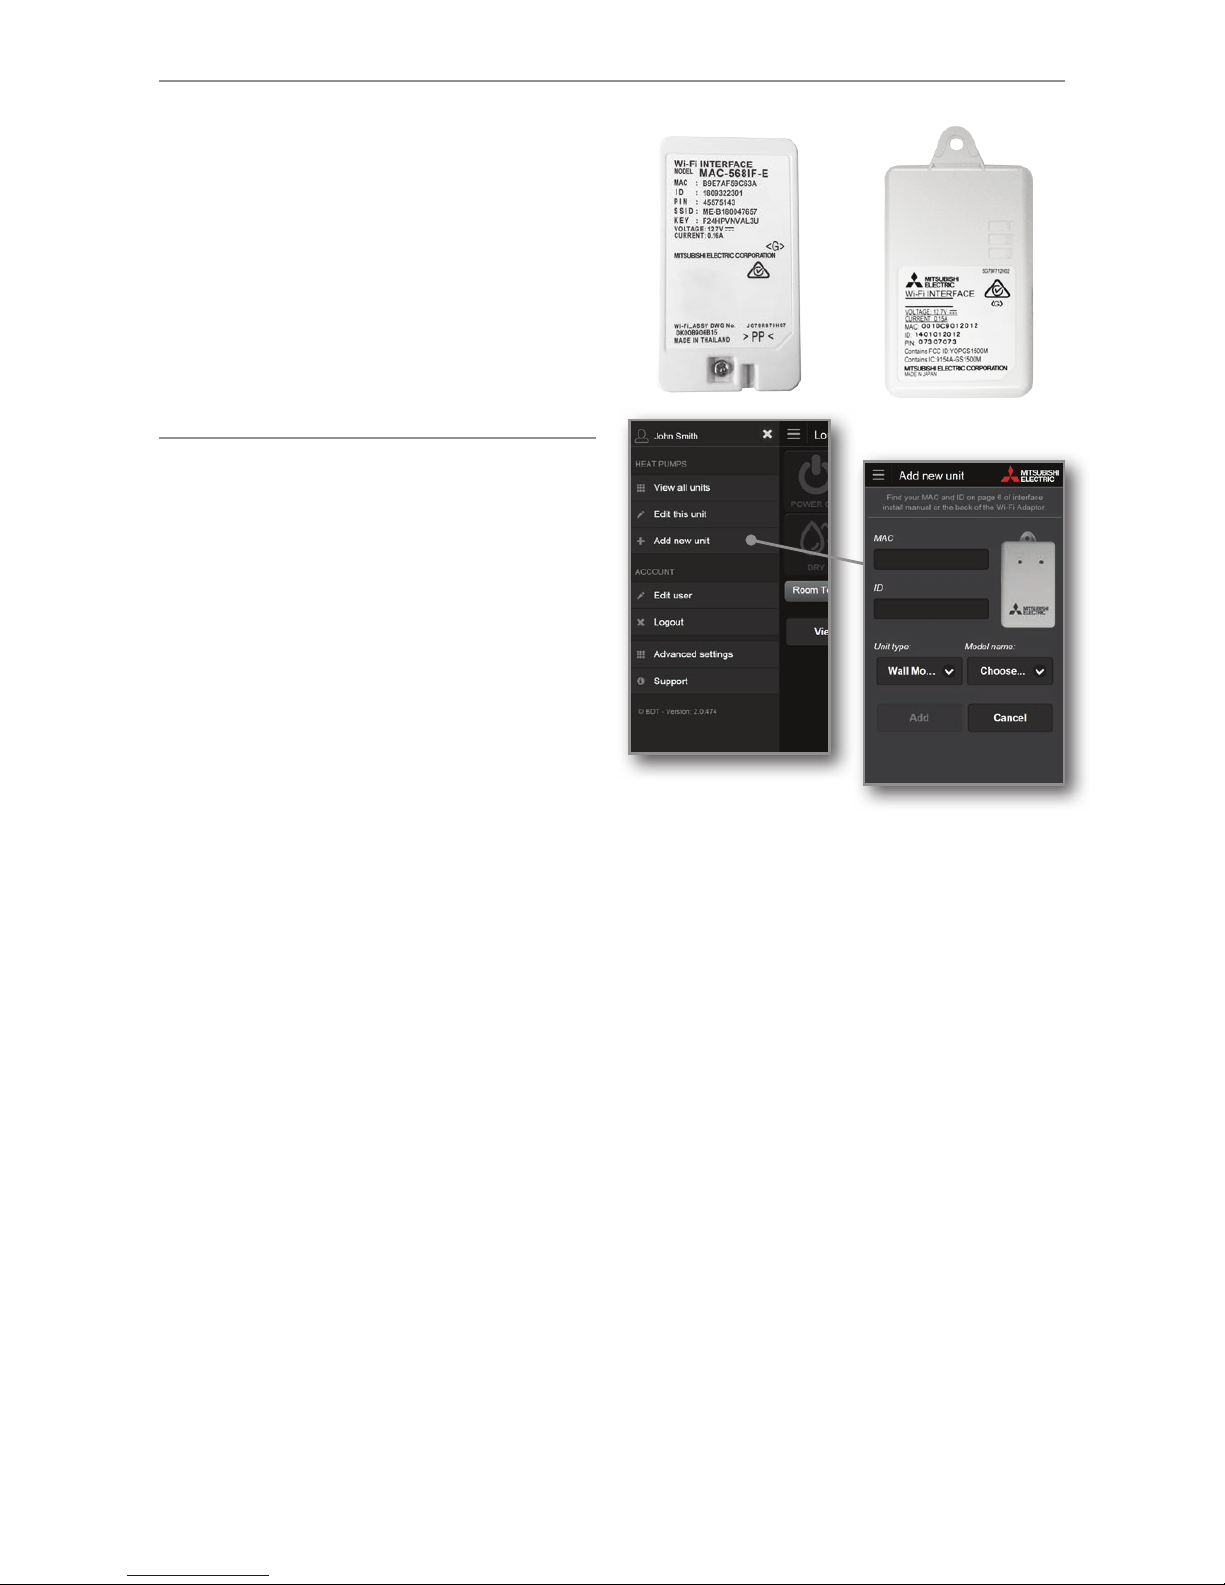
33
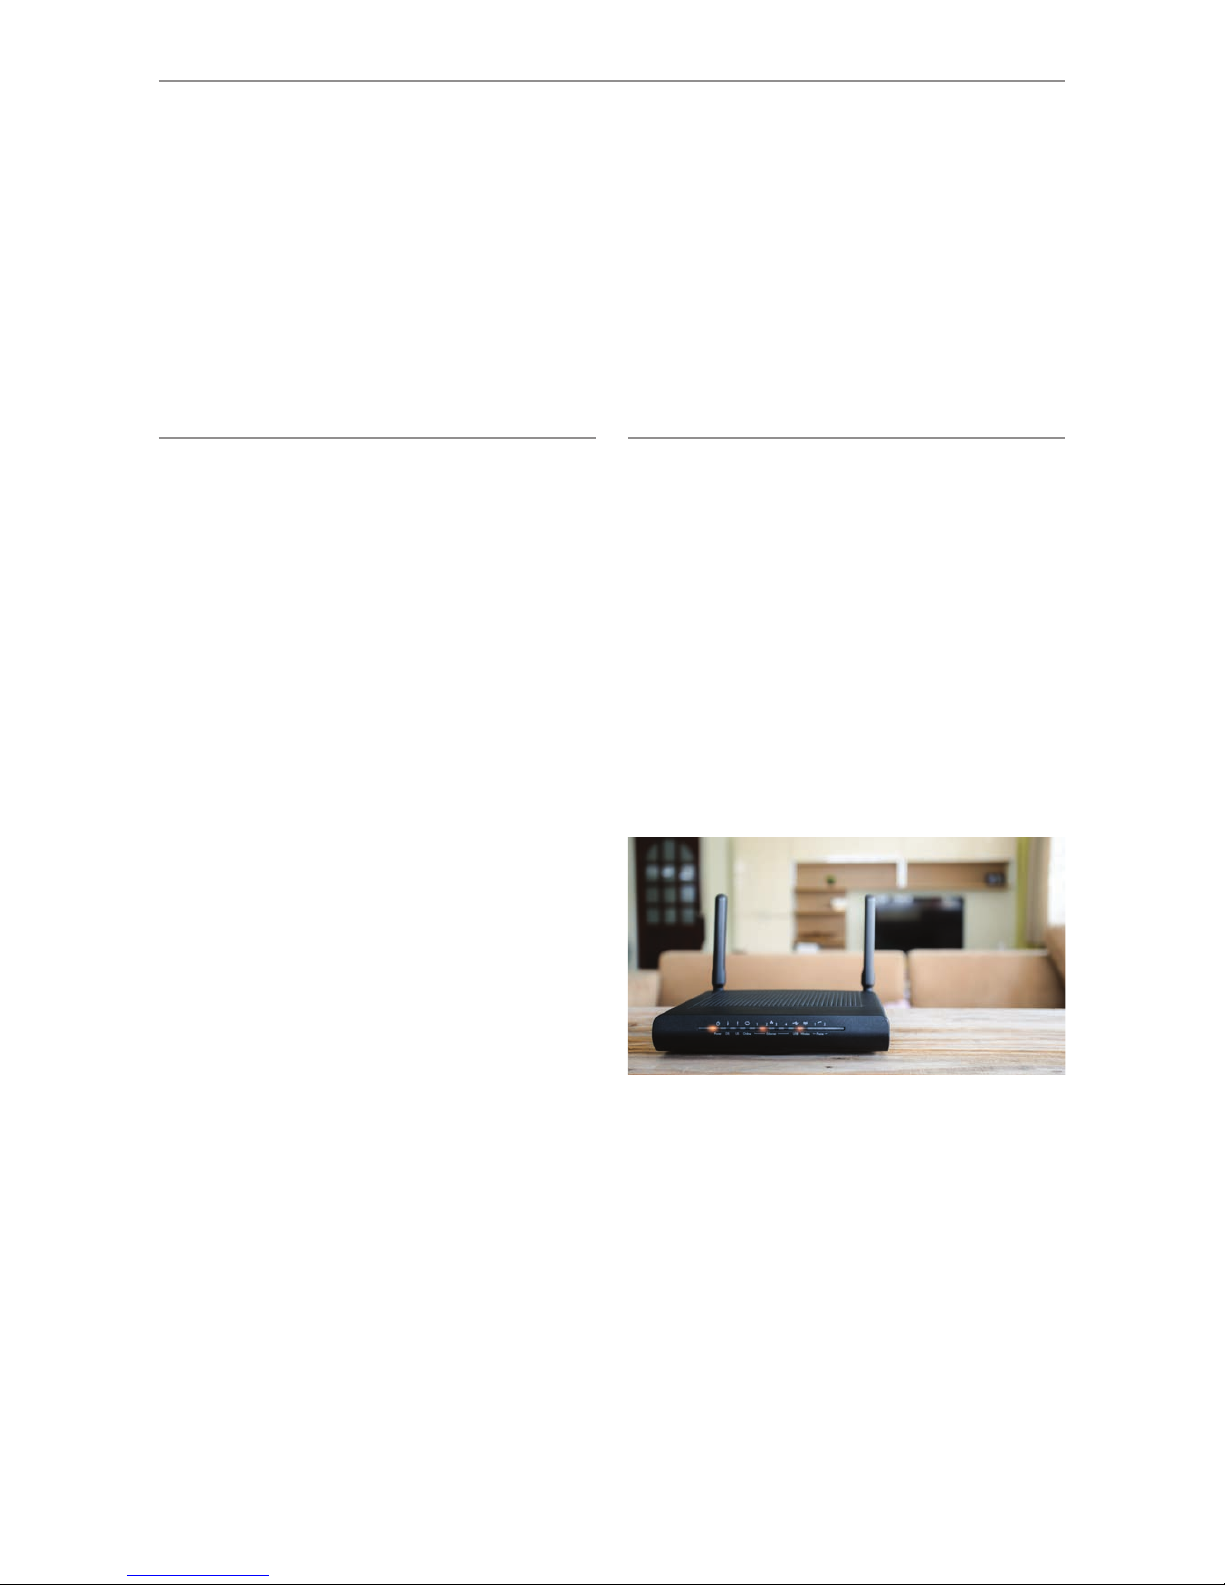
Mitsubishi Electric Wi-Fi Heat Pump Control
is an award-winning cloud-based solution
for controlling your Mitsubishi Electric
Heat Pump/Air Conditioning system(s) via
smartphone, tablet, or PC no matter where
you are.
Wi-Fi Heat Pump Control also continues to offer local
operation when you are physically within the vicinity of the
system you wish to manage, effectively replacing the need to
use your traditional heat pump remote.
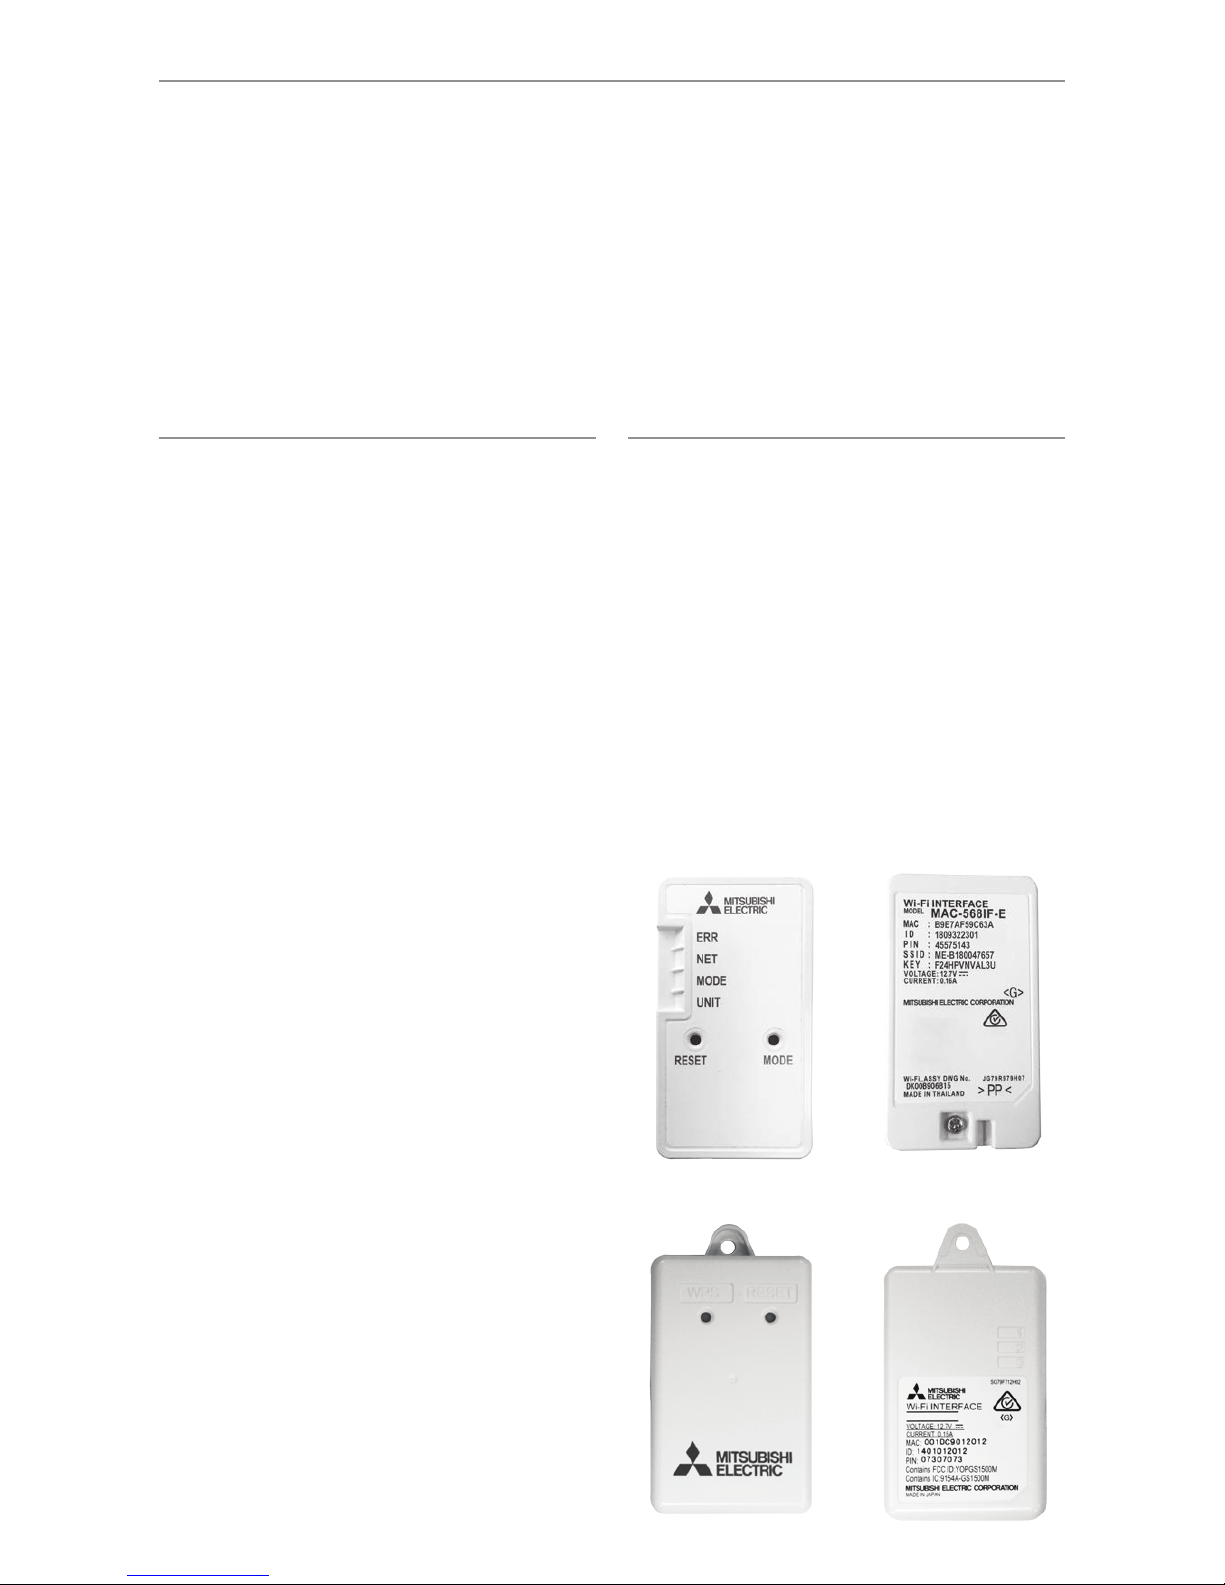
The Wi-Fi Heat Pump Control service has been designed
for maximum compatibility with personal computers (PCs),
tablets and smartphones via dedicated Apps or via your web
browser. A list of supported devices can be found in section
14 of this manual.
Remote Control, No Matter Where You Are
Wi-Fi Heat Pump Control gives you the freedom to manage
your heat pump/air conditioner from anywhere in the world,
provided you have Internet access. Heat pumps mistakenly
left running can quickly be identified at a glance and simply
turned off.
Expanded Functionality
Wi-Fi Heat Pump Control is the key to unlocking your heat
pump/air conditioner’s full potential. Expanded features,
such as the 7 Day Multi Programmable Timer, Minimum
and Maximum Temperature Rules, Group Control, Multi-
geographic Central Control, and Holiday Mode are now
possible via the Wi-Fi Control App, with further features
planned for the future.
Intelligent Central Control for Multiple Rooms
Mitsubishi Electric Wi-Fi Control is not limited to managing
only one heat pump at a time. It is truly an intelligent
multitasker. With the purchase of additional Wi-Fi Interfaces,
multiple indoor units can now be seamlessly monitored and
controlled. Simple yet effective centralised control is at your
fingertips.
Not Just Residential, Commercial Too
Mitsubishi Electric Wi-Fi Control has been successfully
integrated in numerous commercial buildings including
offices, motels, and hotels. The ability to provide seamless
real-time centralised heat pump control as well as unlocking
the potential to more energy efficient operation are both
key drivers for building managers to embrace this new
technology.
Multiple Units, One App
Mitsubishi Electric Wi-Fi Control gives you the ability to
control the heating and cooling needs of multiple units not
just in the same home or building, but across a number of
different locations. Your home, a holiday home and the office
– all can be controlled and customised through one app.
Furthermore, you can also Group Control multiple units all at
once for consistent comfort.
Energy Saving, Optimised
When connected to a compatible Mitsubishi Electric Ducted
System complete with optional Mitsubishi Electric Zone
Control, Wi-Fi Control unlocks expanded functionality and
interaction to deliver the very best in advanced energy saving
optimisation. Now you can control and monitor which areas/
zones your ducted heat pump is controlling in real-time from
absolutely anywhere. Meanwhile, overall energy savings can
be optimised at the touch of a button to ensure heat energy
is directed only where it is needed most.
1. INTRODUCING WI-FI
HEAT PUMP CONTROL