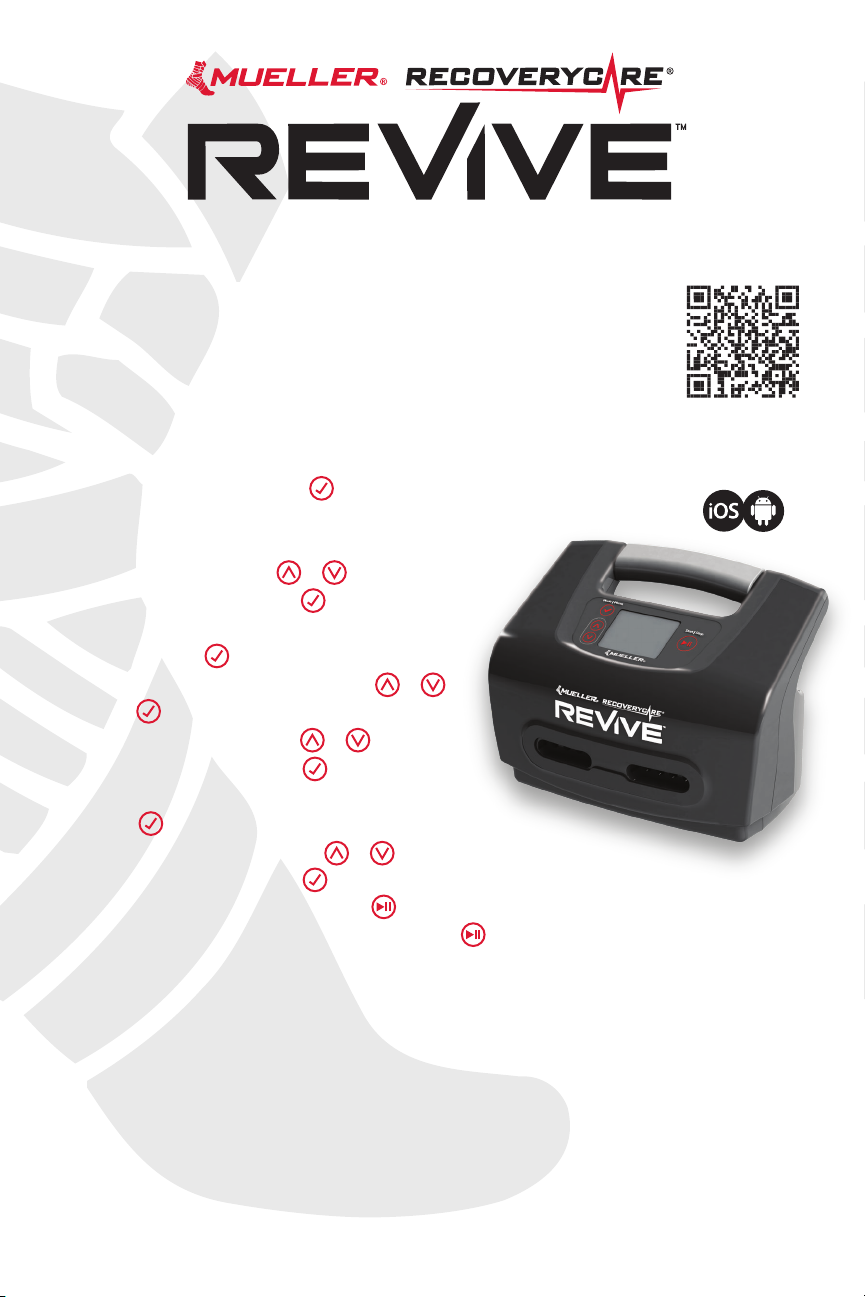
M4 GEAR PACK — PNEUMATIC CONSOLE QUICK START GUIDE
USING THE REVIVE M4 PNEUMATIC CONSOLE
1. Place the REVIVE console on a flat stable surface and insert the power
adapter into the DC adapter socket on the console to charge the battery.
Power Switch must be on to charge the battery
2. Put on the garment and connect the garment hoses
3. Insert the Blocker Plug to block the unused air outlet for single garment use
4. Select the Treatment Mode
• From the Home screen, press to select the desired mode
5. Set Treatment Pressure
• Recommended pressure for first time users is 40 mmHg
• To select pressure, press or
• To confirm a selection, press
6. Modify other treatment settings
• Press and hold until the menu screen is displayed
• Select setting you wish to change with or
• Press and the highlighted value will start blinking
• Choose preferred value with or
• To confirm a selection, press
7. Set Gradient
• Press and the highlighted zone will start blinking
• Choose preferred pressure with or
• To confirm a selection, press . Repeat the above steps for all zones
8. Exit the menu with the Start/Stop button
9. Start the treatment by pressing the Start/Stop button
CHARGING THE REVIVE M4 PNEUMATIC CONSOLE
• Turn on the Power Switch to enable charging the battery
• Turn off the Power Switch to conserve battery power when
not charging or not using the REVIVE M4 Pneumatic Console
• Battery level is continuously displayed by the battery status indicators
USING YOUR MOBILE APP VIA BLUETOOTH CONNECTIVITY
• Choose treatment mode
• Modify treatment parameters
• Start or stopthe console using your smartphone
• Retrieve usage history from the console
Scan for complete
instructions and
user Bluetooth
control apps


