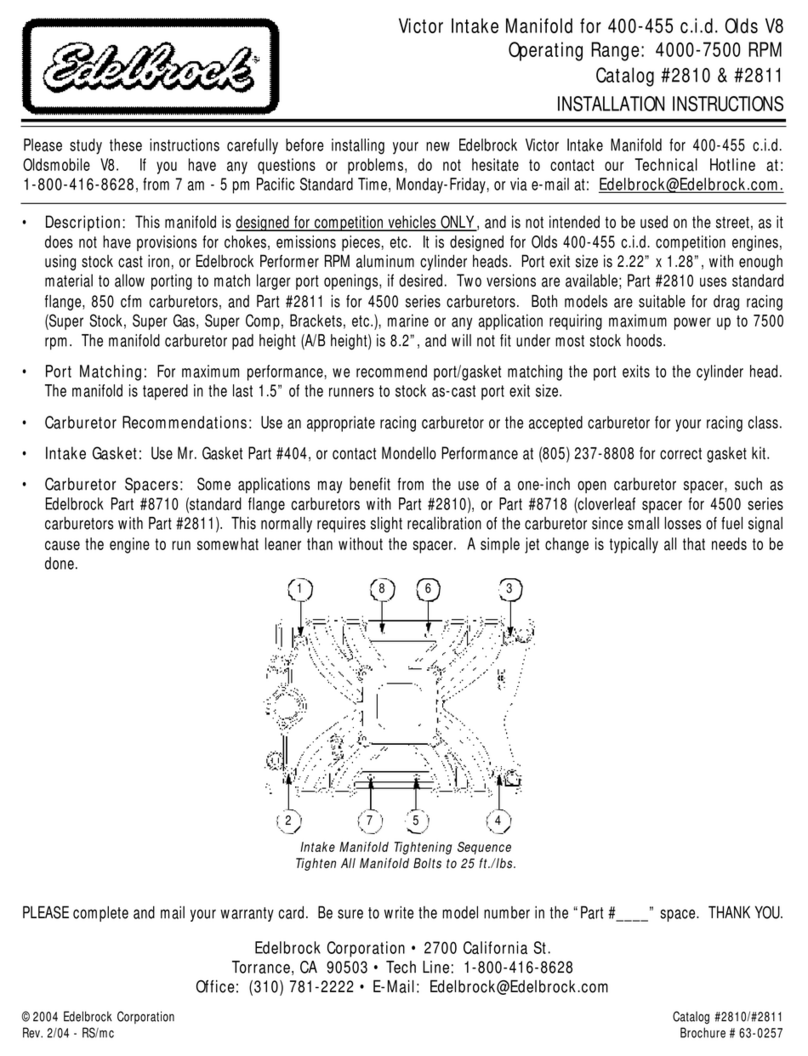
Network Computing Devices 2172 User manual

2172
21-8136 09-07 NCD-6029-3
INSTALLATION INSTRUCTIONS
Congratulations-yournewAirHelperSpringsarequality
products capable of improving the handling and comfort of
your vehicle. As with all products, proper installation is the
key to obtaining all of the benefits your kit is capable of
delivering. Please take a few minutes to read through the
instructions to identify the components and learn where and
howtheyareused. Itisagoodideatostartbycomparingthe
parts in your kit with the parts list below.
The heart of the air helper spring kit is, of course, the air
springs. Rememberthattheair helper springs must flex and
expand during operation, so be sure that there is enough
clearance to do so without rubbing against any other part of
the vehicle.
Besuretotakeallapplicablesafetyprecautionsduringthe
installationofthekit. Theinstructionslistedinthisbrochure
and the illustrations all show the left, or driver’s side of the
vehicle. To install the right side assembly simply follow the
same procedures.
Your kit includes separate inflation valves and air lines
for each air helper spring. This will allow you to level your
vehiclefromsidetosideaswellasfromfrontto back. If you
would rather have a single valve inflation system, your
dealer can supply the required "T" fitting.
IMPORTANT!
For your safety and to prevent possible damage to your
vehicle, do not exceed the maximum load recommended by
the vehicle manufacturer (GVWR). Although your Air Helper
Springs are rated at a maximum inflation pressure of 100
psi, this pressure may allow you to carry too great a load on
some vehicles. It is best to have your vehicle weighed once
it is completely loaded and compare that weight to the
maximum allowed. Check your vehicle owner’s manual for
maximum loads listed for your vehicle.
When inflating your Air Helper Springs, add air pres-
sure in small quantities, checking pressure frequently dur-
ing inflation. The air spring requires much less air volume
than a tire and, therefore, inflates much quicker.
TOOLS REQUIRED
• (2) 9/16" END WRENCHES • 5/16" DRILL BIT
• (2) 1/2" END WRENCHES • 3/8" DRILL BIT
• UTILITY KNIFE • ELECTRIC DRILL
WARNING:
Do not inflate this assembly when it is
unrestricted. The assembly must be restricted
by the suspension or other adequate structure.
Do not inflate beyond 100 psi Improper use or
over inflation may cause property damage or
severe personal injury.
AIR SPRING 9001 2
UPPER BRACKET 5376 2
LOWER BRACKET 5092 2
BRACKET STRAP/SHIM 1/2" 5086 4
BRACKET STRAP/SHIM 1" 5093 4
AIR LINE TUBING 1
3/8"-16 FLANGE LOCK NUT 16
3/8"-16 X 3/4" FLANGE HEX BOLT 6
3/8"-16 x 4-1/2" CARRIAGE BOLT 8
3/8" SPECIAL WASHER 6
3/8" FLAT WASHER 2
3/8"-16 X 1 1/2 HEX BOLT 8
5/16" FLAT WASHER 4
PUSH-TO-CONNECT
INFLATION VALVE 2
INFLATION VALVE CAP 2
PUSH-TO-CONNECT
ELBOW FITTING 2
THERMAL SLEEVE 2
NYLON TIE 6
CAUTION TAG 2
PARTS LIST
Installation of this kit requires a
minimum of 6-1/2" of clearance between
the tire side wall and the frame.
DONOT INSTALL THIS KIT ON VEHICLES WITH
COMPOSITE LEAF SPRINGS. THIS KIT IS COMPATIBLE
WITH STEEL LEAF SPRINGS ONLY.


DRIVER'S SIDE
FRONT
FIGURE "B"
FIGURE "C"
FIGURE "D"
STEP 1 - PREPARE THE VEHICLE
Removethepositivebatterycable. Withthevehicle on a solid, level surface
chockthefrontwheels. Raisethevehiclebytheaxleandremovetherearwheels.
Afterthe removal of thewheelslowerthe vehicle so theaxlerestsonjack stands
rated for your vehicles weight. This installation assumes that there is no load in
the bed of the truck.
STEP 2 - PRE-ASSEMBLE THE KIT
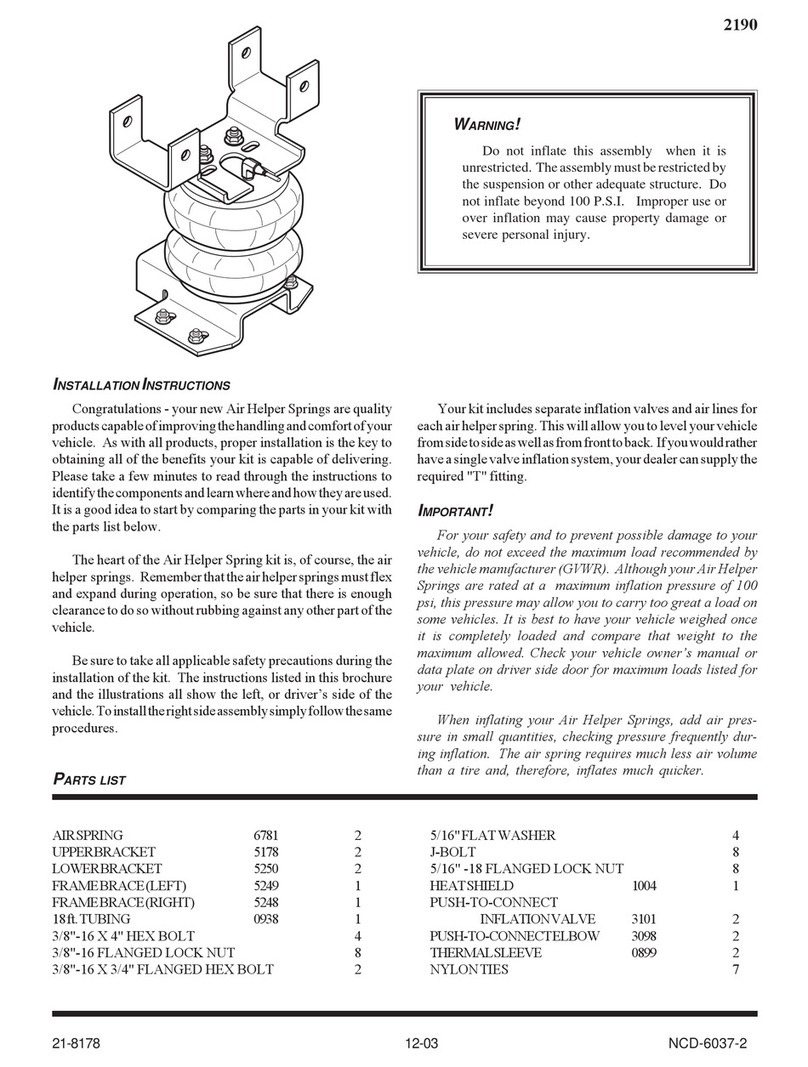
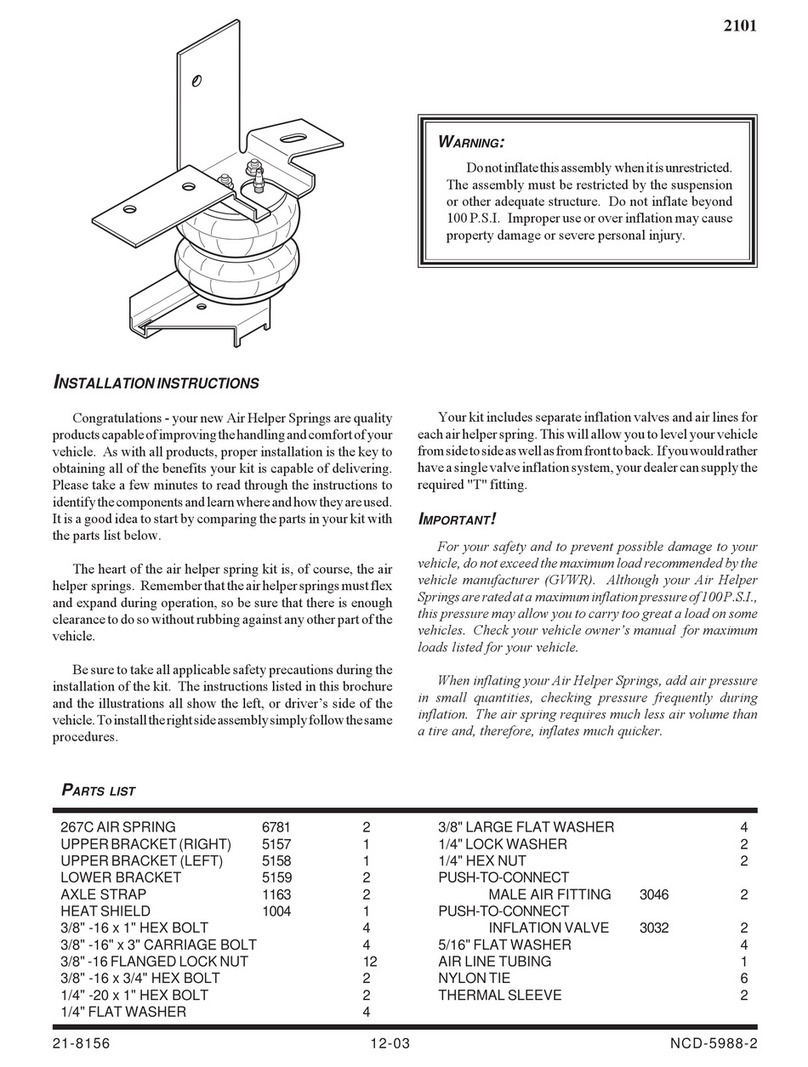
Select one air helper spring and an upper bracket from your kit. Before
attaching the air spring to the upper bracket, thread the air fitting into the spring
seeFigure"A".Tightenthe air fitting so as tomakecontactwiththenylon ring
and then tighten 1/4 turn to snug the fitting. No thread sealant is needed. Align
thethreadedmountingholesoftheairspringwiththemountingholesoftheupper
bracket and attach the upper bracket using the 3/8" -16 x 3/4" flanged hex bolts.
Selectonelowerbracketandplacethebracketsothelipofthelowerbracketwill
benext tothetire seeFigure"A". Fastenusinga3/8"-16x3/4"flangelockbolt
through the center slot into the threaded hole in the air spring (finger tight). Note
that this bolt will be tightened in Step 4.
STEP 3 - PRE-FIT AND MARK / DRILL HOLES
Position the air spring assembly on the leaf spring stack. The lower bracket
should straddle the leaf spring retainer and the upper bracket mounting flanges
shouldbe flush againsttheframe. Dependingon the application,thelowerbracket
mayhavetoberaised(i.e.interferencewith"U"-bolts,leafspringretainer,brakedrum,
etc...). Thiskit comes withtwo sets ofbracket straps/shims. These areincluded to
provideadequateclearancefortheairspringandlowerbracket,aswellas,anyother
componentonthevehicle. Onesetis1/2"tallwhiletheothersetisabout1"tall. To
raisetheairspringassemblytoitsmaximumheight,installthe1/2"shimbetween
thelower bracket and the leaf spring stack. The remaining 1" strap/shim will be
usedtoclampthe assemblytothe leafspringstack seeFigure"C". Thebracket
straps/shimsmaybeinterchangedtoprovidemaximumclearanceandproperair
springheight. Furthermore,theshimscanbemixed(i.e.usethe1/2"ononeside
and the 1" or none on the other) to adjust for leaf spring slant. Keep the upper
and lower brackets as parallel as possible.
Oncetheheightofthelowerbrackethasbeenestablished,adjusttheposition
of the upper bracket so that the mounting flanges are flush with the side of the
framerail. Itmaybenecessarytoslidetheentireassemblyforeoraftalongtheleaf
springinordertoprovidepropermounting. Beforemarkinganddrillingtheholes
for the upper bracket, make sure the mounted height of the air spring is between
7-1/4" - 8-1/2" seeFigure "C", and the upper and lower brackets are as parallel
andhighaspossible. Markthefourholestobedrilledwitha center punch using
the upper bracket as a template, then remove the air spring assembly. Before
drilling the holes make sure all electrical, brake and fuel lines are cleared from
thepathofthedrill. Damagetolinescanbeavoidedbyinsertingapieceofwood
betweentheframerailandanylinesinthepathofthedrill. Drillthefourholesin
theframe rail usinga 3/8" drill bit seeFigure"A".
STEP 4 - INSTALL THE ASSEMBLY TO THE VEHICLE
After drilling the holes in the frame rail place the assembled air spring and
brackets back on the leaf stack making sure the lower bracket is placed over the
retainer(seeFigure"A"&"B"). Installthe3/8"-16x1-1/2"hexboltsthroughthe
upperbracket holesandthe holesthatwere drilledinthe framerail. Next,fasten
the upper bracket to the frame rail using the 3/8"-16 flange lock nuts and flat
washers see Figure "A". On each side of the vehicle, substitute a standard
washer in place of the special washer in the upper rear location seeFigure"A".
Next,attachthelowerbrackettotheleafspringassembly. Usethebracketstrap/
shim that is not being used as a spacer and fasten the air spring assembly to the
leafstackusingthe 3/8"-16x4-1/2" carriageboltsand 3/8"-16flangedlock nuts
seeFigure"A". Tighten the air springto the lower bracket makingsure the air
spring is as vertical as possible.
7-1/4” - 8-1/2"
FRONT
AIR HOSE
INFLATION
VALVES
BUMPER
AIR
SPRINGS
AIR LINE
PUSH-TO-CONNECT
INFLATION VALVE
FLAT WASHER
HEX NUT
VALVE CAP
BODY OF
VEHICLE
FIGURE "E"

NOTE:
Oncethe air helper springs are installed, itis recommended that the vehicle not belifted by the frame, as over-extension
may occur, resulting in damage to the air helper springs. However, should it become necessary to raise the vehicle by the
frame, deflate both air helper springs completely.
STEP 5 - INSTALLATION OF THE PASSENGER'SSIDE ASSEMBLY
Reverse any orientations when assembling and installing the right, or passenger side of the vehicle.
STEP 6 - INSTALL THE AIR LINE AND THE INFLATION VALVE
Uncoilthe air line tubing andcutitinto two equallengths. DONOT FOLDORKINK THE TUBING. Trytomake thecutas
squareas possible. Insert one end of the tubing intotheelbowfittinginstalledinthetop of the air helper spring. Push the tubing
into the fitting as far as possible see Figure "A".
Select a location on the vehicle for the air inflation valves. The location can be on the bumper or the body of the vehicle, as
longas itisin aprotectedlocation sothevalvewill notbedamaged, butmaintainaccessibility fortheairchuckseeFigure"D".
Drill a 5/16" hole and install the air inflation valve using two 5/16" flat washers per valve as supports seeFigure "E". Run the
tubingfromtheairhelperspringtotheinflationvalve,routingittoavoiddirectheatfromtheengine,exhaustpipe,andawayfrom
sharp edges. Thermal sleeves have been provided for these conditions. If a thermal sleeve is required simply slide the sleeve
over the air line tubing to the location requiring protection. The air line tubing should not be bent or curved sharply as it may
buckle. Secure the tubing in place with the nylon ties provided. Push the end of the air line tubing into the inflation valve as
illustrated seeFigure "E".
STEP 7 - CHECK THE AIR SYSTEM
Once the inflation valves are installed inflate the air helper springs to 70 psi and check the fittings for air leaks with an
applied solution of soap and water. If a leak is detected at a tubing connection then check to make sure that the tube is cut as
square as possible and that it is pushed completely into the fitting. The tubing can easily be removed from the fittings by first
releasing the air pressure then push the collar towards the body of the fitting and then pulling out the tube. If a leak is detected
wherethe fitting screws into the spring, remove the tubingby pushing the collartowards the body of thefitting and then pulling
out the tube, then screw the brass fitting into the air spring or until the leak stops. Re-install the tubing and reinflate the air
springs and check for leaks as noted above.
Thisnowcompletestheinstallation. Installthewheelsandtorquethelugnutstothemanufacturesspecifications. Raisethe
vehicle by the rear axle and remove the jack stands and lower the vehicle back onto the ground. Re-attach the positive battery
cableandremove the wheel chocks fromthewheels. Before proceeding, check onceagainto be sure you haveproperclearance
aroundtheairsprings. Withaloadonyourvehicleandtheairhelperspringsinflated,youmusthaveatleast1/2"clearancearound
the air springs. As a general rule, the air helper springs will support approximately 25 lbs. of load for each psi of inflation
pressure (per pair). For example, 50 psi of inflation pressure will support a load of 1250 lbs. per pair of air helper springs.
FOR BEST RIDE use only enough air pressure in the air helper springs to level the vehicle when viewed from the side (front
to rear). This amount will vary depending on the load, location of load, condition of existing suspension and personal
preference.
NOTE:
Toomuchairpressureintheairhelperspringswillresultina firmerride,whiletoolittleairpressurewillallowtheairhelper
spring to bottom out over rough conditions. Too little air pressure will also not provide the improvement in handling that is
possible. TOPREVENTPOSSIBLEDAMAGEMAINTAINAMINIMUMOF10psiINTHEAIRHELPERSPRINGSAT
ALLTIMES.
NOTE:
MIN PRESSURE 5 PSI
MAX PRESSURE (LOADED) 100 PSI
www.riderite.com
This manual suits for next models
1
Other Network Computing Devices Automobile Part manuals
