2
Table of Contents
Introduction .............................................................................................................................................................................................. Page 3
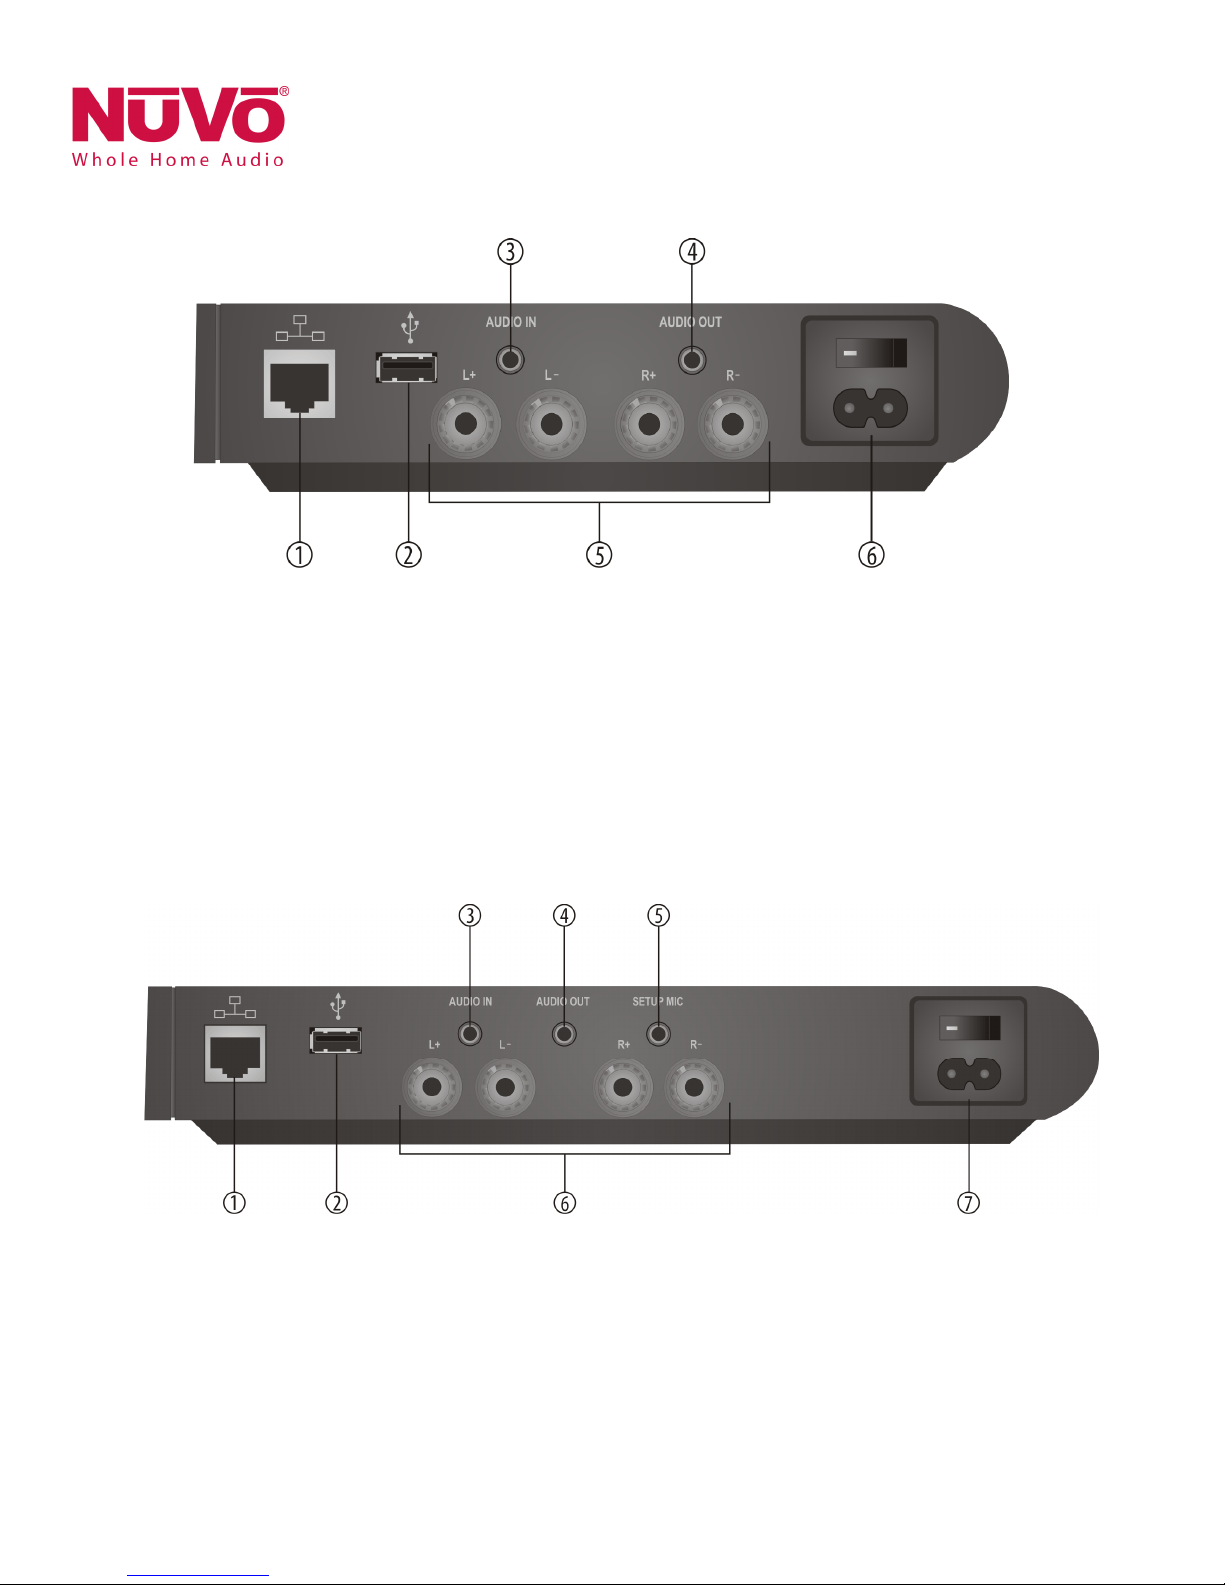
P100 Zone Player Back Panel Features .................................................................................................................................................. Page 4
P200 Zone Player Back Panel Features .................................................................................................................................................. Page 4
P 100 Back Panel Features ...................................................................................................................................................................... Page 5
1. Setup/Installation
1.1 Network Requirements ........................................................................................................................................................................... Page 5
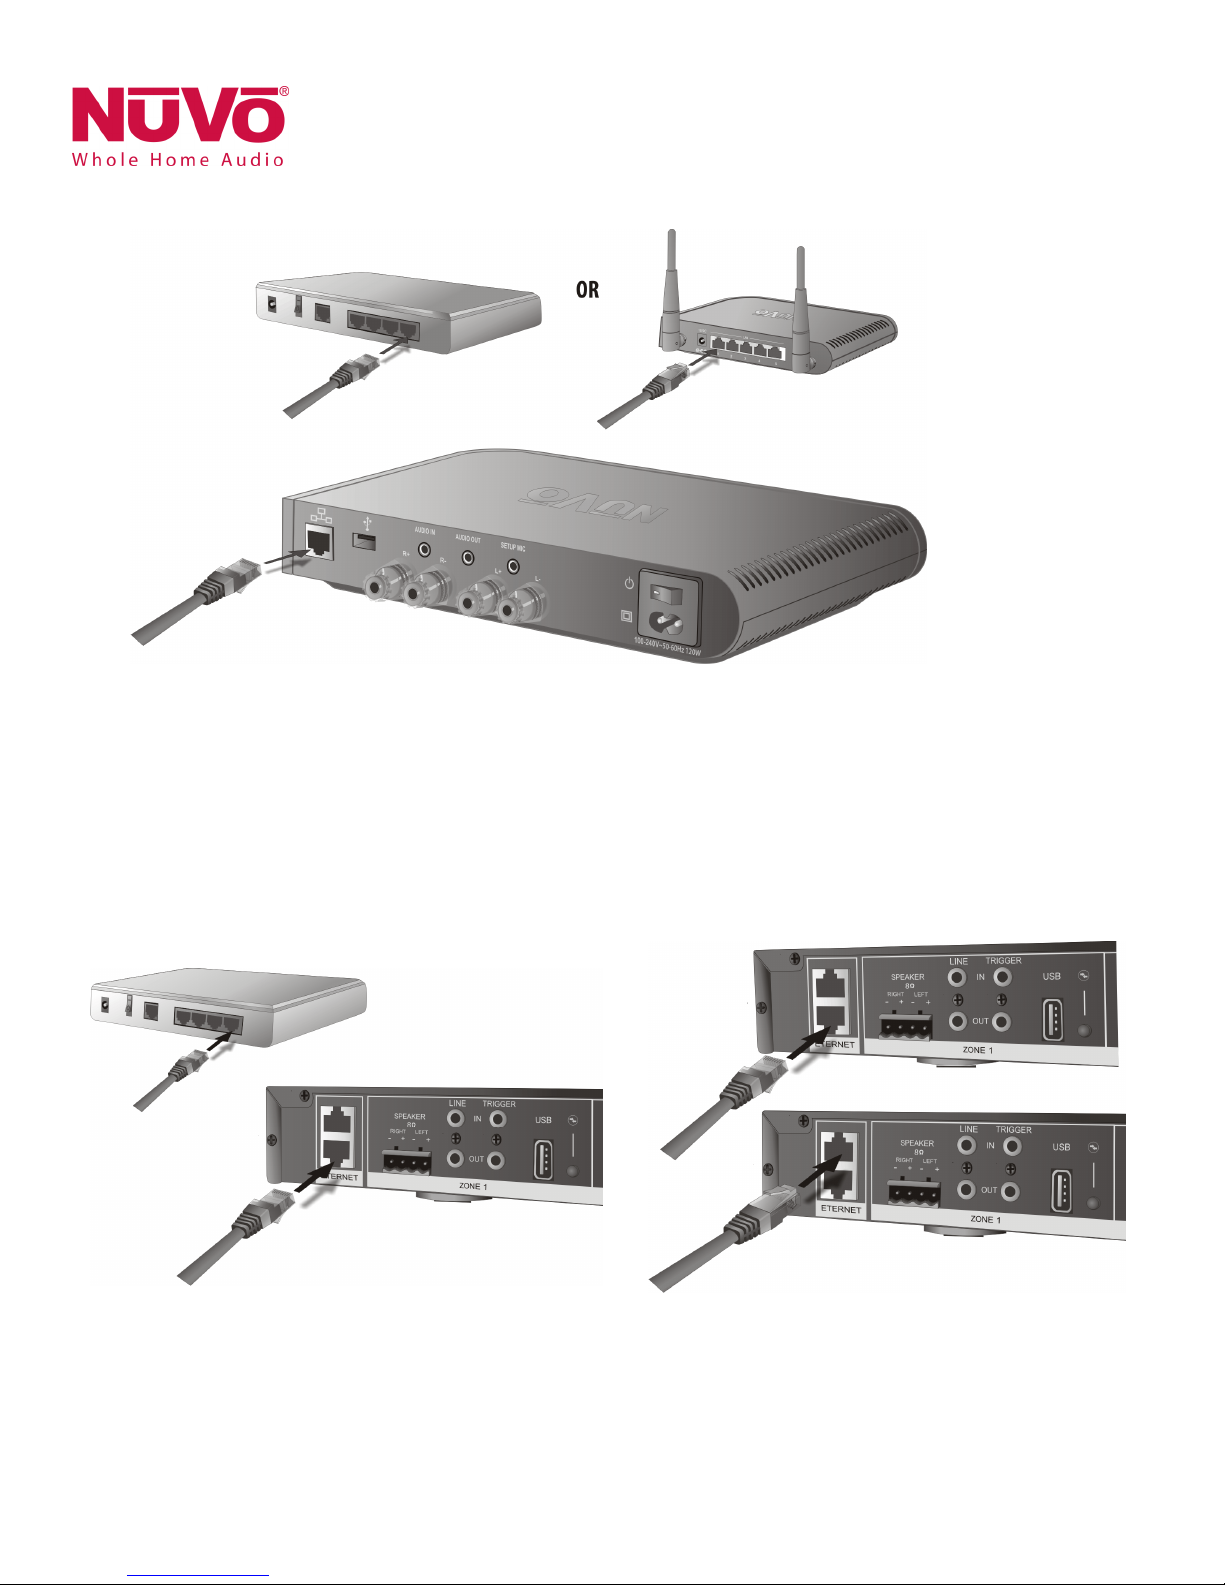
1.2 Connecting the Gateway to the Network ................................................................................................................................................ Page 5
1.3 Hardwiring the P ayers Direct y to the Network ...................................................................................................................................... Page 6
1.4 Insta ing the P3100 Zone P ayer ............................................................................................................................................................. Page 7
1.5 Connecting the Speakers to the P100 and P200 Zone P ayers ................................................................................................................. Page 8
1.6 Connecting the Speakers to the P3100 Zone P ayer ................................................................................................................................. Page 8
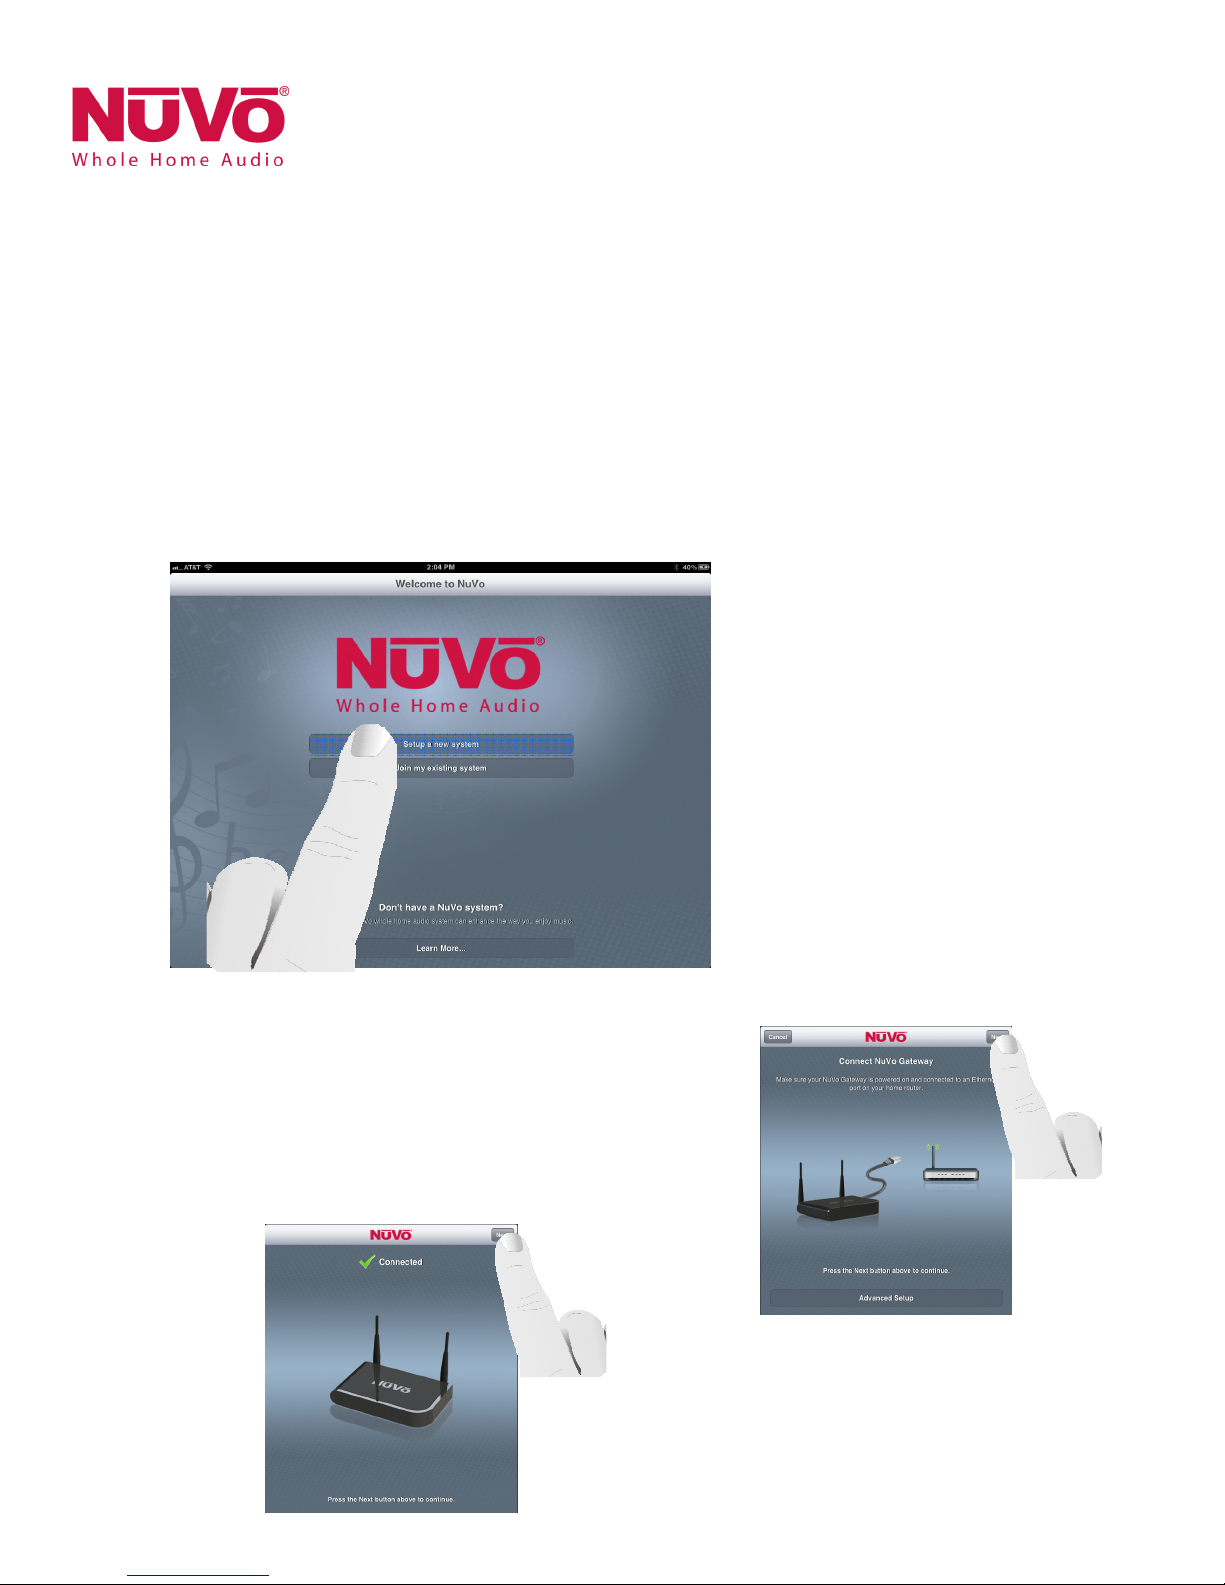
2. Setting Up a System from the iOS or Android App
2.1 New Wire ess System Setup .................................................................................................................................................................... Page 9
2.2 Adding Zones to an Existing System ....................................................................................................................................................... Page 12
2.3 Adding Additiona Gateways to an Existing System ................................................................................................................................ Page 13
. Using the iOS and Android Control App
3.1 The Dashboard ........................................................................................................................................................................................ Page 14
3.2 Music Se ection ....................................................................................................................................................................................... Page 14
3.3 B uetooth® P ayback ............................................................................................................................................................................... Page 15
3.4 Line In ..................................................................................................................................................................................................... Page 15
4. The Settings Menu
4.1 Zones ....................................................................................................................................................................................................... Page 16
4.2 Gateways ................................................................................................................................................................................................ Page 18
4.3 Contro er ................................................................................................................................................................................................. Page 18
4.4 Add a NuVo Component........................................................................................................................................................................... Page 19
4.5 Music Library ........................................................................................................................................................................................... Page 19
4.6 Music Services .......................................................................................................................................................................................... Page 20
4.7 System ..................................................................................................................................................................................................... Page 20
4.8 Internationa ............................................................................................................................................................................................ Page 21
4.9 He p ......................................................................................................................................................................................................... Page 22
5. The Music Share Software ................................................................................................................................................................... Page 22
6. Troubleshooting
6.1 Front Pane LEDs ...................................................................................................................................................................................... Page 24
6.2 Not Connected ......................................................................................................................................................................................... Page 24
6.3 Restoring Defau ts ................................................................................................................................................................................... Page 25
6.4 Advanced Network Management ........................................................................................................................................................... Page 25
7. Specifications ........................................................................................................................................................................................ Page 26