Osmo Wood Orbiter User manual

Operating Manual: Osmo Wood Orbiter
Please read the operating manual carefully and observe the safety notices and information on making
a suitable brush selection and correctly setting the brush pressure.
3
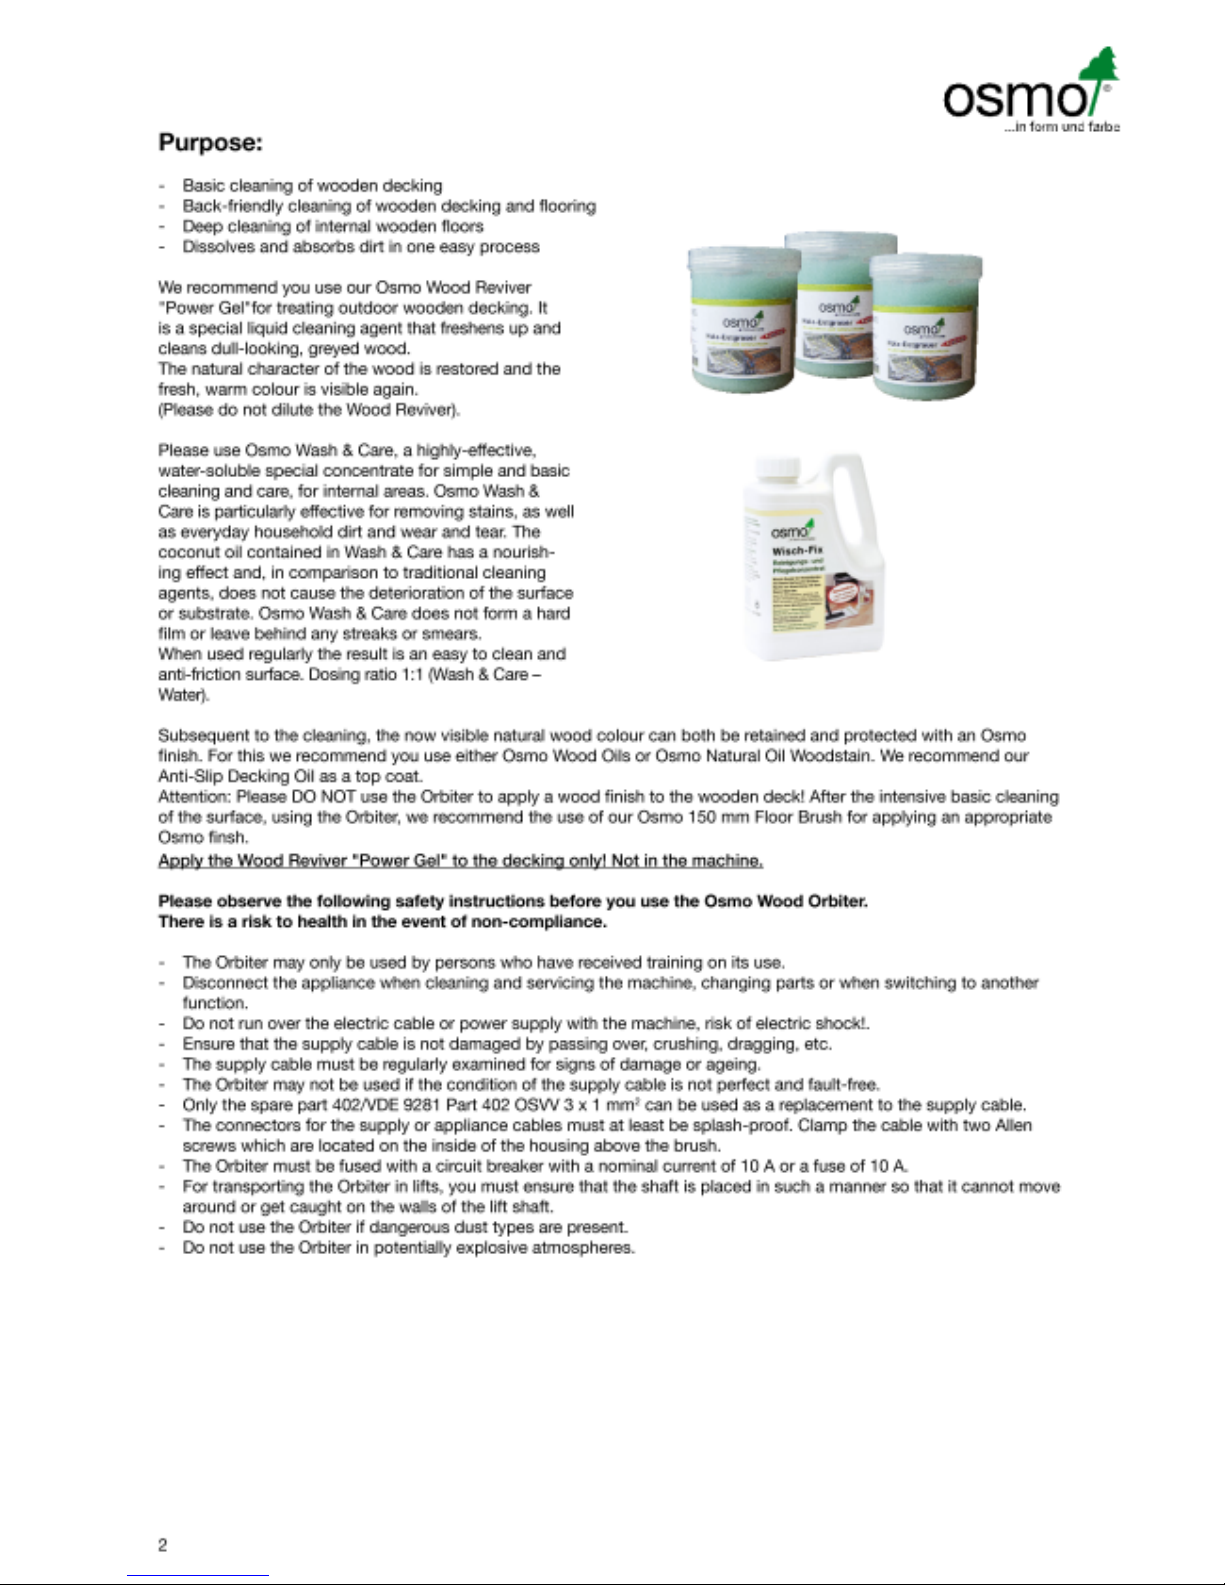
Function principle
1. Fresh water is distributed on the floor by pulling the liquid lever on the handle.
2. The two brush rollers, which move in the opposite direction, clean the floor
and convey the dirty water to a coated drum.
3. From here the liquid is striped by a steel blade and conveyed to the dirty water tank.
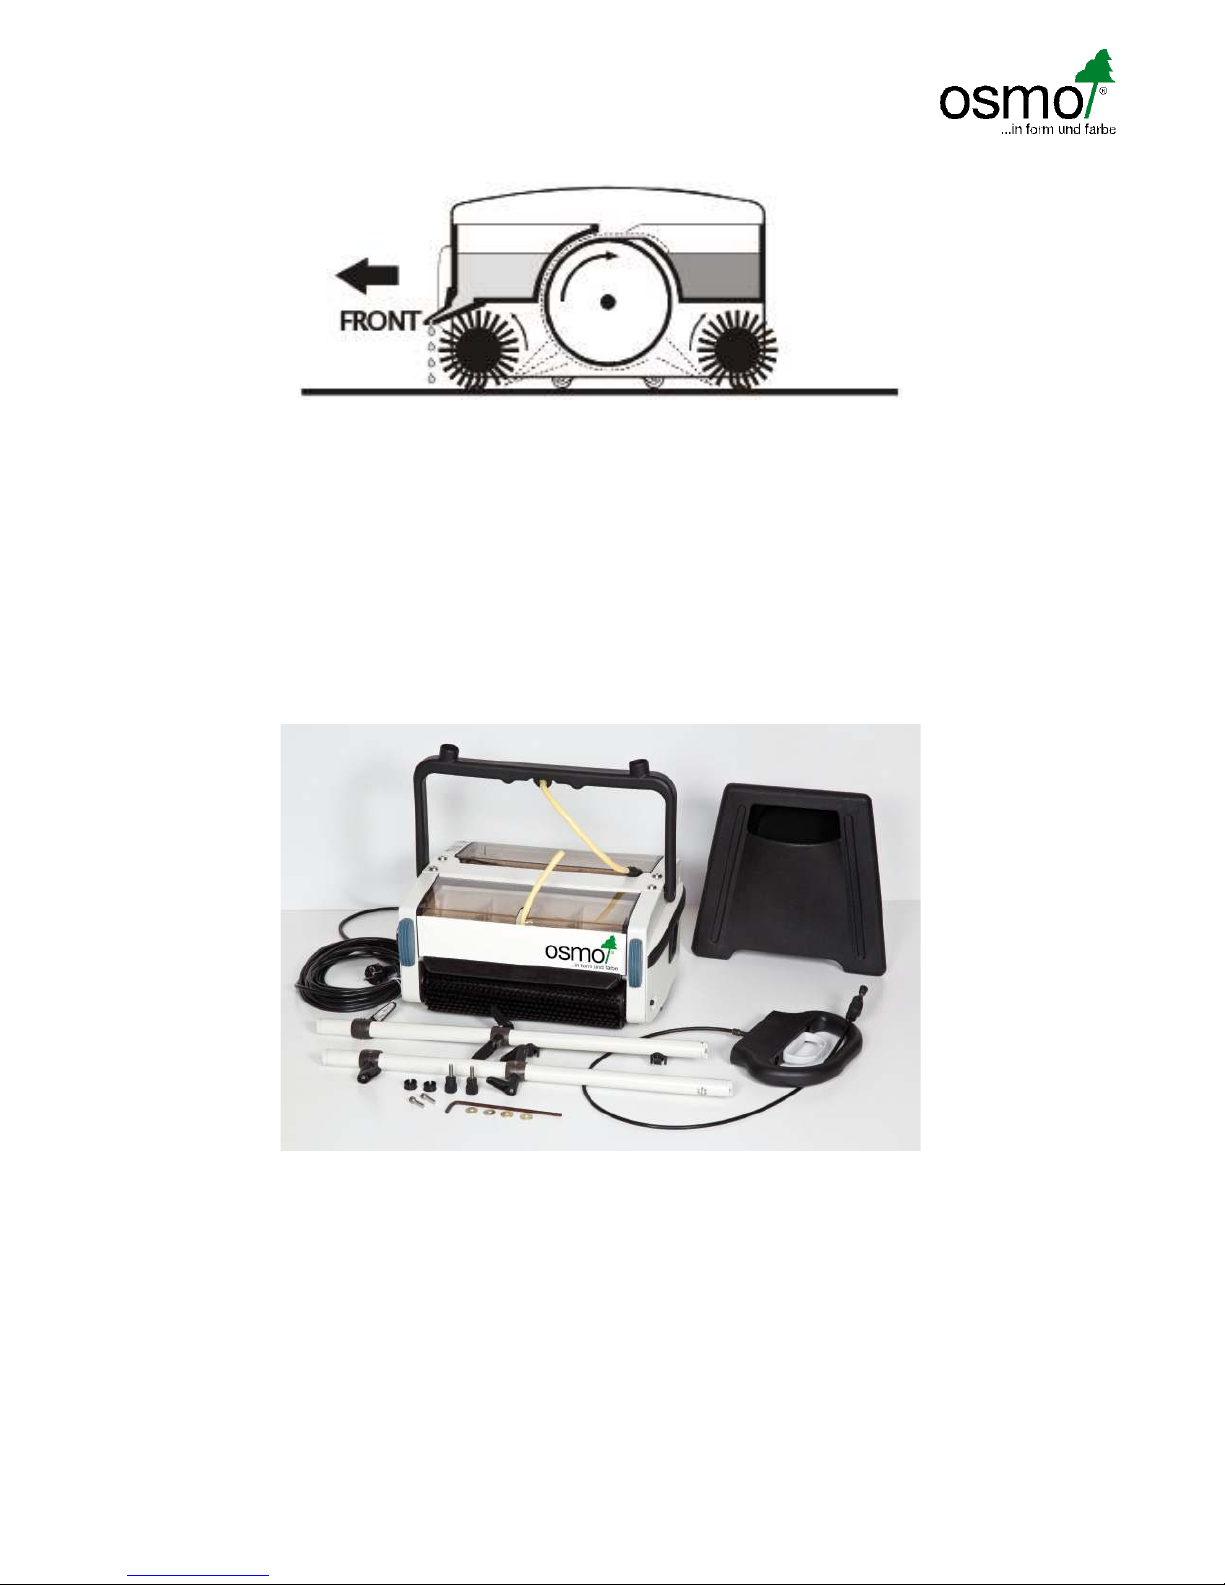
Process for assembling the Osmo Wood Orbiter
Ensure that all the parts in the image are available, please compare the parts to the operating instructions in order to
assemble the Orbiter correctly.
After opening the box cut the strap which holds down the bow-shaped handle connected to the machine body.
Be careful when removing the strap – the bow-shaped handle is spring-loaded.
4
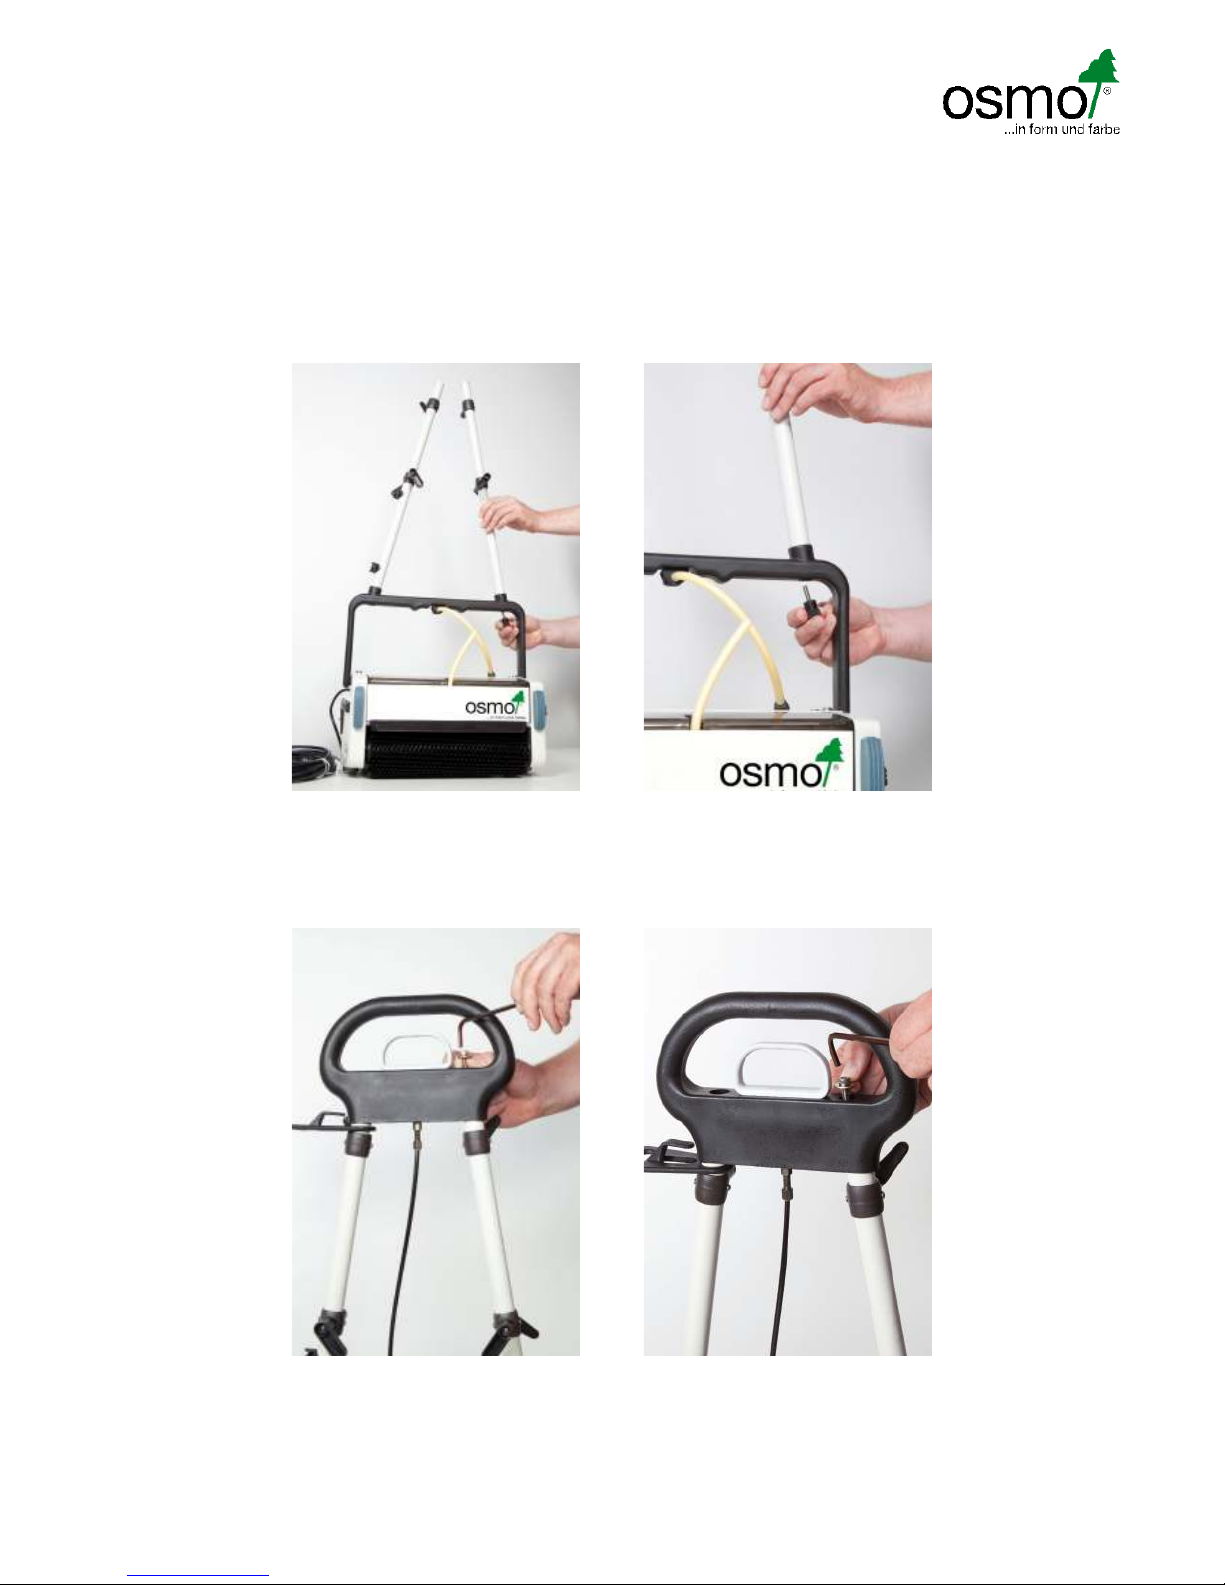
Assembly:
1. Insert the two tubular stems in the bow-shaped handle. There is a sticker on both tubes “LEFT BOTTOM REAR/
RIGHT BOTTOM REAR”. These tubes must be mounted in the direction of motion (cable at the rear). Tighten the
knurled screws manually (looking at the machine from the operating side).
2. Tighten the screws using an Allen key. Ensure that the centre grip is assembled according to the position described
(RH button and LH button) and the cable retainers are located on the right-hand side.
Push the cable retainer onto the right tube end below the handle.
Place the handle on the two tubes, whereby the sticker should be to the front, and secure it using an Allen key and the
2 screws and washers provided. Now retighten the screws again and position the protective caps (x2) over the screws
in the recess (the higher side should be turned in).

5
Place the free end of the Bowden cable into the nozzle shoe of the fresh water tank. Now the cable is secured by gently
pushing and turning in a clockwise direction and you can close the cover.
Position the tank between the tubular stems and fix it to the tank holder by turning the retaining collars down.
Important: FIRMLY tighten the 4 screws using the washers. If the tank is not sitting correctly it will leak.
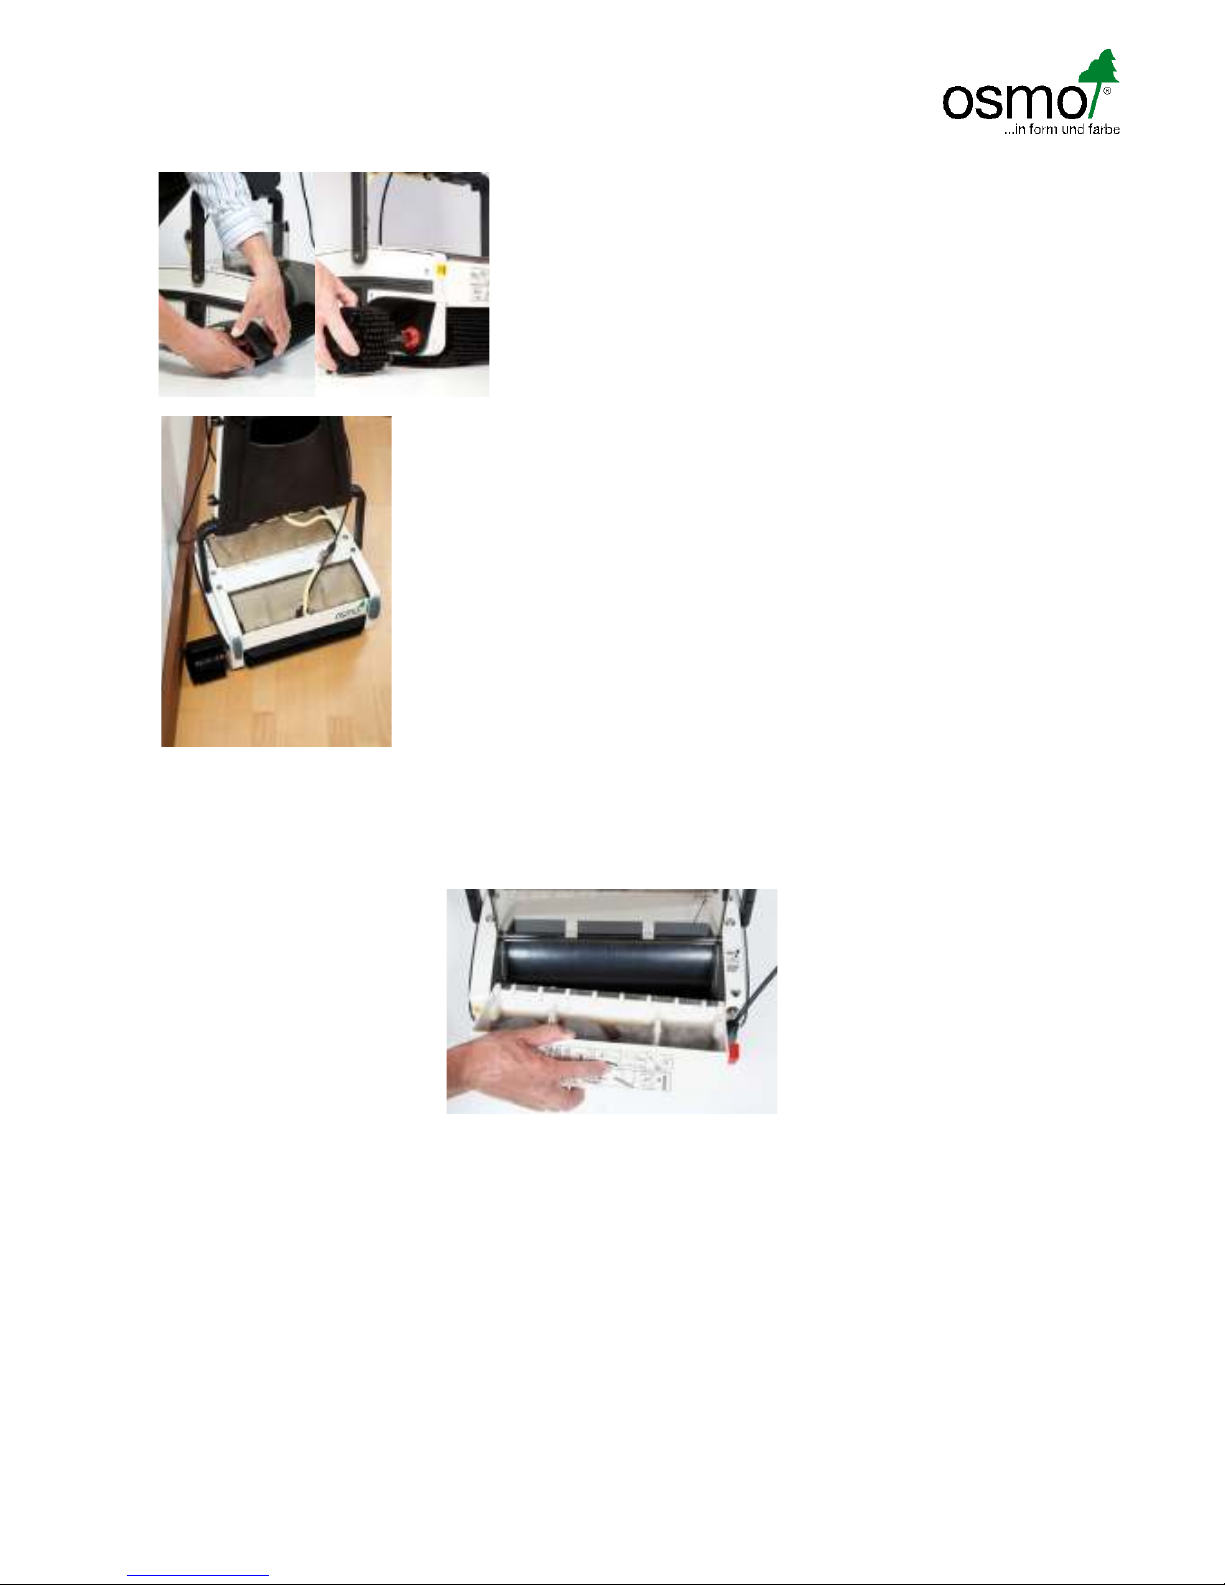
Finally: Connect the power cable
Remove the dirt pan. Before the connector can be inserted you must remove the
2 small screws on the right-hand side of the housing, only then can the connector
be firmly pushed into place, as far as it will go, using the back of your hand.
Gently tighten the screws.
The Osmo Wood Orbiter is now ready for operation.

6
Using the Osmo Wood Orbiter
Switching the machine on and off
Switching on
Gently press the safety pedal using your foot (1) and slowly pull the shaft towards you (2).
The motor starts and the brushes slowly begin to turn.
Switching off
Reset the shaft to the basic position (without pressing the pedal).
Moving the Orbiter from A to B
Push the red button (it is located on the right-hand side) to the lower position, lifting the brushes so that
the machine can be rolled away.
The transport wheels remain in place whilst the guide handle is being lowered, the machine can now be transported.
The motor cannot be switched on as long as the red button is in the lower position!
Never allow the Orbiter to rest on the brushes when the handle is lowered.

7
Work position
Press the red button up and lower the handle into the work position.
The transport wheels move up and the Orbiter can be operated.
Adjusting the brush pressure
The brush pressure can be adjusted to four settings using the black button on the left side of the machine
(pressure regulator). A higher pressure makes more sense when working outdoors.
Minimal pressure is reached with the lowest setting. Maximum pressure with the highest setting.
If the motor does not start, reduce the pressure regulator by one level.
Attention:
When using the machine for the first time, some loose bristles may come out of the brush body. Turn the Orbiter
off and disconnect from the mains. Now remove the bristles from the drum and then restart the machine.
Note:
Only use the universal brush (white brush) in internal areas!
The abrasive brush (hard brush) is recommended for external areas.
Water supply
Guide the end of the Bowden cable through the front cover into the holder
in the fresh water tank. The Bowden cable is secured by gently pushing it into place
and turning in a clockwise direction. Turning in the opposite direction loosens the cable.
The cleaning agent is applied to the floor as required
by pulling the white liquid lever.
If the lever is released the supply stops immediately.

8
In the event of a motor overload, the circuit breaker (transparent cap with red button) switches
off and the power supply is interrupted. It is located above the cable socket. After approx.
30 seconds the overload protection can be switched on again by pressing the red button.
The Orbiter is once again ready for operation when you reset the shaft to its basic position.
Handling the Wood Orbiter
Settings and preparations
1. Only use low-foaming, non-aggressive cleaning agents from Osmo: Wash & Care (internal), Water (external).
2. Exterior use: First apply the Wood Reviver "Power Gel" using the Osmo floor brush, a hard bristle brush or scrubber
and then move over the area with the Orbiter.
3. Only use the correct brushes for the correct purpose. (see brush table and pressure settings).
4. Fill the black tank with cleaning agent.
5. Plug in the Orbiter.
6. Raise the red button in the "up" position.
Recommended working method
1. Start the Orbiter by pressing the pedal and slowing pulling the shaft towards you.
2. Push the machine forwards and apply the cleaning agent sparingly, depending on the level of soiling
and the floor conditions, by pulling the white liquid lever.

9
3. Stop the liquid supply approx. 30 cm. before the wall or the turning point
and continue towards the wall.
4. Drag the Orbiter back along the same track. The dirty water is absorbed upon return movement.
To start only loosely fit the dirty water tank so that the reviver is allowed to circulate on the surface for longer
and has a better effect (outdoor area), then stop the water supply and click the dirty water tank into place to remove
the dirt. When you have arrived at the outlet point, push the Orbiter to the next track, whereby you should overlap the
already cleaned track. (Graphic 1) In large halls the floor can also be cleaned by separating the tracks. (Graphic 2)
5. If the dirty water tank is full, lift the cover and gently remove the tank from the machine.
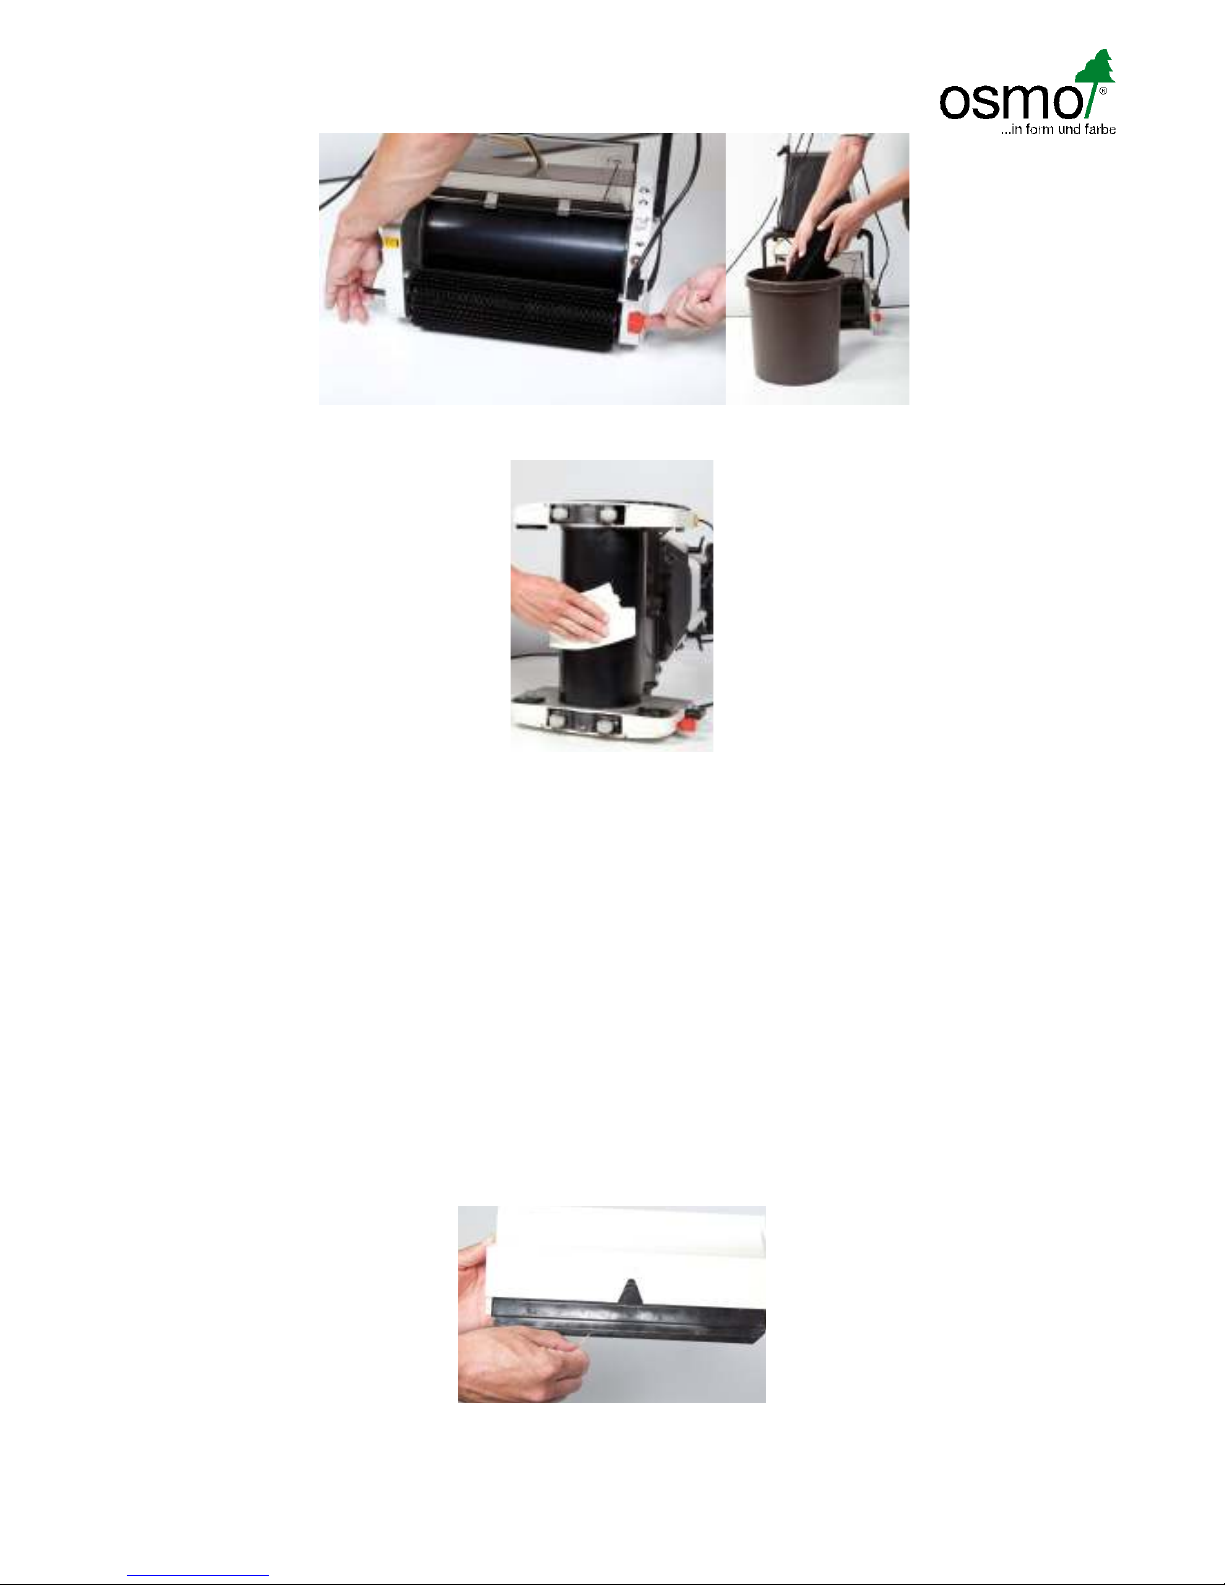
Always keep the scraper strip clean. When reinserting ensure that there is no dirt between the transport cylinder
and the scraper strip.
6. Never grip the scraper strip with an unprotected hand as there is a risk of injury (sharp edge).
7. Ensure that there is always enough fresh water in the container. The Orbiter removes the concentrated soiled fluid
and therefore requires very little water.
Graphic 1 Graphic 2
Press
10
Edge brush (optional)
To achieve better cleaning results around the edges,
please use the edge brush set.
Mounting the edge brush
1. Tighten the guard using a plastic screw on the front at the left cover.
2. Push the hexagonal spindle with the edge brush through the shaft support parts
until you feel it engages.
Working with the edge brush
1. Work with the machine diagonally to the wall.
2. Absorb the previously removed dirt with the return brush.
Only use the edge brush on surfaces where surrounding walls have been protected,
risk of dirt being dispersed / sprayed on the wall.
Cleaning the Orbiter
1. Push the right, red button down into the transport position.
2. Remove the plug from the socket and secure the cable over/around the 4 intended holders.
3. Empty the dirty water tank and then rinse it.
4. To avoid the nozzles becoming clogged it is recommended to remove the cleaning agent
or water from the fresh water tank whilst the machine is not in use.
5. Remove the floating axle from the Orbiter and clean the brushes.
11
6. Wash the brushes either in a bucket or under running water.
7. Before you position the Orbiter on its side it is important to remove the Bowden cable and the water hose from the
fresh water tank.
8. Position the Orbiter on its side and wipe the drum dry using a cleaning cloth.
The Orbiter can be cleaned with a hose and brush in outdoor areas.
9. Reinsert the brushes by reinserting the floating axles from the right.
Repair
To ensure the long term enjoyment of the Osmo Wood Orbiter, please observe the following points:
- Clean the brushes on a regular basis. Do not use a high-pressure or steam cleaner.
- Ensure that the machine is not resting on the brushes when it is not in use.
Always store your additional brushes in an upright position.
- Swap the front brush with the rear brush on a regular basis or turn them if necessary.
In case the bristles should become hard, allow the machine to run shortly over a concrete or stone surface.
1. Ensure that the filter in the fresh water tank is kept clean. For this, push the end of the Bowden cable into
the filter holder and turn it anti-clockwise, clean it under running water and then reinsert.
2. Always keep the nozzles clean.
Pull
Push

Osmo Holz and Color GmbH & Co. KG
Affhüppen Esch 12, D-48231 Warendorf · P.O. Box 110161, D-48203 Warendorf
Table of contents
Popular Washer manuals by other brands


/XST Service manual")


Siemens
Siemens ultraSense WFXD5200UC Operating, care and installation instructions

CORBERO
CORBERO LI860/1 Instruction booklet

Morgan
Morgan MWM-Rena 7FA user manual

Bosch
Bosch WAY24549IT Instruction manual and installation instructions

Maytag
Maytag MAH5500BWW - Neptune Series 27'' Front-Load... installation instructions

arcelik
arcelik 10121 PMB user manual


