manuals.online logo
Brands
  1. Home
  2. •
  3. Brands
  4. •
  5. Panasonic
  6. •
  7. LED TV
  8. •
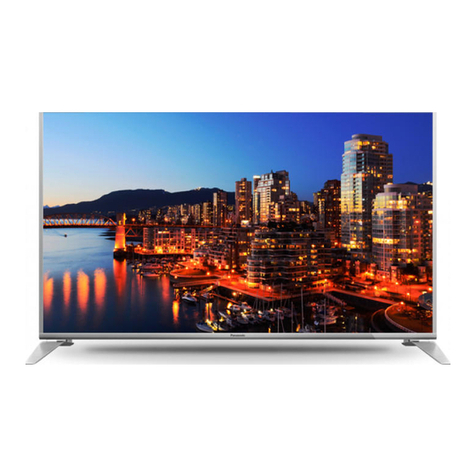
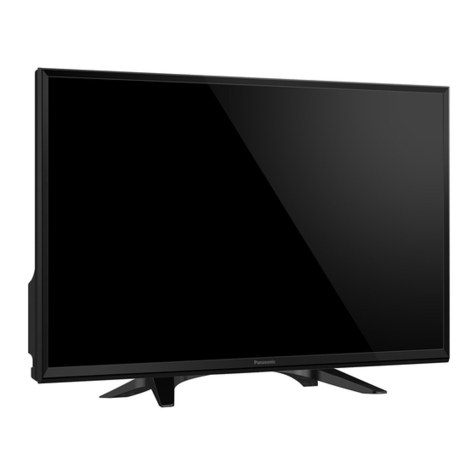
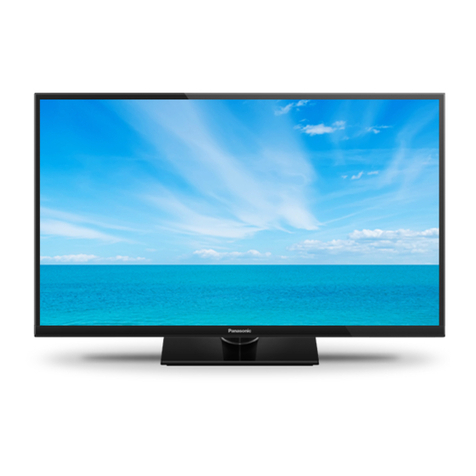
  9. Panasonic TH-49DX400K User manual

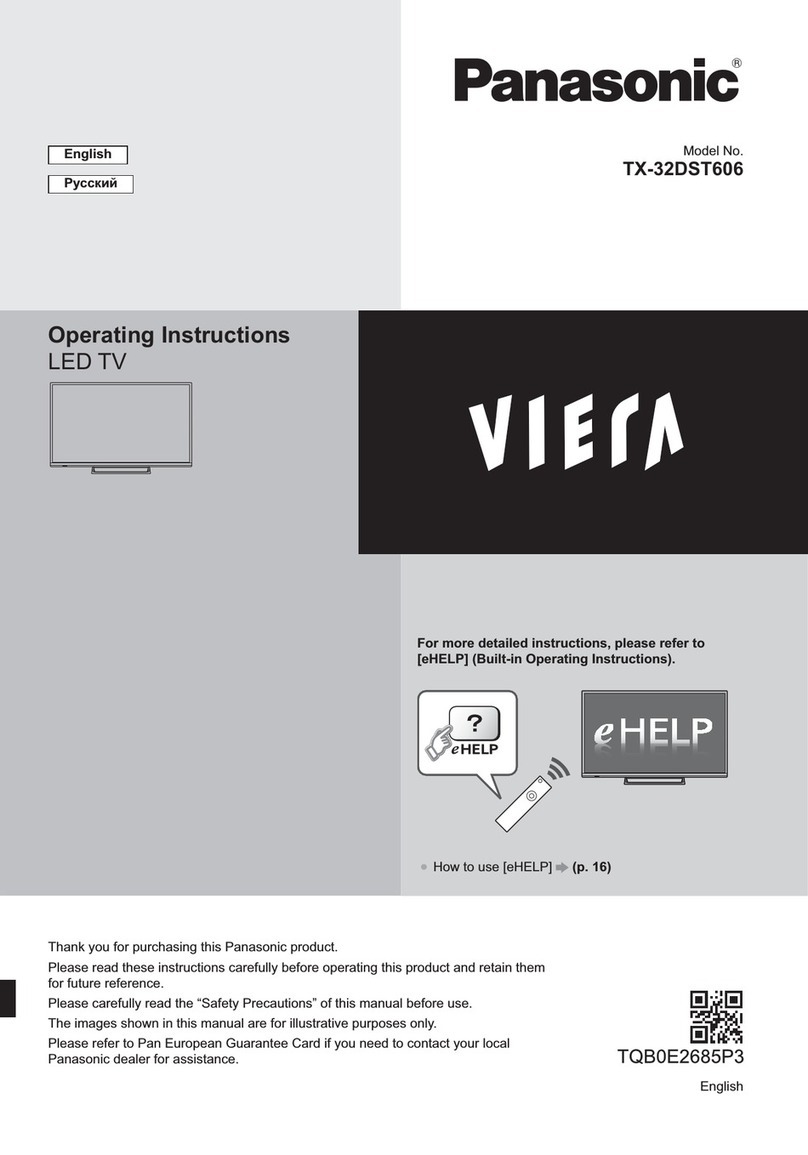
Panasonic TH-49DX400K User manual

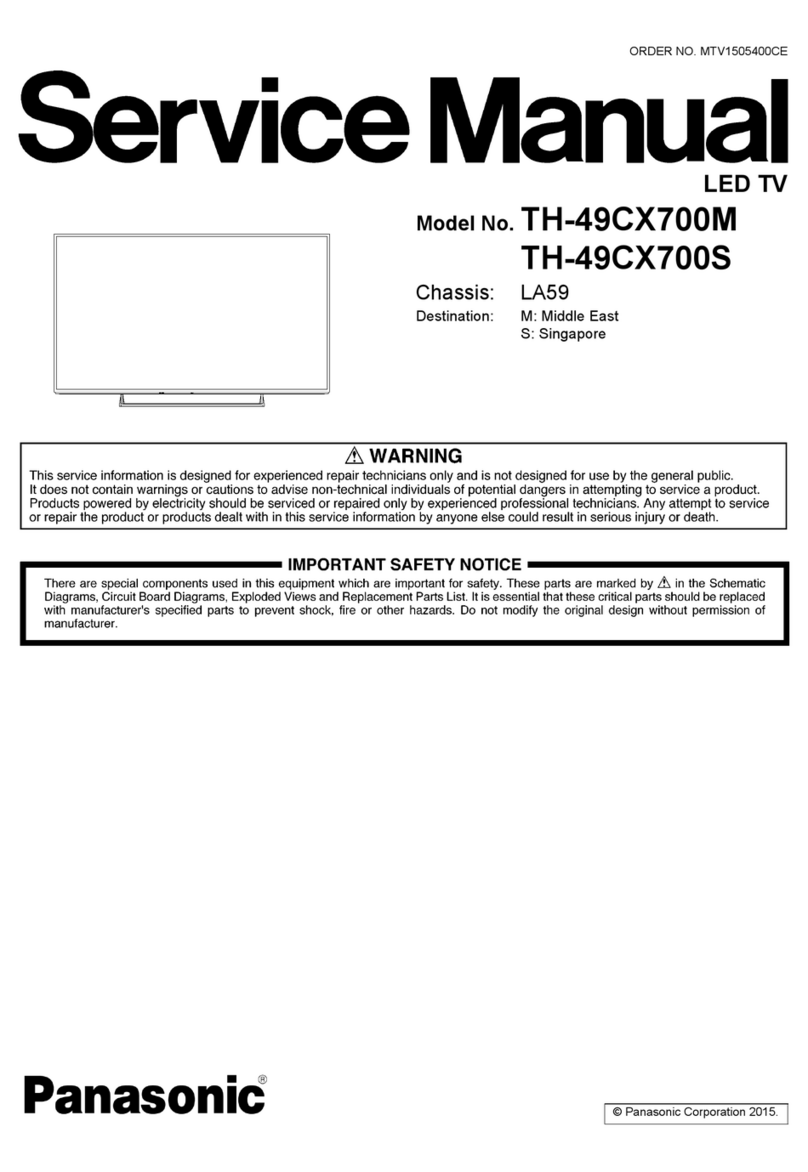
ORDER NO. MTV1609090CE
LED TV
Destination : K: Malaysia S: Singapore T: Thailand
© Panasonic Corporation 2016.
Model No.
TH-49DX400K
TH-49DX400S
TH-49DX400T
Page 1 of 1
10/22/2017
file://\\royalfs\Service\Technical\Ms.dehghani\All SVC sent by CD\19\TH-49DX400SAL...
1 Safety Precautions
1.1 General Guidelines
1. When servicing, observe the original lead dress. If a short circuit is found, replace all parts which have been
overheated or damaged by the short circuit.
2. After servicing, see to it that all the protective devices such as insulation barriers, insulation papers shields are
properly installed.
3. After servicing, make the following leakage current checks to prevent the customer from being exposed to
shock hazards.
4. When conducting repairs and servicing, do not attempt to modify the equipment, its parts or its materials.
5. When wiring units (with cables, flexible cables or lead wires) are supplied as repair parts and only one wire or
some of the wires have been broken or disconnected, do not attempt to repair or re-wire the units. Replace the
entire wiring unit instead.
6. When conducting repairs and servicing, do not twist the Faston connectors but plug them straight in or unplug
them straight out.
1.1.1 Leakage Current Cold Check
1. Unplug the AC cord and connect a jumper between the two prongs on the plug.
2. Measure the resistance value, with an ohmmeter, between the jumpered AC plug and each exposed metallic
cabinet part on the equipment such as screwheads, connectors, control shafts, etc. When the exposed metallic
part has a return path to the chassis, the reading should be 8.5Mohm to 13Mohm.
When the exposed metal does not have a return path to the chassis, the reading must be .
1.1.2 Leakage Current Hot Check (See Figure 1 .)
1. Plug the AC cord directly into the AC outlet. Do not use an isolation transformer for this check.
2. Connect a 1.5kohm, 10 watts resistor, in parallel with a 0.15µF capacitors, between each exposed metallic part
on the set and a good earth ground such as a water pipe, as shown in Figure 1 .
3. Use an AC voltmeter, with 1000 ohms/volt or more sensitivity, to measure the potential across the resistor.
4. Check each exposed metallic part, and measure the voltage at each point.
5. Reverse the AC plug in the AC outlet and repeat each of the above measurements.
6. The potential at any point should not exceed 0.75 volts RMS. A leakage current tester (Simpson Model 229 or
equivalent) may be used to make the hot checks, leakage current must not exceed 1/2 milliamp. In case a
measurement is outside of the limits specified, there is a possibility of a shock hazard, and the equipment
should be repaired and rechecked before it is returned to the customer.
Figure 1
Page 1 of 1
10/22/2017
file://\\royalfs\Service\Technical\Ms.dehghani\All SVC sent by CD\19\TH-49DX400SAL...
2 Warning
2.1 Prevention of Electrostatic Discharge (ESD) to
Electrostatically Sensitive (ES) Devices
Some semiconductor (solid state) devices can be damaged easily by static electricity. Such components commonly are
called Electrostatically Sensitive (ES) Devices. Examples of typical ES devices are integrated circuits and some field-effect
transistors and semiconductor [chip] components. The following techniques should be used to help reduce the incidence of
component damage caused by electrostatic discharge (ESD).
1. Immediately before handling any semiconductor component or semiconductor-equipped assembly, drain off any
ESD on your body by touching a known earth ground. Alternatively, obtain and wear a commercially available
discharging ESD wrist strap, which should be removed for potential shock reasons prior to applying power to
the unit under test.
2. After removing an electrical assembly equipped with ES devices, place the assembly on a conductive surface
such as aluminum foil, to prevent electrostatic charge buildup or exposure of the assembly.
3. Use only a grounded-tip soldering iron to solder or unsolder ES devices.
4. Use only an anti-static solder removal device. Some solder removal devices not classified as [anti-static (ESD
protected)] can generate electrical charge sufficient to damage ES devices.
5. Do not use freon-propelled chemicals. These can generate electrical charges sufficient to damage ES devices.
6. Do not remove a replacement ES device from its protective package until immediately before you are ready to
install it. (Most replacement ES devices are packaged with leads electrically shorted together by conductive
foam, aluminum foil or comparable conductive material).
7. Immediately before removing the protective material from the leads of a replacement ES device, touch the
protective material to the chassis or circuit assembly into which the device will be installed.
Caution
Be sure no power is applied to the chassis or circuit, and observe all other safety precautions.
8. Minimize bodily motions when handling unpackaged replacement ES devices. (Otherwise harmless motion such
as the brushing together of your clothes fabric or the lifting of your foot from a carpeted floor can generate static
electricity (ESD) sufficient to damage an ES device).
2.2 About lead free solder (PbF)
Note: Lead is listed as (Pb) in the periodic table of elements.
In the information below, Pb will refer to Lead solder, and PbF will refer to Lead Free Solder.
The Lead Free Solder used in our manufacturing process and discussed below is (Sn+Ag+Cu).
That is Tin (Sn), Silver (Ag) and Copper (Cu) although other types are available.
This model uses Pb Free solder in it’s manufacture due to environmental conservation issues. For service and repair work,
we’d suggest the use of Pb free solder as well, although Pb solder may be used.
PCBs manufactured using lead free solder will have the PbF within a leaf Symbol PbF stamped on the back of PCB.
Caution
Pb free solder has a higher melting point than standard solder. Typically the melting point is 50 ~ 70 °F (30~40 °
C) higher. Please use a high temperature soldering iron and set it to 700 ± 20 °F (370 ± 10 °C).
Pb free solder will tend to splash when heated too high (about 1100 °F or 600 °C).
If you must use Pb solder, please completely remove all of the Pb free solder on the pins or solder area before
applying Pb solder. If this is not practical, be sure to heat the Pb free solder until it melts, before applying Pb
Page 1 of 2
10/22/2017
file://\\royalfs\Service\Technical\Ms.dehghani\All SVC sent by CD\19\TH-49DX400SAL...
solder.
After applying PbF solder to double layered boards, please check the component side for excess solder which
may flow onto the opposite side. (see figure below)
Page 2 of 2
10/22/2017
file://\\royalfs\Service\Technical\Ms.dehghani\All SVC sent by CD\19\TH-49DX400SAL...
3 Service Navigation
3.1 Service Hint
Board Name
Main Device
Remarks
A Board
Main Board
All boards are non-repairable and should be exchanged for service
P BOARD
Power Board
IR BOARD
Remote, Key
Page 1 of 1
10/22/2017
file://\\royalfs\Service\Technical\Ms.dehghani\All SVC sent by CD\19\TH-49DX400SAL...
4 Specifications
Note
Design and Specifications are subject to change without notice. Mass and Dimensions shown are approximate.
Model No. :
TH-49DX400K / TH-49DX400S / TH-49DX400T
Screen size - diagonal
124 cm
Screen resolution
3 840 x 2 160
Audio output power (L+R)
8 W +8 W
Working voltage:
100 - 240 V ~ 50/60 Hz
Rated power consumption
120 W
Dimensions (W x H x D)
1107.4 mm x 250.2 mm x 690.1 mm
Net weight
12.2 Net
Environment
Working temperature : 5°C ~ 45°C
Working Humidity : 20 % ~ 80 %
Storage temperature : -15°C ~ 50°C
Storage Humidity : 10 % ~ 90 %
Environment
Working temperature : 5°C ~ 35°C
Working Humidity : 20 % ~ 80 %
Storage temperature : -15°C ~ 45°C
Storage Humidity : 10 % ~ 90 %
Channel Coverage
48~864 MHz full range of RF Input
System
TV
PAL / BG / DK, PAL-I, NTSC-M
AV
PAL, NTSC, SECAM
Preset programme
ATV
100
DTV
1000
Status displaying method
On screen display
Function adjustment indicator
Menu display
Language of OSD
English / Thai / Vietnamese / Indonesia / Chinese / Myanmar
RF aerial input
75 ohm unbalanced
AV video input
75 ohm, 1.0 Vp-p, RCA
Built - in wireless LAN
Standard compliance and Frequency range
IEEE802.11. b/g/n
2.40 GHz - 2.4835 GHz
Security
WPA2-PSK (TKIP/AES)
WPA2-PSK (TKIP/AES)
WEP (64bit/128bit)
Page 1 of 1
10/22/2017
file://\\royalfs\Service\Technical\Ms.dehghani\All SVC sent by CD\19\TH-49DX400SAL...
5 Test and Alignment
5.1 Factory Setting
Press AV button and follow with key 3, 1, 9, 5 one by one.
5.1.1 ADC Adjust
Page 1 of 7
10/22/2017
file://\\royalfs\Service\Technical\Ms.dehghani\All SVC sent by CD\19\TH-49DX400SAL...
Press ▲/▼button, choose ADC Adjust and press OK button to enter.
Before adjusting, enter the channel you want to adjust and input adjust signal (YPBPR channel: 576P and 720P with 100% color
bar; VGA channel: 1366*768 with tessellated white and black ). Select ADC Tune, press ► button to auto adjust the ADC value.
Note:
1. The YPBPR and PC’s Auto White Balance adjust (AUTO ADC) must be done on the product line.
2. In YPBPR channel ,must adjust the SD and HD two modes.
5.1.2 Picture Mutuality
Page 2 of 7
10/22/2017
file://\\royalfs\Service\Technical\Ms.dehghani\All SVC sent by CD\19\TH-49DX400SAL...
5.1.3 Audio Mutuality
No adjust.
5.1.4 Non-Linear
No adjust Press OK button to choose a backlight, volume, brightness,contrast, saturation,sharpness,hue and so on, press ◄/►
buttons to nonlinear adjustment.
No
Item
Description
1
W/B Adjust
Select W/B Adjust , go to the “MODE” item to select the channel which you want to adjust then select TEMPERATURE
(Medium, Warm, Cool). Then press ▼button to go to the items you want to adjust:R-GAIN G-GAIN B-GAIN R-
OFFSET G-OFFSET B-OFFSET Press◄/►
2
Picture
Mode
No adjust.
3
OverScan
Select OverScan , go to the “input source” item to select the channel which you want to adjust. Then press ▼button to go to
the items you want to adjust:Left Crop Right Crop Up Crop Down Crop Press◄/► buttons can
4
QMAP
Adjust
No adjust.
Page 3 of 7
10/22/2017
file://\\royalfs\Service\Technical\Ms.dehghani\All SVC sent by CD\19\TH-49DX400SAL...
5.1.5 VIF Initialization
No adjust.
5.1.6 System Setting
5.1.7 Panel Control
5.1.8 Others
No
Item
Description
1
Brightness
Adjust the Brightness Curve.
2
Contrast
Adjust the Contrast Curve.
3
Saturation
Adjust the Saturation Curve.
4
Hue
Adjust the Hue Curve.
5
Sharpness
Adjust the Sharpness Curve.
6
Volume
Adjust the Volume Curve.
7
Backlight
Adjust the Backlight Curve.
No
Item
Description
1
HOTKEY
Press ◄/► button to switch factory hotkey on or off. For shipping condition, this item should be off.
2
AGING MODE
Press ◄/► button to switch aging mode on or off. When aging mode is on, press EXIT button to exit
this mode.
3
Default Country
No adjust.
4
POWER ON MODE
Press ◄/► button to switch AC power on status. Memory is power on memorized, Seconda is power
on standby, Direct On is power on always.
5
Country Setup
No adjust.
6
PQ FILE...update
No adjust.
7
HDCP Key Update
No adjust.
8
CI Plus Key Update
No adjust.
9
IP Enable Mapping
No adjust.
10
Mac Addr Update
No adjust.
11
3D
No adjust.
12
Linux TimeSource
No adjust.
13
Channels
No adjust.
14
SKY factory channel preset
No adjust.
15
Burn MAC
Press OK button from U disk write MAC.
16
Burn HDCP KEY
Press OK button from U disk write HDCP KEY.
17
Burn WIDI KEY
Press OK button from U disk write WIDI KEY.
18
Burn CI KEY
Press OK button from U disk write CI KEY.
19
Burn ALL(MAC HDCPKEY
WDID CI KEY)
Press OK button from U disk write MAC ,HDCPKEY, WDID and CI KEY.
No
Item
Description
1
WHITE PATTERN
No adjust. For shipping condition, this item should be off.
2
SSC Setting
Press OK to set the appropriate EMC values.
3
6M30 SSC Setting
No adjust.
4
Gplus Mode
No adjust.
No
Item
Description
1
Uart Enable
Press◄/► button to switch Uart Enable on or off.
2
Uart BUS
Press◄/► button to switch Uart BUS on or off.
3
Uart Msg Setting
No adjust.
4
Restore to Default
Press OK to execute factory reset.
5
AVD PAPAMETER
No adjust.
6
WDT
No adjust.
7
Mount Config
No adjust.
8
Customer Info
No adjust.
9
Unique Key Reencrypt
No adjust.
10
PIP/POP
No adjust.
11
PVR-Record All
No adjust.
12
SECURE WRITE
No adjust.
13
RAM Log
No adjust.
Page 4 of 7
10/22/2017
file://\\royalfs\Service\Technical\Ms.dehghani\All SVC sent by CD\19\TH-49DX400SAL...
5.1.9 Customer Setting
5.1.10 CI Factory Setting
No adjust.
5.2 MSD6488 Software Upgrade Instruction
5.2.1 Upgrade bin file
The file name of the upgrade bin is “MstarUpgrade.bin” for USB upgrade.
5.2.2 USB upgrade procedures for TV set
1. Copy the software to the root directory of a USB memory stick. Plug the memory stick to USB port of target TV set.
2. Select ‘Software Update(USB)’ on OSD and press OK button to start software update. TV will reboot automatically when upgrade
finishes.
3. If the process stop at 19% and TV reboot, it means the software of both TV set and USB memory stick is the same.
14
SW Information
No adjust.
15
Update Logo
No adjust.
16
Backup Date
No adjust.
17
Restore Date
No adjust.
No
Item
Description
1
Gamma Table
No adjust.
Page 5 of 7
10/22/2017
file://\\royalfs\Service\Technical\Ms.dehghani\All SVC sent by CD\19\TH-49DX400SAL...
5.3 Hotel Mode
Enter Hotel Mode: MENU+7906
Enter Hotel Mode State:
Page 6 of 7
10/22/2017
file://\\royalfs\Service\Technical\Ms.dehghani\All SVC sent by CD\19\TH-49DX400SAL...
No
Item
Description
1
Hotel Mode
Press◄/► button to turn on or turn off hotel mode.
2
Initial INPUT
Press◄/► button to switch power on source.
3
Initial POS
Only available when Initial INPUT switch to ATV. Press◄/► button to set power on TV channel.
4
Initial VOL
Level
Press◄/► button to set power on volume.
5
Maximum VOL
Level
Press◄/► button to set maximum volume user can adjust.
6
Button Lock
Press◄/► button to lock or unlock panel buttons.
7
Remote Lock
Press◄/► button to lock or unlock remote control. When on, only hotel mode is available (MENU+7906).
8
Auto Power On
Press◄/► button to set power on status. Last is power on memorized, Off is power on standby, On is power on always.
9
RS232
Press◄/► button to switch RS232 on or off. When RS232 switched to on, TV system need to reboot and Uart BUS in
factory men u should be switched to On. For command ‘Power ON’ which is only available when monitor
10
LOGO
Press◄/► button to switch LOGO on or off.
11
BL A OUT
Press◄/► button to switch BLA OUT on or off.
12
Speaker out
Press◄/► button to switch Speaker out on or off.
13
Ear Out Audio
Press◄/► button to to select the FIX or VAR model.
14
Ten Key/CH
Key
Press◄/► button to Ten Key/CH Key on or off.
15
Input Select
Mode
Press OK to enter Input Select Mode. User can turn on or turn off input source in input menu.
Page 7 of 7
10/22/2017
file://\\royalfs\Service\Technical\Ms.dehghani\All SVC sent by CD\19\TH-49DX400SAL...
6 Troubleshooting Guide
These flow charts may not match every single defeat TV set, but they can give you useful advices when you meet the same defeats described on the titles
below.
Terms:
IR: Infrared Receiver
RC: Remote Control
IR logic: IR blink with RC action
LVDS: Low Voltage Differential Signal, output from processor and input for panel
O/C: Open Cell, panel with source board
BL: Back Light,light source for panel module g,g f p
LB: LED (Light Emitting Diode) Bar, light source for BL module
VBL: Voltage for Back Light (before Boost)
VLED: Voltage for LED (after Boost)
OVP: Over Voltage Protection
OSD: On Screen Display
AMP: Amplifier
6.1 No Power.
6.2 No Display / Black Panel.
Page 1 of 7
10/22/2017
file://\\royalfs\Service\Technical\Ms.dehghani\All SVC sent by CD\19\TH-49DX400SAL...
6.3 No Back Light.
Page 2 of 7
10/22/2017
file://\\royalfs\Service\Technical\Ms.dehghani\All SVC sent by CD\19\TH-49DX400SAL...
6.4 No Sound.
Page 3 of 7
10/22/2017
file://\\royalfs\Service\Technical\Ms.dehghani\All SVC sent by CD\19\TH-49DX400SAL...
6.5 Signal source no function
Page 4 of 7
10/22/2017
file://\\royalfs\Service\Technical\Ms.dehghani\All SVC sent by CD\19\TH-49DX400SAL...
6.6 Abnormal Display
Page 5 of 7
10/22/2017
file://\\royalfs\Service\Technical\Ms.dehghani\All SVC sent by CD\19\TH-49DX400SAL...
6.7 No Tuning Channels
Page 6 of 7
10/22/2017
file://\\royalfs\Service\Technical\Ms.dehghani\All SVC sent by CD\19\TH-49DX400SAL...
Page 7 of 7
10/22/2017
file://\\royalfs\Service\Technical\Ms.dehghani\All SVC sent by CD\19\TH-49DX400SAL...

This manual suits for next models

2

Other Panasonic LED TV manuals

Panasonic TH-55CX600S User manual

Panasonic

Panasonic TH-55CX600S User manual

Panasonic TH-40JX700Z User manual

Panasonic

Panasonic TH-40JX700Z User manual

Panasonic TX-40DX730E User manual

Panasonic

Panasonic TX-40DX730E User manual

Panasonic Viera TH-65FX700A User manual

Panasonic

Panasonic Viera TH-65FX700A User manual

Panasonic CT27G13 - 27" COLOR TV User manual

Panasonic

Panasonic CT27G13 - 27" COLOR TV User manual

Panasonic TX-24FSW504 User manual

Panasonic

Panasonic TX-24FSW504 User manual

Panasonic Viera TH-55FX800A User manual

Panasonic

Panasonic Viera TH-55FX800A User manual

Panasonic TX-40DX700E User manual

Panasonic

Panasonic TX-40DX700E User manual

Panasonic Viera TX-24ES500E User manual

Panasonic

Panasonic Viera TX-24ES500E User manual

Panasonic TH-22H400Z User manual

Panasonic

Panasonic TH-22H400Z User manual

Panasonic Viera TC-L39B6 User manual

Panasonic

Panasonic Viera TC-L39B6 User manual

Panasonic Viera Flat Screen TV User manual

Panasonic

Panasonic Viera Flat Screen TV User manual

Panasonic TH-42a410t User manual

Panasonic

Panasonic TH-42a410t User manual

Panasonic TX-32J330E User manual

Panasonic

Panasonic TX-32J330E User manual

Panasonic TX-43G301B User manual

Panasonic

Panasonic TX-43G301B User manual

Panasonic TX-40EX700E User manual

Panasonic

Panasonic TX-40EX700E User manual

Panasonic E55A series User manual

Panasonic

Panasonic E55A series User manual

Panasonic TH-L50DT60A User manual

Panasonic

Panasonic TH-L50DT60A User manual

Panasonic TX-39ASW754 User manual

Panasonic

Panasonic TX-39ASW754 User manual

Panasonic Viera TH-L32XV6A User manual

Panasonic

Panasonic Viera TH-L32XV6A User manual

Panasonic TH-L50B6A User manual

Panasonic

Panasonic TH-L50B6A User manual

Panasonic VIERA TX-50EXX789 User manual

Panasonic

Panasonic VIERA TX-50EXX789 User manual

Panasonic TX-43MX700E User manual

Panasonic

Panasonic TX-43MX700E User manual

Panasonic VIERA TX-40DXT686 User manual

Panasonic

Panasonic VIERA TX-40DXT686 User manual

Popular LED TV manuals by other brands

LG 55UR640S Easy setup guide

LG

LG 55UR640S Easy setup guide

Samsung QE65QN85CATXXN user manual

Samsung

Samsung QE65QN85CATXXN user manual

Samsung Series 4+ user manual

Samsung

Samsung Series 4+ user manual

Hitachi LE40K507 owner's guide

Hitachi

Hitachi LE40K507 owner's guide

Philips 6008 Series 42PFL6188S/12 quick guide

Philips

Philips 6008 Series 42PFL6188S/12 quick guide

LG 19MN43D owner's manual

LG

LG 19MN43D owner's manual

LG LB63 Series owner's manual

LG

LG LB63 Series owner's manual

Philips 37PFL7605H brochure

Philips

Philips 37PFL7605H brochure

Supersonic SC-1511 user manual

Supersonic

Supersonic SC-1511 user manual

Teac L Series user manual

Teac

Teac L Series user manual

LG 32LJ550B Easy setup guide

LG

LG 32LJ550B Easy setup guide

Bauhn Actios ATVUHD55-1216 Getting started

Bauhn

Bauhn Actios ATVUHD55-1216 Getting started

JVC LT-65C880 instruction manual

JVC

JVC LT-65C880 instruction manual

Philips 40PFL3188T Specifications

Philips

Philips 40PFL3188T Specifications

Camec RV Media Evolution 044694 instruction manual

Camec

Camec RV Media Evolution 044694 instruction manual

LG UB85 Series owner's manual

LG

LG UB85 Series owner's manual

ETERNITY 32/133O-WB-3B2-EGDU user guide

ETERNITY

ETERNITY 32/133O-WB-3B2-EGDU user guide

Philips 32PFL3509 quick start

Philips

Philips 32PFL3509 quick start

manuals.online logo
manuals.online logoBrands
  • About & Mission
  • Contact us
  • Privacy Policy
  • Terms and Conditions

Copyright 2025 Manuals.Online. All Rights Reserved.