Your electricity supply. We recommend that this appliance is connected to the
mains supply via a suitable switched and fused socket in a readily accessible
position. We do not recommend the use of extension leads and multi-way
adapters.
WARNING! THIS APPLIANCE MUST BE EARTHED
If the fitted plug is not suitable for your socket, then the plug should be removed
and an appropriate plug fitted. Destroy the old plug as a plug with bared cord
could cause a shock hazard if inserted into a socket. The plug on this appliance
Incorporates a 13 A fuse. Should the fuse need to be changed a fuse of the same
rating must be used. Ensure that the fuse cover is refitted.
1. Install the Freezer on a flat surface in order to prevent vibration and noise.
2. If required adjust the levelling feet at the front by turning them.
3. Choose a dry well-ventilated place.
4. Take care not to damage your flooring, pipes, wall coverings etc.
5. This appliance is not designed for stacking with any other appliance
6. Minimum space where this freezer is being installed is 10 cubic metres.
7. Choose a location where there is no heat source. Keep the appliance
Away from direct sunlight, oven etc.
8. Insert the plug into the wall socket and switch on the electricity supply.
You will hear a noise as the compressor starts up. The liquid and gases
Sealed within the system may also give rise to noise, whether the
Compressor is running or not which is quite normal.
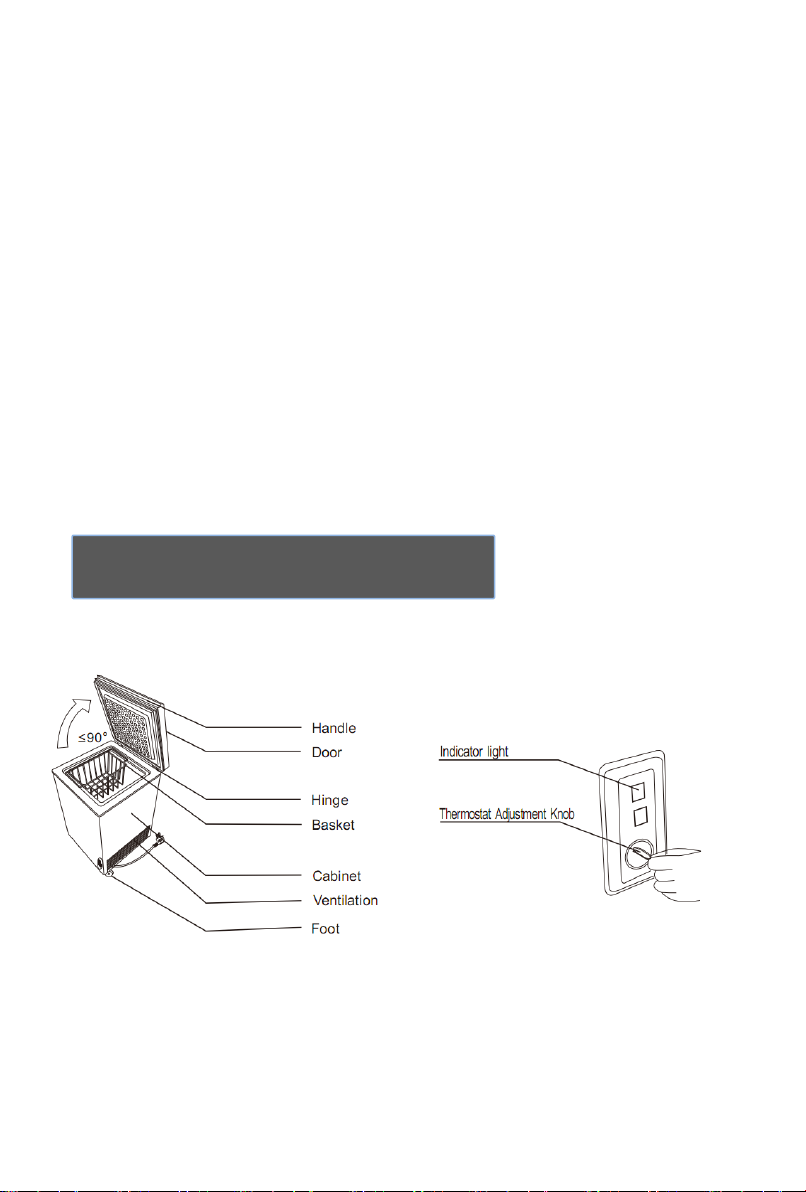
9. The red light should come on indicating connection to power, the green
light will glow indicating that the compressor is running
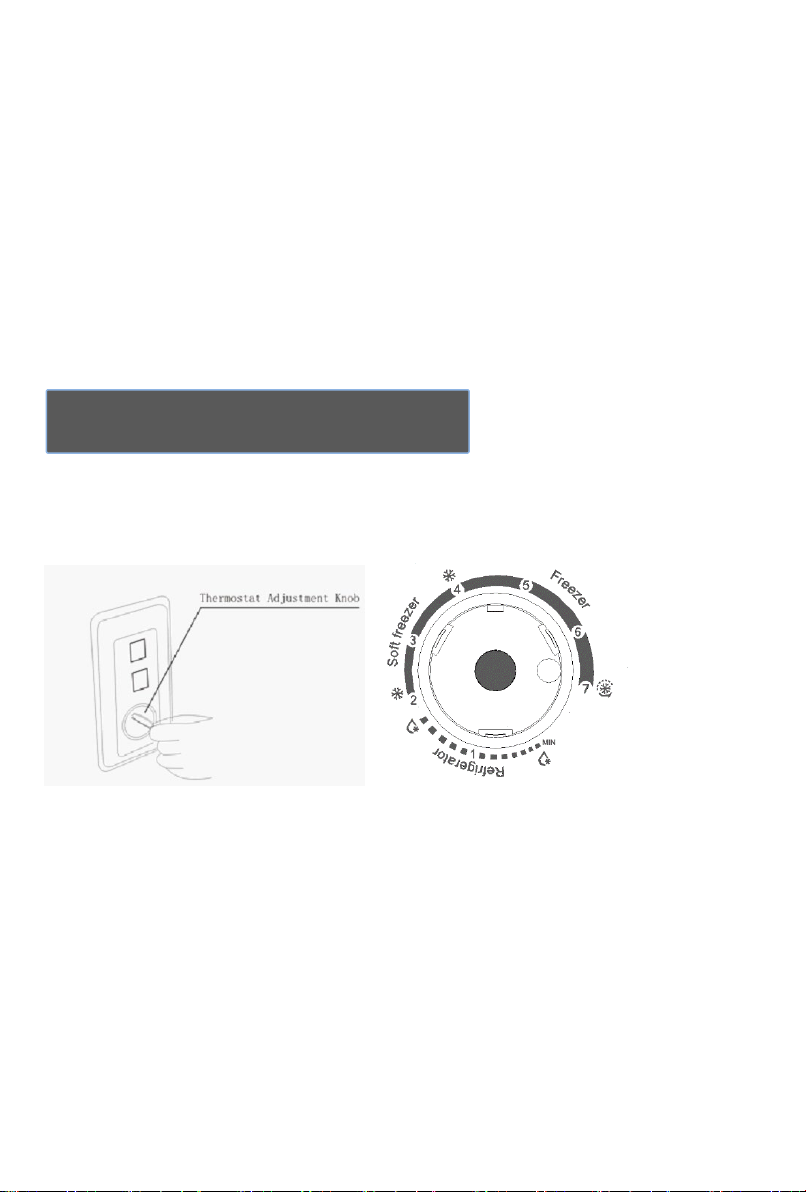
10. Set the thermostat to 2 and close door. After 30 minutes you should
observe a drop in temperature.
11. Front edges of the cabinet may feel warm. This is normal.
12. Do not load the appliance immediately it is switched on. Wait until the
Installation Instructions