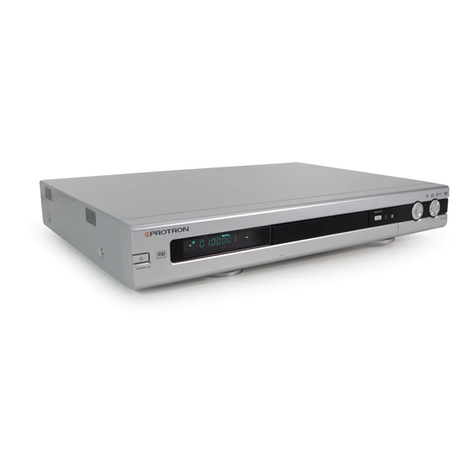
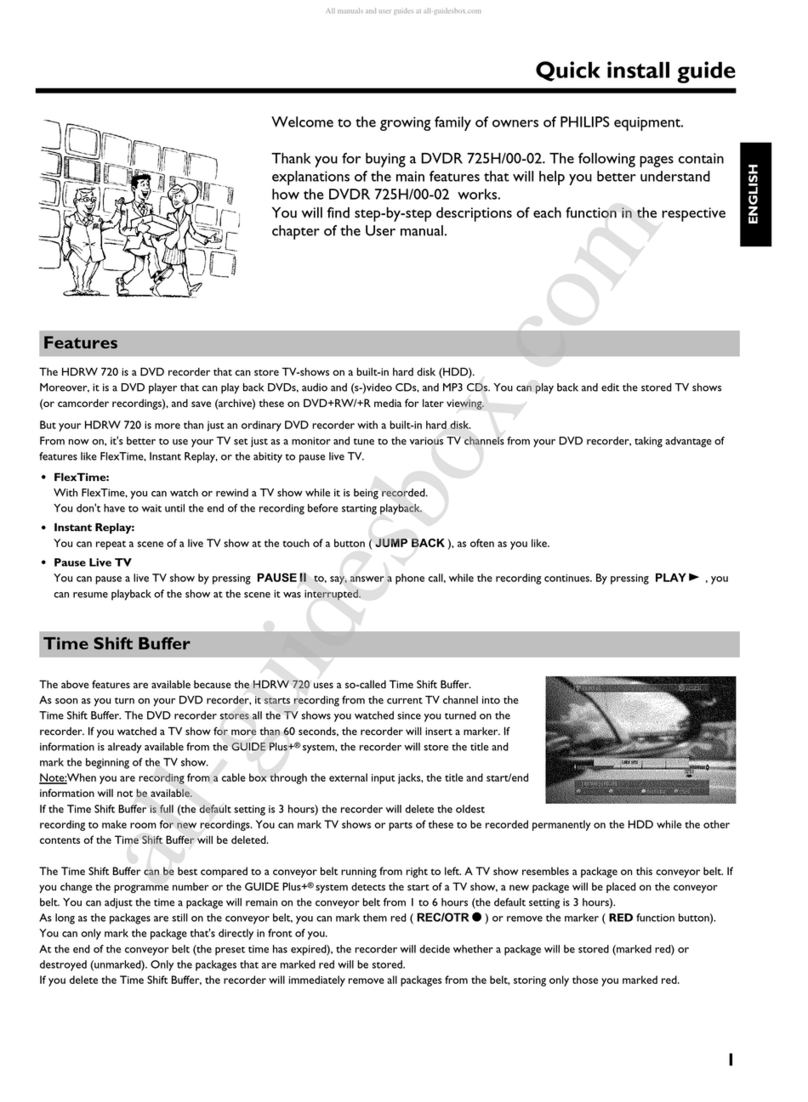
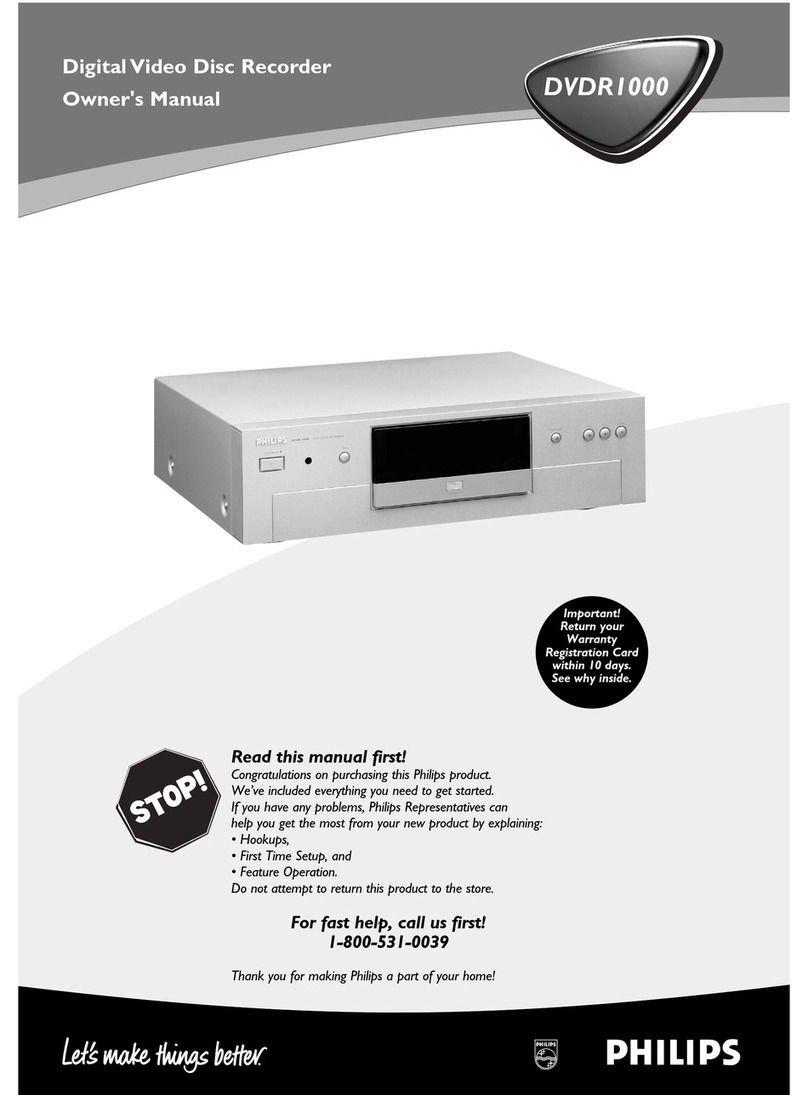
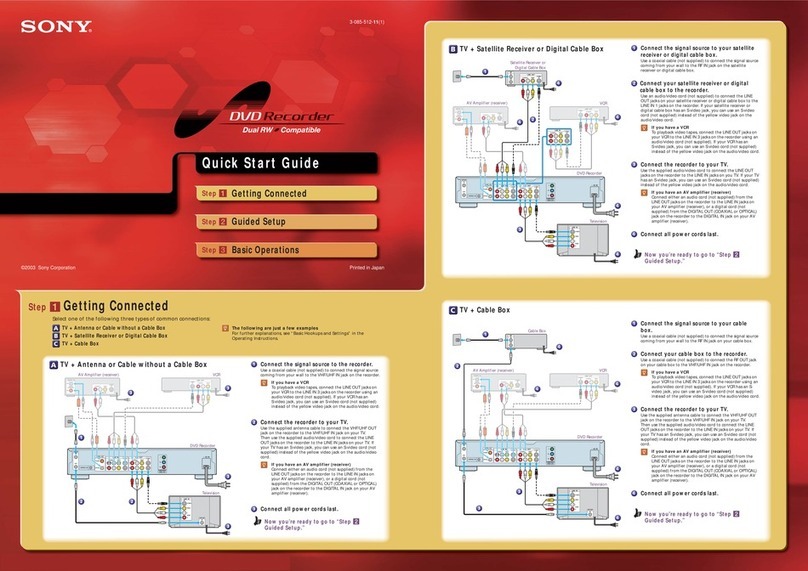
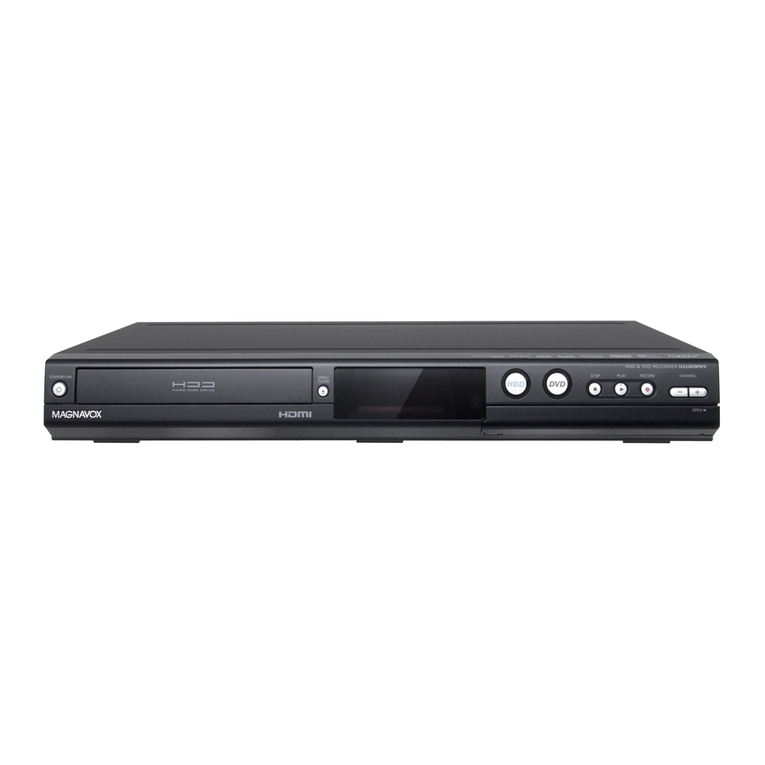
PROTRON PD-DVR100 User manual

MUTE
ZOOM
P-SCAN REPEAT TIMER
SETUP DISCEDIT EDIT
SLOW REC
A-B MODE
VOLUME
(LEVEL)
REV FWD
NEXTPREV
STOP PAUSE/STEP PLAY
DISPLAY TITLE MENU RETURN
SEARCH ADD/CLEAR PROGRAM
CHANNEL
ENTER
ANGLE AUDIO SUBTITLE
INPUT
Not Included
Coaxial Cable
Accessories
Extra RCA Cables
FR
C
SR
FL
SW
SL
Video
S-Video
Y/G
Pr/R
Pb/B
Coaxial Optical
NTSC
!
S-Video Video R --- Audio --- L
IN
1
IN
2
RF IN
RF OUT
UHF/VHF SOURCE INPUT AUDIO OUT VIDEO OUT DIGITAL AUDIO OUT
BACK
Remote
2 AAA Batteries
User’s Manual
FRONT
Connecting a TV Signal
1. Using a coaxial cable (not included), connect the signal source
to the RF IN jack on the rear of the recorder.
2. If you would like to connect the same signal source to another
device as well, use another coaxial cable to connect the RF OUT
jack to the other device.
FR
C
SR
FL
SW
SL
Video
S-Video
Y/G
Pr/R
Pb/B
Coaxial Optical
S-Video Video R --- Audio --- L
IN
1
IN
2
RF IN
RF OUT
UHF/VHF SOURCE INPUT AUDIO OUT VIDEO OUT DIGITALAUDIO OUT
TV SIGNAL
(OPTIONAL)
TV IN
R
E
C
S
O
U
R
C
E
P
L
A
Y
/
P
A
U
S
E
P
R
E
V
N
E
X
T
S
T
O
P
OPEN/CLOSE
STANDBY/ON
DVD+ReWr itable
Connecting to a Display—Component Video
1. Using three RCA cables, connect the Y, Pb, and Pr outputs
in the VIDEO OUT block on the rear of the recorder to the
corresponding component video inputs on the display.
FR
C
SR
FL
SW
SL
Video
S-Video
Y/G
Pr/R
Pb/B
Coaxial Optical
NTSC
!
S-Video Video R --- Audio --- L
IN
1
IN
2
RF IN
RF OUT
UHF/VHF SOURCE INPUT AUDIO OUT VIDEO OUT DIGITALAUDIO OUT
Y
Pr
Pb
L
AUDIO
(OPTIONAL)
VIDEO
R
2. If you would also like to connect the audio output to the
display, connect the FR (right) and FL (left) outputs in the
AUDIO OUT block on the rear of the recorder to the display’s
audio input.
Connecting to a Display—Composite Video
1. Using an RCA cable, connect the Video output in the VIDEO
OUT block on the rear of the recorder to the display’s
composite video input.
FR
C
SR
FL
SW
SL
Video
S-Video
Y/G
Pr/R
Pb/B
Coaxial Optical
NTSC
!
S-Video Video R --- Audio --- L
IN
1
IN
2
RF IN
RF OUT
UHF/VHF SOURCE INPUT AUDIO OUT VIDEO OUT DIGITALAUDIO OUT
L
AUDIO
(OPTIONAL)
VIDEO
R
2. If you would also like to connect the audio output to the
display, connect the FR (right) and FL (left) outputs in the
AUDIO OUT block on the rear of the recorder to the display’s
audio input.
Connecting to an Audio System—Stereo (Analog)
1. Using two RCA cables, connect the FR (right) and FL (left)
outputs in the AUDIO OUT block on the rear of the recorder to
the audio system’s analog stereo audio input.
FR
C
SR
FL
SW
SL
Video
S-Video
Y/G
Pr/R
Pb/B
Coaxial Optical
NTSC
!
S-Video Video R --- Audio --- L
IN
1
IN
2
RF IN
RF OUT
UHF/VHF SOURCE INPUT AUDIO OUT VIDEO OUT DIGITAL AUDIO OUT
L
R
AUDIO SYSTEM
STEREO
AUDIO INPUT
Connecting to an Audio System—5.1 Channel Surround
1. Using six RCA cables, connect each of the outputs in the AUDIO
OUT block on the rear of the recorder—FR (front right), FL
(front left), C (center), SW (subwoofer), SR (surround right), and
SL (surround left)—to the corresponding audio system inputs.
FR
C
SR
FL
SW
SL
Video
S-Video
Y/G
Pr/R
Pb/B
Coaxial Optical
NTSC
!
S-Video Video R --- Audio --- L
IN
1
IN
2
RF IN
RF OUT
UHF/VHF SOURCE INPUT AUDIO OUT VIDEO OUT DIGITAL AUDIO OUT
SR
C
FR
SL
SW
FL
AUDIO SYSTEM
5.1 CHANNEL
AUDIO INPUT
RCA Cables
Start Here
Easy Setup Instructions
Unpacking the Recorder and Accessories
1. Remove the contents of the box and place the recorder in its
intended location.
2. Plug in the recorder.
FR
C
SR
FL
SW
SL
Video
S-Video
Y/G
Pr/R
Pb/B
Coaxial Optical
NTSC
!
S-Video Video R --- Audio --- L
IN
1
IN
2
RF IN
RF OUT
UHF/VHF SOURCE INPUT AUDIO OUT VIDEO OUT DIGITAL AUDIOOUT
!
Connecting an Audio/Video Signal for Recording
1. Select an audio/video input from the three available on the
recorder.
Note: You should use the input on the front of the recorder
for non-permanent connections, such as to a camcorder when
transferring its recorded video to DVD.
2. If you would like to use S-Video, which offers higher quality
video than composite, connect an S-Video cable (not included)
between the video source and the S-Video input in the input
block selected in step 1 above.
If you would like to use composite video, connect an RCA cable
between the video source and the Video input in the input
block selected in step 1 above.
3. Using two RCA cables, connect the audio source to the L (left—
white) and R (right—red) inputs in the input block selected in
step 1 above.
FR
C
SR
FL
SW
SL
Video
S-Video
Y/G
Pr/R
Pb/B
Coaxial Optical
NTSC
!
S-Video Video R --- Audio --- L
IN
1
IN
2
RF IN
RF OUT
UHF/VHF SOURCE INPUT AUDIO OUT VIDEO OUT DIGITAL AUDIOOUT
R
L
VIDEO
S-VIDEO
AUDIO
AUDIO/VIDEO SOURCE
OR
OUTPUT
Vertical fold
Vertical fold
EZPDDVR100.indd 1 8/26/2005 10:15:11 AM

Installing Batteries in the Remote Control
1. Remove the battery compartment cover from the rear of the
remote and insert two AAA batteries (included). Replace the
cover.
Configure audio/video settings:
1. If you are connecting to a display using component video, press
to select progressive scan or interlaced video.
MUTE
ZOOM
P-SCAN REPEAT TIMER
SETUP DISC EDIT EDIT
SLOW REC
A-B MODE
VOLUME
(LEVEL)
REV FWD
NEXTPREV
STOP PAUSE/STEP PLAY
DISPLAY TITLE MENU RETURN
SEARCH ADD/CLEAR PROGRAM
CHANNEL
ENTER
ANGLE AUDIO SUBTITLE
INPUT
Note: If you intend to use progressive scan video, ensure your
display supports it.
2. Press to enter the Setup menu.
3. Use to select the Playback sub-menu and press .
SYSTEM SETUP - PLAYBACK
TV aspect ratio
Rating level
Digital audio output
Analog audio output
Speaker setting
16:9
OFF
RAW
2 CH
OK
4. Use to select Analog Audio Output and press .
5. Use to select the audio output format you are using.
If you have connected stereo audio only, select 2 CH.
If you have connected 5.1 channel audio, select 5.1 CH.
For more information, refer to the User’s Manual.
Set the clock:
1. Press to enter the Setup menu.
MUTE
ZOOM
P-SCAN REPEAT TIMER
SETUP DISC EDIT EDIT
SLOW REC
A-B MODE
VOLUME
(LEVEL)
REV FWD
NEXTPREV
STOP PAUSE/STEP PLAY
DISPLAY TITLE MENU RETURN
SEARCH ADD/CLEAR PROGRAM
CHANNEL
ENTER
ANGLE AUDIO SUBTITLE
INPUT
2. Use to select the Clock sub-menu and press .
MUTE
ZOOM
P-SCAN REPEAT TIMER
SETUP DISC EDIT EDIT
SLOW REC
A-B MODE
VOLUME
(LEVEL)
REV FWD
NEXTPREV
STOP PAUSE/STEP PLAY
DISPLAY TITLE MENU RETURN
SEARCH ADD/CLEAR PROGRAM
CHANNEL
ENTER
ANGLE AUDIO SUBTITLE
INPUT
SYSTEM SETUP - CLOCK
Date (mm/dd/yy)
Time (hh:mm:ss)
1 2 / 0 1 / 0 3
1 2 : 0 0 : 0 0
3. Use to select Date and press .
4. Enter the current date using the keypad.
MUTE
ZOOM
P-SCAN REPEAT TIMER
SETUP DISC EDIT EDIT
SLOW REC
A-B MODE
VOLUME
(LEVEL)
REV FWD
NEXTPREV
STOP PAUSE/STEP PLAY
DISPLAY TITLE MENU RETURN
SEARCH ADD/CLEAR PROGRAM
CHANNEL
ENTER
ANGLE AUDIO SUBTITLE
INPUT
Alternatively, you can select each digit individually by pressing
, then adjust it by pressing .
MUTE
ZOOM
P-SCAN REPEAT TIMER
SETUP DISC EDIT EDIT
SLOW REC
A-B MODE
VOLUME
(LEVEL)
REV FWD
NEXTPREV
STOP PAUSE/STEP PLAY
DISPLAY TITLE MENU RETURN
SEARCH ADD/CLEAR PROGRAM
CHANNEL
ENTER
ANGLE AUDIO SUBTITLE
INPUT
5. Press to set the date.
6. Use to select Time and press .
7. Enter the current time using the keypad.
Alternatively, you can select each digit individually by pressing
, then adjust it by pressing .
8. Press to set the time.
Scan the television signal spectrum:
1. Press to enter the Setup menu.
2. Use to select the Channel Scan sub-menu and press
.
SYSTEM SETUP - CHANNEL SCAN
Tuner input source
Scan channels
Modify channel information
Air
EDIT
SCAN
3. Use to select Tuner Input Source and press .
4. Use to select the type of television signal you are using
and press .
Note: If you are connecting directly to a cable television wall
outlet, contact your cable company to find out which system is
in use in your area. IRC will work with most systems.
4. Use to select Scan Channels and press . The
recorder will scan the signal spectrum and display its progress
as it does so.
Using the Recorder
1. On the remote, press to turn the recorder on and off
(standby).
MUTE
ZOOM
P-SCAN REPEAT TIMER
SETUP DISCEDIT EDIT
SLOW REC
A-B MODE
VOLUME
(LEVEL)
REV FWD
NEXTPREV
STOP PAUSE/STEP PLAY
DISPLAY TITLE MENU RETURN
SEARCH ADD/CLEAR PROGRAM
CHANNEL
ENTER
ANGLE AUDIO SUBTITLE
INPUT
MUTE
ZOOM
P-SCAN REPEAT TIMER
SETUP DISC EDIT EDIT
SLOW REC
A-B MODE
VOLUME
(LEVEL)
REV FWD
NEXTPREV
STOP PAUSE/STEP PLAY
DISPLAY TITLE MENU RETURN
SEARCH ADD/CLEAR PROGRAM
CHANNEL
ENTER
ANGLE AUDIO SUBTITLE
INPUT
To play back a disc:
1. Press to open the disc receptacle on the front of the
recorder.
MUTE
ZOOM
P-SCAN REPEAT TIMER
SETUP DISC EDIT EDIT
SLOW REC
A-B MODE
VOLUME
(LEVEL)
REV FWD
NEXTPREV
STOP PAUSE/STEP PLAY
DISPLAY TITLE MENU RETURN
SEARCH ADD/CLEAR PROGRAM
CHANNEL
ENTER
ANGLE AUDIO SUBTITLE
INPUT
2. Insert the disc.
3. Press again to close the receptacle. The disc will begin to
play upon insertion.
To record video to a DVD:
1. Insert a DVD+R or DVD+RW disc. The recorder will take a
moment to prepare the disc for recording.
2. Press until the desired signal source is selected (the name
of the currently selected signal source will display at the top of
the screen).
MUTE
ZOOM
P-SCAN REPEAT TIMER
SETUP DISC EDIT EDIT
SLOW REC
A-B MODE
VOLUME
(LEVEL)
REV FWD
NEXTPREV
STOP PAUSE/STEP PLAY
DISPLAY TITLE MENU RETURN
SEARCH ADD/CLEAR PROGRAM
CHANNEL
ENTER
ANGLE AUDIO SUBTITLE
INPUT
3. If the source is set to “Tuner”, use to change the
channel.
MUTE
ZOOM
P-SCAN REPEAT TIMER
SETUP DISC EDIT EDIT
SLOW REC
A-B MODE
VOLUME
(LEVEL)
REV FWD
NEXTPREV
STOP PAUSE/STEP PLAY
DISPLAY TITLE MENU RETURN
SEARCH ADD/CLEAR PROGRAM
CHANNEL
ENTER
ANGLE AUDIO SUBTITLE
INPUT
4. Press to begin recording.
MUTE
ZOOM
P-SCAN REPEAT TIMER
SETUP DISC EDIT EDIT
SLOW REC
A-B MODE
VOLUME
(LEVEL)
REV FWD
NEXTPREV
STOP PAUSE/STEP PLAY
DISPLAY TITLE MENU RETURN
SEARCH ADD/CLEAR PROGRAM
CHANNEL
ENTER
ANGLE AUDIO SUBTITLE
INPUT
5. Press to stop recording.
Configuring the Display
© 2005 Protron Digital Corporation EZPDDVR100
Vertical fold
Vertical fold
EZPDDVR100.indd 2 8/26/2005 10:15:33 AM
Other manuals for PD-DVR100
1
Other PROTRON DVD Recorder manuals
