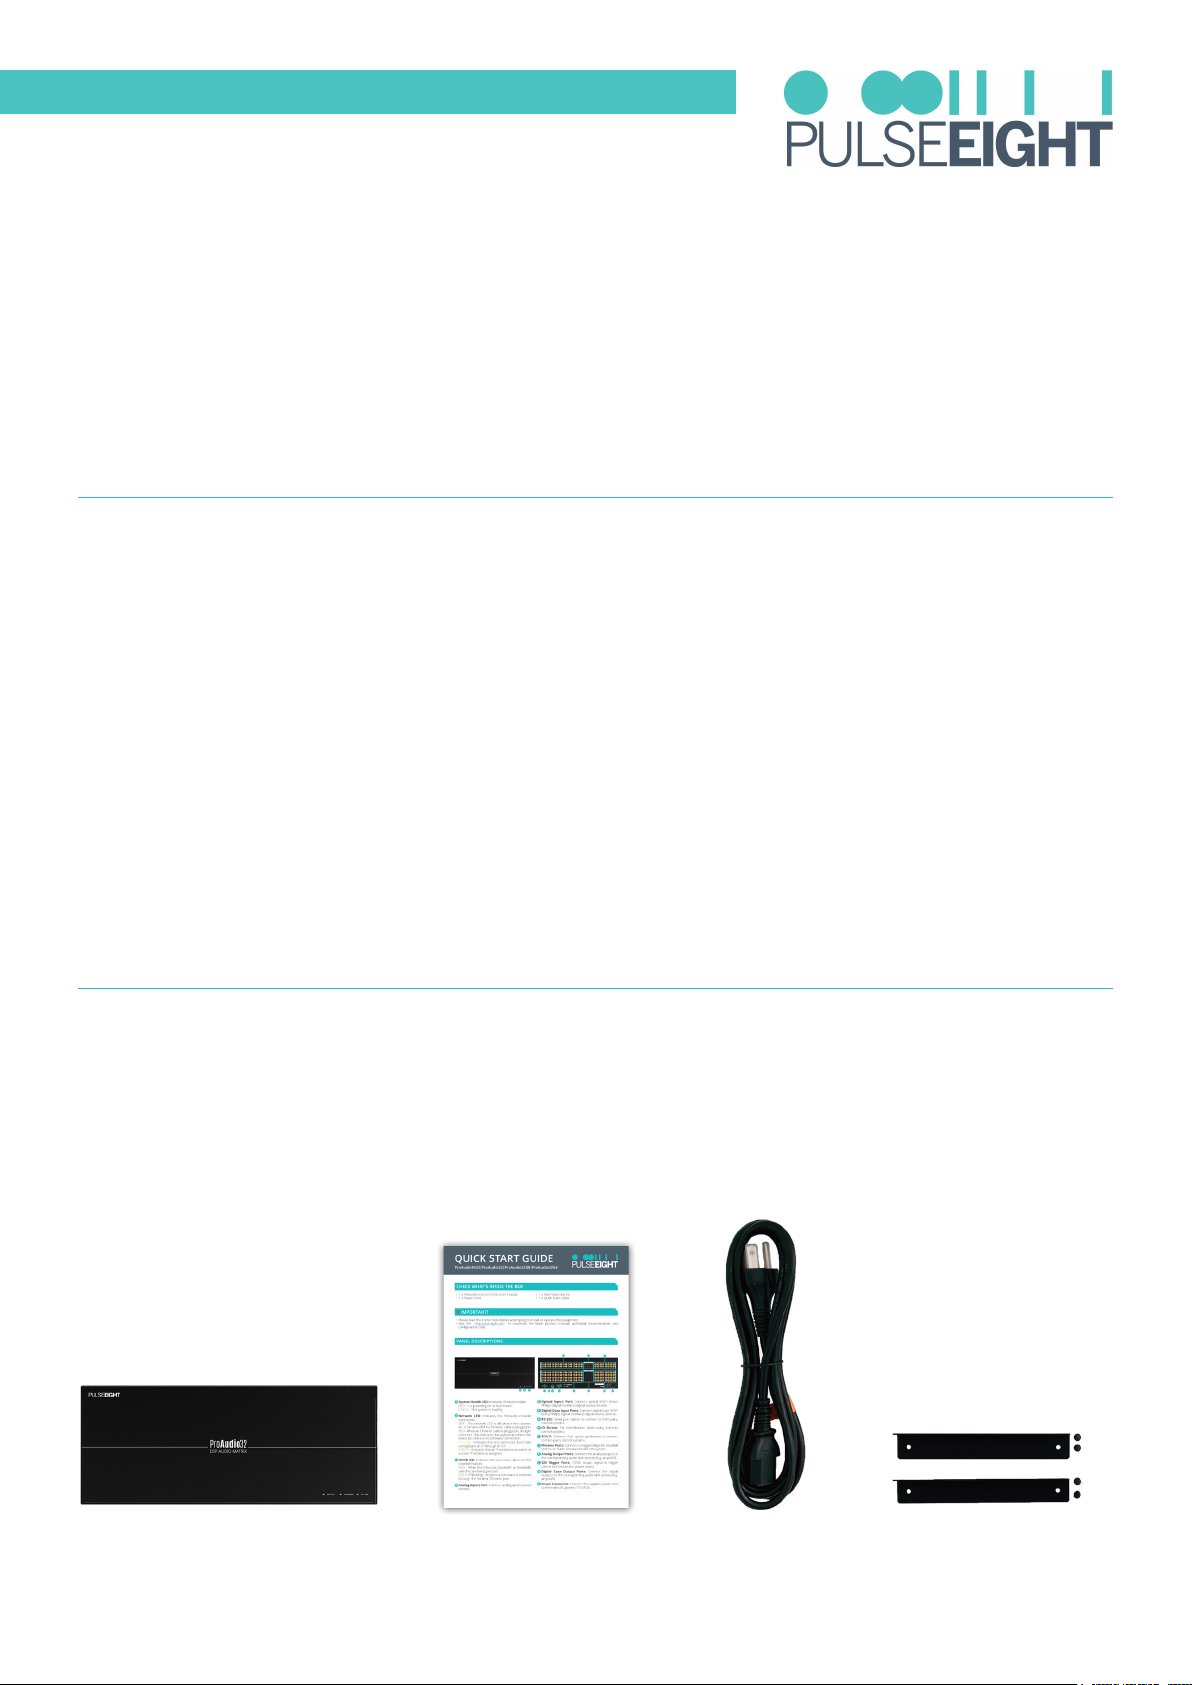
PULSEEIGHT ProAudio32 User manual

V2.2

b
CONTENTS
Introduction . . . . . . . . . . . . . . . . . . . . . . . . . . . . . . . . . . . . . . . . . . . . . . . . . . . . . . . . . . . . . . . . . . . . . . . . . . . . . . . . . . . . . . . 3
Features . . . . . . . . . . . . . . . . . . . . . . . . . . . . . . . . . . . . . . . . . . . . . . . . . . . . . . . . . . . . . . . . . . . . . . . . . . . . . . . . . . . . . . . . . . 3
Inside The Box (Kit) . . . . . . . . . . . . . . . . . . . . . . . . . . . . . . . . . . . . . . . . . . . . . . . . . . . . . . . . . . . . . . . . . . . . . . . . . . . . . . . . . 3
Specications. . . . . . . . . . . . . . . . . . . . . . . . . . . . . . . . . . . . . . . . . . . . . . . . . . . . . . . . . . . . . . . . . . . . . . . . . . . . . . . . . . . . . . 4
Safety Precaution . . . . . . . . . . . . . . . . . . . . . . . . . . . . . . . . . . . . . . . . . . . . . . . . . . . . . . . . . . . . . . . . . . . . . . . . . . . . . . . . . . 5
Panel Descriptions . . . . . . . . . . . . . . . . . . . . . . . . . . . . . . . . . . . . . . . . . . . . . . . . . . . . . . . . . . . . . . . . . . . . . . . . . . . . . . . . . 6
Overview - Audio Routing Capabilities. . . . . . . . . . . . . . . . . . . . . . . . . . . . . . . . . . . . . . . . . . . . . . . . . . . . . . . . . . . . . . . . . 8
Installation . . . . . . . . . . . . . . . . . . . . . . . . . . . . . . . . . . . . . . . . . . . . . . . . . . . . . . . . . . . . . . . . . . . . . . . . . . . . . . . . . . . . . . . . 9
Wiring Diagram . . . . . . . . . . . . . . . . . . . . . . . . . . . . . . . . . . . . . . . . . . . . . . . . . . . . . . . . . . . . . . . . . . . . . . . . . . . . . . . . . . . 12
Control Setup. . . . . . . . . . . . . . . . . . . . . . . . . . . . . . . . . . . . . . . . . . . . . . . . . . . . . . . . . . . . . . . . . . . . . . . . . . . . . . . . . . . . . 13
Paging And Doorbell . . . . . . . . . . . . . . . . . . . . . . . . . . . . . . . . . . . . . . . . . . . . . . . . . . . . . . . . . . . . . . . . . . . . . . . . . . . . . . . 16
Audio Output Zone Settings . . . . . . . . . . . . . . . . . . . . . . . . . . . . . . . . . . . . . . . . . . . . . . . . . . . . . . . . . . . . . . . . . . . . . . . . 17
Lock Zone . . . . . . . . . . . . . . . . . . . . . . . . . . . . . . . . . . . . . . . . . . . . . . . . . . . . . . . . . . . . . . . . . . . . . . . . . . . . . . . . . . . . . . . . 18
Setting Up A Subwoofer . . . . . . . . . . . . . . . . . . . . . . . . . . . . . . . . . . . . . . . . . . . . . . . . . . . . . . . . . . . . . . . . . . . . . . . . . . . . 19
Setting Minimum/Maximum Volume . . . . . . . . . . . . . . . . . . . . . . . . . . . . . . . . . . . . . . . . . . . . . . . . . . . . . . . . . . . . . . . . . 20
Troubleshooting. . . . . . . . . . . . . . . . . . . . . . . . . . . . . . . . . . . . . . . . . . . . . . . . . . . . . . . . . . . . . . . . . . . . . . . . . . . . . . . . . . . 21
Manual Version History . . . . . . . . . . . . . . . . . . . . . . . . . . . . . . . . . . . . . . . . . . . . . . . . . . . . . . . . . . . . . . . . . . . . . . . . . . . . 21
Warranty Procedure . . . . . . . . . . . . . . . . . . . . . . . . . . . . . . . . . . . . . . . . . . . . . . . . . . . . . . . . . . . . . . . . . . . . . . . . . . . . . . . 22
Warranty Terms & Conditions . . . . . . . . . . . . . . . . . . . . . . . . . . . . . . . . . . . . . . . . . . . . . . . . . . . . . . . . . . . . . . . . . . . . . . . 23
Notes . . . . . . . . . . . . . . . . . . . . . . . . . . . . . . . . . . . . . . . . . . . . . . . . . . . . . . . . . . . . . . . . . . . . . . . . . . . . . . . . . . . . . . . . . . . . 25

3
The ProAudio32 DSP Pre-Amp Audio Matrix features 80 audio inputs (32x Stereo L/R, 16x Optical, 32x Digital
Coax) alongside 32 zone outputs (32x Stereo L/R and 32x Digital Coax), enabling simultaneous audio distribution
to multiple zones. Each output zone can be enhanced with built-in features including 5 band equalizer per zone,
adjustable volume and gain settings, subwoofer control, serial and TCP/IP control, lip sync delay and much more.
Pulse-Eight’s ProAudio™ series oers a range of versatile DSP preamp audio matrix switches with innovative
features and unmatched capabilities designed for the custom install AV market. It provides a world class audio
experience with maximum exibility and capability, plus the largest selection of DSP preamp model congurations.
INTRODUCTION
FEATURES
INSIDE THE BOX (KIT)
• 80 Audio Inputs: 32x Stereo L/R, 16x Optical, 32x Digital Coax
• 32 Zone Outputs: 32x Stereo L/R, 32x Digital Coax
• Volume, Balance, Bass, Treble and 5 Band Equalizer control of analog and digital audio.
• Volume range: +24dB to -99.5dB, and full mute (-115dB), with 0.5dB step resolution.
• Master volume to control all zones simultaneously (+24dB to -99.5dB), and full mute.
• Tone / EQ ranges: +20dB to -20dB, with 0.5dB step resolution.
• Gain settings (+/-24dB) for all analog and digital inputs.
• Zone gain settings (+/-24dB) for each zone.
• Lip sync delay from 0 to 170ms, per zone and/or per input.
• Audio format conversion: Digital inputs (2-Channel PCM) are automatically converted to analog audio. (Does
not downmix Dolby5.1 or DTS to analog audio, but does pass multichannel audio to the S/PDIF digital outputs)
• Both analog and digital audio are available simultaneously on the outputs.
• Controlled through TCP/IP and/or Bi directional RS 232.
• Drivers are available for all major control systems.
• 1 x ProAudio32 Chassis
• 1 x Quick Start Guide
• 1 x Power Cord
• 1 x Rack Mounting Kit
ProAudio32 Quick Start Guide Power Cord Rack Mounting Kit

4
Inputs 32x Stereo L/R, 16x Optical, 32x Digital Coax
Outputs 32x Stereo L/R, 32x Digital Coax
12V Trigger 12x Outputs
Doorbell/ Paging 2x Inputs.
Lip-sync Up to 170ms per zone and/or per input
Audio Outputs Settings • Volume Range: +24dB to -99.5dB, and full mute (-115dB), with 0.5dB step
resolution. Individual zone and master (all zones) control.
• Bass Range: -20db to +20db, 0.5db steps
• Treble Range: -20db to +20db, 0.5db steps
• Equalizer: 5 Band EQ per zone
Control Settings • Subwoofer Control: Yes
• Input Gain: -24dB to +24dB
• Output Gain: -24dB to +24dB
Power Handling • Coax Input Levels: 200mV - 7.0V (PC card compatible)
• Coax Output Level: 500mV nominal into 75 ohms
Frequency Response 5Hz - 20kHz @+/-0.1dB S.N.
Signal to Noise Ratio > 85dB, 5Hz-20kHz
Analog Input Voltage 2.0 Vrms
Input Impedance 10K Ohms
Audio Modes PCM, Dolby Digital 5.1, DTS. (multi-channel modes are pass thru only, the
switches do not downmix).
Format conversion Yes - Digital-to-Analog and Analog-to-Digital supported.
Limited to 2 channel audio conversions only.
Analog Output Voltage 2.0 Vrms
Ethernet Ports 1 x RJ45 (TCP/IP control only)
RS-232 Ports 1x DB9 (control only)
Operating Humidity 5 to 90% RH (no condensation)
Operating Temperature 0 to +35°C (32 to +95°F)
Storage Temperature -20°C to 60°C (-4°F to 140°F)
Power Input IEC C14 socket
Power Rating 110-240V, 1.0A, 50/60Hz
Rack Spacing 4U
Certications UKCA, CE, FCC (SDoC), RoHS
Included Accessories Rack mounting accessories, Power cable
Driver Control 4, Elan, Savant.
Dimensions (W x H x D) 17.5” x 8.70”(5U) x 8.70” (44cm x 22cm x 25cm)
Weight 8.97 lb (4.1 Kg)
Box Dimensions 22.05” x 13.78” x 12.20” (56cm x 35cm x 31cm)
SPECIFICATIONS

5
SAFETY PRECAUTION
Please read the instructions before attempting to install or operate this equipment.
Please keep the following in mind as you unpack and install this equipment:
• Always follow basic safety precautions to reduce the risk of re, electrical shock, and injury.
• To prevent re or shock hazards, do not expose the unit to rain, or moisture or install this product near water.
• Never spill liquid of any kind on or into this product.
• Where possible, install the ProAudio towards the top of the rack to avoid the unit overheating.
• Only use the supplied IEC cable.
• Never push any objects into this product through any openings or empty slots in the unit as you may damage
parts inside and/or cause an electrical shock.
• Do not allow anything to rest on the power cabling and avoid putting the weight of any kind on it.
• To protect the unit from overheating do not block any vents or openings in the unit housing that provides
ventilation. Allow sufficient space for air to circulate around the unit.
• This product is intended for use in a clean (dust-free) residential environment.
Ventilation
It’s important to keep the product well ventilated when installing this Pulse-Eight ProAudio.
Any electronic equipment will generate heat. A well-ventilated area helps to disperse the heat. If placed in a poorly
ventilated area, your equipment may heat up and cause irreparable damage to the circuitries.
Allowing systems to run for prolonged periods under high temperatures will break down circuitry and electrical
component. It also applies if the device is left in the path of direct sunlight or near any heat source.
Dust tends to accumulate and will disrupt the fan and electronics system. Dust particles contain various
compositions like water, oil, and other minerals or chemicals. Having them in your electronic device can sometimes
cause a signal error or degradation to the internal chips and circuitries. Because we cannot accurately predict
how or when they can aect your device, we highly recommend that you keep Pulse-Eight products not only in a
well-ventilated area but also as clean as possible.
In some cases, insects or reptiles can make nests near or inside the electronic casing. Whilst we design our
products to maximize the protection of internal electronics, please be aware that insects and reptiles can be
drawn to these types of habitats. In the unlikely event, this does happen, this will lead to poor ventilation inside
the unit, and it will be unable to disperse heat eectively.
Finally, whenever possible, do not stack audio and video matrixes together. Leave enough space in between each
unit in order to provide good airow.
FCC Warning
This equipment has been tested and found to comply with the limits for a Class B digital device, pursuant to part 15 of the FCC Rules.
These limits are designed to provide reasonable protection against harmful interference in a residential installation. This equipment
generates, uses and can radiate radio frequency energy and, if not installed and used in accordance with the instructions, may cause
harmful interference to radio communications. However, there is no guarantee that interference will not occur in a particular installation.
If this equipment does cause harmful interference to radio or television reception, which can be determined by turning the equipment
o and on, the user is encouraged to try to correct the interference by one or more of the following measures:
• Reorient or relocate the receiving antenna.
• Increase the separation between the equipment and receiver.
• Connect the equipment into an outlet on a circuit dierent from that to which the receiver is connected.
• Consult the dealer or an experienced radio/TV technician for help.

6
PANEL DESCRIPTIONS
A CB
System Health LED indicates ProAudio health.
RED - It is powering on or fault found.
GREEN - The system is healthy.
Network LED indicates the ProAudio network connection.
OFF - The network LED is o when it rst powers on. It remains o if no Ethernet cable is plugged in.
RED - When an Ethernet cable is plugged in, the light turns red. This indicates that a physical connection exists
but there is no software connection.
YELLOW - Indicates that it is connected, but it fails to negotiate an IP through DHCP.
GREEN - Indicates that an IP address is acquired or a static IP address is assigned.
ID/DB LED indicates the data status, also used for doorbell feature.
RED - When the ID button, Doorbell1 or Doorbell2 switches are being pressed.
GREEN (Flashing) - Anytime a command is received through the Serial or Ethernet port.
A
B
C
D E F
G H I JK L M N

7
Analog Inputs Port: Connect analog input source devices.
Optical Inputs Port: Connect optical SPDIF (Sony/Philips Digital Interface) digital source devices.
Digital Coax Input Ports: Connect digital coax SPDIF (Sony/Philips Digital Interface) digital source devices.
RS-232: Port Serial option to connect to third party control systems.
ID Button: For identication when using Control4 control systems.
TCP/IP: Ethernet Port option (preferred) to connect to third-party control systems.
Phoenix Ports: Connect to trigger/relays for doorbell chimes or Public Announcement (PA) system.
Analog Output Ports: Connect the analog outputs to the corresponding audio sink devices (e.g. amp/AVR).
12V Trigger Ports: Trigger outputs to send power commands to connected devices (i.e. power amps).
Digital Coax Output Ports: Connect the digital outputs to the corresponding audio sink devices (e.g. amp/
AVR).
Power Connector: Use with the supplied power cord to connect directly to the main AC power (110V - 240V).
D
F
E
J
K
L
M
N
G
I
H

8
The ProAudio32 DSP Pre-Amp Audio Matrix features 80 audio inputs (32x Stereo L/R, 16x Optical, 32x Digital
Coax) and 32 audio zone outputs (32 Stereo L/R and 32 Digital Coax). Any audio input can be routed to any
audio output, including digital to analog conversion. Audio downmix (multi-channel to stereo conversion) is not
supported.
Note that Analog to Digital conversion is only supported when the digital output port is set to mirror its respective
analog output port.
The diagram below described the basic audio routing capabilities of the ProAudio32.
OVERVIEW - AUDIO ROUTING CAPABILITIES
80 x 64 Crosspoint Switch*
(with digital-to-analog conversion)
SL R
S S S L R L R L R
Optical
Digital Inputs
Coax
Digital Inputs Analog Inputs
Digital Outputs Analog Outputs
DSP1 DSP2 DSP32
L R L R L R
Coax Mirror
Select 1
Coax Mirror
Select 2
Coax Mirror
Select 32
SSS
With analog-to-digital
conversion
IN-65 IN-66 IN-80 IN-33 IN-34 IN-64 IN-1 IN-2 IN-32
OUT-1 OUT-2 OUT-32 OUT-1 OUT-2 OUT-32
= Analog Stereo Connection = Coax SPDIF Connection = Optical SPDIF Connection
IMPORTANT: Outputs can be treated separately or paired together. When paired, analog output 1 is paired
with digital output 1, 2 to 2, 3 to 3, etc. By default, analog outputs will be mirrored on the digital coax sides.
* Only digital 2-channel PCM -to- analog (stereo) conversion is supported. Multichannel downmix is not supported.

9
INSTALLATION
1. The ProAudio32 features up to 80 independent audio inputs. Connect your audio source devices directly to
the inputs accordingly.
2. The ProAudio32 can have between 32 to 64 audio output zones, depending on your conguration. Connect
your audio outputs to the relevant AVR or Audio ampliers.
IMPORTANT: If your installation required certain analog input to be converted and routed to digital (coax
output), then you will need to mirror the corresponding analog stereo output to do so. Please refer to
OVERVIEW - AUDIO ROUTING CAPABILITIES section for more information.

10
3. Connect either the Serial (RS232) or Ethernet connection to your controller.
Ethernet Connection (recommended): Connect to the local Ethernet using the ProAudio’s TCP/IP port.
Serial Connection: Connect a serial cable between the controller and the ProAudio’s RS232 port.
4. Connect the power using the included IEC cable.
The unit will take 15-30 seconds to boot up and get an IP address, if using the Ethernet port.
Note: After boot up, please check the LEDs on the front of the system, as described on the PANEL DESCRIPTIONS
section.

11
5. Link to third-party control system.
Access the Pulse-Eight Cloud Monitoring site to download the necessary drivers. Follow the installation
instructions in the driver documentation for that control system.
Alternatively, if you do not have a third-party control system (or driver is not available), please refer to the
Control Setup section.

12
WIRING DIAGRAM
Example of a ProAudio32 wiring with a video matrix (e.g. neoX+) and an amplier (e.g. ProAmp8).

13
CONTROL SETUP
ProAudio can be congured using third-party controllers such as Control4, ELAN, and Savant. On the back of
the unit, there is an ID button that allows you to congure it directly with Control4. For more information please
download the relevant driver and documentation from the Pulse-Eight Cloud Monitoring.
Alternatively, ProAudio also provides a direct conguration method via Command Line Interface (CLI). To use
CLI, connect directly to the RS232 port OR use an Ethernet cable with the other end connected to a computer,
preferably one running Windows and with access to its communication ports.
Conguring Using Command Line Interface
If you are not using a third-party control system, you can control the ProAudio product with your favourite
terminal programme.
PuTTY, for example, is a well-known open source terminal programme. You may already have a copy of this
programme on your PC; if not, it can be downloaded at: https://www.chiark.greenend.org.uk/~sgtatham/putty/
latest.html
Please refer to the ProAudio Universal Protocol Guide.
Using The Serial Port
To use a serial port, you must have a USB to Serial port straight through cable. The ProAudio has a female RS-232
connector, but the USB cable connector must have male pins. When a USB cable is plugged in, Windows will assign
a COM port. Determine the COM port of the USB cable using Windows’ Device Manager. It’s usually between COM3
and COM6, but it can be any number Windows chooses. Then follow these steps:
1. Choose ‘Serial’ as the Connection type.
2. Then, enter the COM port at the Serial line.
3. The baud rate is 19200. Enter the baud rate at the Speed.
4. After setting up the COM port and baud rate click on ‘Terminal’.
5. Go to the “Setting Up The Line Control Option” section, as this is required.

14
Using TCP/IP
To use TCP/IP, you must rst search the network for the IP address of the ProAudio. Depending
on when the ProAudio was made, the MAC address will be listed under Zektor or Pulse-Eight.
The MAC address will either begin with 5C.D4.AB.xx.xx.xx or 00-15-82-xx-xx-xx.
Once the IP address is known. Then follow these steps:
1. Choose ‘Raw’ as the Connection type.
2. Then, enter the IP address/MAC address at the Host Name.
3. Enter the 50005 at the Port.
4. After entering the IP address and port number click on “Terminal”. Then, go to the “Setting Up The Line Control
Option” section, as this is required.

15
Setting Up The Line Control Options
5. Set them to “Force on” this allows you to see what you are typing, and to edit it before sending.
6. After the two options are selected, press the “open” button, and the command window should open up.
Testing The Connection
7. To see if a connection has been established, enter the version command: ^V$ and then press enter. The
terminal program being used (e.g. PuTTY), will then send the response showing the model switch that is
connected as shown in the image. The unit should report back the following:
<Model of ProAudio> , <Software version>, <internal serial number>
Please note that the internal serial number should not be used for support queries.
For more information, including list of API commands, please refer to the ProAudio Universal Protocol Guide.

16
PAGING AND DOORBELL
The back panel can be wired to accept dry contact closures (for push buttons or relay triggers), or voltage triggers.
You can mix connection types and setup one connection for dry closures, and the other for voltage triggers.
To use dry contact closures, add a jumper between the SE and dB connections, and connect the switch to other
dB input and the SW input. Note that the SW-1 and SW-2 connections are also connected to the chassis ground.
If you are using a shielded cable to the switch, connect the SW side to the shield. If one side of your button is
grounded, the side that is grounded should use the SW connection.
The voltage trigger inputs can be wired directly to the doorbell transformer, so that when the doorbell rings,
paging will also occur. When used in this manner, the doorbell system can be setup to mute or lower the volume
of the audio during a doorbell press, to allow the doorbell to be heard.
When a page or doorbell is triggered (from now on just referred to as a “page”), all the zones switch to a
predetermined source, and a predetermined volume. When the page is nished, all the zones are restored to
their normal operation.
There are two page settings, with their own setups. For instance ‘page 1’ could be used for the front door, and
‘page 2’ for the back door. If you have two dierent sound generators, then you could have a dierent sound
for the two doorbells, and setup the pages to be connected to two dierent sources.
To make all this work, the installers need to set up, in advance, all the things each zone should do when a page
is triggered. This can be done by sending the correct commands over the serial or TCP/IP port.
Please refer to your control driver documentation or please refer to the ProAudio Universal Protocol Guide,
depending on your control setup.
HOW DO I SETUP THE PAGING SYSTEM?

17
The ProAudio32 oers several parameters that can be individually set for each output port (zone).
The following parameters can be adjusted per output port:
• Volume: Range from +24dB to -99.5dB, and full mute (-115dB), in 0.5dB step resolutions.
• Balance: Range from -200 (full left) to +200 (full right) in 0.5 dB steps.
• Treble: Range from -20dB to +20dB, in 0.5dB steps
• 5-Band Equalizer: Set at 100Hz, 330Hz, 1,000Hz, 3,300Hz and 10,000Hz. Each EQ band setting can range
from -20dB to +20db, in 0.5dB steps.
• Stereo to Mono Mix: If required, the stereo inputs can be mixed in a number of ways.
• Lock Zone: It can be set so that the selected audio output to be locked to another zone.
• Subwoofer Settings (Filter/Frequency): When using a subwoofer, you can set the sub lter to 12dB or
24dB, and the sub crossover frequency to be anything between 50-300Hz.
• Lip Sync: Can set a delay to the output. Range between 0-170.65 ms, in 1/48 ms steps.
• Coax Port: Enable the Coax port to mirror the stereo (analog) port, or to be independent.
• 12V Trigger: Assign any of the available trigger ports to be paired the selected audio output port.
• Paging Settings: Set actions that each zone should take when a page.
For more information, please refer to “CONFIGURE PROAUDIO OUTPUTS” section on your control driver
documentation. Alternatively, refer to the ProAudio Universal Protocol Guide when not using a third-party control
system.
AUDIO OUTPUT ZONE SETTINGS

18
The ProAudio32 has “Zone Lock” capabilities for all of its audio outputs.
The Zone Lock feature allows you to:
• Make an audio output zone always switch to the same source as a dierent output zone
• Send volume to one output zone and have another zone go to the same volume
• Or, when using a subwoofer, it can make the subwoofer (connected to the audio output zone) switch to the
same source as the smaller speakers
Every audio output has a “Lock Zone” parameter that can be set to follow another zone.
For instance, if you have a set of stereo speakers connected to output 1 (zone 1), and a subwoofer connected to
output 2 (zone 2), then you would set zone 2 to use “Lock Zone’ parameter to lock it to output 1. Now each time
zone 1 changes sources, zone 2 will also change sources. When the volume is raised on zone 1, zone 2’s volume
will also be raised.
More than one zone can be locked onto the same zone. For instance, after the above zone is setup (i.e. zone 2
is locked to zone 1), then Audio Output 3 (zone 3) can be set to lock to zone 1. Now each time zone 1 changes
sources, both zones 2 and 3 will also change sources. When the volume is raised on zone 1, then the volume for
zones 2 & 3 will also be raised.
Please note that not all things are locked between the outputs, here’s the list of locked parameters:
• Volume (including other volume related parameters like Mute)
• Bass and Treble (but not the equalizers)
• Source changes
Anything not listed above, is not locked. Notable things are that are not locked are:
• Equalizers, this allows using dierent setting for a subwoofer than for the stereo set.
• Output Level, this allows adjusting the level of a subwoofer independent of the stereo speakers.
• Lip Sync Delay, this allows a delay to be set to compensate for distances between the subwoofer and speakers.
Caveats:
Care must be taken to avoid a zone following itself; for example, if zone 2 and zone 3 follow zone 1, but zone 1
follows zone 3, this will not work because zone 1 is following itself. Zone 1 in this example cannot be followed by
any other zone.
If you accidentally set a zone to follow itself, all zones that follow it will revert to the unlock mode.
For more information, please refer to your control driver documentation.
LOCK ZONE

19
When conguring a subwoofer, please ensure that the selected output is locked to the speaker output. See LOCK
ZONE section.
Each zone has a crossover lter that can allow only high frequencies, or only low frequencies to pass, or be
disabled (and allow all frequencies to pass).
Both the crossover type and the crossover frequency has to be set before the crossover lter is enabled. This
can be done by selecting the correct “crossover lter” parameter for both the subwoofer and main speaker zone
outputs.
Then the “crossover frequency” parameter are to be set for both the subwoofer and main speaker zone outputs.
Again, experimenting with this setting and listening for what sounds best is encouraged.
For more information, please refer to your control driver documentation.
SETTING UP A SUBWOOFER
Note: The default is to set “24dB/oct Low Pass Filter” for the subwoofer zone and “24dB/oct High Pass Filter” for the
main stereo speakers zone.
The 12dB / 24dB is the sharpness of the lter, how fast it cuts o high or low frequencies. Experimenting with this
setting and listening for what sounds best is encouraged.
Note: Both the main speakers and the subwoofer should be set to the same frequency. When going up in frequency,
this setting indicates the frequency the subwoofer stops working and the main speakers take over. This value is
usually between 100Hz and 150Hz, but we allow values between 50 and 300Hz.

20
The output’s “min volume” and “max volume” settings are the absolute volume levels. A volume level of 0 means
that the signal level coming into the switch is the same as the signal level going out. Each step of one of the
settings is a 0.5dB change. So a setting of 1 = +0.5dB gain, and -1 = -0.5dB loss.
The gain command is given in 0.5dB steps and uses an oset of 200 to indicate a gain of 0.0dB. Values above 200
raise gain, and values below 200 lower gain.
The minimum and maximum volume settings must have at least a 49.5dB (99 steps) dierence between them.
Any attempt to set the maximum volume closer than 99 steps of the minimum, will result in a setting of exactly 99
steps above the minimum volume setting.
The use of the Max Volume is pretty straight forward. Any user of the switch cannot set the level above Max
Volume, this can be used to limit volumes at specic zones.
The Min Volume use is more subtle. If you are in a quiet room, you can turn down the volume and still hear audio
way down into whisper levels. In a case like this, you would set the Min Volume to a large negative value, since this
will allow you to turn the volume way down.
If you have speakers in the backyard, you might not hear much once you turn the speakers below 50% because of
all the background noise, this is irritating because now half the volume is wasted, once you get below 50% nothing
happens. And if the volume level starts all the way down at 1%, it can feel like it’s not working as you hold the
volume button down between 1% and 49%, waiting to hear something. In this case like this, you can turn the Min
Volume up until you can actually start to hear something at around 5% or so. Now you have the complete range
of the volume control from 1% to 100%, and the sound fades out below 5% like it should.
For more information, please refer to your control driver documentation.
SETTING MINIMUM/MAXIMUM VOLUME
There might be occasions when the volume control on the switch needs to be disabled, such as when using an
AVR as an amplier.
To do so, select the Audio Output of the zone you’re interested in setting up, then set the volume to 84%.
Note that 84% is the pass through level (if the Min and Max default volume settings have not been changed). It
sets the volume so that the level going out is the same as the level coming in.
To keep the volume from changing, make sure you don’t use the audio switch as the volume endpoint for the
zone being setup. In the AVR example, the AVR should be the volume endpoint, not the audio switch.
FIXED AUDIO OUTPUT
Note: The default values are 24 = 12.0dB gain, and -120 = -60dB loss.
This manual suits for next models
1
Table of contents
Other PULSEEIGHT Music Mixer manuals